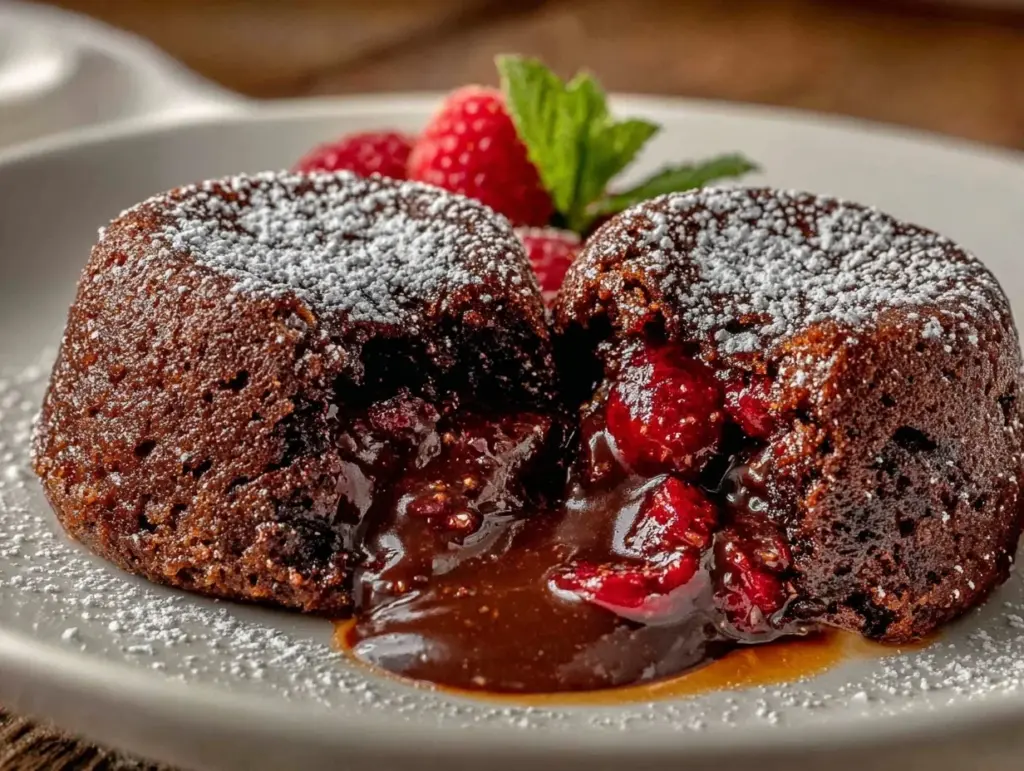
It was one of those evenings when I found myself staring at a half-empty box of red velvet cake mix, wondering if I should just toss it or attempt something daring. Honestly, I wasn’t planning on baking anything fancy—just a quick fix for a sudden sweet craving that hit way too late. I had no grand plans, just a vague idea: what if I made molten lava cakes but with that rich, velvety red velvet flavor I secretly adore? Skeptical but curious, I gave it a shot. The kitchen smelled like a cozy little bakery by the time I pulled those gooey, ruby-red cakes from the oven. The best part? They were just the right size for two, which made the moment feel intimate and special. No fuss, no leftovers, just pure, indulgent comfort in every bite.
That accidental experiment turned into my go-to dessert whenever I want to impress someone without going overboard or spending hours in the kitchen. The molten center oozing out is like a little celebration of chocolate and cream cheese, wrapped in that iconic red velvet charm. It’s honestly become my quiet indulgence on evenings when the world feels a little too loud. And that’s why this recipe stuck with me — it’s simple, it’s decadent, and it feels like a secret shared between just two people.
Why You’ll Love This Recipe
- Quick & Easy: These cakes come together in about 30 minutes, perfect for those spontaneous dessert cravings or romantic nights in.
- Simple Ingredients: No need for specialty stores—most are pantry staples, with a few easy swaps if needed.
- Perfect for Two: Sized just right for a cozy dessert for couples, no leftovers to worry about.
- Crowd-Pleaser: The rich melt-in-your-mouth texture combined with the classic red velvet flavor always gets rave reviews, whether it’s a date night or a special treat.
- Unbelievably Delicious: That molten cream cheese center adds a luscious twist, making these cakes feel elevated without extra effort.
This isn’t just another red velvet cake. The trick is in how the batter is prepared and baked just enough to keep that molten center flowing. Plus, the balance of cocoa, tangy cream cheese, and subtle vanilla makes it truly one-of-a-kind. Honestly, once you make these, you’ll realize why I can’t stop coming back to them—they’re the kind of dessert that makes you close your eyes and savor every bite, no matter how hectic your day was.
What Ingredients You Will Need
This recipe uses simple, wholesome ingredients to deliver bold flavor and that luxurious molten texture without any fuss. Most are common pantry staples, making it easy to whip these up at a moment’s notice.
- Unsalted butter, 4 tablespoons (melted and slightly cooled) – I prefer Kerrygold for the rich flavor.
- Granulated sugar, ½ cup (for sweetness and structure)
- Large egg, 1 (room temperature for better mixing)
- All-purpose flour, ⅓ cup (sifted for lightness)
- Cocoa powder, 1 tablespoon (unsweetened, Dutch-processed if possible for deeper color and flavor)
- Red food coloring, 1 tablespoon (gel type works best for vibrant red without extra liquid)
- Vanilla extract, ½ teaspoon (adds warmth and depth)
- Salt, a pinch (balances the sweetness)
- Cream cheese, 3 ounces (softened) – this becomes the molten center, so quality matters here; I like Philadelphia cream cheese.
- Powdered sugar, 1 tablespoon (for the cream cheese filling, to add a touch of sweetness)
Substitution tip: Use almond flour for a gluten-free option, but expect a slightly denser texture. Coconut yogurt or dairy-free cream cheese can swap in for a vegan twist, but baking time might vary.
Equipment Needed
- Two 6-ounce ramekins or small oven-safe bowls (non-stick or lightly buttered)
- Mixing bowls (one medium, one small)
- Whisk and rubber spatula
- Measuring cups and spoons (accuracy is key here!)
- Oven or toaster oven capable of 425°F (220°C)
- Cooling rack (optional but recommended to cool the ramekins slightly after baking)
If you don’t have ramekins, small oven-safe coffee mugs work as a budget-friendly alternative. Just keep an eye on the baking time as thickness might vary. I’ve found that using a silicone spatula helps scrape the batter cleanly, especially since it’s thick and luscious. Also, if you’re serious about molten cakes, investing in quality ramekins with a non-stick finish saves you from sticky disappointments.
Preparation Method
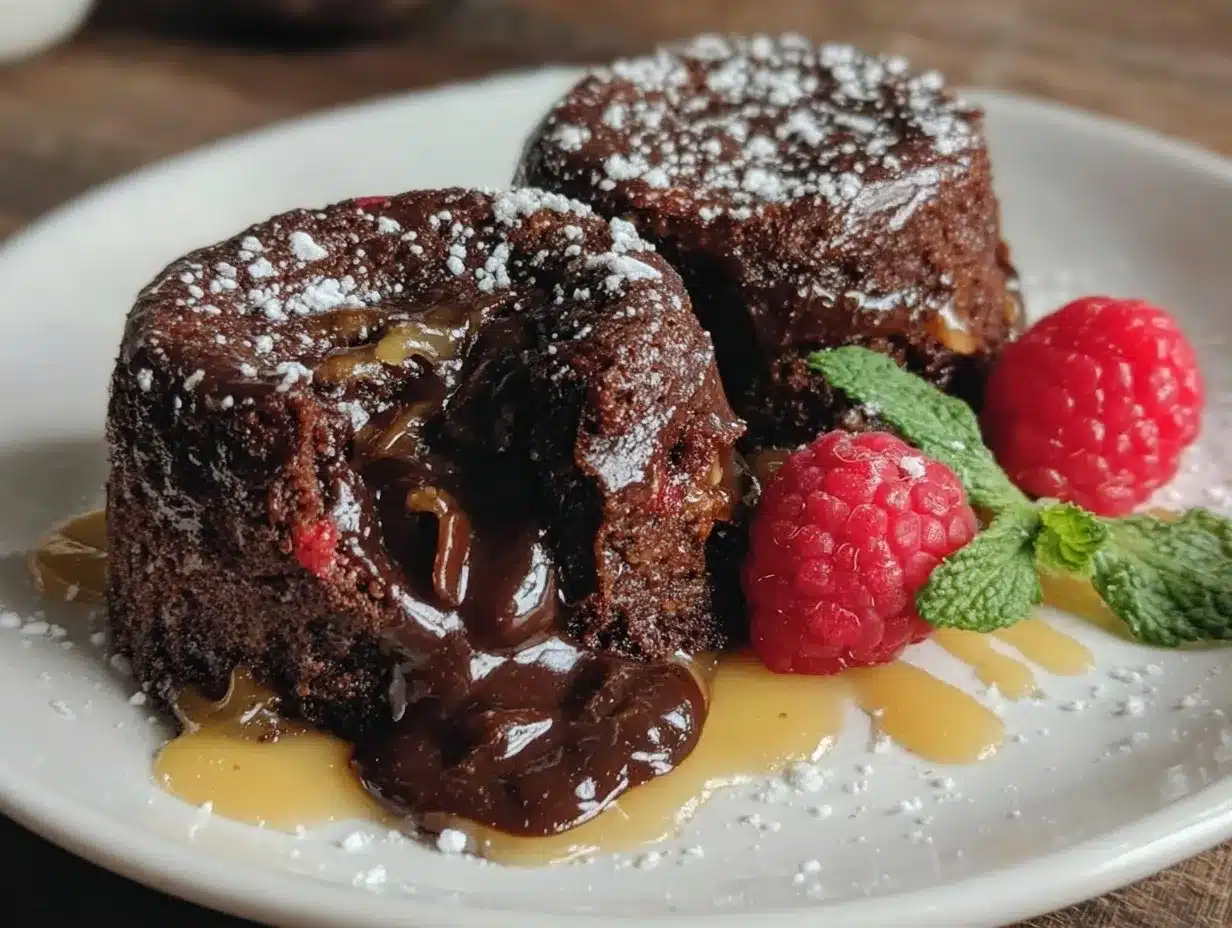
- Preheat your oven to 425°F (220°C). Butter the ramekins generously and lightly dust with cocoa powder to help the cakes release easily after baking. Set aside.
- Prepare the cream cheese filling: In a small bowl, mix the softened cream cheese with powdered sugar until smooth and creamy. Set aside in the fridge to keep cold; this helps it stay molten during baking.
- Make the batter: In a medium bowl, whisk the melted butter and granulated sugar until combined but not grainy. Add the egg and vanilla extract; whisk until smooth and glossy.
- Mix dry ingredients: Sift the flour, cocoa powder, and salt together. Gradually fold this into the wet mixture with a spatula, being careful not to overmix. The batter should be thick, smooth, and rich.
- Add red food coloring: Stir in the gel food coloring until the batter is uniformly vibrant red. The color should be deep and inviting.
- Assemble: Spoon half of the batter evenly into the prepared ramekins. Add a dollop (about 1 ½ tablespoons) of the cream cheese filling in the center of each. Top with the remaining batter, covering the cream cheese completely.
- Bake: Place ramekins on a baking sheet and bake for 12-14 minutes. The edges should be set, but the center will look slightly soft and jiggly. Resist the urge to overbake — that molten center is the prize!
- Cool and serve: Let cakes cool in the ramekins for 2-3 minutes before carefully inverting onto plates or serving straight from the ramekins. A dusting of powdered sugar or a scoop of vanilla ice cream on the side is a lovely touch.
Tip: If you want a more pronounced molten center, pull them out closer to 12 minutes. For a slightly firmer cake but still gooey inside, aim for 14 minutes. Every oven’s a bit different, so keep an eye on the texture around 10 minutes.
Cooking Tips & Techniques
One trick I learned the hard way is not to overmix the batter. Stirring too much develops gluten, which can toughen these delicate cakes and ruin that tender crumb you’re aiming for. Mixing gently until just combined keeps things light and soft.
Also, don’t skip the step of dusting ramekins with cocoa powder after buttering — it’s a simple step that makes unmolding a breeze (and avoids heartbreak when your cake sticks). I once tried flour instead, and the white residue just looked messy against the red.
Baking time is crucial here. I’ve made these multiple times, and even a minute or two difference can change the texture dramatically. Set a timer and keep the oven door closed to maintain consistent heat.
When adding the cream cheese filling, use cold cream cheese straight from the fridge to help it hold its shape during baking. If it’s too warm, it melts too quickly and blends into the batter, losing that molten effect.
Lastly, multitasking can be your friend. While the cakes bake, clean up your prep bowls or set the table — those few minutes go by fast, and you’ll be ready to serve the dessert right when the cakes come out.
Variations & Adaptations
- White Chocolate Lava: Swap the cream cheese filling with a piece of white chocolate or a white chocolate ganache for a sweeter, silkier center.
- Berry Surprise: Add a spoonful of raspberry jam or fresh raspberries in with the cream cheese filling to add a tart contrast that complements the red velvet beautifully.
- Vegan Version: Use dairy-free cream cheese and substitute the egg with flaxseed egg (1 tablespoon flaxseed meal + 3 tablespoons water). Use coconut oil instead of butter.
Personally, I’ve tried mixing a hint of instant espresso powder into the batter—it adds a subtle depth that pairs wonderfully with the cocoa and cream cheese. If you want a festive twist, sprinkle a little crushed peppermint on top after baking for a holiday vibe. The possibilities are endless!
Serving & Storage Suggestions
These red velvet molten lava cakes are best served warm, straight from the oven, when the center is still gloriously gooey. If you want to get fancy, a scoop of vanilla ice cream or a drizzle of chocolate sauce pairs perfectly.
Leftovers? Honestly, these are best fresh, but you can refrigerate them in an airtight container for up to 2 days. When ready to eat, reheat gently in the microwave for about 20 seconds—enough to warm but not cook further.
Freezing is possible—wrap each ramekin tightly with plastic wrap and foil. Thaw overnight in the fridge, then warm in the oven at 350°F (175°C) for 8-10 minutes. The texture is surprisingly good, though the molten center may be slightly less fluid.
Flavors deepen if you let the cakes rest for about 10 minutes after baking, so don’t rush the cooling step. It also helps them firm up just enough to handle without collapsing.
Nutritional Information & Benefits
Each serving (one cake) contains roughly 350-400 calories, depending on exact ingredient brands, with about 20g of fat and 40g of carbohydrates. This dessert is a treat rather than an everyday snack but offers some nutritional perks.
Cream cheese provides a modest amount of protein and calcium, while cocoa powder is rich in antioxidants. Using real butter adds flavor and satiety, keeping you satisfied with a smaller portion.
You can adapt this recipe to be gluten-free by substituting almond flour or a gluten-free blend. For those watching sugar intake, consider using a sugar substitute that bakes well, like erythritol.
From a wellness perspective, I like that this recipe lets me enjoy a rich dessert without feeling wasteful—just the right amount for two, with no extra temptation leftover.
Conclusion
Decadent Red Velvet Molten Lava Cakes for Two have become my little secret when I want a dessert that feels special without the hassle. The rich, velvety batter paired with that luscious molten cream cheese center is honestly hard to beat.
Feel free to tweak the recipe to suit your taste—add a berry, try a different filling, or experiment with gluten-free flours. What matters most is the joy of sharing something homemade and indulgent with someone special.
I hope you find these cakes as comforting and satisfying as I do on those quiet nights where a simple dessert means everything. Give it a try and let me know how yours turn out—there’s something about this recipe that just invites a little sweetness into life.
FAQs
Can I make these red velvet molten lava cakes ahead of time?
You can prepare the batter and cream cheese filling ahead but assemble and bake just before serving for best results. The molten center is best fresh.
What if I don’t have red food coloring?
You can skip the coloring, but the cakes won’t have that signature red velvet look. Beet powder is a natural alternative but can affect flavor slightly.
How do I know when the cakes are done baking?
The edges should be set and firm, while the center looks slightly soft and jiggles when you gently shake the ramekin.
Can I double the recipe for more servings?
Yes, just double ingredients and bake in multiple ramekins. Baking time remains about the same but check doneness individually.
What’s the best way to store leftovers?
Cover with plastic wrap and store in the fridge for up to 2 days. Reheat gently in the microwave or oven before serving.
Pin This Recipe!
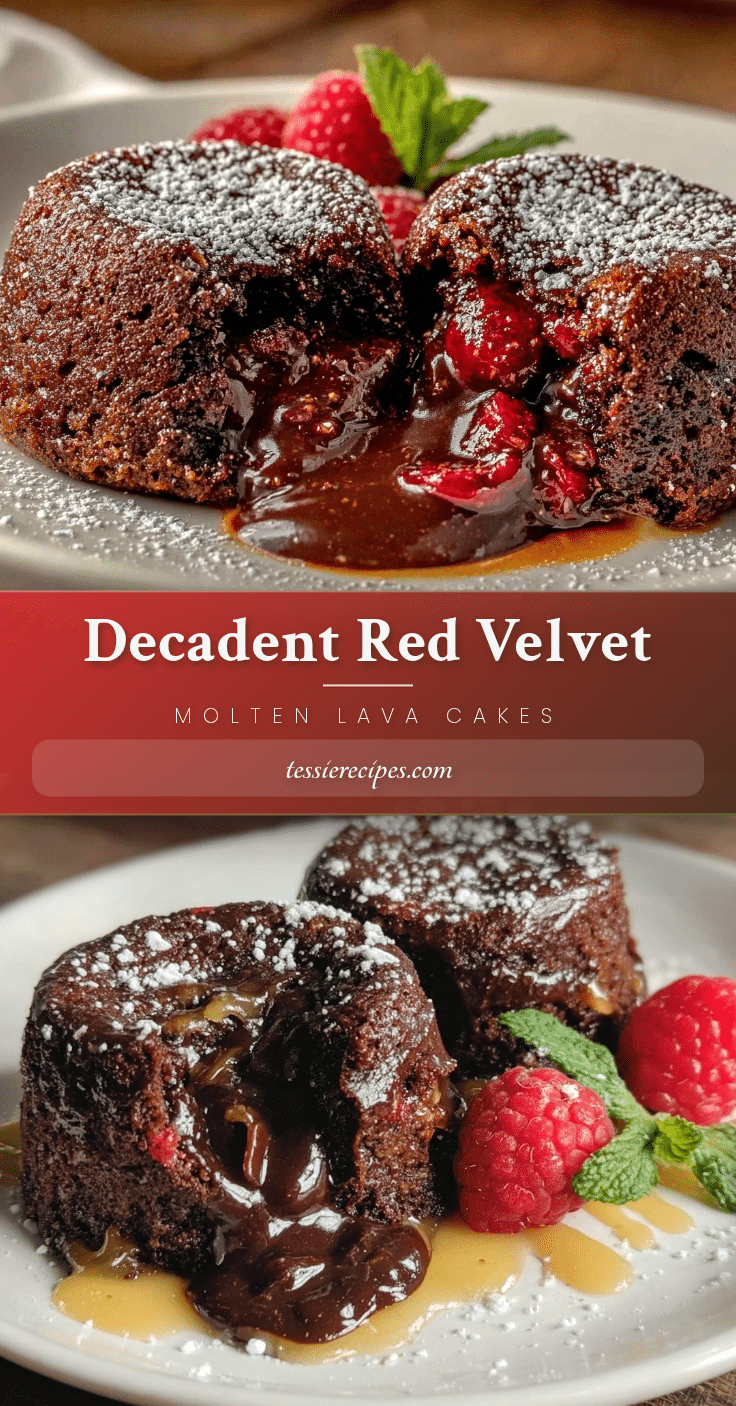
Decadent Red Velvet Molten Lava Cakes for Two
A quick and easy dessert featuring rich red velvet flavor with a luscious molten cream cheese center, perfect for two people.
- Prep Time: 10 minutes
- Cook Time: 14 minutes
- Total Time: 24 minutes
- Yield: 2 servings 1x
- Category: Dessert
- Cuisine: American
Ingredients
- 4 tablespoons unsalted butter, melted and slightly cooled
- ½ cup granulated sugar
- 1 large egg, room temperature
- ⅓ cup all-purpose flour, sifted
- 1 tablespoon unsweetened cocoa powder (Dutch-processed if possible)
- 1 tablespoon red food coloring (gel type preferred)
- ½ teaspoon vanilla extract
- Pinch of salt
- 3 ounces cream cheese, softened
- 1 tablespoon powdered sugar
Instructions
- Preheat your oven to 425°F (220°C). Butter the ramekins generously and lightly dust with cocoa powder. Set aside.
- Prepare the cream cheese filling by mixing softened cream cheese with powdered sugar until smooth. Chill in the fridge.
- In a medium bowl, whisk melted butter and granulated sugar until combined but not grainy. Add egg and vanilla extract; whisk until smooth and glossy.
- Sift together flour, cocoa powder, and salt. Gradually fold into the wet mixture with a spatula, being careful not to overmix.
- Stir in red food coloring until batter is uniformly vibrant red.
- Spoon half of the batter evenly into the prepared ramekins. Add about 1½ tablespoons of cream cheese filling in the center of each. Top with remaining batter, covering the filling completely.
- Place ramekins on a baking sheet and bake for 12-14 minutes until edges are set but centers are soft and jiggly.
- Let cakes cool in ramekins for 2-3 minutes before serving. Optionally dust with powdered sugar or serve with vanilla ice cream.
Notes
Do not overmix the batter to keep cakes tender. Dust ramekins with cocoa powder after buttering to prevent sticking. Use cold cream cheese filling to maintain molten center. Baking time varies; check at 12 minutes for a more molten center and 14 minutes for a firmer cake.
Nutrition
- Serving Size: 1 cake (one ramekin)
- Calories: 375
- Sugar: 28
- Sodium: 220
- Fat: 20
- Saturated Fat: 12
- Carbohydrates: 40
- Fiber: 2
- Protein: 6
Keywords: red velvet, molten lava cake, dessert for two, cream cheese filling, quick dessert, easy baking



