Introduction
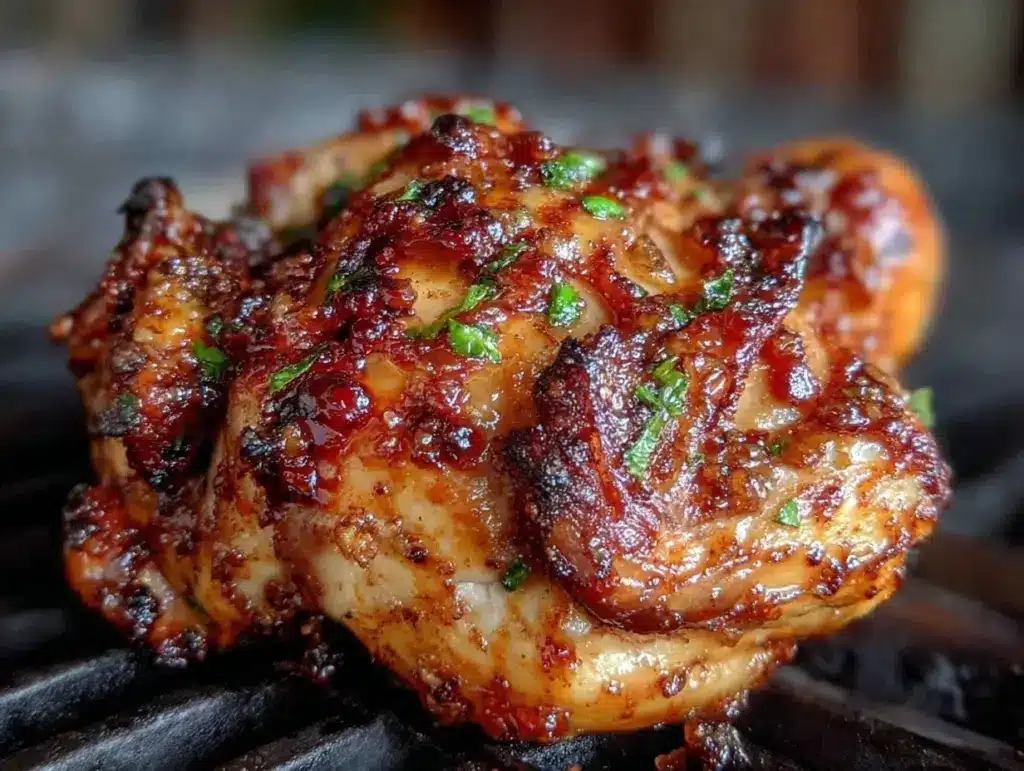
There was this one late afternoon when I found myself staring at a lonely whole chicken in the fridge, wondering what to do with it. The sun was dipping low, the grill was already warm from some earlier steaks, and honestly, I was craving something that’d impress without the usual fuss. I remembered a buddy’s offhand comment about beer can chicken—a method he swore by for juicy meat and crackling skin. Skeptical but curious, I figured, why not? I grabbed a cold can of beer, some simple spices, and set the bird upright on the grill. The smell that filled the backyard was wildly addictive, smoky with a hint of malt. When I finally cut into that crispy, golden skin revealing tender, juicy chicken beneath—I was sold. That first accidental win turned into a weekly obsession, and this crispy beer can chicken on the grill recipe became my go-to for backyard dinners that feel like a small celebration.
It’s funny how a simple twist like setting the chicken on a beer can can transform an ordinary meal into something memorable. The skin crisps up just right while the beer steams the inside, keeping everything juicy beyond belief. And you know, it’s one of those dishes that gets requests from friends and family every time I fire up the grill. There’s something about it—a balance of flavor and ease—that keeps pulling me back to this recipe again and again.
So here’s the story behind my favorite crispy beer can chicken on the grill for juicy perfection. It’s not fancy, but it’s honest, straightforward, and always hits the spot when you want something satisfying with minimal hassle.
Why You’ll Love This Recipe
- Quick & Easy: Comes together in under an hour, perfect when you want a fuss-free main that still feels special.
- Simple Ingredients: No need for exotic spices or complicated marinades—just pantry basics and a cold can of beer.
- Perfect for Outdoor Gatherings: Whether it’s a casual weekend cookout or an impromptu dinner, this recipe shines on the grill.
- Crowd-Pleaser: Kids and adults alike love the crispy skin and juicy meat combo—it’s a guaranteed hit.
- Unbelievably Delicious: The beer steam infuses subtle malt notes while locking in moisture, and the skin crisps to golden perfection.
This isn’t just any grilled chicken recipe. The technique of cooking the bird upright on a beer can lets the heat circulate evenly, keeping the meat incredibly juicy while allowing the skin to crisp up beautifully. I’ve tested different spice blends, but a simple, well-balanced rub lets the chicken’s natural flavor take center stage with just the right touch of smoky char. Plus, the beer’s steam inside the cavity adds a subtle depth that you won’t get from roasting or frying.
Honestly, it’s the kind of meal that makes you pause and savor each bite, the way comfort food should be—without the long wait or complicated steps. If you want a recipe that’s easy to master but impressive enough to get folks asking for seconds, this crispy beer can chicken on the grill is a keeper.
What Ingredients You Will Need
This recipe uses simple, wholesome ingredients to deliver bold flavor and satisfying texture without the fuss. Most are pantry staples, and the star is the whole chicken paired with a can of beer that steams from within.
- Whole chicken (about 4-5 pounds / 1.8-2.3 kg): Look for a fresh or thawed bird, preferably free-range for better flavor.
- Beer (one standard 12 oz / 355 ml can): Choose a lager or pale ale for a mild malt flavor; avoid super hoppy IPAs as they can add bitterness.
- Olive oil or melted butter (2-3 tablespoons): Helps the skin crisp and adds richness.
- Salt (1-2 teaspoons): Kosher salt is ideal for even seasoning.
- Black pepper (1 teaspoon): Freshly ground for the best aroma.
- Paprika (1 teaspoon): Adds subtle smokiness and color.
- Garlic powder (1 teaspoon): For depth of flavor.
- Onion powder (1 teaspoon): Rounds out the spice mix.
- Dried thyme or oregano (optional, ½ teaspoon): Adds a herbal note.
If you want to switch things up, you can swap the beer for a non-alcoholic malt beverage or even sparkling water with a squeeze of lemon. For a gluten-free option, make sure to pick a gluten-free beer or use broth inside the can instead. The seasoning rub is flexible—feel free to add cayenne for heat or a pinch of brown sugar for a touch of caramelized sweetness.
Brands I trust for consistent flavor include Samuel Adams Boston Lager for beer and Morton’s kosher salt. These little choices make a difference when you want reliable results.
Equipment Needed
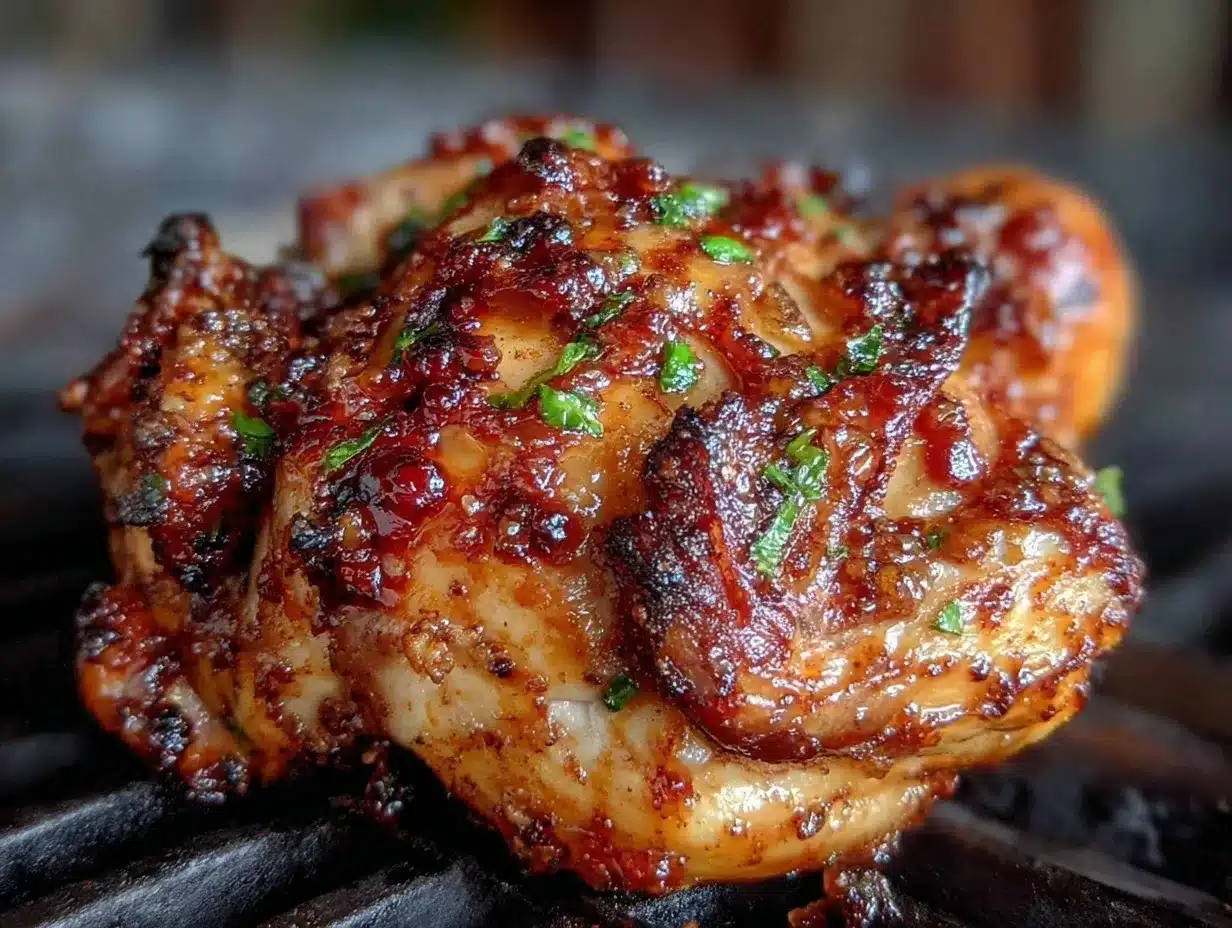
- Grill: A charcoal or gas grill works fine; I usually use a kettle-style charcoal grill for that smoky flavor.
- Beer can chicken holder (optional): Makes handling the bird easier but not mandatory; you can improvise with a standard beer can and heat-safe gloves.
- Meat thermometer: Essential for checking the chicken’s internal temperature (I prefer instant-read digital thermometers).
- Tongs and heat-resistant gloves: For safely placing and removing the chicken from the grill.
- Mixing bowl: To combine the spice rub.
- Basting brush: Helpful if you want to add butter or oil mid-cook.
If you don’t have a dedicated beer can chicken holder, you can fashion a sturdy stand using aluminum foil or even nestle the bird upright between two thick slices of onion or lemon on the grill grate. I’ve tried this trick on lazy afternoons when I forgot the holder—it works surprisingly well!
For budget-friendly options, a reliable meat thermometer can be found for under $20 and makes all the difference between guessing and nailing that juicy finish every time.
Preparation Method
- Preheat your grill: Light your charcoal or gas grill to a medium heat zone around 375°F (190°C). This indirect heat setup is key to cooking the chicken evenly without burning the skin. This step takes about 10-15 minutes.
- Prepare the chicken: Remove any giblets and pat the chicken dry with paper towels. Dry skin crisps better, so don’t skip this. Rub the olive oil or melted butter all over the chicken, including under the skin if you can (be gentle!).
- Apply the seasoning rub: In a small bowl, mix salt, pepper, paprika, garlic powder, onion powder, and herbs. Rub this mix evenly over the chicken, massaging it into every nook. Don’t forget the cavity where the beer can will go.
- Prepare the beer can: Open the beer and pour out (or drink!) about a quarter of it to avoid overflow. If desired, add a few crushed garlic cloves or herbs into the can for extra aroma. Place the can on a stable surface.
- Mount the chicken on the beer can: Carefully lower the chicken onto the can so that the can fits inside the cavity and the bird stands upright. Use a holder or carefully balance it on the grill grate over indirect heat.
- Grill the chicken: Close the lid and cook for about 50-60 minutes. Avoid opening the grill too often; you want that steam and heat to work its magic. Check the internal temperature after 50 minutes by inserting a meat thermometer into the thickest part of the thigh (avoid touching bone). It should read 165°F (74°C).
- Rest the chicken: Once done, carefully remove the chicken from the grill (the can will be hot—use gloves!). Let it rest for 10 minutes before carving to allow juices to redistribute.
Pro tip: If the skin isn’t as crispy as you want after the chicken is cooked through, place it directly over the heat for a few minutes, watching closely so it doesn’t burn. You’ll get that golden crackle that makes the whole dish sing.
Cooking Tips & Techniques
Getting crispy beer can chicken perfectly cooked takes a bit of patience and some know-how. First, drying the chicken skin before seasoning is crucial—moist skin means no crispiness. Also, indirect heat on the grill helps cook the bird through without charring the skin prematurely.
One mistake I made early on was opening the grill too often to check on the chicken. Each peek lets heat escape and slows cooking; trust the thermometer instead. Another tip is to avoid overloading the seasoning—too much salt or spices can overpower the natural chicken flavor.
When mounting the chicken on the beer can, be gentle but firm. A wobbly chicken can topple, making a mess or uneven cooking. Using a dedicated holder or a stable improvised stand helps. Also, avoid beer cans with plastic tops or liners, as these can melt or release unwanted flavors.
Multitasking is easier than you’d think. Prep the seasoning and chicken while the grill heats up, then let the bird cook mostly unattended. Use the resting time to prepare sides or clean up. Lastly, always let the chicken rest before carving—cutting too soon lets those precious juices escape.
Variations & Adaptations
This crispy beer can chicken recipe is flexible and invites creativity. Here are some ways I’ve played with it:
- Herb Citrus Twist: Add fresh lemon slices and rosemary sprigs inside the chicken cavity along with the beer for a bright, fragrant flavor.
- Spicy Kick: Mix cayenne pepper or smoked chipotle powder into the rub to give the skin a smoky heat that wakes up the palate.
- Gluten-Free & Low-Carb: Use gluten-free beer or substitute with sparkling water and add a splash of apple cider vinegar for tang. The rub is naturally gluten-free.
- Oven Version: If grilling isn’t an option, place the chicken with the beer can on a roasting pan and bake at 375°F (190°C) for about 1 hour, checking for doneness the same way.
- Dairy-Free: Skip butter and use olive oil exclusively in the rub for a dairy-free approach without sacrificing moisture.
One of my favorite tweaks was a maple-bourbon glaze brushed on during the last 10 minutes on the grill—sweet, sticky, and irresistibly good. These little changes let you make the recipe your own, depending on mood and occasion.
Serving & Storage Suggestions
Serve this crispy beer can chicken warm, right after resting, to enjoy the contrast of crispy skin and juicy meat at its best. Carve into portions and pair with simple sides like grilled corn, coleslaw, or a fresh green salad.
A cold lager or a crisp white wine complements the malt notes from the beer steam beautifully. For a non-alcoholic pairing, iced tea with a splash of lemon works just fine.
Leftovers store well in an airtight container in the fridge for up to 3 days. Reheat gently in the oven at 325°F (160°C) to keep the skin from going rubbery. You can also chop leftover meat into salads or wraps for quick meals.
Over time, the flavors meld nicely, especially if you keep the seasoning on. Just avoid microwaving, which tends to dry out the chicken and dull the crispy skin.
Nutritional Information & Benefits
One serving (about 1/4 of the whole chicken) provides roughly 350-400 calories depending on size, with 30-35 grams of protein, moderate fat, and minimal carbs. The beer’s amount absorbed into the meat is negligible.
Chicken is a great source of lean protein and essential vitamins like B6 and niacin. The spice mix uses no added sugars or artificial ingredients, making this a wholesome choice for balanced meals.
Gluten-free options are easy by choosing suitable beer or substitutes, and the recipe fits well into low-carb, high-protein diets. Just watch the skin if you’re limiting fat intake, but honestly, that crispiness is part of the charm!
I like this recipe because it feels like an honest, satisfying meal that doesn’t skimp on flavor or texture while keeping ingredients simple and accessible.
Conclusion
This crispy beer can chicken on the grill recipe is a straightforward, satisfying way to get juicy, flavorful chicken with that coveted crispy skin. It’s become a staple in my cooking rotation because it delivers great results without complicated steps or fancy ingredients.
Feel free to tweak the seasoning or swap the beer for your favorite flavors—the method is forgiving and fun to experiment with. I’ve loved sharing this recipe because it turns a simple chicken dinner into a memorable occasion, no matter the day.
Give it a try, make it yours, and don’t be surprised if it becomes the recipe friends ask you to bring to the next backyard gathering!
FAQs
What type of beer is best for beer can chicken?
A mild lager or pale ale works best to add subtle maltiness without bitterness. Avoid very hoppy or highly flavored beers that can overpower the chicken.
Can I use something other than beer inside the chicken?
Yes! You can use sparkling water, broth, or non-alcoholic malt beverages if you prefer no alcohol or want a different flavor profile.
How do I know when the chicken is fully cooked?
Use a meat thermometer to check the thickest part of the thigh; it should read 165°F (74°C) without touching bone for safe doneness.
Is beer can chicken safe to cook on a gas grill?
Absolutely. Just set up your grill for indirect heat and maintain a medium temperature to cook the bird evenly without flare-ups.
How do I get the skin extra crispy?
Pat the chicken skin dry before seasoning, use oil or butter for crispiness, and finish the chicken over direct heat for a few minutes at the end of cooking.
Pin This Recipe!
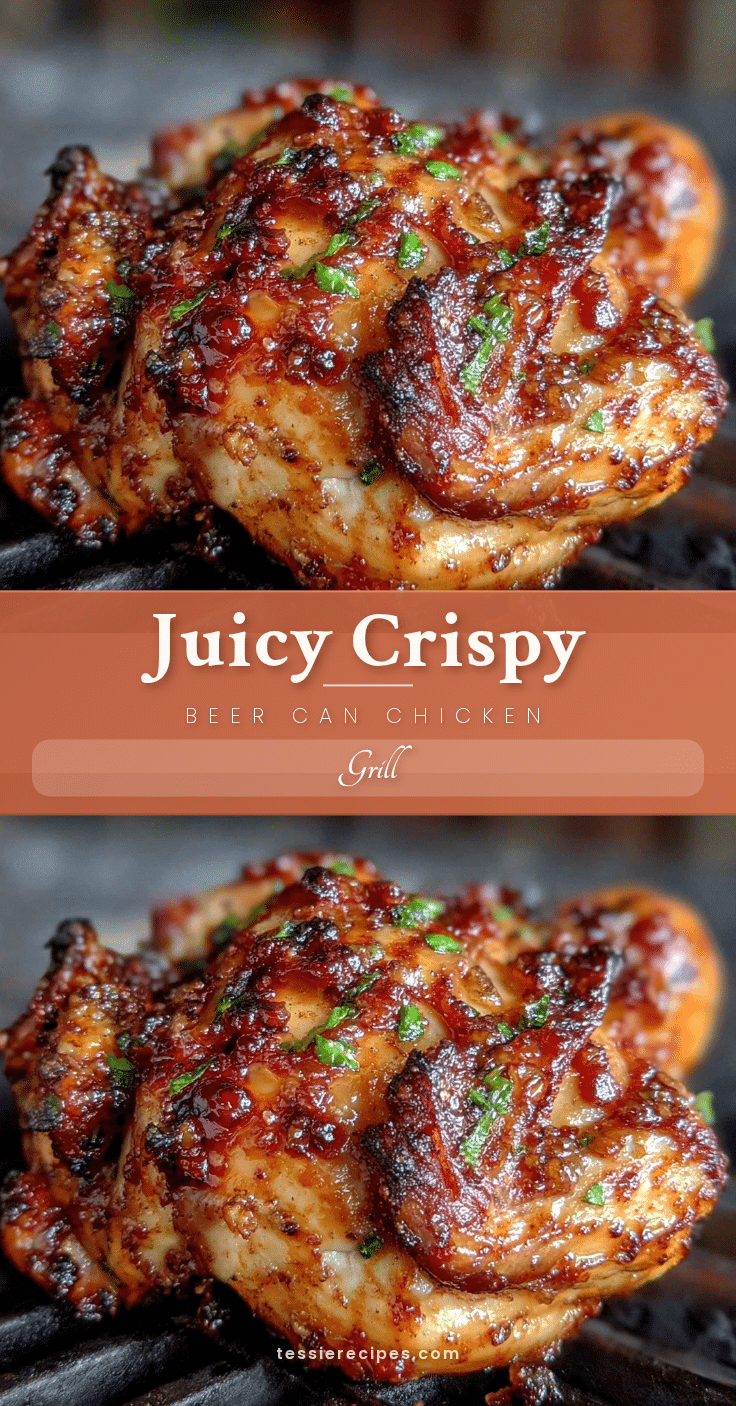
Crispy Beer Can Chicken Recipe

A straightforward and satisfying grilled whole chicken recipe that delivers juicy meat and crispy skin using a beer can to steam from within. Perfect for backyard gatherings and easy to master.
- Prep Time: 15 minutes
- Cook Time: 50-60 minutes
- Total Time: 65-75 minutes
- Yield: 4 servings
- Category: Main Course
- Cuisine: American
Ingredients
- Whole chicken (about 4-5 pounds / 1.8-2.3 kg)
- Beer (one standard 12 oz / 355 ml can, preferably lager or pale ale)
- Olive oil or melted butter (2-3 tablespoons)
- Salt (1-2 teaspoons, kosher salt preferred)
- Black pepper (1 teaspoon, freshly ground)
- Paprika (1 teaspoon)
- Garlic powder (1 teaspoon)
- Onion powder (1 teaspoon)
- Dried thyme or oregano (optional, ½ teaspoon)
Instructions
- Preheat your grill to medium heat around 375°F (190°C) using indirect heat. This takes about 10-15 minutes.
- Remove giblets from the chicken and pat the chicken dry with paper towels.
- Rub olive oil or melted butter all over the chicken, including under the skin if possible.
- In a small bowl, mix salt, black pepper, paprika, garlic powder, onion powder, and dried herbs if using.
- Rub the seasoning mix evenly over the chicken, including inside the cavity.
- Open the beer can and pour out or drink about a quarter of it to avoid overflow. Optionally add crushed garlic cloves or herbs into the can.
- Place the beer can on a stable surface and carefully lower the chicken onto the can so it stands upright.
- Place the chicken on the grill over indirect heat and close the lid.
- Grill for 50-60 minutes without opening the lid frequently.
- Check the internal temperature with a meat thermometer in the thickest part of the thigh; it should read 165°F (74°C).
- Carefully remove the chicken from the grill using gloves and let it rest for 10 minutes before carving.
- If the skin is not crispy enough, place the chicken directly over heat for a few minutes, watching closely to avoid burning.
Notes
Dry the chicken skin thoroughly before seasoning for best crispiness. Use indirect heat to avoid burning the skin. Avoid opening the grill frequently to maintain temperature. Use a meat thermometer to ensure safe doneness. If skin is not crispy enough, finish over direct heat briefly. Avoid beer cans with plastic liners or tops. Rest chicken 10 minutes before carving to retain juices.
Nutrition
- Serving Size: About 1/4 of the who
- Calories: 350400
- Protein: 3035
Keywords: beer can chicken, grilled chicken, crispy chicken, backyard recipe, easy chicken recipe, juicy chicken, beer steamed chicken



