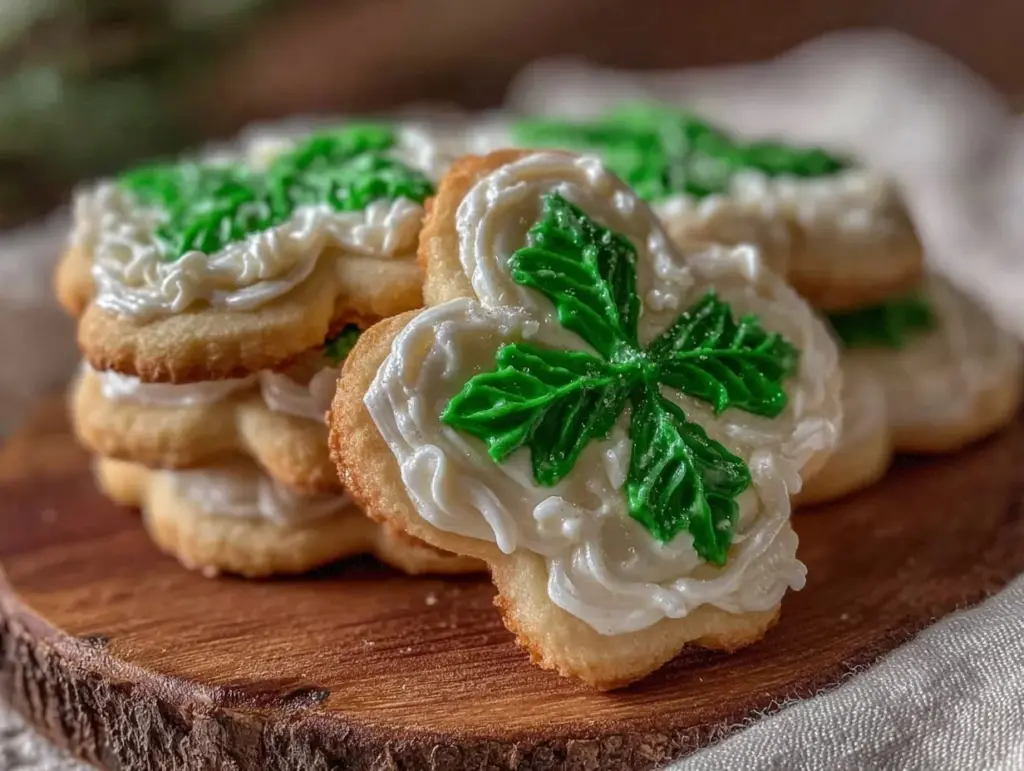
“Wait, you really made shamrock cookies from scratch?” my coworker asked with a raised eyebrow as I unwrapped the last batch from the kitchen counter. Honestly, I wasn’t expecting much either when I first attempted these Perfect Shamrock Sugar Cookies with Royal Icing. It started on a hectic afternoon, with St. Patrick’s Day around the corner and zero plans beyond a vague hope to make something festive. I had a bag of powdered sugar and a forgotten jar of green food coloring—nothing fancy.
At first, I thought royal icing was just for pros, the kind of thing you see on fancy bakery displays. But, stubborn as ever, I gave it a shot, hoping for a quick, fun project to take my mind off a chaotic week. The smell of butter and vanilla dough baking soon filled the kitchen, and the slight crackle of the icing drying on each cookie made the whole experience quietly satisfying.
By the time I finished, I realized these cookies weren’t just cute—they had that perfect balance of sweet and buttery, with a crisp edge and a soft center. They felt like a little green hug for the soul, and honestly, they made the chaotic week worth it. I guess sometimes the best recipes come from the simplest beginnings—and a pinch of whimsy. These shamrock cookies stuck with me because they’re easy enough for a last-minute treat but special enough to make you smile every time.
Why You’ll Love This Recipe
After making these Perfect Shamrock Sugar Cookies with Royal Icing a handful of times, I can confidently say they’re a St. Patrick’s Day staple you’ll want on repeat. Here’s why they’re a winner, whether you’re a cookie novice or a seasoned baker:
- Quick & Easy: The recipe comes together in under 45 minutes, which is perfect for those last-minute holiday baking sessions.
- Simple Ingredients: You likely have everything in your pantry—no need for fancy or hard-to-find items.
- Great for Festive Occasions: Perfect for classroom parties, neighborhood gatherings, or just a cozy afternoon treat.
- Crowd-Pleaser: Kids and adults alike rave about the sweet, buttery flavor paired with the smooth royal icing.
- Unbelievably Delicious: The cookies hold their shape beautifully with a tender crumb, and the royal icing dries with a lovely matte finish that’s perfect for detailed decorating.
This isn’t just another sugar cookie recipe—what sets it apart is the royal icing tutorial that makes decorating approachable. No piping bags or fancy tips needed, just a few household items and patience to create those iconic shamrocks. Plus, the icing hardens enough for stacking and gifting, which is a lifesaver during busy holiday prep.
Honestly, these cookies have become my go-to because they combine the joy of baking with the charm of homemade decoration, all without turning into a stress fest. It’s comfort food in cookie form, with a bit of green magic.
What Ingredients You Will Need
This recipe uses simple, wholesome ingredients to deliver bold flavor and that satisfying sugar cookie texture without fuss. Most are pantry staples, and the royal icing ingredients are minimal but impactful.
- For the Sugar Cookie Dough:
- All-purpose flour – 2 ¾ cups (345 g), sifted for a smooth dough
- Baking powder – 1 teaspoon (4 g) to give a slight lift
- Salt – ½ teaspoon (3 g) just enough to balance sweetness
- Unsalted butter – 1 cup (227 g), softened (I prefer Plugrá for its rich flavor)
- Granulated sugar – 1 ½ cups (300 g) for that classic sweetness
- Large egg – 1, at room temperature for better mixing
- Pure vanilla extract – 1 teaspoon (5 ml) for depth
- Green food coloring – a few drops (adjust to your preferred shade)
- For the Royal Icing:
- Powdered sugar – 4 cups (480 g), sifted to avoid lumps
- Pasteurized egg whites or meringue powder – 3 tablespoons (45 ml) (I use meringue powder for safety and convenience)
- Fresh lemon juice – 2 teaspoons (10 ml) for brightness and stability
- Water – 2-3 tablespoons (30-45 ml) to adjust consistency
- Green gel food coloring – a few drops for icing color
You can swap all-purpose flour for a gluten-free blend if needed, though texture might shift slightly. For the icing, dairy-free substitutes aren’t recommended since the egg whites or meringue powder provide structure. If you like a softer cookie, try adding a tablespoon of sour cream or Greek yogurt to the dough—I’ve done this for a moister result, but it changes the rolling a bit.
Equipment Needed
To make these shamrock sugar cookies with royal icing, you’ll want a few basic kitchen tools. Nothing too fancy, but there are a couple of optional items that make life easier.
- Mixing bowls – one large and one medium for dry and wet ingredients
- Electric mixer – handheld or stand mixer makes creaming butter and sugar effortless
- Rolling pin – a classic wooden or silicone one works fine; I like silicone because it’s easier to clean
- Shamrock-shaped cookie cutter – key to the festive look; if you don’t have one, a small clover or heart shape can work too
- Cooling racks – to let cookies cool evenly
- Spoons or piping bags – for decorating royal icing; I often use a zip-top bag with a tiny hole cut in the corner as a budget-friendly alternative
- Small bowls or cups – for mixing different icing colors
While the royal icing can be tricky without a mixer, I’ve sometimes hand-whisked it when I was in a pinch, but it takes longer and needs elbow grease. For cutting shapes, cookie cutters with sharp edges give cleaner shapes, but if you only have blunt ones, just chill your dough longer before cutting—it helps hold the shape better.
Preparation Method
- Prep your dry ingredients: In a medium bowl, whisk together 2 ¾ cups (345 g) of sifted all-purpose flour, 1 teaspoon (4 g) baking powder, and ½ teaspoon (3 g) salt. Set aside. This ensures even distribution of leavening agents and salt, which helps the dough rise just right.
- Cream the butter and sugar: In a large bowl, beat 1 cup (227 g) softened unsalted butter and 1 ½ cups (300 g) granulated sugar using an electric mixer on medium speed for about 3-4 minutes until the mixture is light and fluffy. You’ll know it’s ready when it looks pale and smooth.
- Add egg and vanilla: Beat in 1 large room-temperature egg and 1 teaspoon (5 ml) pure vanilla extract until fully incorporated. Then add a few drops of green food coloring and mix until the color is even — this is your first chance to get creative with shade!
- Combine wet and dry: Gradually add the dry ingredients to the wet mixture in thirds, mixing on low speed after each addition. Stop mixing as soon as the dough comes together to avoid toughness.
- Chill the dough: Divide dough into two discs, wrap each in plastic wrap, and refrigerate for at least 1 hour or up to overnight. This firms up the dough, making it easier to roll and cut neat shamrock shapes.
- Roll and cut: Preheat your oven to 350°F (175°C). Lightly flour a clean surface and roll out one dough disc to about ¼ inch (6 mm) thickness. Use your shamrock cookie cutter to stamp out shapes, placing them about 1 inch apart on a baking sheet lined with parchment paper.
- Bake the cookies: Bake for 8-10 minutes, until the edges are just starting to turn golden but centers remain pale. Overbaking will make them hard, so watch closely. Let them cool on the baking sheet for 5 minutes before transferring to a wire rack to cool completely.
- Prepare royal icing: While cookies cool, beat 4 cups (480 g) sifted powdered sugar, 3 tablespoons (45 ml) meringue powder, 2 teaspoons (10 ml) lemon juice, and 2-3 tablespoons (30-45 ml) water in a large bowl with an electric mixer on high for 5-7 minutes until stiff peaks form. Adjust water to get a piping consistency that holds its shape but isn’t too thick.
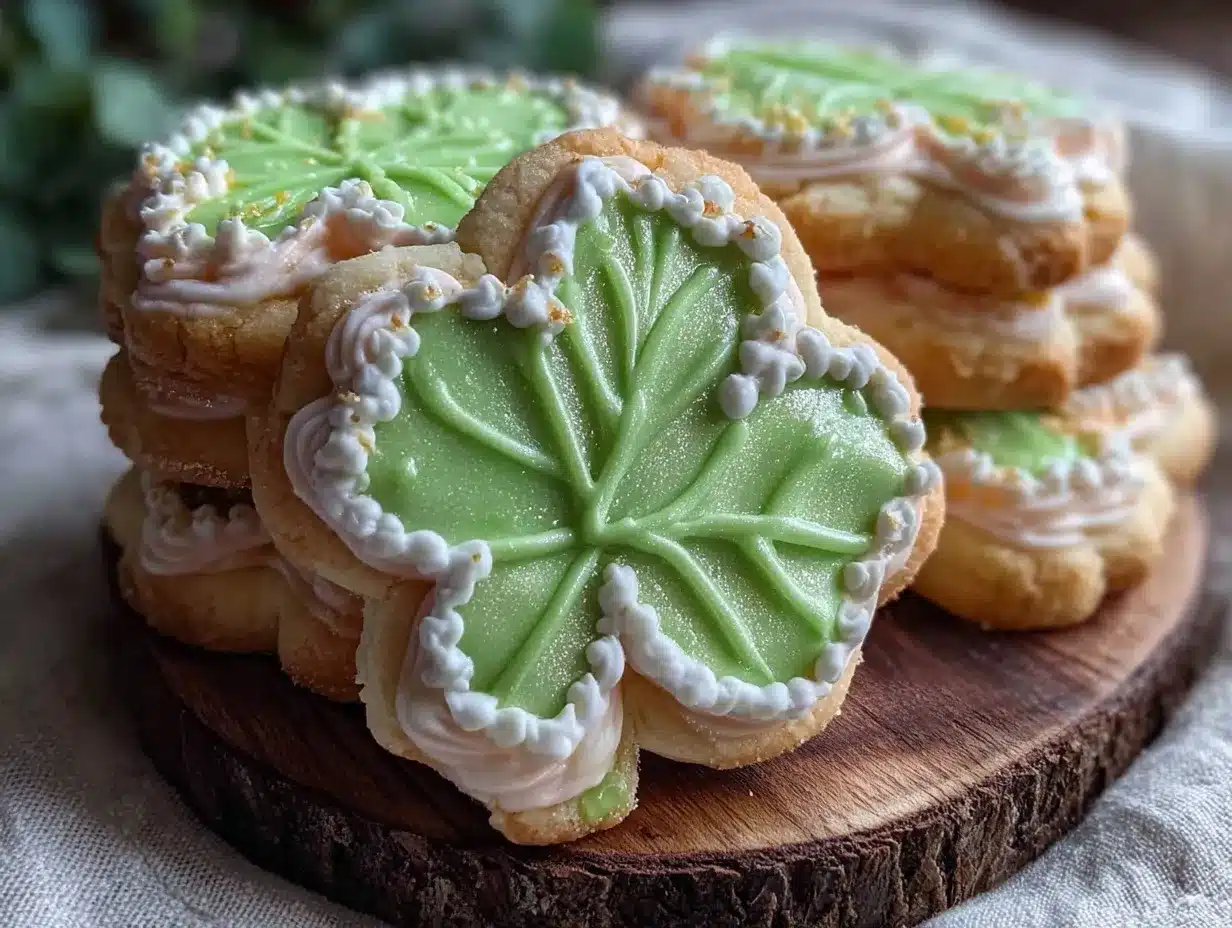
- Decorate: Tint icing with green gel food coloring. Transfer to piping bags or zip-top bags with a tiny corner snipped. Outline shamrocks first, then flood the inside with a thinner icing. Use a toothpick to spread icing evenly and pop air bubbles. Allow cookies to dry for at least 4 hours or overnight for a firm finish.
If your icing cracks or dries too fast while piping, add a teaspoon of water and stir gently to soften. For best results, decorate in a cool, dry room and avoid humidity, which can cause the icing to take longer to set.
Cooking Tips & Techniques
Making these Perfect Shamrock Sugar Cookies with Royal Icing feel like a breeze once you get a hang of a few tricks. First, always sift your powdered sugar and flour — lumps are the enemy of smooth dough and icing.
When creaming butter and sugar, patience is key. Rushing this step means denser cookies. I’ve learned the hard way that the texture of your butter matters—too cold and it won’t cream properly, too soft and your dough gets greasy.
For the royal icing, beating time is crucial. Underwhipped icing won’t hold its shape well, and overwhipped can dry too fast. Keep an eye on the peaks; they should be stiff but glossy.
Chilling dough can’t be skipped. It keeps cookies from spreading and losing that perfect shamrock shape. If you’re in a hurry, pop the dough in the freezer for 20 minutes instead of the fridge.
Finally, when decorating, start with outlines and let them crust slightly before flooding. This keeps colors from bleeding and gives you crisp edges. I often multitask by prepping the next batch of dough while cookies are baking or icing is drying, which saves a lot of time.
Variations & Adaptations
Once you’re comfortable with the base recipe, there’s room to play around:
- Flavor twists: Add a teaspoon of almond extract or lemon zest to your dough for a fragrant twist. I once made a batch with a hint of peppermint extract, which was surprisingly refreshing.
- Dietary swaps: Use a gluten-free flour blend to make these cookies gluten-free, though expect slightly different texture. For dairy-free, swap butter for coconut oil, but note the flavor shift.
- Color and design: Mix up the royal icing with different shades of green, or add edible gold dust to the shamrocks for a luxe look. You can also try piping tiny white dots or lines for a lace effect.
- Cooking methods: If you prefer, these cookies can be baked on a silicone mat instead of parchment for an eco-friendly option.
- Personal favorites: I’ve made mini shamrocks for bite-sized treats that kids adore, and they’re perfect for parties or lunchboxes.
Serving & Storage Suggestions
These shamrock sugar cookies taste best at room temperature, allowing the buttery richness and sweet icing to shine. Arrange them on a festive platter alongside a pot of Irish tea or a creamy hot chocolate for an authentic St. Patrick’s Day vibe.
Store cooled cookies in an airtight container layered with parchment paper to prevent sticking. They keep well at room temperature for up to 5 days. For longer storage, freeze uniced cookies in a single layer, then thaw before decorating.
Once decorated, royal icing-hardened cookies can be stacked carefully with parchment between layers and stored in a cool, dry place for up to a week. Reheating isn’t necessary; they’re perfect as-is, but if you like, a few seconds in the microwave can soften the texture slightly.
Flavors deepen after a day or two, so if you can wait, let the cookies rest before serving for a more pronounced vanilla and buttery note. Just be sure to store them properly so the icing stays intact.
Nutritional Information & Benefits
Each shamrock sugar cookie (about 2.5 inches wide) contains approximately:
| Calories | 150 kcal |
|---|---|
| Fat | 7 g |
| Carbohydrates | 22 g |
| Protein | 1.5 g |
While these treats aren’t low-calorie, they offer the comfort of homemade baking with ingredients you control—no preservatives or artificial flavors. Using real butter and fresh vanilla adds richness without unnecessary chemicals.
Egg whites in royal icing provide some protein, and lemon juice adds a touch of vitamin C. For those with gluten sensitivity, swapping to gluten-free flour can make these accessible, though caution is needed for egg allergies due to the royal icing.
From a wellness perspective, baking at home allows you to moderate sweetness and avoid overly processed options. Plus, the simple joy of decorating can be a mindful, stress-relieving activity.
Conclusion
Making these Perfect Shamrock Sugar Cookies with Royal Icing has quickly become a cherished tradition in my kitchen. They’re approachable enough for a relaxed afternoon bake, yet they deliver that satisfying homemade feel that lifts any St. Patrick’s Day celebration.
Feel free to tweak the shades of green, try different extracts, or even experiment with shapes. The beauty is in the process and the smiles they bring. For me, it’s about creating little moments of joy that taste as good as they look.
If you give them a try, I’d love to hear how your shamrocks turned out or what creative spins you added—sharing those stories is part of the fun. Happy baking, and may your day be filled with luck and sweetness!
FAQs
- Can I make the dough ahead of time? Yes! The dough keeps well wrapped in the fridge for up to 3 days or frozen for up to 1 month. Just thaw before rolling.
- What if I don’t have meringue powder for the royal icing? You can use pasteurized egg whites, but meringue powder is safer and easier to store.
- How do I fix runny royal icing? Add more powdered sugar a tablespoon at a time until it thickens to your desired consistency.
- Can I use food coloring gels other than green? Absolutely! Feel free to decorate shamrocks in any shade you like or add accents with white or gold.
- How do I store decorated cookies without smudging the icing? Let the icing dry completely (at least 4 hours) before stacking. Use parchment paper between layers and store in an airtight container.
For other cookie inspiration, you might enjoy the soft frosted sugar cookies recipe, which shares a similar decorating style, or if you want a savory balance to your sweet treats, the loaded cream cheese stuffed mushrooms with bacon can be a perfect St. Patrick’s Day appetizer to serve alongside.
Pin This Recipe!
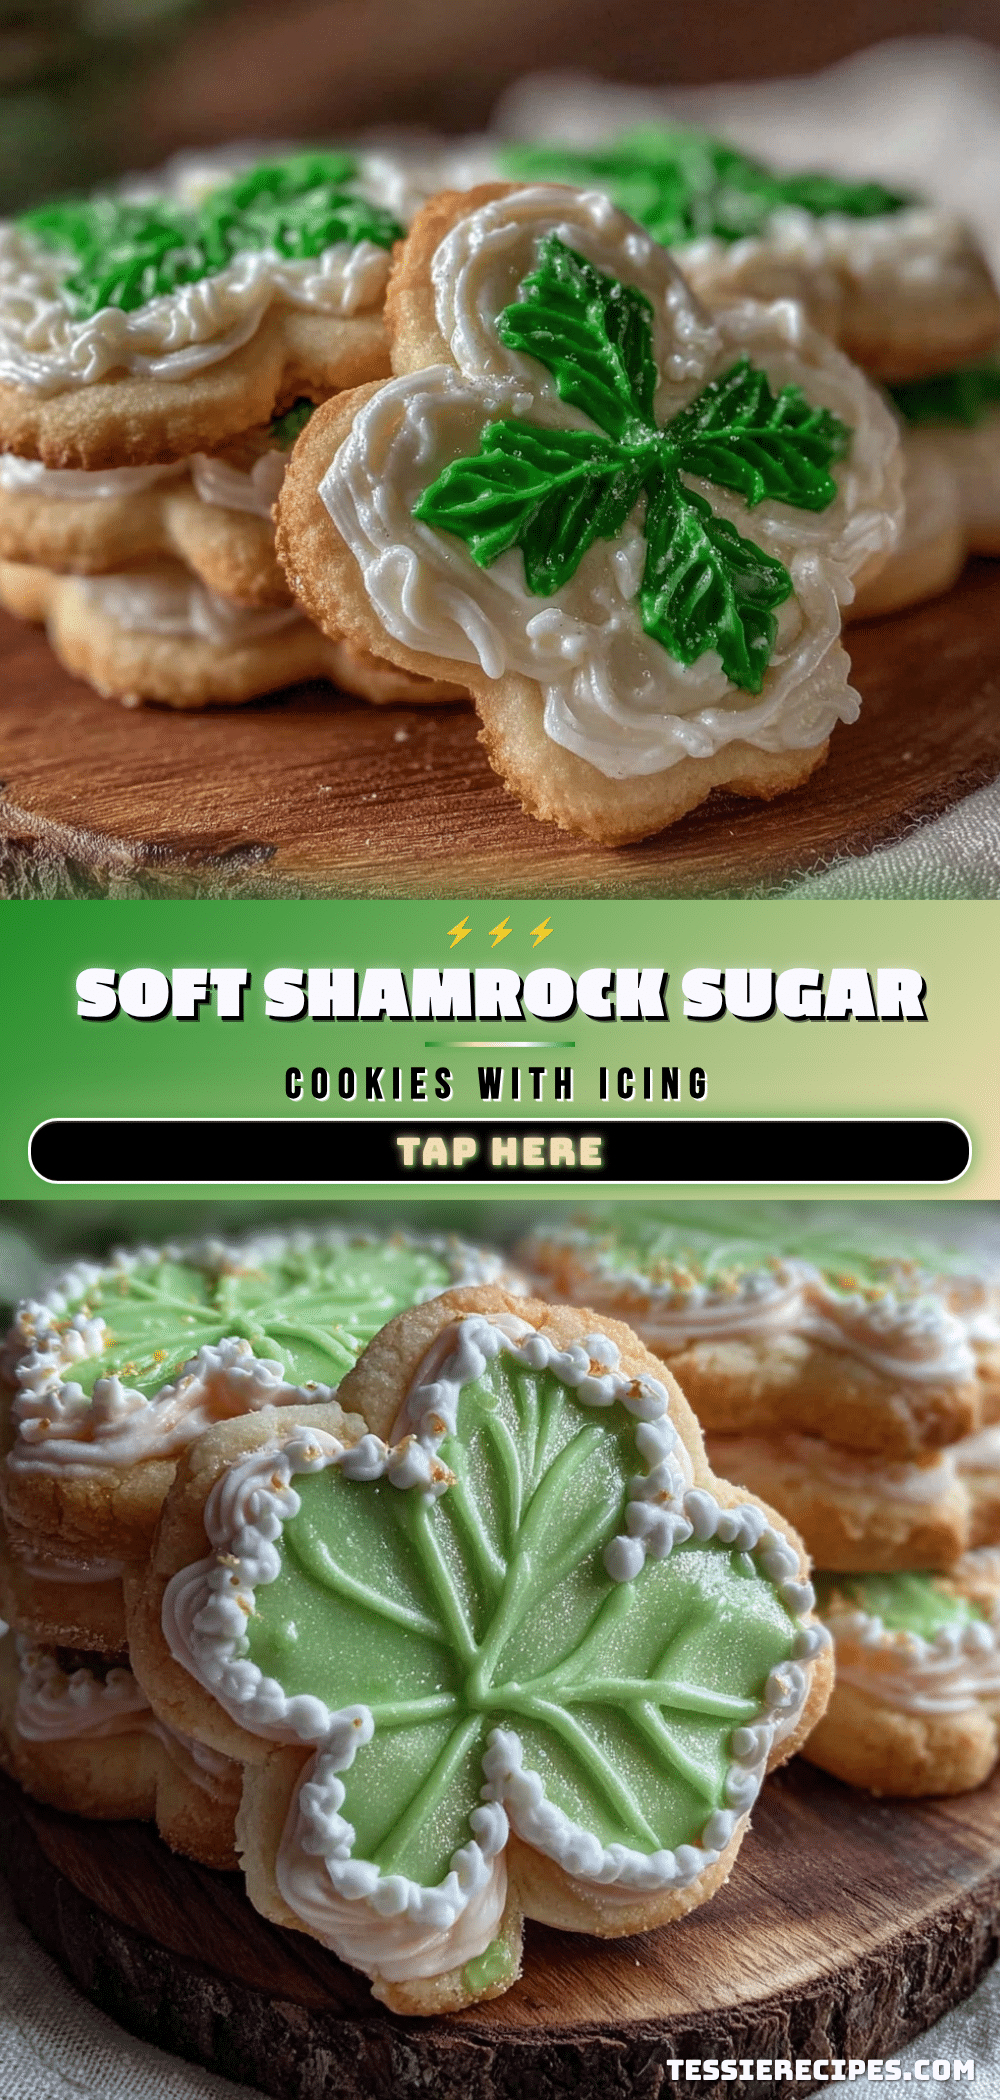
Perfect Shamrock Sugar Cookies Recipe Easy Homemade Royal Icing Tutorial for St Patrick’s Day

These shamrock sugar cookies feature a perfect balance of sweet and buttery flavor with a crisp edge and soft center, decorated with easy homemade royal icing for a festive St. Patrick’s Day treat.
- Prep Time: 15 minutes
- Cook Time: 10 minutes
- Total Time: 1 hour 25 minutes
- Yield: 24 cookies 1x
- Category: Dessert
- Cuisine: American
Ingredients
- 2 ¾ cups (345 g) all-purpose flour, sifted
- 1 teaspoon (4 g) baking powder
- ½ teaspoon (3 g) salt
- 1 cup (227 g) unsalted butter, softened
- 1 ½ cups (300 g) granulated sugar
- 1 large egg, room temperature
- 1 teaspoon (5 ml) pure vanilla extract
- A few drops green food coloring
- 4 cups (480 g) powdered sugar, sifted
- 3 tablespoons (45 ml) meringue powder or pasteurized egg whites
- 2 teaspoons (10 ml) fresh lemon juice
- 2–3 tablespoons (30–45 ml) water
- A few drops green gel food coloring
Instructions
- In a medium bowl, whisk together sifted all-purpose flour, baking powder, and salt. Set aside.
- In a large bowl, beat softened unsalted butter and granulated sugar with an electric mixer on medium speed for 3-4 minutes until light and fluffy.
- Beat in the large room-temperature egg and pure vanilla extract until fully incorporated. Add a few drops of green food coloring and mix until color is even.
- Gradually add the dry ingredients to the wet mixture in thirds, mixing on low speed after each addition. Stop mixing as soon as the dough comes together.
- Divide dough into two discs, wrap in plastic wrap, and refrigerate for at least 1 hour or up to overnight.
- Preheat oven to 350°F (175°C). Lightly flour a clean surface and roll out one dough disc to about ¼ inch (6 mm) thickness.
- Use a shamrock cookie cutter to cut shapes and place them about 1 inch apart on a parchment-lined baking sheet.
- Bake for 8-10 minutes until edges start to turn golden but centers remain pale. Let cool on baking sheet for 5 minutes, then transfer to wire rack to cool completely.
- While cookies cool, beat powdered sugar, meringue powder, lemon juice, and water with an electric mixer on high for 5-7 minutes until stiff peaks form. Adjust water for piping consistency.
- Tint icing with green gel food coloring. Transfer to piping bags or zip-top bags with a small corner snipped.
- Outline shamrocks first, then flood inside with thinner icing. Use a toothpick to spread icing evenly and pop air bubbles.
- Allow cookies to dry for at least 4 hours or overnight for a firm finish.
Notes
Sift powdered sugar and flour to avoid lumps. Chill dough to prevent spreading and maintain shape. Beat butter and sugar until light and fluffy for best texture. For softer cookies, add a tablespoon of sour cream or Greek yogurt to dough. Decorate in a cool, dry room to avoid icing drying issues. If icing cracks, add a teaspoon of water and stir gently.
Nutrition
- Serving Size: 1 cookie (about 2.5
- Calories: 150
- Fat: 7
- Carbohydrates: 22
- Protein: 1.5
Keywords: shamrock sugar cookies, St. Patrick's Day cookies, royal icing, homemade sugar cookies, festive cookies, easy cookie recipe



