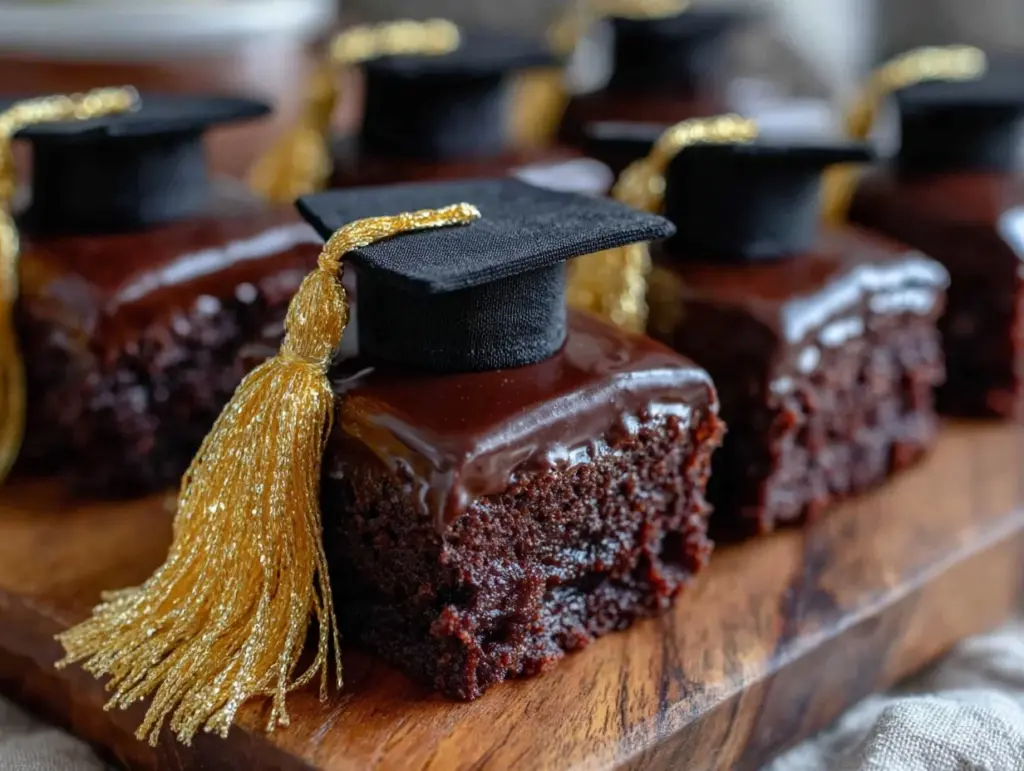
“Hey, did you bring the graduation treats?” my friend asked as I pulled up to the party, juggling bags and a cooler. Honestly, I had been scrambling all afternoon, unsure if my plan for dessert was going to fly. I’d stumbled upon this idea for Perfect Brownie Graduation Cap Treats with Gold Tassel Detail while browsing for something festive yet doable. The whole thing started as a last-minute rescue when the fancy cake I’d ordered got delayed. But as I arranged the little brownie caps on the platter, I caught myself grinning at how darling they looked—simple, sweet, and with just the right touch of celebration.
The rich, fudgy brownies paired with that shiny gold tassel icing detail made these treats more than just dessert; they became a conversation starter. I remember thinking, “Okay, these might actually become my go-to for graduations.” And it stuck because there’s something about turning a humble brownie into a mini graduation cap that feels so satisfying. No stress, no fuss, just a little creativity and a lot of heart. It’s the kind of recipe you can whip up even if you’re not really a baker but still want to impress.
With every bite, you get that deep chocolate hit, but the cap design adds a playful flair that’s perfect for marking such a milestone. I’ve since made these for a few celebrations, and the requests keep coming. If you’re wondering about a fun, easy dessert that looks like you spent hours but really didn’t, these Perfect Brownie Graduation Cap Treats with Gold Tassel Detail might just be your new secret weapon.
Why You’ll Love This Recipe
Having tried and tweaked this recipe several times, I can honestly say these brownie graduation cap treats bring a perfect blend of ease and wow factor. Here’s why they’re a winner in my book:
- Quick & Easy: You can have these treats ready in under an hour, making them perfect for last-minute celebrations or those hectic party prep days.
- Simple Ingredients: No need for specialty items here. Most ingredients are pantry staples, and you probably have them on hand already.
- Perfect for Graduation Parties: Whether it’s a high school, college, or even preschool graduation, these treats fit the occasion beautifully.
- Crowd-Pleaser: Kids, adults, even the pickiest eaters tend to love these fudgy brownies topped with a fun design.
- Unbelievably Delicious: The texture is just right – not too cakey, not too dense – and the gold tassel adds a little sparkle that makes the treat feel special.
What really sets this apart is the little gold tassel detail, made with a simple piping technique but adds an impressive polish. I’ve tried other brownie cap ideas before, but this version nails the balance between festive and approachable. It’s also a fantastic way to get creative without feeling overwhelmed. You don’t have to be a pro decorator; a steady hand and a bit of patience go a long way.
In fact, if you’re looking for other easy party snacks that bring smiles, you might enjoy the bacon-wrapped jalapeño poppers I made for a recent get-together—equally crowd-pleasing and simple to pull off!
What Ingredients You Will Need
This recipe uses straightforward, wholesome ingredients to create a fudgy brownie base and charming decoration without fuss. Most are pantry staples, and substitutions are easy if needed.
- Unsalted butter, 1 cup (227 g), melted – adds richness and moistness
- Granulated sugar, 2 cups (400 g) – for just the right sweetness
- Large eggs, 3, room temperature – helps with structure and texture
- Vanilla extract, 2 teaspoons – for a warm, inviting flavor
- All-purpose flour, 1 cup (125 g) – the base for the batter (gluten-free option: use almond flour)
- Cocoa powder, 3/4 cup (65 g), unsweetened – for that deep chocolatey taste
- Salt, 1/2 teaspoon – balances sweetness
- Baking powder, 1/2 teaspoon – for a slight lift (optional, but recommended for perfect texture)
- Powdered sugar, about 1 cup (120 g) – for the gold tassel icing
- Milk, 1-2 tablespoons – to adjust icing consistency
- Edible gold food coloring or gold luster dust – to create that signature tassel shimmer
For the brownies, I recommend using a trusted brand of cocoa powder like Hershey’s or Valrhona for a richer flavor. If you want to switch to a dairy-free milk for the icing, almond or oat milk works nicely and keeps the gloss.
In the summertime, you might want to serve these with fresh berries or a dollop of whipped cream to add a refreshing contrast. And if you prefer less sweetness, reduce the sugar by 10% without losing the fudgy charm.
Equipment Needed
To make these Perfect Brownie Graduation Cap Treats, here’s what you’ll want on hand:
- 8×8-inch (20×20 cm) baking pan – for the brownie base; a glass or metal pan works well
- Mixing bowls – one for wet ingredients, one for dry
- Whisk and spatula – for mixing and folding
- Measuring cups and spoons – precise measurements matter here
- Piping bag or plastic sandwich bag – for the gold tassel detail; if using a sandwich bag, just snip the corner
- Small offset spatula or butter knife – to smooth the brownies before cutting
- Cooling rack – helps brownies cool evenly
If you don’t have a piping bag, no worries! I’ve used a simple zip-top bag with great results. When it comes to the gold food coloring, a small brush can help add the luster dust precisely. Also, keeping your baking pan well-greased or lined with parchment paper makes removing the brownies a breeze and avoids breakage.
Preparation Method
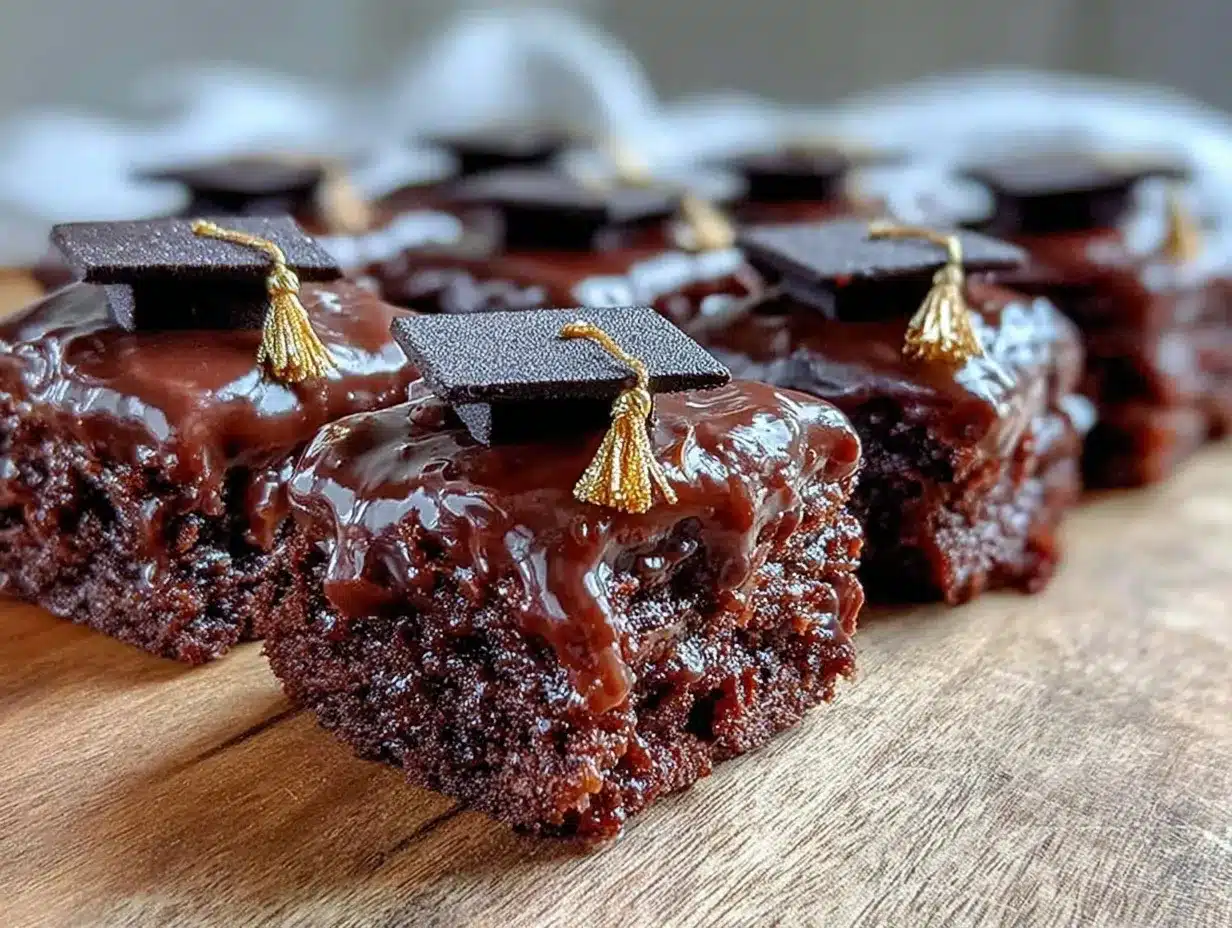
- Preheat your oven to 350°F (175°C). Grease your 8×8-inch pan or line it with parchment paper to prevent sticking. This step sets you up for easy removal later (about 10 minutes).
- Mix the wet ingredients: In a large bowl, whisk together the melted unsalted butter and granulated sugar until combined. Add the eggs one at a time, whisking well after each. Stir in the vanilla extract. The mixture should look glossy and thick (about 5 minutes).
- Combine the dry ingredients: In a separate bowl, sift together the all-purpose flour, cocoa powder, salt, and baking powder. Sifting helps avoid lumps and distributes the leavening evenly.
- Fold dry into wet: Gradually add the dry mix into the wet ingredients, folding gently with a spatula. Avoid overmixing – you want just enough to combine. The batter should be thick and fudgy (about 3 minutes).
- Pour batter into the pan: Spread it evenly using an offset spatula. Smooth the top and tap the pan gently on the counter to release any air bubbles.
- Bake: Place in the oven for 25-30 minutes. Check doneness by inserting a toothpick near the center; it should come out with a few moist crumbs but not wet batter.
- Cool completely: Transfer the pan to a cooling rack and let the brownies cool fully before decorating. This usually takes about 1 hour but is critical for clean cuts and icing success.
- Cut into squares: Using a sharp knife, cut the brownies into uniform 2-inch (5 cm) squares. You’ll want to wipe the knife clean between cuts to keep edges neat.
- Create the tassels: Mix powdered sugar with milk one tablespoon at a time until you get a thick but pipeable consistency. Add edible gold food coloring or luster dust and mix well.
- Pipe the tassels: Fill your piping bag with the gold icing. On each brownie square, pipe a small tassel shape on one corner to mimic a graduation cap’s tassel. Practice on parchment paper first if you like.
Pro tip: If your icing gets too runny, add more powdered sugar; if it’s too stiff, add a drop of milk. And remember, brownies taste even better the next day once the flavors settle in.
Cooking Tips & Techniques
There are a few tricks I’ve learned while perfecting these brownie graduation cap treats that really make a difference:
- Don’t overbake: Brownies can go from fudgy to dry quickly. Keep an eye on the timer, and start checking at 25 minutes. The toothpick test is your friend here.
- Cool completely: Decorating warm brownies is a no-go. I once ignored this and ended up with melted icing and crumbly edges. Patience pays off.
- Sharp knife for clean cuts: Use a large, sharp knife and run it under hot water before slicing. Wipe it dry each time for the cleanest edges.
- Practice your piping: If you’re nervous about the tassel detail, try a few practice runs on parchment paper. You’ll get the feel of pressure and flow quickly.
- Use a cooling rack: It helps the brownies cool evenly, preventing soggy bottoms.
- Customize your tassel color: While gold is classic, you can mix in other colors to match school colors or party themes.
One thing I’ve learned the hard way is not to skip the parchment paper lining. It’s a game-changer for lifting brownies out without breaking them into sad fragments. Also, multitasking by prepping the icing while brownies bake saves time and keeps your workflow smooth.
Variations & Adaptations
These Perfect Brownie Graduation Cap Treats are surprisingly flexible. Here are a few ideas to make them your own:
- Dietary Adaptation: Use gluten-free flour or almond flour to accommodate gluten sensitivities. Swap regular milk for dairy-free options in the icing.
- Flavor Twist: Add a teaspoon of instant espresso powder to the batter for a mocha kick, or swirl in peanut butter before baking for extra richness.
- Seasonal Touch: For spring graduations, top the brownies with edible flowers along with the tassel icing for a fresh look.
- Alternative Decoration: Use colored sprinkles or edible pearls on the tassel for a festive twist.
- Different Cooking Method: These can also be baked in a convection oven at 325°F (165°C) for a slightly shorter time; just watch closely.
Personally, I once made a set with a deep red icing tassel to honor a graduate’s school colors, and it was a hit! Plus, I combined these treats with triple chocolate mousse bars for a dessert table that had everyone talking.
Serving & Storage Suggestions
Serve these brownie graduation cap treats at room temperature for the best texture and flavor. They’re perfect on a festive platter or individually wrapped for party favors.
Pair them with a light, fruity punch or a robust coffee to balance the rich chocolate. They also make a sweet addition to a dessert buffet alongside savory apps like cream cheese stuffed mushrooms with bacon, offering guests a nice savory-sweet contrast.
Store leftovers in an airtight container at room temperature for up to 3 days or refrigerate for up to a week. I recommend placing parchment paper between layers to keep the icing intact. For longer storage, freeze the brownies (without icing), then decorate after thawing.
Reheat slightly in the microwave for 10 seconds if you prefer a warm treat, but be mindful that the icing may soften. Flavors tend to deepen after resting overnight, making the next-day bites even more satisfying.
Nutritional Information & Benefits
Each brownie graduation cap treat is an indulgence, but here’s a rough estimate per serving (1 brownie):
| Nutrient | Amount |
|---|---|
| Calories | 180 kcal |
| Fat | 9 g |
| Saturated Fat | 5 g |
| Carbohydrates | 25 g |
| Sugar | 18 g |
| Protein | 2 g |
Using high-quality cocoa powder adds antioxidants and a touch of magnesium. Eggs provide protein and essential nutrients, while butter adds richness and satiety. For those with dietary restrictions, the recipe adapts well to gluten-free and dairy-free alternatives.
From a wellness perspective, I appreciate that these treats offer a balanced indulgence—rich but portion-controlled, so you get your celebration moment without going overboard.
Conclusion
These Perfect Brownie Graduation Cap Treats with Gold Tassel Detail have become my go-to for marking milestones with a little sweetness and a lot of charm. They’re straightforward enough for anyone to make but special enough to feel like a celebration centerpiece.
Feel free to play with the tassel colors or add your own spin on the brownie base to suit your taste. I love how these treats turn simple ingredients into a memorable moment, especially when shared with friends and family.
Give them a try, and don’t hesitate to share how you’ve customized your graduation treats—I’m always excited to hear new ideas. Here’s to making every celebration a little sweeter, one brownie cap at a time!
FAQs
Can I make these brownie graduation caps ahead of time?
Yes! You can bake the brownies a day or two ahead and store them in an airtight container. Pipe the gold tassel detail just before serving for the freshest look.
What can I use if I don’t have edible gold food coloring?
You can substitute with yellow icing or gold-colored sprinkles to mimic the tassel effect. Metallic gold luster dust is also a great option for brushing on.
How do I keep the brownies from sticking to the pan?
Line your baking pan with parchment paper or grease it well with butter or non-stick spray. This helps lift the brownies cleanly without breaking.
Can I use a box brownie mix for this recipe?
Absolutely! A high-quality boxed mix works fine. Just make sure it’s fudgy and not cakey. Adjust the icing decoration as usual.
What if I don’t have a piping bag for the tassels?
No problem! Use a plastic sandwich bag and snip a tiny corner to pipe the icing. It’s an easy and affordable alternative.
Pin This Recipe!
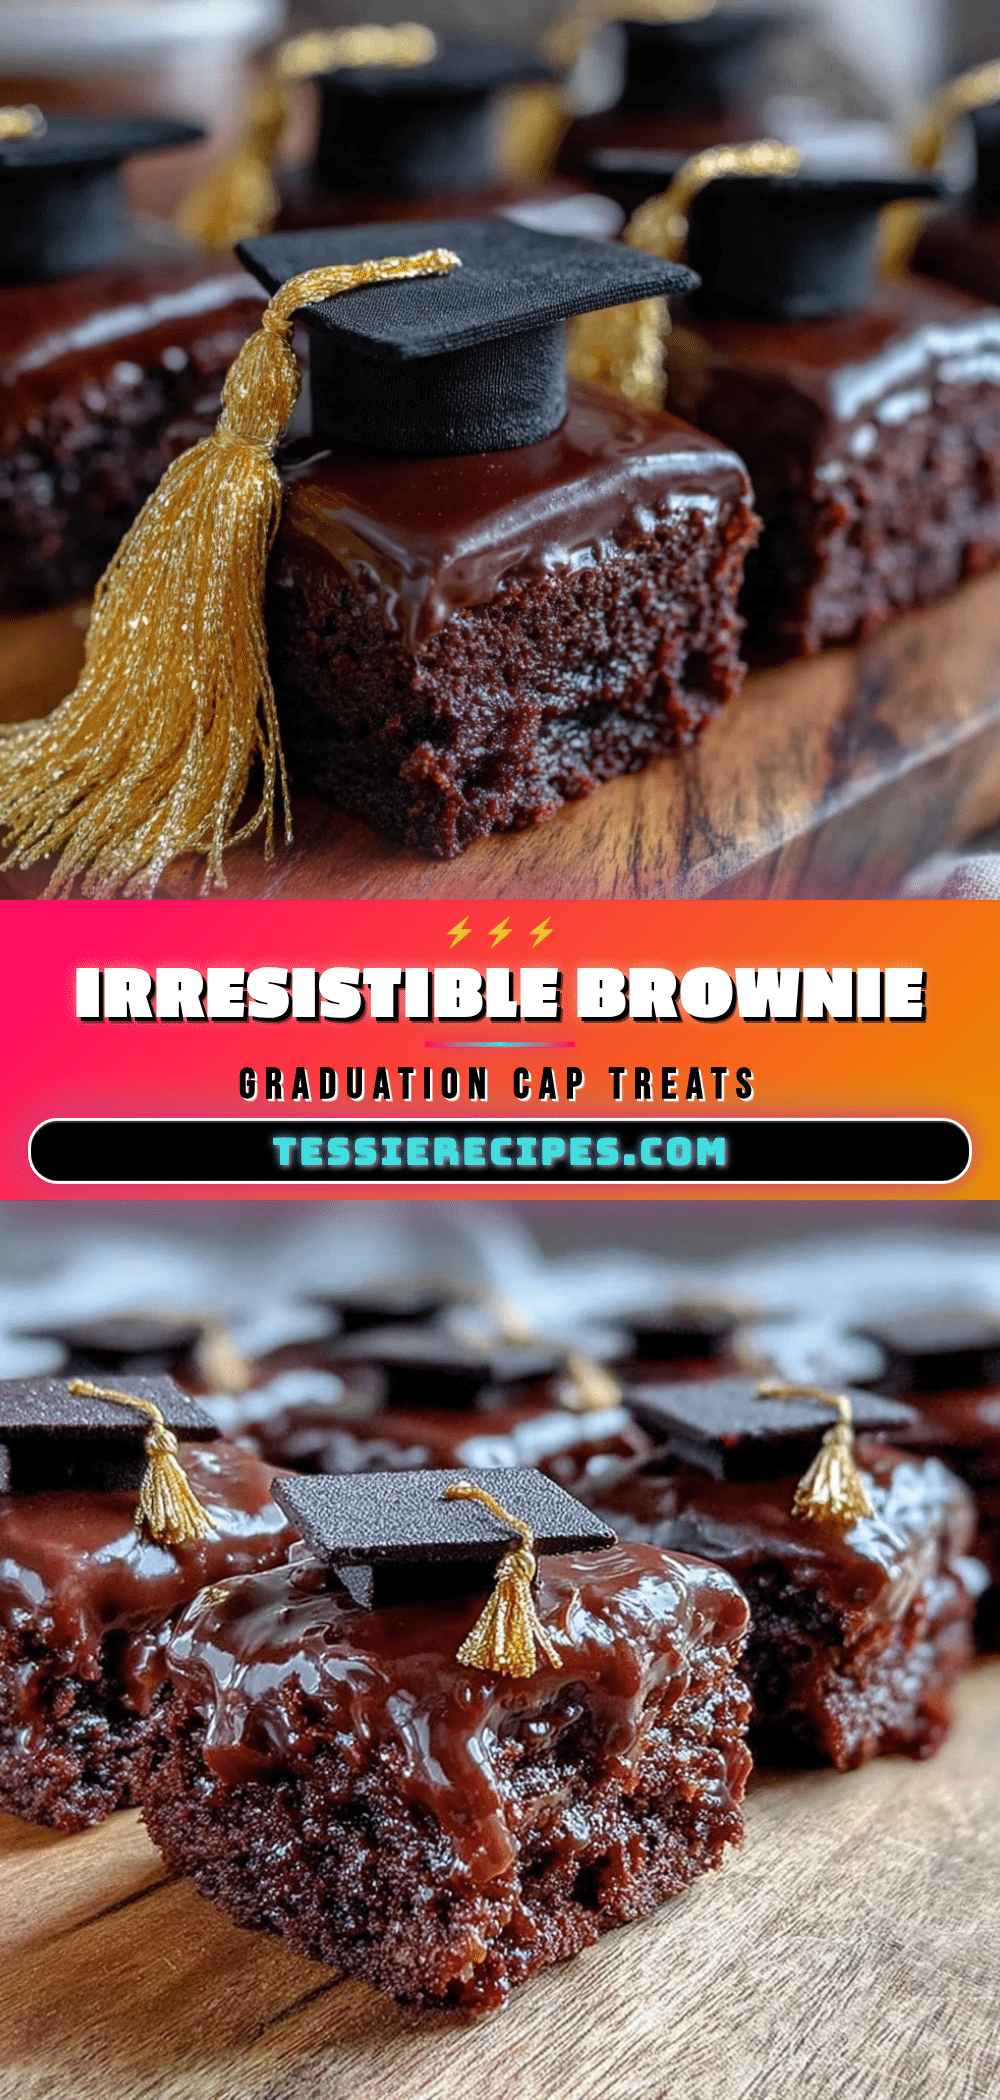
Perfect Brownie Graduation Cap Treats Easy Gold Tassel DIY Tutorial

These fudgy brownie treats are decorated to look like graduation caps with a shiny gold tassel detail, perfect for celebrations. Easy to make with simple ingredients and a fun design that impresses without stress.
- Prep Time: 15 minutes
- Cook Time: 30 minutes
- Total Time: 1 hour 45 minutes
- Yield: 16 servings 1x
- Category: Dessert
- Cuisine: American
Ingredients
- 1 cup (227 g) unsalted butter, melted
- 2 cups (400 g) granulated sugar
- 3 large eggs, room temperature
- 2 teaspoons vanilla extract
- 1 cup (125 g) all-purpose flour (gluten-free option: almond flour)
- 3/4 cup (65 g) unsweetened cocoa powder
- 1/2 teaspoon salt
- 1/2 teaspoon baking powder (optional)
- About 1 cup (120 g) powdered sugar
- 1–2 tablespoons milk (dairy or dairy-free like almond or oat milk)
- Edible gold food coloring or gold luster dust
Instructions
- Preheat your oven to 350°F (175°C). Grease an 8×8-inch baking pan or line it with parchment paper.
- In a large bowl, whisk together melted butter and granulated sugar until combined. Add eggs one at a time, whisking well after each. Stir in vanilla extract until mixture is glossy and thick.
- In a separate bowl, sift together flour, cocoa powder, salt, and baking powder.
- Gradually fold the dry ingredients into the wet ingredients with a spatula until just combined. Batter should be thick and fudgy.
- Pour batter into the prepared pan and spread evenly with an offset spatula. Tap the pan gently to release air bubbles.
- Bake for 25-30 minutes. Check doneness with a toothpick; it should come out with a few moist crumbs but no wet batter.
- Cool brownies completely on a cooling rack, about 1 hour.
- Cut brownies into uniform 2-inch squares using a sharp knife wiped clean between cuts.
- Mix powdered sugar with milk one tablespoon at a time until thick but pipeable. Add edible gold food coloring or luster dust and mix well.
- Fill a piping bag or plastic sandwich bag with the gold icing. Pipe a small tassel shape on one corner of each brownie square to mimic a graduation cap tassel.
Notes
Do not overbake to keep brownies fudgy. Cool completely before decorating to avoid melting icing. Use a sharp knife warmed under hot water for clean cuts. Practice piping tassels on parchment paper first. Customize tassel colors to match party themes. Line pan with parchment paper for easy removal.
Nutrition
- Serving Size: 1 brownie square (ab
- Calories: 180
- Sugar: 18
- Fat: 9
- Saturated Fat: 5
- Carbohydrates: 25
- Protein: 2
Keywords: brownies, graduation treats, easy dessert, chocolate, party snacks, gold tassel, fudgy brownies, celebration dessert



