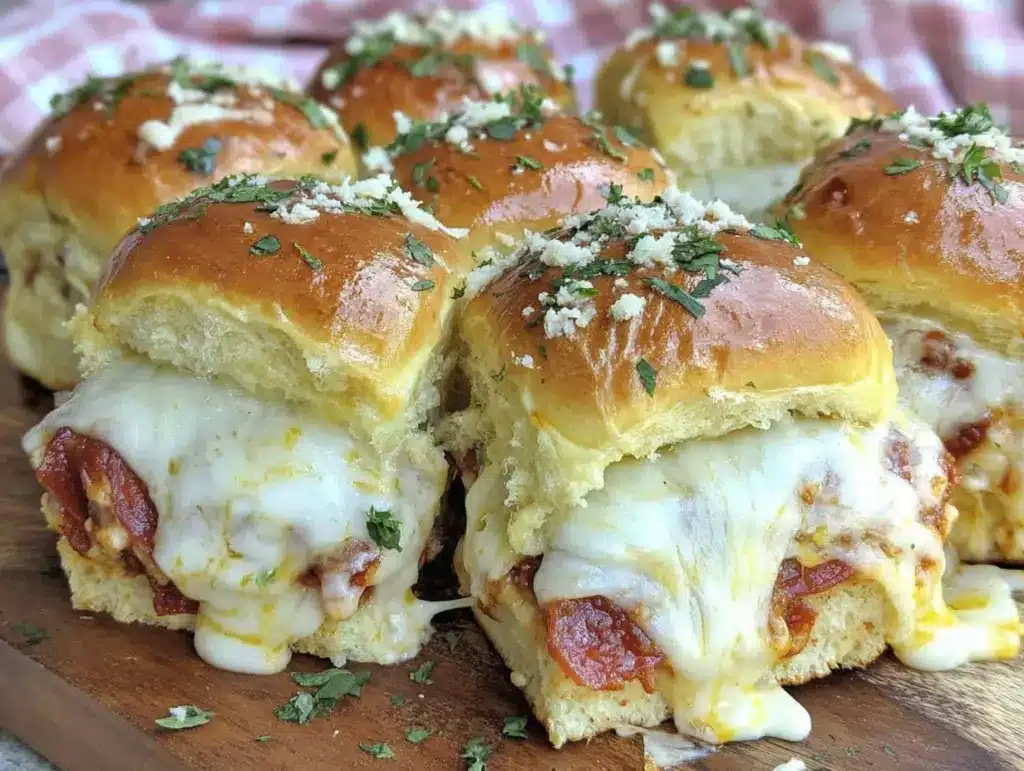
“You gotta try these sliders,” my friend texted me one evening, as I was scrambling to figure out dinner with nothing but a half-empty fridge and a lot of tired. Honestly, I wasn’t expecting much—just another quick fix to get food on the table. But then, as soon as I pulled the Cozy Pizza Pull-Apart Sliders on Hawaiian Rolls out of the oven, the whole kitchen smelled like a warm, cheesy hug. The soft, sweet rolls combined with melty cheese and zesty pizza toppings created this cozy little party in my mouth.
It’s funny how something so simple—just a handful of ingredients layered on those fluffy Hawaiian rolls—can turn a stressful evening around. I made these sliders twice in one week because, well, once just wasn’t enough. There’s a kind of comfort in pulling apart those gooey bites that feels like a reset button after a long day.
What really got me hooked was how easy it was to swap ingredients, depending on what was in the fridge or what everyone felt like that night. Plus, these sliders are perfect for those casual nights when you want to relax but still have something delicious to munch on. So here’s the story of how these Cozy Pizza Pull-Apart Sliders on Hawaiian Rolls became my go-to comfort food and why they might just sneak their way onto your table too.
Why You’ll Love This Recipe
Honestly, this Cozy Pizza Pull-Apart Sliders recipe isn’t just a crowd-pleaser—it’s a little slice of everyday magic that comes together fast and tastes like it took hours. I’ve tested this recipe multiple times, tweaking the balance between sweet Hawaiian rolls and savory pizza flavors until it reached that perfect harmony. Here’s why you’re going to want this one in your recipe box:
- Quick & Easy: Ready in under 30 minutes, it’s perfect for those busy weeknights or unexpected guests.
- Simple Ingredients: No need for fancy or hard-to-find items, everything is probably already in your pantry or fridge.
- Perfect for Casual Gatherings: Whether it’s game night, potluck, or a cozy family dinner, these sliders bring everyone together.
- Crowd-Pleaser: Kids, adults, picky eaters—you name it, these sliders get rave reviews every time.
- Unbelievably Delicious: The texture of soft Hawaiian rolls combined with melty mozzarella and tangy pizza sauce is honestly addictive.
What sets this recipe apart is the balance of flavors and the pull-apart ease that makes sharing irresistible. Instead of just baking pizza on a crust, layering everything on sweet rolls adds this unexpected, comforting twist. Plus, the buttery garlic topping on the outside brings it all together. You know those recipes that make you close your eyes with the first bite? This is definitely one of them—comfort food with a little playful spin that feels like a warm hug. It’s the kind of dish that turns simple moments into something memorable and tasty without any stress.
What Ingredients You Will Need
This recipe uses simple, wholesome ingredients to deliver bold flavor and a satisfying texture without fuss. Most of these are pantry staples, and you can easily swap a few if needed.
- Slider buns: 12 Hawaiian rolls (sweet, soft, and perfect for pull-apart ease)
- Pizza sauce: 1/2 cup (choose a good-quality marinara or pizza sauce; I like Rao’s for authentic flavor)
- Cheese: 2 cups shredded mozzarella (freshly shredded melts better; you can mix in some provolone for extra gooeyness)
- Pepperoni slices: 20–24 slices (adjust depending on your preference; turkey pepperoni works well for a lighter option)
- Butter: 1/4 cup unsalted, melted (adds richness and helps the garlic topping soak in)
- Garlic: 2 cloves, minced (you’ll want fresh for that punchy aroma)
- Dried Italian herbs: 1 tsp (oregano, basil, thyme blend—adds that classic pizza flavor)
- Grated Parmesan cheese: 2 tbsp (optional but highly recommended for a salty bite)
- Red pepper flakes: A pinch, optional (if you like a little heat)
- Fresh basil: A few leaves, chopped (for garnish and fresh aroma, optional)
If you want to customize, you can swap out pepperoni for cooked sausage, veggies like bell peppers or mushrooms, or even add some cooked bacon for an extra indulgent twist. For a gluten-free option, try using gluten-free slider buns or small gluten-free rolls. For dairy-free, swap mozzarella with a plant-based cheese and butter with olive oil or vegan butter.
Equipment Needed
- Baking dish: A 9×13 inch (23×33 cm) pan works perfectly for layering and baking the sliders.
- Mixing bowls: For combining butter, garlic, and herbs.
- Sharp knife: To slice the Hawaiian rolls horizontally without cutting all the way through.
- Measuring cups and spoons: For accuracy with ingredients.
- Basting brush (optional): Makes spreading the garlic butter over the rolls a breeze, but a spoon works fine too.
- Oven mitts: Essential for safely handling the hot baking dish.
If you don’t have a 9×13 pan, a similarly sized casserole dish will do. For spreading garlic butter, if you’re out of a brush, folding parchment paper to create a makeshift brush works surprisingly well. I personally use a silicone brush that’s easy to clean and doesn’t hold onto flavors. This recipe is pretty forgiving, so no fancy gadgets needed.
Preparation Method
- Preheat your oven: Set to 350°F (175°C) to get it ready while you prep the sliders. This usually takes about 10 minutes.
- Prepare the Hawaiian rolls: Take the pack of 12 rolls and slice them horizontally, but don’t cut all the way through—think of it like creating a hinge so the top and bottom stay connected.
- Make the garlic butter: In a small bowl, combine 1/4 cup melted unsalted butter, 2 cloves minced garlic, 1 tsp dried Italian herbs, and a pinch of red pepper flakes if you like. Stir well. This mixture will soak into the rolls and add that irresistible aroma.
- Assemble the sliders: Place the bottom half of the rolls snugly in your baking dish. Spread 1/2 cup pizza sauce evenly over the bottom layer.
- Add the pepperoni: Layer 20–24 slices evenly over the sauce, making sure each slider will get some pepperoni love.
- Cheese it up: Sprinkle 2 cups shredded mozzarella evenly over the pepperoni. For extra richness, you can add 2 tbsp grated Parmesan here.
- Close the sliders: Place the top half of the rolls gently back on top of the cheese layer.
- Brush the garlic butter: Generously coat the tops of the rolls with the garlic butter mixture. This helps create a golden, flavorful crust.
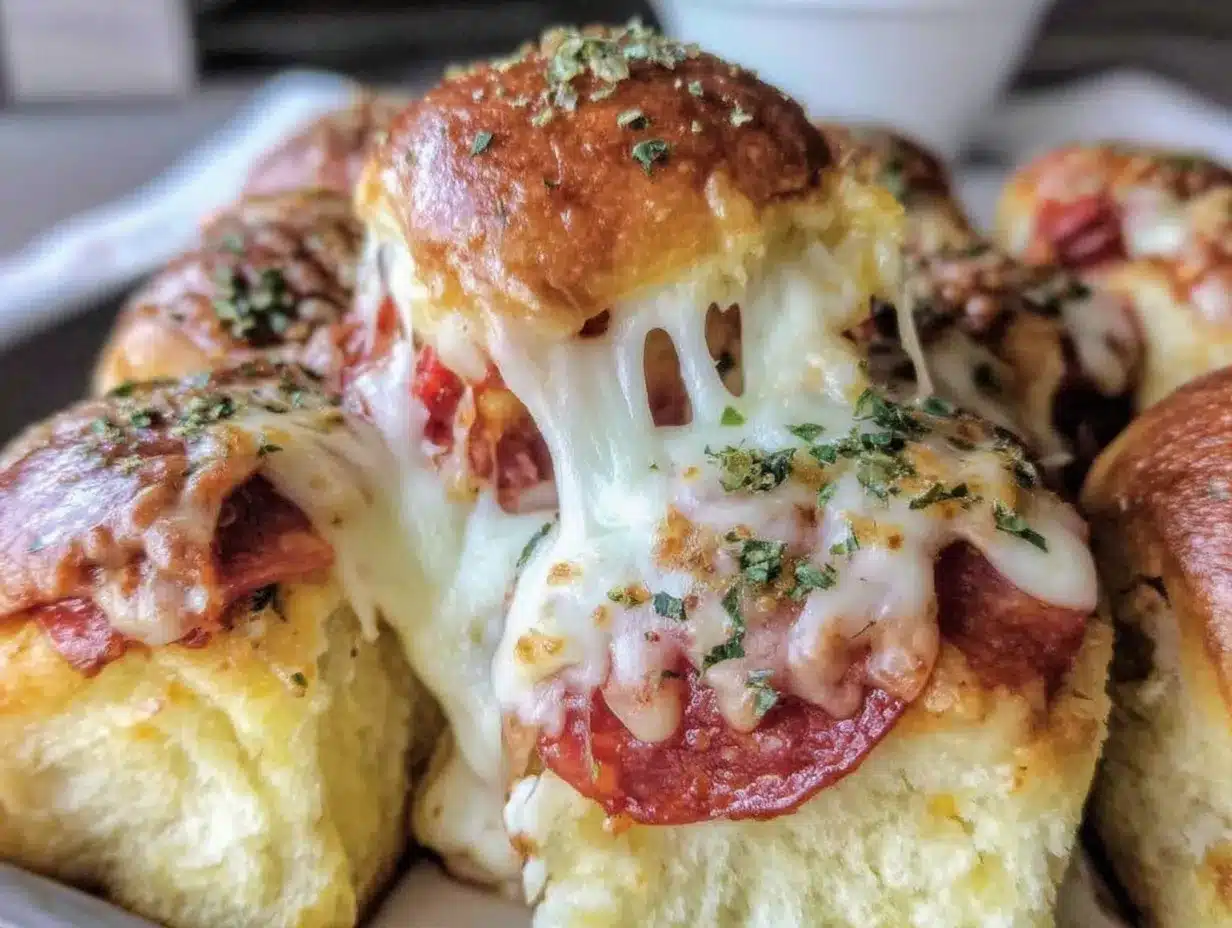
- Bake: Slide the baking dish into the preheated oven and bake for 15–18 minutes, or until the cheese is melted and bubbly and the tops of the rolls are golden brown.
- Garnish and rest: Remove from the oven and sprinkle with fresh chopped basil if using. Let the sliders rest for 5 minutes before pulling apart and serving. This helps everything set up and keeps the cheese from oozing everywhere.
Pro tip: If you want that extra crispy top, pop the sliders under the broiler for 1–2 minutes at the end, but watch closely so they don’t burn. Also, slicing the rolls horizontally without cutting all the way through is key — it keeps the sliders intact while making them easy to pull apart.
Cooking Tips & Techniques
One thing I learned the hard way is that spreading the pizza sauce evenly is crucial. Too much sauce can make the rolls soggy, too little and it feels dry. Aim for a thin, even layer. Also, freshly shredded cheese melts so much better than pre-shredded; it’s worth the extra few minutes to shred it yourself.
When slicing the Hawaiian rolls, take your time and use a sharp serrated knife. A dull knife tends to squish the soft rolls, which can make assembly tricky. You want clean cuts but keep the hinge intact so the sliders pull apart nicely.
Another little trick is the garlic butter mixture—don’t skimp on the butter, and be generous when brushing it on top. It’s what gives these sliders their signature golden-brown, flavorful crust. If you want to make these ahead, assemble them, cover tightly with foil, and bake just before serving. This way, the rolls stay fresh and the cheese melts perfectly.
Timing-wise, multitasking helps—while the sliders bake, you could whip up a quick salad or prep some sides. And if you’re into dips, a little marinara or ranch on the side adds even more fun for dipping those cheesy bites.
Variations & Adaptations
- Vegetarian version: Skip the pepperoni and add sliced mushrooms, bell peppers, or olives. Roasted veggies also work beautifully.
- Spicy twist: Add sliced jalapeños or a pinch of cayenne to the garlic butter. This adds a subtle heat that pairs well with the sweet rolls.
- Meat lover’s delight: Mix chopped cooked sausage or crumbled bacon (like in my loaded cream cheese stuffed mushrooms with bacon recipe) with the pepperoni for a hearty upgrade.
- Cheese variations: Swap mozzarella for a blend of mozzarella and fontina or even pepper jack for a smoky kick.
- Gluten-free option: Use gluten-free slider rolls or mini gluten-free buns to keep it friendly for dietary needs.
One personal favorite is layering in some fresh spinach leaves before the cheese—adds color and a subtle freshness that cuts through the richness. Also, if you want to experiment with different sauces, a pesto spread instead of pizza sauce brings a whole new flavor dimension.
Serving & Storage Suggestions
These Cozy Pizza Pull-Apart Sliders are best served warm, straight from the oven, when the cheese is gooey and the rolls are soft. They make a fantastic appetizer or main dish on their own, but pairing them with a crisp green salad or a bowl of soup makes the meal feel complete and balanced.
Leftovers? No worries. Store cooled sliders in an airtight container in the refrigerator for up to 3 days. When reheating, wrap them in foil and warm in a 350°F (175°C) oven for about 10 minutes to bring back that melty goodness without drying out the rolls.
These sliders also freeze well. Wrap individual sliders or the whole batch tightly in plastic wrap and foil, then freeze for up to 2 months. Reheat from frozen in the oven at 350°F (175°C) for about 20 minutes, covered, then uncover for the last 5 minutes to crisp the top.
Side note: I learned that letting the sliders rest for a few minutes after baking is key. Flavors meld together, and the cheese firms just enough so it doesn’t run everywhere. Plus, it gives you a moment to grab a drink or set the table, which makes serving feel less chaotic.
Nutritional Information & Benefits
Each slider contains approximately 180–220 calories, depending on the toppings and cheese amounts. They’re a good source of protein from the cheese and pepperoni and provide calcium and some vitamins from the herbs and optional veggies.
Choosing Hawaiian rolls keeps the recipe on the sweeter side, balancing the savory toppings, but if you want to keep carbs lower, you could experiment with low-carb buns or lettuce wraps for a lighter version.
For those watching sodium, consider using low-sodium pizza sauce and turkey pepperoni to reduce salt content. The recipe is naturally gluten-containing unless you swap in gluten-free rolls.
From a wellness perspective, this recipe hits that sweet spot between comfort and sensible ingredients, making it a satisfying option when you want something indulgent but still homemade and thoughtful.
Conclusion
Cozy Pizza Pull-Apart Sliders on Hawaiian Rolls have earned a permanent spot in my weeknight rotation. They’re simple, comforting, and endlessly adaptable—perfect for when you want a quick fix with big flavors that bring people together. Whether you’re feeding a crowd or just craving a cheesy, savory snack, these sliders hit the spot every time.
Feel free to tweak the toppings, swap out cheeses, or add your favorite herbs to make it your own. That’s the beauty of this recipe: it’s as flexible as it is delicious.
If you give these sliders a try, I’d love to hear how you made them your own. Drop a comment or share your favorite twists—because good food stories are better when shared. Here’s to cozy bites and easy kitchen wins!
FAQs
- Can I make these sliders ahead of time? Yes! Assemble them, cover tightly with foil, and refrigerate for up to 24 hours before baking.
- Can I freeze the sliders? Absolutely. Wrap them tightly and freeze for up to 2 months. Reheat in the oven before serving.
- What can I use if I don’t have Hawaiian rolls? Soft dinner rolls or slider buns work well as substitutes.
- Can I add other toppings? Definitely! Try cooked sausage, veggies, or different cheeses to customize.
- How do I prevent the sliders from getting soggy? Use a thin layer of pizza sauce and avoid overloading with wet toppings. Also, baking at the right temperature helps crisp the tops.
Pin This Recipe!
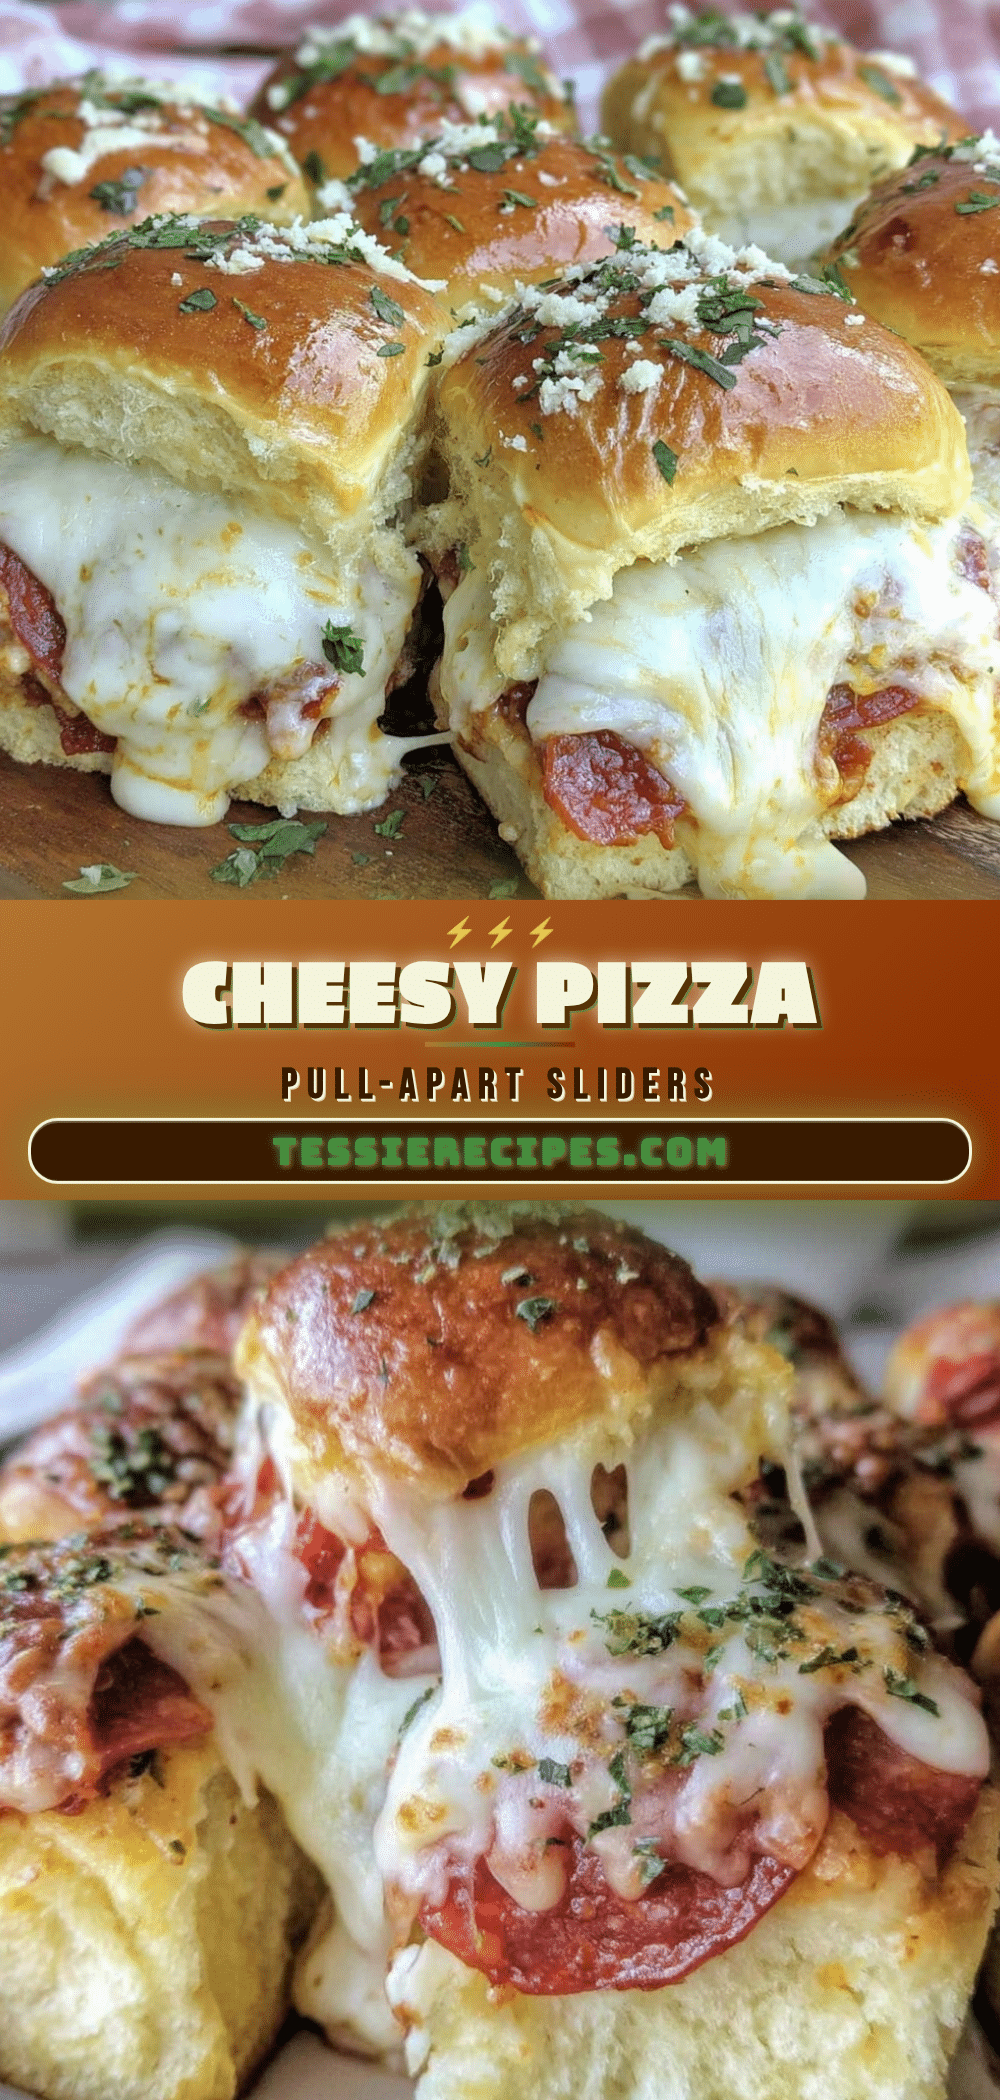
Cozy Pizza Pull-Apart Sliders Recipe Easy Homemade Hawaiian Rolls

These Cozy Pizza Pull-Apart Sliders on Hawaiian Rolls combine soft, sweet rolls with melty cheese and zesty pizza toppings for a quick, comforting meal perfect for casual gatherings.
- Prep Time: 10 minutes
- Cook Time: 15-18 minutes
- Total Time: 25-28 minutes
- Yield: 12 sliders 1x
- Category: Main Course
- Cuisine: American
Ingredients
- 12 Hawaiian rolls (sweet, soft, and perfect for pull-apart ease)
- 1/2 cup pizza sauce (good-quality marinara or pizza sauce)
- 2 cups shredded mozzarella cheese (freshly shredded preferred)
- 20–24 pepperoni slices (turkey pepperoni optional for lighter option)
- 1/4 cup unsalted butter, melted
- 2 cloves garlic, minced
- 1 tsp dried Italian herbs (oregano, basil, thyme blend)
- 2 tbsp grated Parmesan cheese (optional)
- Pinch of red pepper flakes (optional)
- A few fresh basil leaves, chopped (optional)
Instructions
- Preheat your oven to 350°F (175°C).
- Slice the pack of 12 Hawaiian rolls horizontally without cutting all the way through to create a hinge.
- In a small bowl, combine 1/4 cup melted unsalted butter, 2 cloves minced garlic, 1 tsp dried Italian herbs, and a pinch of red pepper flakes if using. Stir well.
- Place the bottom half of the rolls snugly in a 9×13 inch baking dish.
- Spread 1/2 cup pizza sauce evenly over the bottom layer of rolls.
- Layer 20–24 pepperoni slices evenly over the sauce.
- Sprinkle 2 cups shredded mozzarella cheese evenly over the pepperoni. Optionally add 2 tbsp grated Parmesan cheese.
- Place the top half of the rolls gently back on top of the cheese layer.
- Brush the tops of the rolls generously with the garlic butter mixture.
- Bake in the preheated oven for 15–18 minutes, or until the cheese is melted and bubbly and the tops are golden brown.
- Remove from oven and sprinkle with fresh chopped basil if using.
- Let the sliders rest for 5 minutes before pulling apart and serving.
Notes
Use a sharp serrated knife to slice rolls without cutting all the way through to keep sliders intact. Spread pizza sauce thinly to avoid sogginess. Freshly shredded cheese melts better than pre-shredded. For extra crispy tops, broil for 1-2 minutes at the end, watching closely. Sliders can be assembled ahead and refrigerated for up to 24 hours before baking. Leftovers store well in the fridge for 3 days or freeze up to 2 months.
Nutrition
- Serving Size: 1 slider
- Calories: 200
- Sugar: 4
- Sodium: 450
- Fat: 12
- Saturated Fat: 6
- Carbohydrates: 18
- Fiber: 1
- Protein: 9
Keywords: pizza sliders, pull-apart sliders, Hawaiian rolls, easy dinner, comfort food, party food, quick recipe



