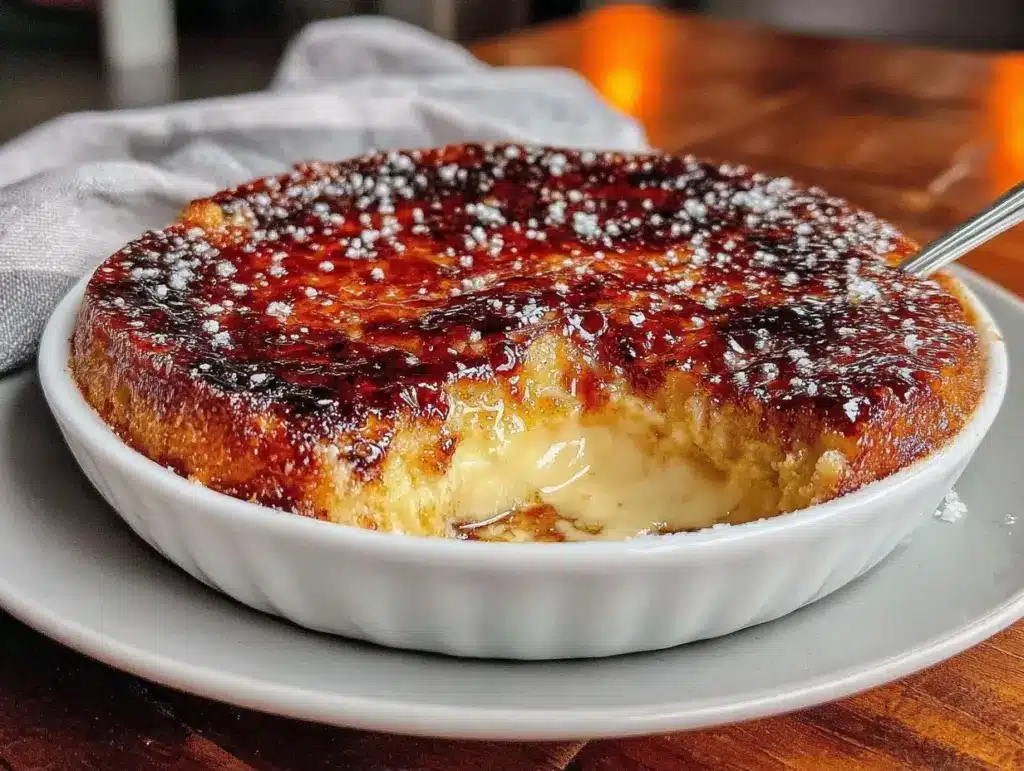
“Why does this taste like a fancy bakery?” was the last thing I expected to say at midnight, in a kitchen dimly lit by a single overhead bulb and the flickering flame of my trusty kitchen torch. Honestly, I stumbled into this perfect crème brûlée recipe with vanilla bean and torched caramel crust after a long day that felt like a never-ending loop of meetings and missed lunch breaks. I was craving something sweet—something effortless yet indulgent. I’d never been the “baker” type, and the idea of making crème brûlée seemed intimidating, like some mysterious chef’s secret.
But as I whisked together simple ingredients and carefully scraped the tiny black seeds from a delicate vanilla bean, the kitchen filled with a warm, comforting aroma that made me pause. That smell—soft, sweet, and rich—reminded me of a quiet café I used to visit during a solo trip years ago. It was a small moment, but it sparked a craving that I just had to satisfy.
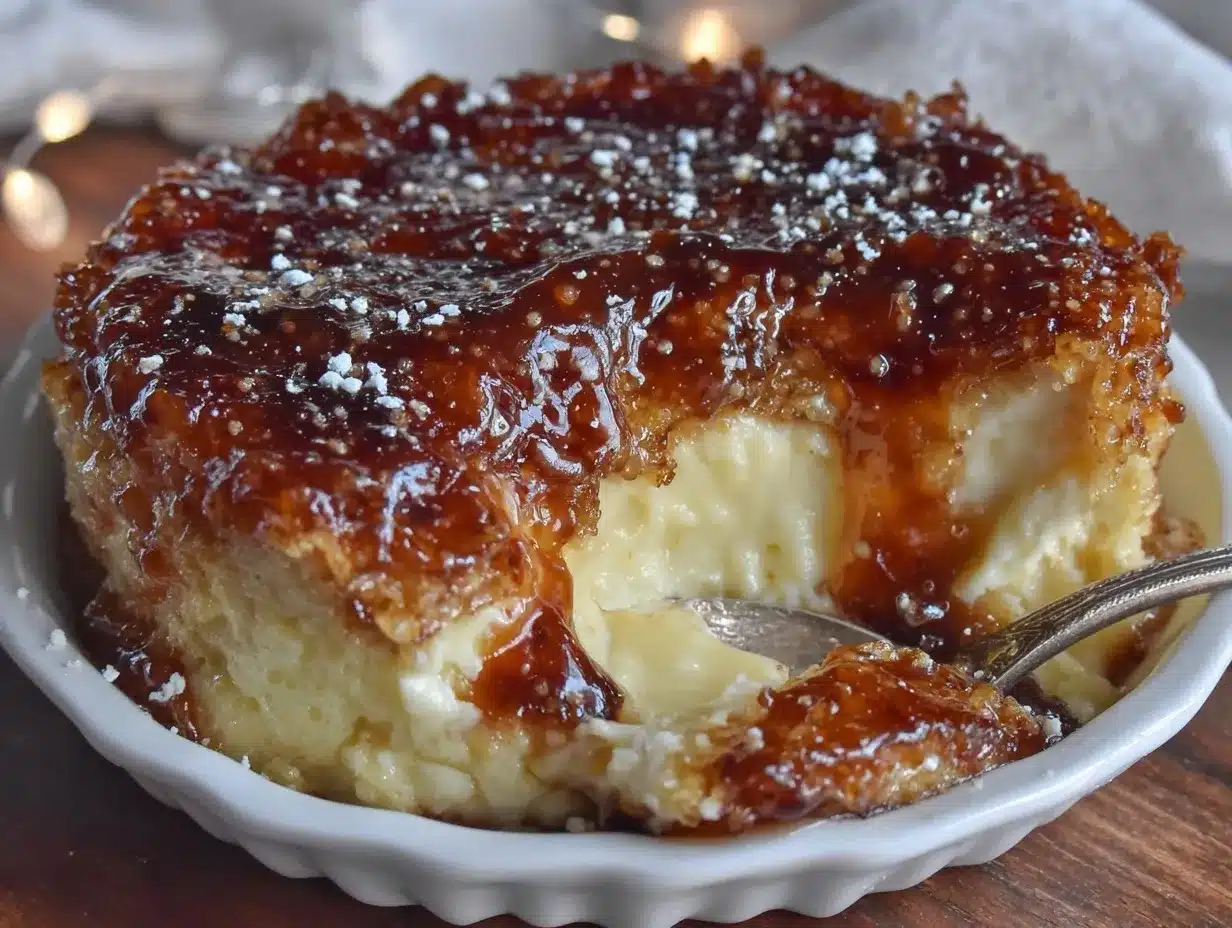
After torching the sugar to a perfect golden crackle, I realized this dessert wasn’t just for fancy restaurants or celebrations; it could be a quiet, luxurious reward anytime. The texture was unbelievably smooth, the caramelized top was satisfyingly crisp, and the vanilla flavor was so sincere it felt like a hug in a ramekin. This perfect crème brûlée recipe has since become my go-to when I want to impress without the fuss—because who doesn’t want a little magic after a long day?
And the best part? You don’t need a pastry degree, just a little patience and a kitchen torch. This recipe stuck around because it’s honest, approachable, and downright delicious. It’s the kind of dessert that quietly tells you, “You did good today.”
Why You’ll Love This Perfect Crème Brûlée Recipe with Vanilla Bean and Torched Caramel Crust
This recipe isn’t just another custard; it’s a carefully tested, family-approved classic with a small twist that makes it shine. From my own kitchen experiments and feedback from friends who consider themselves “dessert skeptics,” here’s why this crème brûlée stands out:
- Quick & Easy: Ready in under an hour (plus chilling time), this dessert fits into busy nights or last-minute dinner parties.
- Simple Ingredients: Uses everyday pantry staples like eggs and sugar, plus a fresh vanilla bean that you can find at most grocery stores or specialty markets.
- Perfect for Special Occasions: Whether it’s a romantic dinner or a dinner party, this crème brûlée brings a touch of elegance without overcomplicating things.
- Crowd-Pleaser: The silky custard and crunchy caramel crust always get rave reviews from both kids and adults.
- Unbelievably Delicious: The vanilla bean’s fragrant seeds infuse the custard with a rich, authentic flavor you won’t get from extracts.
What really sets this recipe apart is the way it balances tradition and ease. The torched caramel crust is perfectly crisp without burning, thanks to a few personal tips I’ve learned the hard way (like keeping the torch moving and using fine sugar). And instead of artificial vanilla, the real vanilla bean creates a luxurious depth that feels special but isn’t complicated.
Honestly, it’s a recipe that lets you experience that “closing your eyes after the first bite” moment without the stress. It’s a comforting, classic dessert that’s just right for anyone who loves a little indulgence with a side of simplicity.
What Ingredients You Will Need
This perfect crème brûlée recipe uses simple, wholesome ingredients to deliver bold flavor and a satisfying texture without the fuss. Most of these are pantry staples, and the fresh vanilla bean really makes a difference—trust me on that one.
- Heavy cream: 2 cups (480 ml) – full-fat for the creamiest custard
- Vanilla bean: 1 whole, split and scraped (or 2 teaspoons pure vanilla bean paste) – look for plump beans with a rich aroma
- Large egg yolks: 5, room temperature – helps create that rich, silky texture
- Granulated sugar: ½ cup (100 g) for the custard, plus extra for the torched crust (about 3 tablespoons per ramekin)
- Salt: A pinch – balances the sweetness and enhances flavor
If you want to experiment, coconut cream can substitute for heavy cream for a dairy-free version, but expect a slightly different texture and flavor. I recommend using Domino sugar for the crust because it caramelizes beautifully without clumping. For vanilla beans, Madagascar Bourbon beans are my favorite for their sweet, floral notes.
Equipment Needed
- Ramekins: 4 to 6 small (4 to 6 oz / 120 to 180 ml) ceramic ramekins – essential for individual servings and even cooking
- Baking dish or roasting pan: Large enough to hold ramekins in a water bath
- Kitchen torch: A small handheld torch is best for caramelizing the sugar top evenly – alternatives include broiling, but results vary
- Mixing bowls: For whisking egg yolks and sugar
- Fine mesh sieve: Optional but highly recommended for straining the custard mixture to avoid lumps
- Whisk and spatula: For mixing and scraping vanilla bean seeds
If you don’t have a kitchen torch, a broiler can work, but be sure to watch carefully to avoid burning the sugar. I once tried using a regular lighter—don’t do that. For those on a budget, simple ceramic ramekins from most kitchen stores work perfectly fine and double as charming serving dishes.
Preparation Method
- Preheat your oven to 325°F (160°C). Position a rack in the middle and prepare your baking dish for the water bath.
- Heat the cream and vanilla bean: In a saucepan, combine the heavy cream and the scraped seeds plus the pod of the vanilla bean. Warm over medium heat until just about to simmer—don’t let it boil. Remove from heat and let it steep for 15 minutes to infuse that deep vanilla flavor.
- Whisk egg yolks and sugar: While the cream is steeping, in a mixing bowl, whisk together egg yolks, granulated sugar, and a pinch of salt until the mix is pale and slightly thickened (about 2-3 minutes). This step is key for a smooth, rich custard.
- Temper the eggs: Slowly pour the warm cream into the egg yolk mixture in a thin stream while whisking constantly. This prevents the eggs from scrambling (a common pitfall!).
- Strain the mixture: Pour the custard through a fine mesh sieve into a clean bowl to catch any cooked bits or vanilla pod pieces for a silky finish.
- Pour into ramekins: Divide the custard evenly among the ramekins, filling about ¾ full.
- Prepare the water bath: Place ramekins in the baking dish and add hot water halfway up the ramekin sides. This gentle heat prevents curdling and helps cook evenly.
- Bake: Carefully transfer the baking dish to the oven and bake for 40-45 minutes. The custard should be mostly set but still slightly jiggly in the center (like gelatin). This texture is perfect for that creamy mouthfeel.
- Cool and chill: Remove ramekins from the water bath, discard the water, and let cool to room temperature. Then refrigerate for at least 3 hours or overnight to firm up fully.
- Caramelize the sugar: When ready to serve, sprinkle 1-2 teaspoons of granulated sugar evenly over each custard. Use a kitchen torch to melt and caramelize the sugar until golden and crisp. Keep the torch moving to avoid burning.
- Let the crust set: Allow the caramel to harden for a minute or two before serving. Crack that crust with your spoon and enjoy the contrast of textures.
Quick tip: If the sugar doesn’t caramelize after a few passes with the torch, give it a moment to cool and try again—sometimes the sugar needs a bit more heat. And don’t skip the straining step—it makes a noticeable difference in smoothness.
Cooking Tips & Techniques
Getting crème brûlée just right takes a bit of patience and practice, so here are some insider tips I’ve picked up along the way:
- Steep the vanilla bean: Letting the vanilla seeds and pod soak in the warm cream really brings out that authentic flavor. Don’t rush it.
- Low and slow baking: The water bath is your custard’s best friend. It cooks gently and prevents curdling or cracking. Make sure the water is hot but not boiling.
- Don’t overbake: The custard should jiggle slightly in the center when you take it out of the oven. It will firm up as it chills.
- Use fine sugar for the crust: Superfine or caster sugar melts and caramelizes more evenly. Regular granulated sugar works but might need extra torching.
- Keep the torch moving: To avoid burning, sweep the flame back and forth in slow, even strokes. A steady hand makes all the difference.
- Chill well: Don’t rush serving. Chilling overnight improves flavor and texture dramatically.
Once, I tried torching a cold crème brûlée straight from the fridge without letting the sugar sit for a bit, and the crust cracked unevenly—lesson learned! Also, if you’re juggling multiple ramekins, torch them one at a time for best results. And if you want to add a little twist, lightly dust cinnamon or nutmeg on the custard before torching for a subtle warm spice note.
Variations & Adaptations
This recipe is a fantastic base for some creative spins—here are a few I’ve enjoyed and recommend:
- Chocolate Crème Brûlée: Stir in 2 ounces (60 g) of melted bittersweet chocolate into the cream before mixing with eggs for a rich, chocolaty custard.
- Lavender Vanilla: Add 1 teaspoon dried culinary lavender buds to the cream during the steeping phase, then strain well for a floral note.
- Coconut Cream: Use full-fat coconut milk instead of heavy cream for a tropical, dairy-free version. The texture will be slightly lighter but still creamy.
- Seasonal Fruit Topping: Serve with fresh berries or a spoonful of spiced compote on the side for a bright contrast.
For a no-torch method, you can place the sugared ramekins under a broiler for 1-2 minutes, but watch closely—it can burn quickly. I once swapped vanilla bean for vanilla extract when I was out—it worked in a pinch but lacked the same depth, so I always keep a couple of beans on hand now.
Serving & Storage Suggestions
Serve this perfect crème brûlée chilled, with the caramelized sugar crust freshly torched just before eating. The contrast of cold, creamy custard and warm, crisp sugar top is key to the experience.
For presentation, a simple garnish of fresh mint or a few raspberries adds a pop of color without overpowering the custard’s delicate flavors. It pairs beautifully with a light dessert wine, like a Sauternes, or even a strong cup of espresso.
Store leftover custards covered in the fridge for up to 3 days. Avoid caramelizing the sugar topping until just before serving; the crust softens over time. To reheat, let them come to room temperature and torch the sugar again for that perfect crack.
Flavors actually deepen after chilling overnight, so if you can wait, the next day’s crème brûlée is often even better. Just be sure to keep them tightly covered to prevent fridge odors from sneaking in.
Nutritional Information & Benefits
Each serving of this crème brûlée contains approximately 350-400 calories, with a generous amount of fat and protein from the heavy cream and egg yolks. It’s a treat, yes, but the ingredients also provide some nutritional benefits.
Vanilla beans, for example, contain antioxidants and have been traditionally used for digestive comfort. The eggs supply essential vitamins like B12 and choline, important for brain health.
If you’re watching carbs, this dessert is relatively low in carbs compared to many baked sweets, especially when you control the sugar amount. For those with dairy restrictions, swapping in coconut cream offers a flavorful alternative.
Of course, crème brûlée is an indulgence, so I like to view it as a balanced part of a healthy lifestyle—one spoonful of joy at a time.
Conclusion
This perfect crème brûlée recipe with vanilla bean and torched caramel crust is the kind of dessert that rewards patience and curiosity. It’s approachable enough for a weekday treat but impressive enough for guests, offering that satisfying crack of caramelized sugar followed by rich, silky custard.
Feel free to play with the vanilla bean, try different toppings, or even experiment with flavors like chocolate or lavender. What matters most is the joy you find in the process—and the smiles that follow the first bite.
Personally, this recipe has become my little luxury during chaotic days, a reminder that some sweetness is worth the effort. If you give it a try, I’d love to hear how you made it your own—drop a comment or share your adaptations!
Here’s to delicious moments and perfectly torched crusts ahead.
Frequently Asked Questions about Perfect Crème Brûlée
Can I make crème brûlée ahead of time?
Absolutely! The custard can be made and chilled up to 2 days in advance. Just wait to torch the sugar crust until right before serving to keep it crisp.
What if I don’t have a kitchen torch?
You can caramelize the sugar under a broiler on high for 1-2 minutes, but watch it closely to avoid burning. The torch gives you more control and a better crust.
How do I know when the custard is done baking?
The edges should be set, but the center will still jiggle gently when you shake the pan. It firms up more as it cools.
Can I use vanilla extract instead of a vanilla bean?
You can, but the flavor won’t be as rich or aromatic. If using extract, add 2 teaspoons instead of the bean and skip the steeping step.
How do I prevent the sugar crust from melting too quickly?
Serve the brûlée immediately after torching the sugar. The chilled custard helps keep the caramel crust crisp longer.
By the way, if you enjoy desserts with a touch of richness and flair, you might appreciate the triple chocolate mousse bars as well. And for a savory contrast to balance your sweet tooth, the loaded cream cheese stuffed mushrooms with bacon are a crowd-pleaser that pairs beautifully with a decadent dessert like this.
Pin This Recipe!
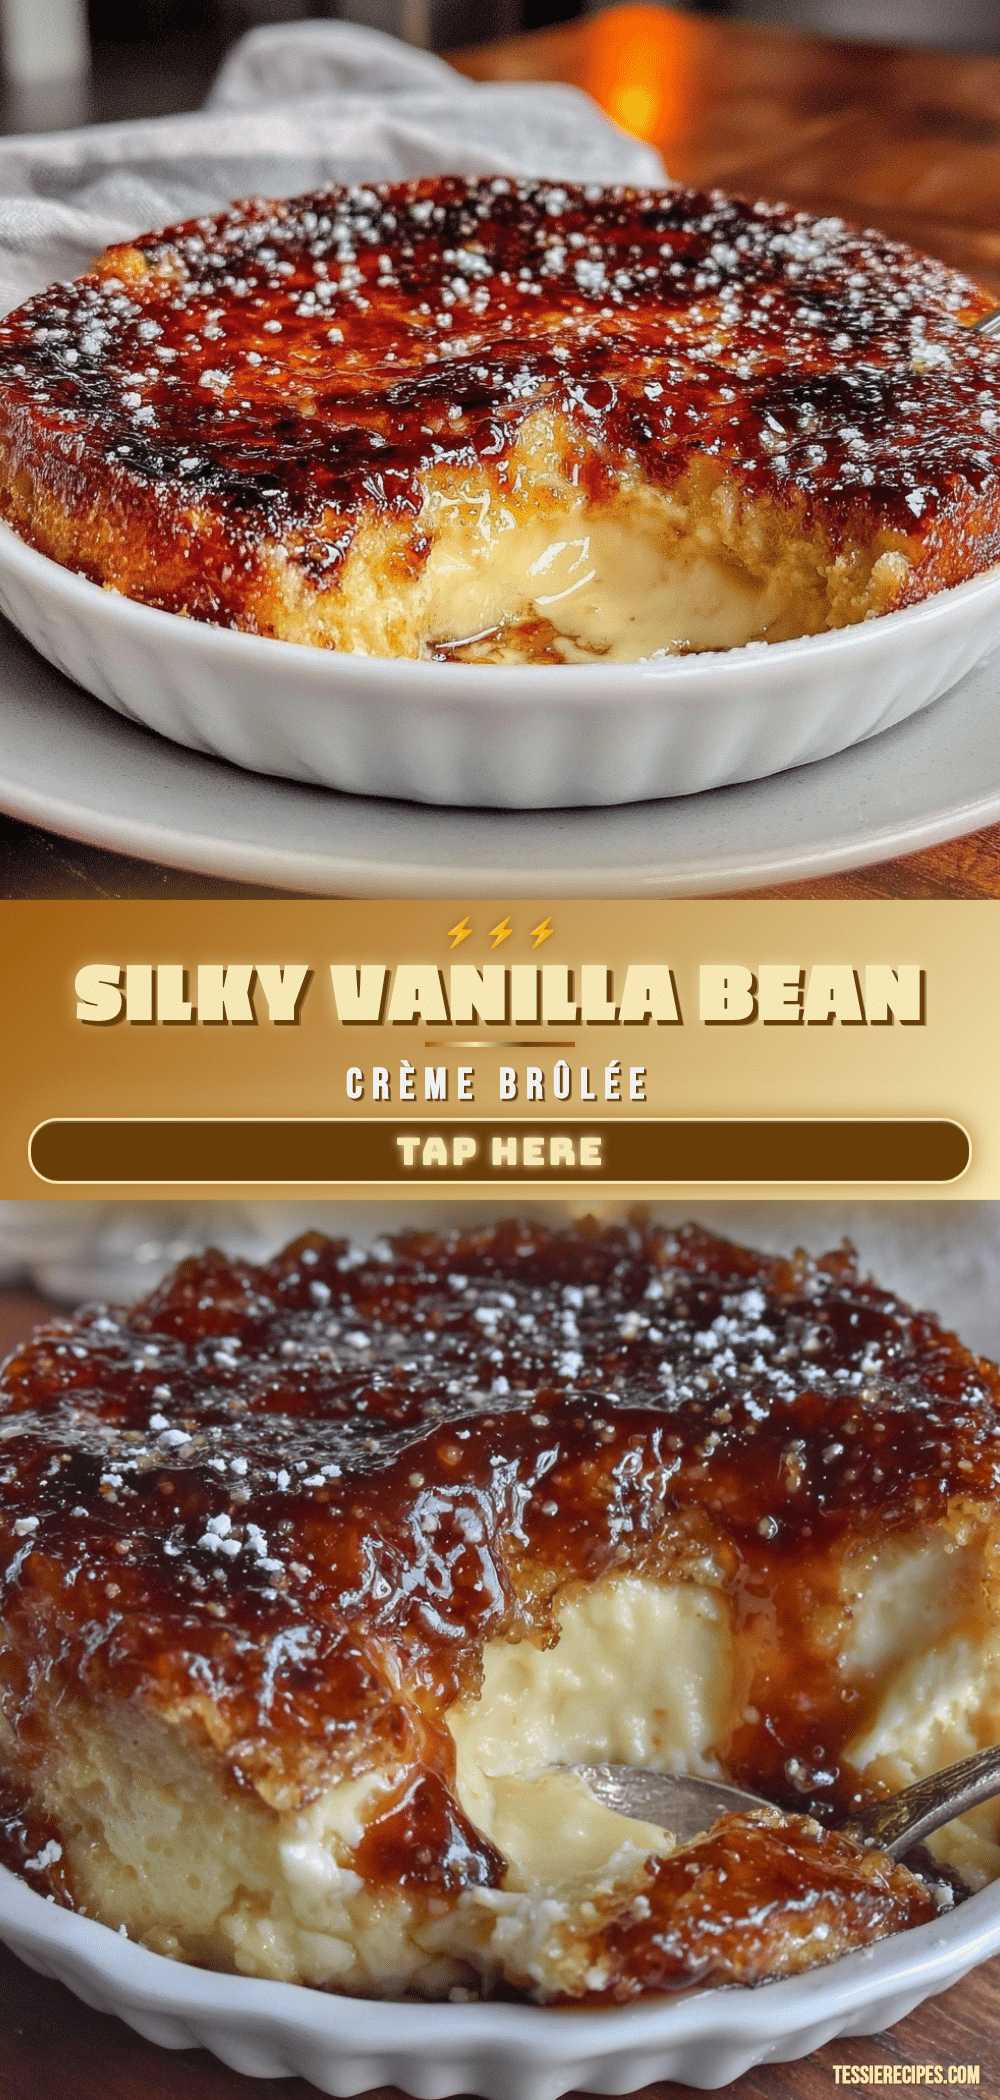
Perfect Crème Brûlée Recipe with Vanilla Bean and Torched Caramel Crust

A classic, silky smooth crème brûlée infused with real vanilla bean and topped with a perfectly torched caramel crust. This easy homemade dessert is elegant, indulgent, and approachable for any occasion.
- Prep Time: 15 minutes
- Cook Time: 45 minutes
- Total Time: 4 hours (including chilling time)
- Yield: 4 to 6 servings 1x
- Category: Dessert
- Cuisine: French
Ingredients
- 2 cups heavy cream (480 ml)
- 1 whole vanilla bean, split and scraped (or 2 teaspoons pure vanilla bean paste)
- 5 large egg yolks, room temperature
- ½ cup granulated sugar (100 g) for custard
- Extra granulated sugar for torched crust (about 3 tablespoons per ramekin)
- A pinch of salt
Instructions
- Preheat your oven to 325°F (160°C). Position a rack in the middle and prepare your baking dish for the water bath.
- In a saucepan, combine the heavy cream and the scraped seeds plus the pod of the vanilla bean. Warm over medium heat until just about to simmer—do not boil. Remove from heat and let steep for 15 minutes.
- While the cream is steeping, whisk together egg yolks, granulated sugar, and a pinch of salt in a mixing bowl until pale and slightly thickened (about 2-3 minutes).
- Slowly pour the warm cream into the egg yolk mixture in a thin stream while whisking constantly to temper the eggs.
- Strain the custard mixture through a fine mesh sieve into a clean bowl to remove any cooked bits or vanilla pod pieces.
- Divide the custard evenly among 4 to 6 ramekins, filling about ¾ full.
- Place ramekins in the baking dish and add hot water halfway up the sides of the ramekins to create a water bath.
- Bake for 40-45 minutes until the custard is mostly set but still slightly jiggly in the center.
- Remove ramekins from the water bath, discard the water, and let cool to room temperature. Refrigerate for at least 3 hours or overnight.
- Before serving, sprinkle 1-2 teaspoons of granulated sugar evenly over each custard.
- Use a kitchen torch to melt and caramelize the sugar until golden and crisp, keeping the torch moving to avoid burning.
- Allow the caramel crust to harden for a minute or two before serving.
Notes
Use fine sugar for the crust to caramelize evenly. Keep the torch moving to avoid burning the sugar. Chill the custard overnight for best texture and flavor. If no kitchen torch is available, use a broiler carefully. Straining the custard ensures a silky smooth texture. Vanilla bean paste can substitute the bean. Coconut cream can replace heavy cream for a dairy-free version but expect a different texture.
Nutrition
- Serving Size: 1 ramekin (about 4 t
- Calories: 375
- Sugar: 27
- Sodium: 60
- Fat: 28
- Saturated Fat: 17
- Carbohydrates: 28
- Protein: 6
Keywords: crème brûlée, vanilla bean, caramel crust, custard dessert, easy dessert, homemade crème brûlée, classic French dessert



