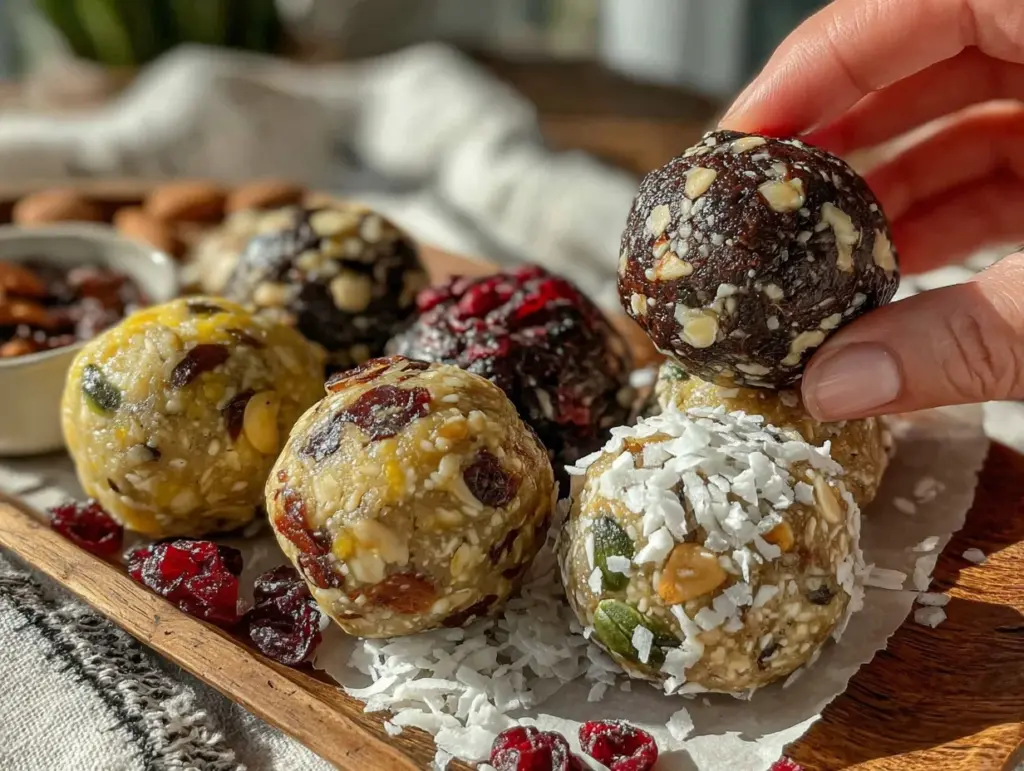
“You want one? No, seriously, try one,” my coworker said, holding out a tiny, slightly crumbly ball covered in shredded coconut. I eyed it skeptically — protein balls had always sounded like a ‘healthy hipster’ thing I wasn’t quite sold on. But after a long, dragging afternoon meeting and a rumbling stomach, I figured, why not? That first bite was a surprise. Chewy, nutty, just sweet enough without being cloying. And honestly, it gave me a little buzz of energy I needed to power through the rest of the day.
That moment sparked a sort of obsession. I started tweaking that simple recipe, swapping flavors, adding bits of this and that, until I landed on five distinct varieties that each brought something unique to the table—sort of like how I learned to love different takes on creamy garlic Tuscan chicken pasta over time. These protein energy balls became my go-to snack for busy mornings, mid-afternoon slumps, or even a quick pick-me-up before yoga. They’re portable, no-mess, and best of all, easy to make with ingredients I almost always have on hand.
Honestly, it’s the kind of recipe that feels simple but delivers on real comfort and practicality. There’s no need to hit the health food store for fancy powders or complicated gadgets. Plus, having a stash of these little bites in the fridge means I’m never caught off guard by a craving or a need for a clean, quick energy boost. It’s become a quiet little ritual, a way to stay fueled without fuss. That’s why these protein energy balls stuck around in my kitchen—and why I think they’ll find a place in yours, too.
Why You’ll Love This Recipe
After testing these energy balls in my kitchen more times than I can count, I can say with confidence that this recipe hits the sweet spot for anyone who wants a healthy snack that’s as tasty as it is practical. Here’s why you’ll want to make these easy homemade protein energy balls in five flavor varieties your new snack staple:
- Quick & Easy: Each batch comes together in under 20 minutes—no baking required! Great for when you’re juggling a million things.
- Simple Ingredients: No exotic powders or hard-to-find items. Most ingredients are pantry staples or easy swaps.
- Perfect for Any Occasion: Whether you need a post-workout pick-me-up, a midday snack at work, or a little something for kids’ lunchboxes, these balls fit the bill.
- Crowd-Pleaser: I’ve brought these to potlucks and family gatherings, and they always disappear fast (no leftovers here!).
- Unbelievably Delicious: The texture is chewy but not dry, with a lovely balance of sweet and nutty flavors that feel indulgent without the guilt.
What sets this recipe apart is the variety of flavors—ranging from the classic peanut butter and chocolate chip to a refreshing coconut lime or a spicy cinnamon chai. Each variety uses a slightly different blend of spices, nuts, and natural sweeteners to keep things interesting and satisfying. I even found that blending in cottage cheese (yes, really!) in one version gives an ultra-smooth bite without overpowering the flavor.
These energy balls aren’t just another protein bite; they’re a little reward in your day, a boost that feels satisfying and wholesome. And if you want to mix it up, you can easily customize them to suit your mood or pantry. For example, swapping in almond flour for a gluten-free twist works beautifully. Honestly, once you try these, you might find yourself making a double batch just to keep a variety handy.
What Ingredients You Will Need
This recipe uses simple, wholesome ingredients to deliver bold flavor and satisfying texture without the fuss. Most are pantry staples or easy to find, and if you don’t have something, there’s usually a straightforward swap.
- Base Ingredients for All Flavors:
- Old-fashioned rolled oats (gluten-free if needed) – provides chew and fiber
- Nut butter (peanut, almond, or cashew) – adds healthy fats and creaminess
- Honey or maple syrup (use pure, local if possible) – natural sweetness
- Vanilla extract – enhances flavor depth
- Protein powder (whey or plant-based) – the protein boost
- Chia seeds or flaxseeds – for texture and omega-3s
- Flavor 1: Classic Peanut Butter Chocolate Chip
- Mini chocolate chips (I prefer Ghirardelli for the right melt-in-your-mouth feel)
- A pinch of sea salt – balances the sweetness
- Flavor 2: Coconut Lime
- Unsweetened shredded coconut (plus extra for rolling)
- Zest of one lime (adds bright citrus notes)
- Fresh lime juice (about 2 tablespoons)
- Flavor 3: Cinnamon Chai Spice
- Ground cinnamon (about 1 teaspoon)
- Ground cardamom (½ teaspoon)
- Ground ginger (¼ teaspoon)
- Ground cloves (a pinch)
- Flavor 4: Mocha Espresso
- Instant espresso powder (1 teaspoon)
- Cocoa powder (unsweetened, 2 tablespoons)
- Mini chocolate chips (optional)
- Flavor 5: Almond Joy
- Chopped almonds (toasted for extra flavor)
- Unsweetened shredded coconut
- Chocolate chips or chunks
For substitutions: Swap honey with maple syrup for a vegan option. Almond flour can replace oats for a grain-free version. If you’re avoiding dairy, look for plant-based protein powders and nut butters without added ingredients. Pro tip: I like to use natural, unsweetened nut butters to keep sugar levels in check while maximizing that rich nuttiness.
Equipment Needed
- Mixing bowls (preferably medium and large sizes)
- Measuring cups and spoons – accuracy is key for balance
- Spatula or wooden spoon for mixing
- Food processor (optional but handy for breaking down oats or nuts for finer texture)
- Baking sheet or plate lined with parchment paper for setting the balls
- Refrigerator space for chilling the balls until firm
You don’t need a food processor if you like a chunkier texture—just mix well by hand. I used to roll these out on my kitchen counter, but a silicone mat can make cleanup easier. If you’re on a budget, measuring spoons and cups from any standard set work perfectly fine—no need for fancy gadgets. Also, keeping your nut butter at room temperature helps mixing go smoother and cuts down on mess.
Preparation Method
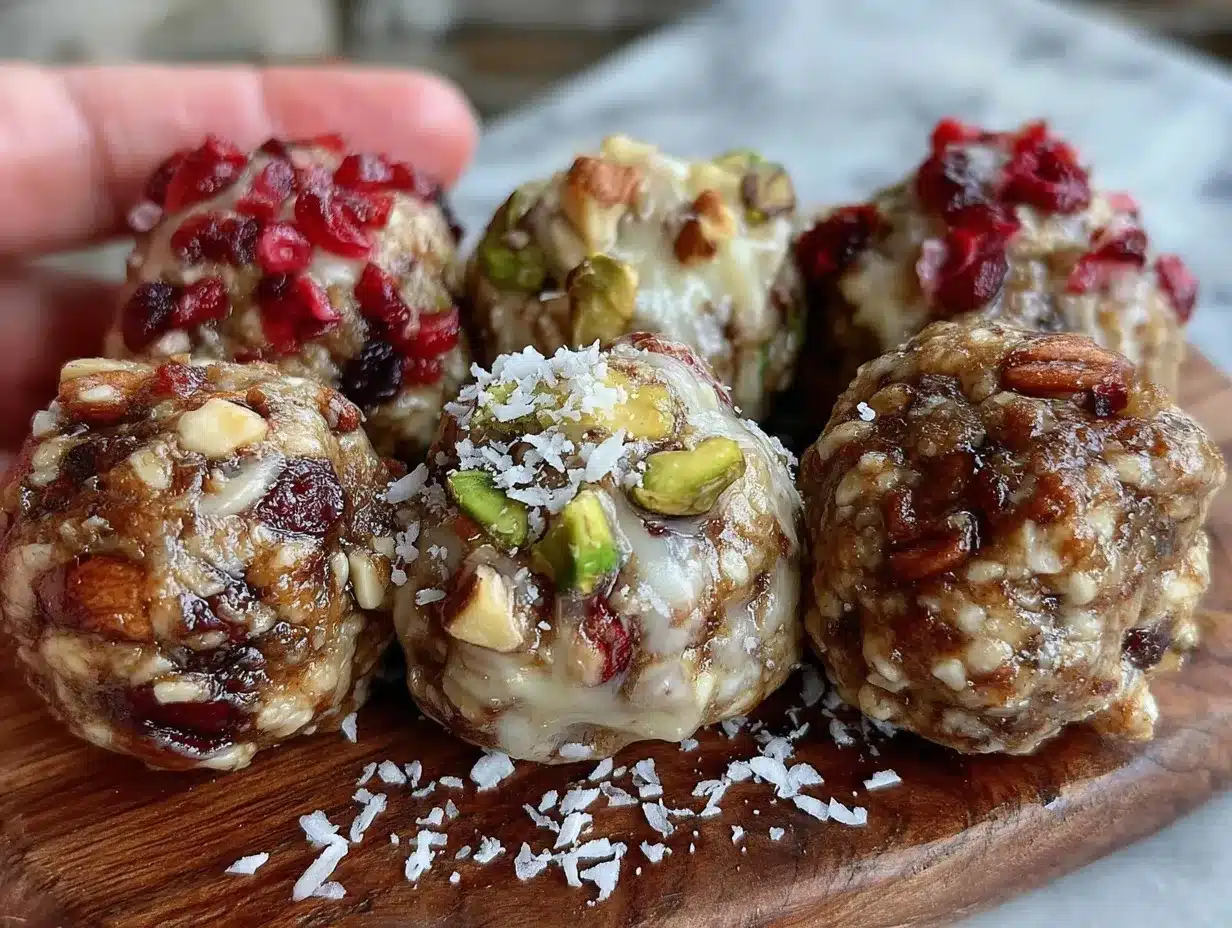
- Prepare your ingredients: Measure out all ingredients precisely. If using a food processor, pulse the oats and nuts (if applicable) until coarsely ground. This keeps the texture balanced. (5 minutes)
- Mix the base: In a large bowl, combine the oats, protein powder, chia or flaxseeds, and your chosen flavor-specific dry ingredients (like cinnamon or cocoa powder). Stir to blend evenly. (3 minutes)
- Add wet ingredients: Add nut butter, honey or maple syrup, vanilla extract, and any liquids like lime juice. Mix thoroughly with a spatula or wooden spoon until the mixture is sticky and holds together. If it feels too dry, add a teaspoon of water or more nut butter. (5 minutes)
- Incorporate mix-ins: Fold in chocolate chips, nuts, shredded coconut, or any other texture elements for your chosen flavor variety. Make sure they’re evenly distributed. (2 minutes)
- Form the balls: Scoop about 1.5 tablespoons (20 grams) of the mixture and roll it between your palms to form a firm ball. Place on the prepared baking sheet or plate. Repeat until all mixture is used. (10 minutes)
- Chill: Refrigerate the balls for at least 30 minutes to firm up. This step helps them hold their shape and improves texture. (30 minutes)
- Store or serve: Once chilled, transfer the balls to an airtight container. Keep refrigerated for up to a week or freeze for longer storage. (1 minute)
Tips: If the mixture feels too wet, add a little more protein powder or oats. If too crumbly, a bit more nut butter or honey usually fixes it. You want a sticky but not overly wet dough. The scent during mixing should be warm and inviting—especially with cinnamon chai or mocha espresso varieties.
Cooking Tips & Techniques
Making protein energy balls is straightforward, but a few tricks help nail the texture and flavor every time. First, don’t skip the chilling step—that’s when everything really comes together. I learned the hard way that skipping refrigeration leads to crumbly balls that don’t hold up well.
Also, room temperature nut butter is your friend. Cold nut butter can be tough to mix, especially if you’re stirring by hand. If you like a smoother texture, briefly pulse the base ingredients in a food processor, but be careful not to over-process into a paste.
Don’t overload on the liquid sweetener. It’s tempting to add more honey or maple syrup for sweetness, but too much makes the balls sticky and hard to roll. Taste your mixture before forming balls; it should taste slightly less sweet than you want since chilling dulls flavors slightly.
For consistent size and cooking times, stick to about 1.5 tablespoons per ball. If you want bite-sized snacks, halve that amount but adjust chilling time accordingly. When rolling, wet your hands slightly to prevent sticking without adding moisture to the dough.
One time, I tried skipping the oats and went with just nuts and protein powder—it was a mess! The oats provide essential structure and chew. If you want to switch oats for almond flour for gluten-free, add a bit of shredded coconut or chia seeds to help with binding.
Variations & Adaptations
These energy balls are a fantastic base for experimentation. Here are a few of my favorite variations and adjustments you can try:
- Vegan & Gluten-Free: Use gluten-free oats and swap honey for maple syrup. Choose a plant-based protein powder and ensure nut butter has no added dairy.
- Seasonal Flavors: Try swapping lime zest with orange zest in the coconut lime variety for a winter twist. Or add pumpkin pie spice instead of chai spices in the fall.
- Nut-Free Option: Replace nut butter with sunflower seed butter and use seeds like pumpkin or sunflower seeds in place of nuts. Use oat flour instead of almond flour.
- Boosted Nutrition: Add a tablespoon of spirulina or matcha powder for an extra nutrient punch—just be mindful it will alter the flavor.
- Personal Favorite Twist: I once added a tablespoon of crumbled bacon-wrapped jalapeño poppers spice blend to the mocha espresso balls for a surprising kick that worked better than I expected.
Feel free to swap in dried fruit, seeds, or different nut butters to suit your taste. I find that making a batch with several flavors on hand keeps things exciting and means you won’t get bored reaching for the same snack every day.
Serving & Storage Suggestions
These protein energy balls are best served chilled or at room temperature. They make a perfect grab-and-go snack for busy mornings or post-workout energy. I like to serve them alongside a cup of herbal tea or a smoothie for a balanced mini-meal.
If you’re packing them for lunches or road trips, store them in an airtight container with parchment paper layers to prevent sticking. They keep well in the fridge for up to one week, though they rarely last that long in my house. For longer storage, freeze them in a sealed container or freezer bag for up to three months—just thaw a few minutes before eating.
Reheating isn’t necessary, but if you prefer a softer texture, let them sit at room temperature for about 10 minutes or microwave briefly for 10-15 seconds. Flavors tend to deepen after a day in the fridge, especially the spiced varieties.
For a fun twist, try crumbling them over a bowl of oatmeal or yogurt—kind of like a homemade granola topping. It’s a great way to add texture and protein to breakfast or dessert, similar to how adding streusel makes my honey cinnamon oatmeal bread extra special.
Nutritional Information & Benefits
Each protein energy ball (about 20 grams) contains approximately:
| Calories | Protein | Carbohydrates | Fat | Fiber |
|---|---|---|---|---|
| 110-130 kcal | 5-7 grams | 10-12 grams | 6-8 grams | 2-3 grams |
Key ingredients like nut butters and chia seeds provide healthy fats and omega-3 fatty acids, while oats offer slow-digesting carbohydrates for sustained energy. Protein powder boosts muscle repair and satiety, making these balls a balanced snack option. They’re naturally gluten-free if you use certified oats and can be adapted for vegan or nut-free diets.
From a wellness perspective, these bites feel like a smart snack choice—fueling your body with clean energy without excess sugar or artificial ingredients. They’re perfect for anyone looking to maintain energy levels and curb cravings between meals.
Conclusion
Easy homemade protein energy balls in five flavor varieties have become my secret weapon against hunger and energy slumps. They’re simple to make, flexible to customize, and genuinely delicious in a way that keeps me coming back for more. Whether you want to stick to the classic peanut butter chocolate chip or experiment with chai spice or coconut lime, there’s a flavor here to match your mood and pantry.
Don’t be afraid to tweak the recipe to make it your own—swap ingredients, adjust sweetness, or add your favorite mix-ins. I love how these little balls fit into different parts of my day, from a quick breakfast bite to an afternoon boost after a long run.
If you give this recipe a try, I’d love to hear which flavor you favored or any creative twists you came up with. Sharing your experiences helps keep the snack magic alive for all of us. Here’s to many energized days ahead!
Frequently Asked Questions
Can I store protein energy balls at room temperature?
They’re best kept in the fridge to maintain their shape and freshness, especially in warm climates. At room temperature, they may soften and become sticky.
What’s the best nut butter to use?
Natural, unsweetened nut butters like peanut, almond, or cashew work best. Avoid brands with added sugar or oils for the cleanest flavor and texture.
Can I make these protein energy balls without protein powder?
Yes, but the texture and protein content will change. You might need to add a bit more oats or nut butter to help binding.
How do I prevent the balls from sticking to my hands?
Wet your hands slightly with water or lightly oil them before rolling. This helps keep the mixture from sticking without adding moisture.
Are these energy balls suitable for kids?
Absolutely! They’re a great, mess-free snack for kids, especially the milder flavors like peanut butter chocolate chip or almond joy. Just watch out for nut allergies.
For more savory snack inspiration, you might enjoy the spicy avocado chicken wrap or the loaded cream cheese stuffed mushrooms with bacon—both quick, satisfying bites that pack big flavor.
Pin This Recipe!
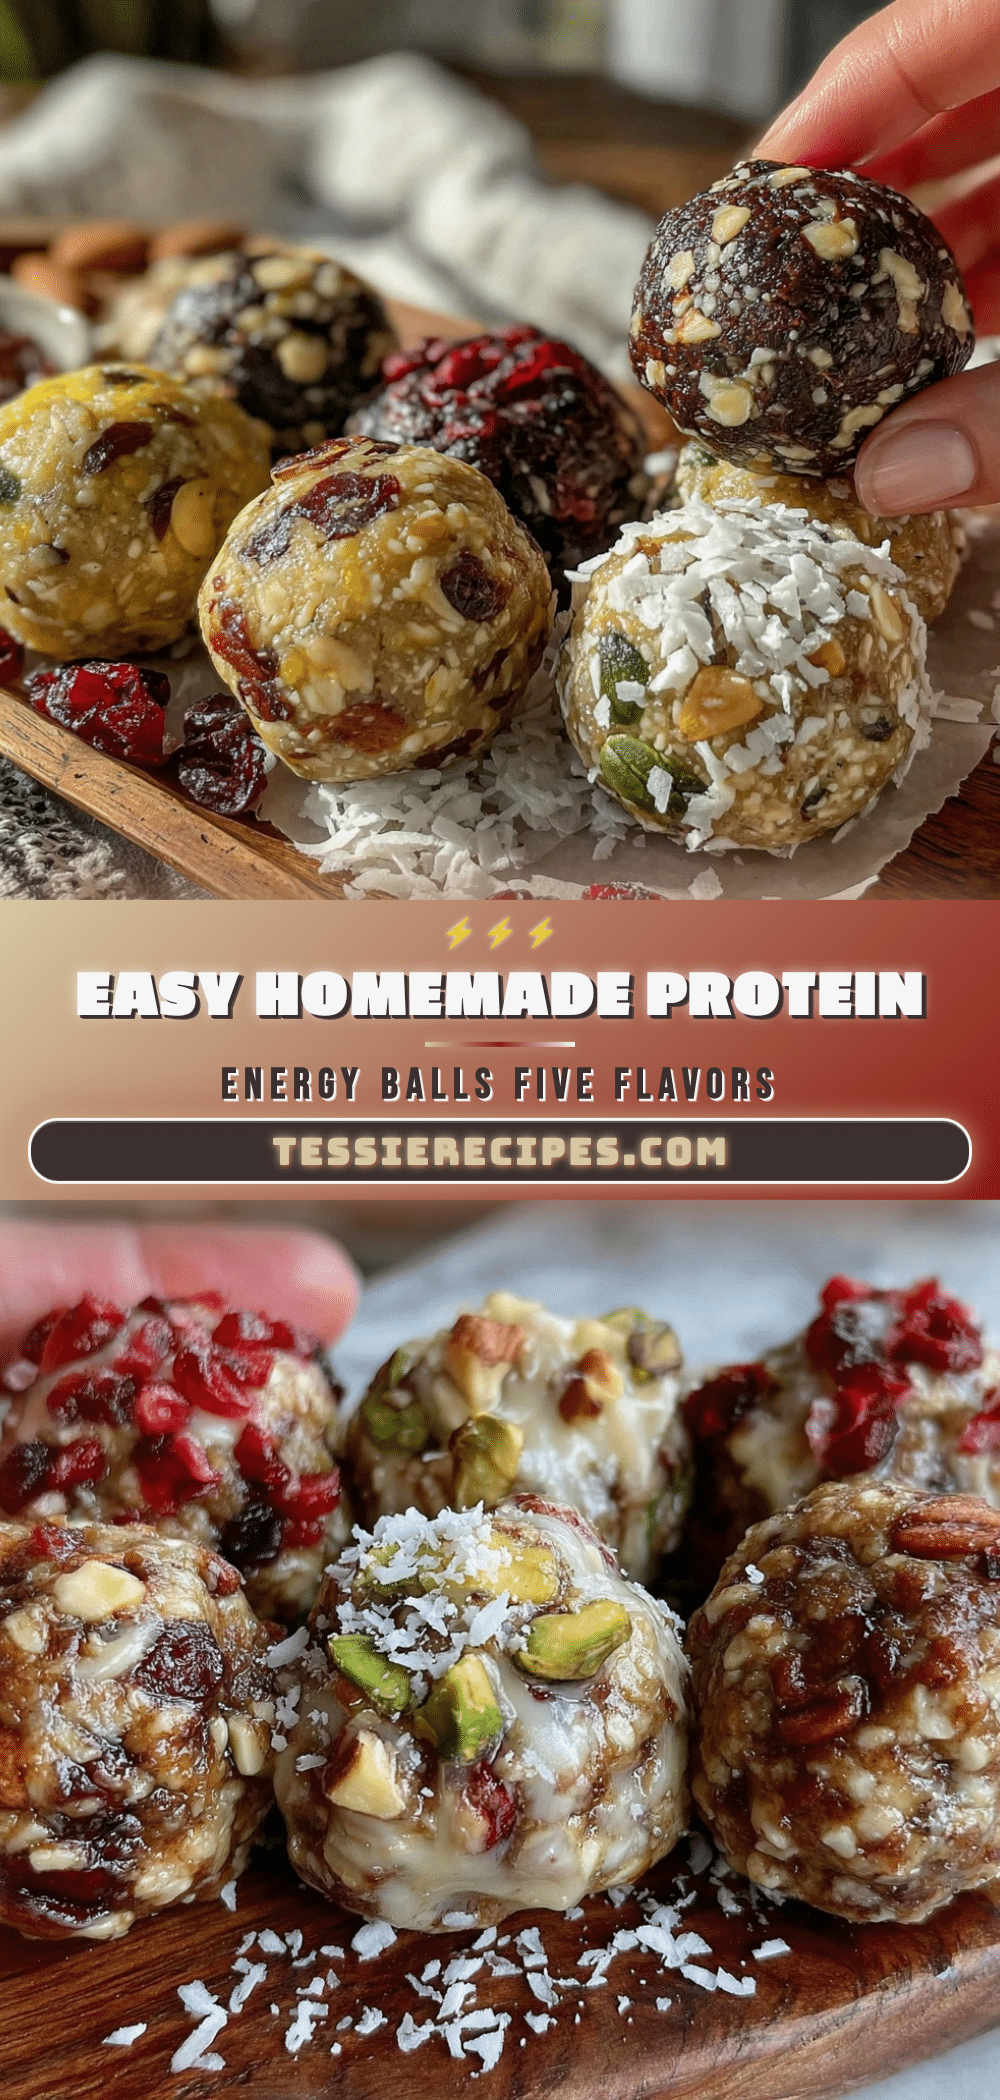
Easy Homemade Protein Energy Balls Recipe 5 Delicious Flavors to Boost Your Energy

These easy homemade protein energy balls come in five delicious flavors and provide a quick, healthy snack packed with protein and energy-boosting ingredients. Perfect for busy mornings, post-workout, or anytime you need a nutritious pick-me-up.
- Prep Time: 15 minutes
- Cook Time: 0 minutes
- Total Time: 45 minutes
- Yield: 20 balls (approximately 10 servings, 2 balls per serving) 1x
- Category: Snack
- Cuisine: American
Ingredients
- Old-fashioned rolled oats (gluten-free if needed)
- Nut butter (peanut, almond, or cashew)
- Honey or maple syrup
- Vanilla extract
- Protein powder (whey or plant-based)
- Chia seeds or flaxseeds
- Mini chocolate chips (for Classic Peanut Butter Chocolate Chip flavor)
- Sea salt (a pinch, for Classic Peanut Butter Chocolate Chip flavor)
- Unsweetened shredded coconut (plus extra for rolling, for Coconut Lime and Almond Joy flavors)
- Zest of one lime (for Coconut Lime flavor)
- Fresh lime juice (about 2 tablespoons, for Coconut Lime flavor)
- Ground cinnamon (about 1 teaspoon, for Cinnamon Chai Spice flavor)
- Ground cardamom (½ teaspoon, for Cinnamon Chai Spice flavor)
- Ground ginger (¼ teaspoon, for Cinnamon Chai Spice flavor)
- Ground cloves (a pinch, for Cinnamon Chai Spice flavor)
- Instant espresso powder (1 teaspoon, for Mocha Espresso flavor)
- Cocoa powder (unsweetened, 2 tablespoons, for Mocha Espresso flavor)
- Mini chocolate chips (optional, for Mocha Espresso flavor)
- Chopped almonds (toasted, for Almond Joy flavor)
- Chocolate chips or chunks (for Almond Joy flavor)
Instructions
- Prepare your ingredients: Measure out all ingredients precisely. If using a food processor, pulse the oats and nuts (if applicable) until coarsely ground. This keeps the texture balanced. (5 minutes)
- Mix the base: In a large bowl, combine the oats, protein powder, chia or flaxseeds, and your chosen flavor-specific dry ingredients (like cinnamon or cocoa powder). Stir to blend evenly. (3 minutes)
- Add wet ingredients: Add nut butter, honey or maple syrup, vanilla extract, and any liquids like lime juice. Mix thoroughly with a spatula or wooden spoon until the mixture is sticky and holds together. If it feels too dry, add a teaspoon of water or more nut butter. (5 minutes)
- Incorporate mix-ins: Fold in chocolate chips, nuts, shredded coconut, or any other texture elements for your chosen flavor variety. Make sure they’re evenly distributed. (2 minutes)
- Form the balls: Scoop about 1.5 tablespoons (20 grams) of the mixture and roll it between your palms to form a firm ball. Place on the prepared baking sheet or plate. Repeat until all mixture is used. (10 minutes)
- Chill: Refrigerate the balls for at least 30 minutes to firm up. This step helps them hold their shape and improves texture. (30 minutes)
- Store or serve: Once chilled, transfer the balls to an airtight container. Keep refrigerated for up to a week or freeze for longer storage. (1 minute)
Notes
Use room temperature nut butter for easier mixing. If mixture is too dry, add a teaspoon of water or more nut butter; if too wet, add more protein powder or oats. Wet hands slightly to prevent sticking when rolling balls. Chilling is essential to firm up the balls and improve texture. Variations include swapping honey for maple syrup for vegan option, almond flour for oats for grain-free, and using plant-based protein powders and nut butters for dairy-free. Store in airtight container in fridge up to one week or freeze up to three months.
Nutrition
- Serving Size: 2 balls (about 40 gr
- Calories: 120
- Sugar: 5
- Sodium: 50
- Fat: 7
- Saturated Fat: 1
- Carbohydrates: 11
- Fiber: 2.5
- Protein: 6
Keywords: protein balls, energy balls, healthy snack, no bake, quick snack, homemade protein balls, gluten-free snack, vegan option, nut butter snack