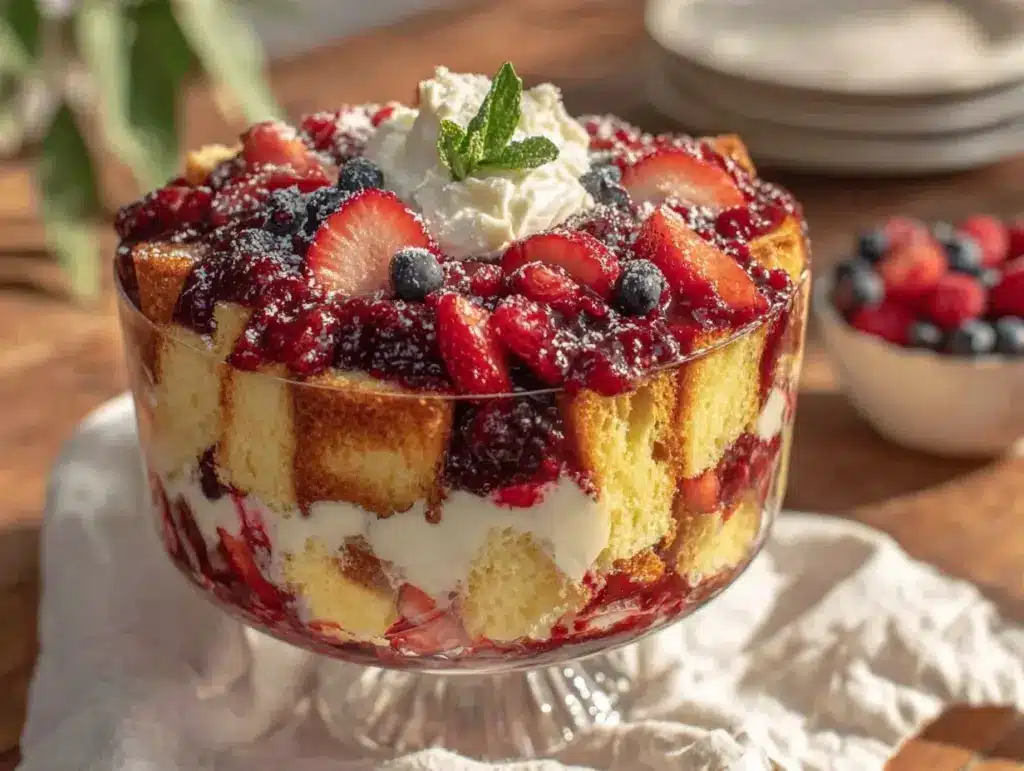
“You’ve got to try this,” my neighbor texted me one afternoon, out of the blue. It was mid-July, and honestly, I was in full-on summer slump mode—too hot to cook, too hungry to wait. Her message came with a photo of a dazzling dessert layered in red, white, and blue, glowing in the afternoon sun. Skeptical but intrigued, I figured why not? Turns out, that Easy No-Bake Red White and Blue Berry Trifle was exactly the kind of fuss-free, vibrant dish I needed.
It wasn’t just the colors or the patriotic vibe that got me hooked. The first spoonful was like a cool breeze on a sweltering day—the creaminess, the burst of fresh berries, and the sponge cake soaked just right with a hint of vanilla. Honestly, I kept making it over and over that week, even bringing it out for a casual weekend barbecue. No oven, no stress, just a handful of simple ingredients coming together to make something that felt special without being complicated.
What stuck with me was how this trifle wasn’t just a dessert—it was a quiet little celebration of summer, friendship, and those unexpected moments when something easy turns into a total win. If you’ve ever dodged dessert because you didn’t want to turn on the oven or fuss with complicated steps, this recipe might just become your new go-to. It’s the kind of thing you can throw together in minutes, then let chill while you enjoy the sunshine (or company!).
So, here’s the lowdown on this no-bake beauty. It’s colorful, it’s fresh, and it’s unapologetically simple. Let’s get into why you’ll love this recipe enough to keep it in your summer rotation year after year.
Why You’ll Love This Recipe
After testing this Easy No-Bake Red White and Blue Berry Trifle multiple times (yes, I’m not kidding), I can confidently say it hits all the right notes for a fuss-free summer dessert. Here’s why it’s worth keeping in your recipe box:
- Quick & Easy: Comes together in under 20 minutes, making it perfect for last-minute gatherings or when you just want a sweet treat without the wait.
- Simple Ingredients: No need for specialty stores or fancy ingredients—you probably have most of this in your pantry or fridge already.
- Perfect for Summer Celebrations: Whether it’s a Fourth of July picnic or a casual weekend barbecue, this trifle’s patriotic colors and fresh flavors always impress.
- Crowd-Pleaser: Kids and adults alike rave about the creamy layers paired with fresh berries and soft cake—it’s a universal favorite.
- Unbelievably Delicious: The contrast between the sweet cake, tangy berries, and smooth whipped cream is just next-level comfort food without being heavy.
What sets this recipe apart is the layering technique I’ve fine-tuned after a few tries. I use a light vanilla sponge cake that soaks up the berry juices beautifully without getting soggy. Plus, the whipped cream is delicately sweetened—not too overpowering—letting the berries shine through. Honestly, it’s a dessert that feels both indulgent and refreshingly light, which is a rare combo.
And here’s a little secret: I once swapped out the classic berries for a mix of fresh peaches and blueberries, just to switch things up, and it was a game-changer. But no matter how you tweak it, this trifle has that “close your eyes and savor it” kind of vibe that keeps people coming back for more. It’s the perfect balance of fuss-free and fancy.
What Ingredients You Will Need
This Easy No-Bake Red White and Blue Berry Trifle uses straightforward, wholesome ingredients to create bold flavor and a satisfying texture without any fuss. The best part? Most of these are pantry staples or fresh produce you can easily grab at the market.
- Vanilla Sponge Cake: Pre-made or homemade, cut into bite-size cubes (I recommend Sara Lee for a reliable store-bought option)
- Fresh Strawberries: Sliced, ripe, and juicy for that vibrant red pop
- Fresh Blueberries: Firm and sweet, washed and ready to go
- Fresh Raspberries: Optional but adds a lovely tartness
- Whipped Cream: About 2 cups, lightly sweetened with powdered sugar (homemade or store-bought like Reddi-wip)
- Vanilla Yogurt or Cream Cheese Mixture: For the “white” layer, I like blending Greek yogurt with a bit of cream cheese for tang and creaminess (use dairy-free yogurt if preferred)
- Powdered Sugar: To sweeten the whipped cream and yogurt mixture lightly
- Lemon Zest: Just a teaspoon to brighten the flavor
- Fresh Mint Leaves: For garnish, optional but adds freshness
You can easily swap the vanilla sponge cake for angel food cake if you want a lighter texture. For a dairy-free version, coconut whipped cream and plant-based yogurt work great. In summer, if berries aren’t at their peak, frozen berries can be thawed and drained to avoid sogginess.
Equipment Needed
- Large glass trifle bowl or individual clear dessert glasses to show off those beautiful layers
- Mixing bowls for whipping cream and blending yogurt/cream cheese
- Electric hand mixer or stand mixer (makes whipping cream a breeze)
- Spatula for folding and layering ingredients
- Knife and cutting board for slicing berries and cake
- Measuring cups and spoons
If you don’t have a fancy trifle bowl, no worries—a clear glass bowl or even mason jars work just fine and look charming. I’ve used everything from a deep Pyrex dish to simple glass parfait cups, and each gives a slightly different presentation but the same delicious result. For whipping cream, a handheld mixer is my go-to, but a whisk and elbow grease can get you there if you’re patient. Keeping your mixing bowl and beaters chilled helps the cream whip up faster, a little trick I picked up after a few attempts!
Preparation Method
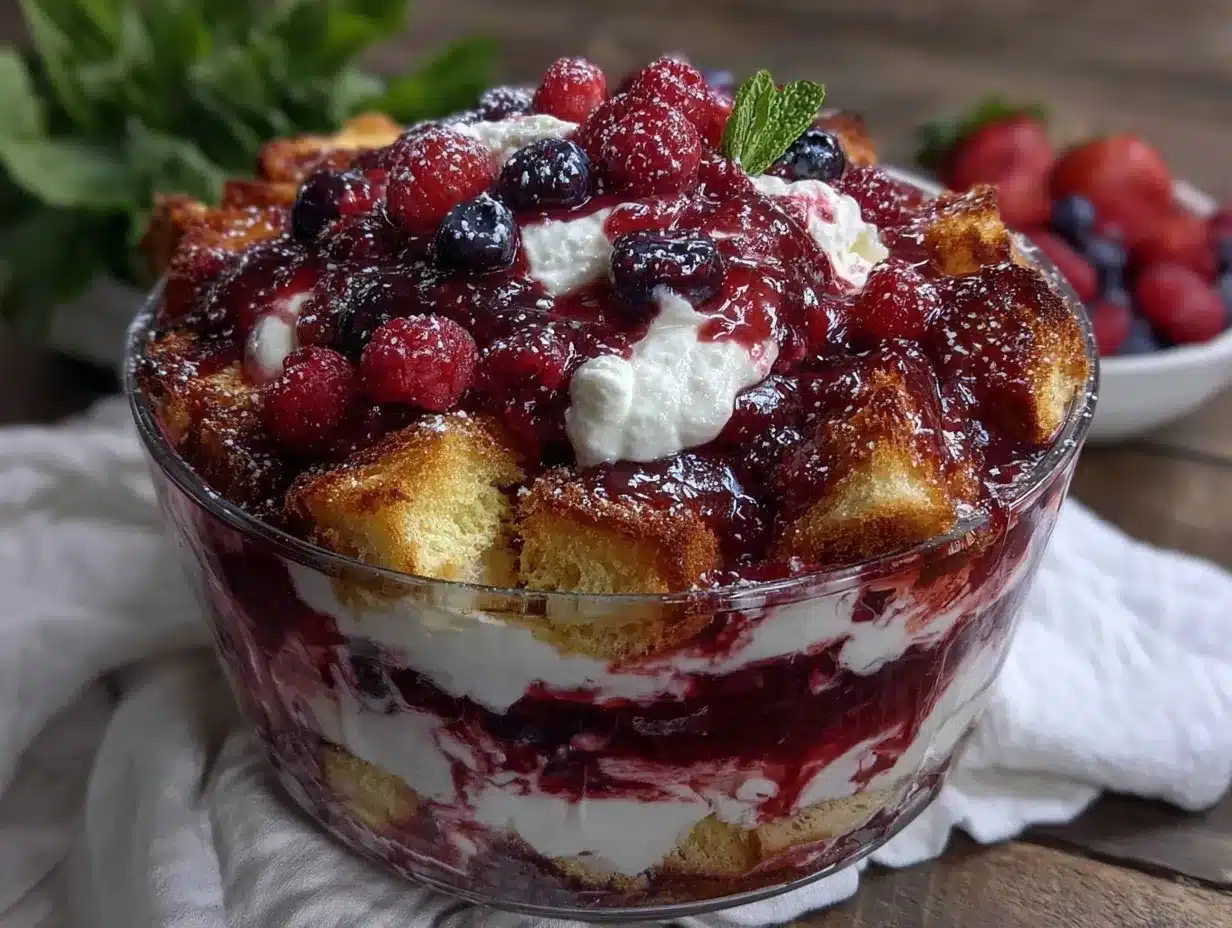
- Prepare the whipped cream: In a chilled mixing bowl, beat 2 cups (480 ml) of heavy cream with 2 tablespoons (15 g) powdered sugar and 1 teaspoon (5 ml) vanilla extract until soft peaks form. This usually takes about 3-5 minutes with an electric mixer. Be careful not to overbeat; it should be fluffy but still smooth.
- Mix the yogurt layer: In a separate bowl, combine 1 cup (240 g) plain Greek yogurt with 4 ounces (115 g) cream cheese, softened, and 1 tablespoon (12 g) powdered sugar. Whisk until smooth and creamy. Add a teaspoon of fresh lemon zest to brighten the flavor.
- Prepare the berries: Wash and dry 1 cup (150 g) strawberries, slice thinly. Rinse 1 cup (150 g) blueberries and 1 cup (120 g) raspberries, pat dry gently. Set aside.
- Cut the cake: Cube about 6 cups (600 g) of vanilla sponge cake into bite-sized pieces. If using store-bought cake, try to pick a moist, sturdy brand that won’t fall apart easily.
- Begin layering: Start with a layer of cake cubes at the bottom of your trifle bowl (about 1/3 of the total). Next, spread half of the yogurt mixture over the cake, smoothing it gently.
- Add berries: Scatter about 1/3 of the berries evenly over the yogurt layer. Then spoon on 1/3 of the whipped cream, spreading it lightly.
- Repeat layers: Add another layer of cake cubes, followed by the remaining yogurt mixture, then another portion of berries, and finally the rest of the whipped cream on top.
- Top it off: Reserve a handful of berries for garnish and sprinkle them over the final whipped cream layer. Add a few mint leaves if you like for a fresh pop of green.
- Chill: Cover the trifle with plastic wrap and refrigerate for at least 2 hours, preferably 4, so the flavors meld and the cake softens slightly.
- Serve: Spoon portions into dessert bowls or serve straight from the trifle bowl. Enjoy the layers of creamy, fruity goodness!
Pro tip: If your cake feels a bit dry, a quick drizzle of milk or vanilla syrup on the cake cubes before layering can add moisture and flavor. Also, layering evenly ensures every bite gets that perfect balance of cream, berries, and cake.
Cooking Tips & Techniques
One thing I learned the hard way is that timing is everything with this trifle. If you layer it too early and leave it out too long, the cake can get soggy and mushy. Keeping it chilled not only helps the flavors meld but maintains the integrity of those beautiful layers.
Whipping cream can be tricky—overwhip it, and you get butter, underwhip, and it’s too runny. I always start slow, gradually increasing speed, and stop as soon as soft peaks appear. Also, using chilled ingredients and equipment makes a noticeable difference in the whipping process.
When picking berries, freshness is key. Avoid berries that look dull or mushy. If you’re using frozen berries, thaw them completely and drain well, or the excess juice can turn your trifle into a soggy mess.
For the yogurt and cream cheese mixture, make sure the cream cheese is fully softened at room temperature. Otherwise, lumps sneak in and you end up whisking longer than needed.
Finally, layering neatly is half the fun and half the appeal. I like to use an offset spatula or the back of a spoon to smooth each layer gently. It makes for a prettier presentation and ensures every forkful has a bit of everything.
Variations & Adaptations
This Easy No-Bake Red White and Blue Berry Trifle is a flexible recipe that you can tweak based on taste, dietary needs, or what’s in season.
- Dairy-Free Version: Swap the whipped cream for coconut whipped cream and use dairy-free yogurt (like almond or coconut-based). The coconut flavor complements the berries surprisingly well.
- Different Fruits: Switch out the berries for tropical fruits like mango, pineapple, and kiwi for a colorful twist. Or try peaches and blueberries for a sweet-sour combo.
- Alcohol-Infused: For an adult version, drizzle a tablespoon of amaretto or berry liqueur over the cake layers before assembling. It adds a subtle boozy depth.
- Gluten-Free: Use gluten-free pound cake or angel food cake alternatives. There are great store-bought options that hold up well for trifles.
- Additional Crunch: Sprinkle toasted sliced almonds or crushed graham crackers between layers for texture contrast. I once tossed in some crushed bacon-wrapped jalapeño poppers for a savory party snack alongside this dessert—it was a fun combo of flavors!
One personal favorite variation is mixing in a bit of mascarpone cheese with the yogurt for extra creaminess and a slight tang. It’s decadent but still keeps that light, no-bake charm intact.
Serving & Storage Suggestions
This trifle is best served chilled straight from the fridge. I like to let it sit at room temperature for about 10 minutes before serving so the flavors aren’t too cold and the cream softens slightly. It also makes spooning easier.
For a festive touch, garnish individual servings with a few fresh mint leaves and a dusting of powdered sugar. Pair it with a glass of sparkling lemonade or an iced tea for a refreshing summer combo.
If you’re prepping ahead (always a good idea!), cover the trifle tightly with plastic wrap and refrigerate for up to 2 days. The flavors actually deepen, but the cake can get softer, so it’s best eaten within that window.
Leftovers keep well in individual airtight containers for about 2 days. Reheating isn’t recommended since it’s a cold dessert, but letting it warm slightly at room temperature brings out the flavors nicely.
This recipe’s fun is in those pretty layers and fresh berry pop, which mellow beautifully over time but taste their best fresh.
Nutritional Information & Benefits
Each serving (about 1 cup/250 ml) of this Easy No-Bake Red White and Blue Berry Trifle provides a moderate calorie count, roughly 250-300 calories depending on exact ingredients used. It’s a balanced treat with fresh fruit supplying antioxidants and vitamin C, while the yogurt adds protein and probiotics.
Using Greek yogurt boosts the protein content, making it a bit more filling than a typical whipped cream dessert. The berries offer fiber and natural sweetness without added sugars. You can easily adjust sweetness levels to keep it lighter.
This dessert is gluten-free if you choose gluten-free cake, and dairy-free options are simple to swap in. Just watch for potential allergies to dairy or gluten when selecting ingredients.
From a wellness perspective, it’s a guilt-light dessert that satisfies sweet cravings and includes real fruit, making it a better pick compared to heavy, sugar-laden cakes or pies.
Conclusion
This Easy No-Bake Red White and Blue Berry Trifle is proof that summer desserts don’t have to be complicated or oven-dependent to impress. It’s a recipe that brings people together, looks stunning, and tastes like a celebration in every bite.
Feel free to make it your own by swapping fruits or adding your favorite toppings. Every time I serve it, there’s a little smile of surprise when folks realize how easy and delicious it is—no one guesses it took less than 20 minutes to pull together.
Personally, it’s become a summer staple for me, especially when I want to bring something fresh and festive without fuss. If you try it, I’d love to hear how you customize yours or what moments you pair it with—there’s always room for a little more berry happiness in the world.
Enjoy every spoonful, and here’s to many bright, berry-filled summer days ahead!
Frequently Asked Questions
Can I make this trifle ahead of time?
Absolutely! It’s best chilled for at least 2 hours before serving. You can prepare it up to 2 days in advance; just keep it covered in the fridge.
What can I use instead of vanilla sponge cake?
Angel food cake or gluten-free pound cake are great alternatives. Even ladyfingers or graham crackers work for a different texture.
How do I prevent the cake from getting soggy?
Use fresh berries rather than thawed frozen ones, or drain thawed berries well. Also, layering just before serving and chilling promptly helps maintain texture.
Can I use frozen berries in this recipe?
Yes, but thaw and drain them thoroughly to avoid excess moisture, which can make the trifle watery.
Is there a dairy-free version of this trifle?
Definitely! Substitute coconut whipped cream and plant-based yogurt, and use a dairy-free cake or gluten-free option to suit your needs.
Pin This Recipe!
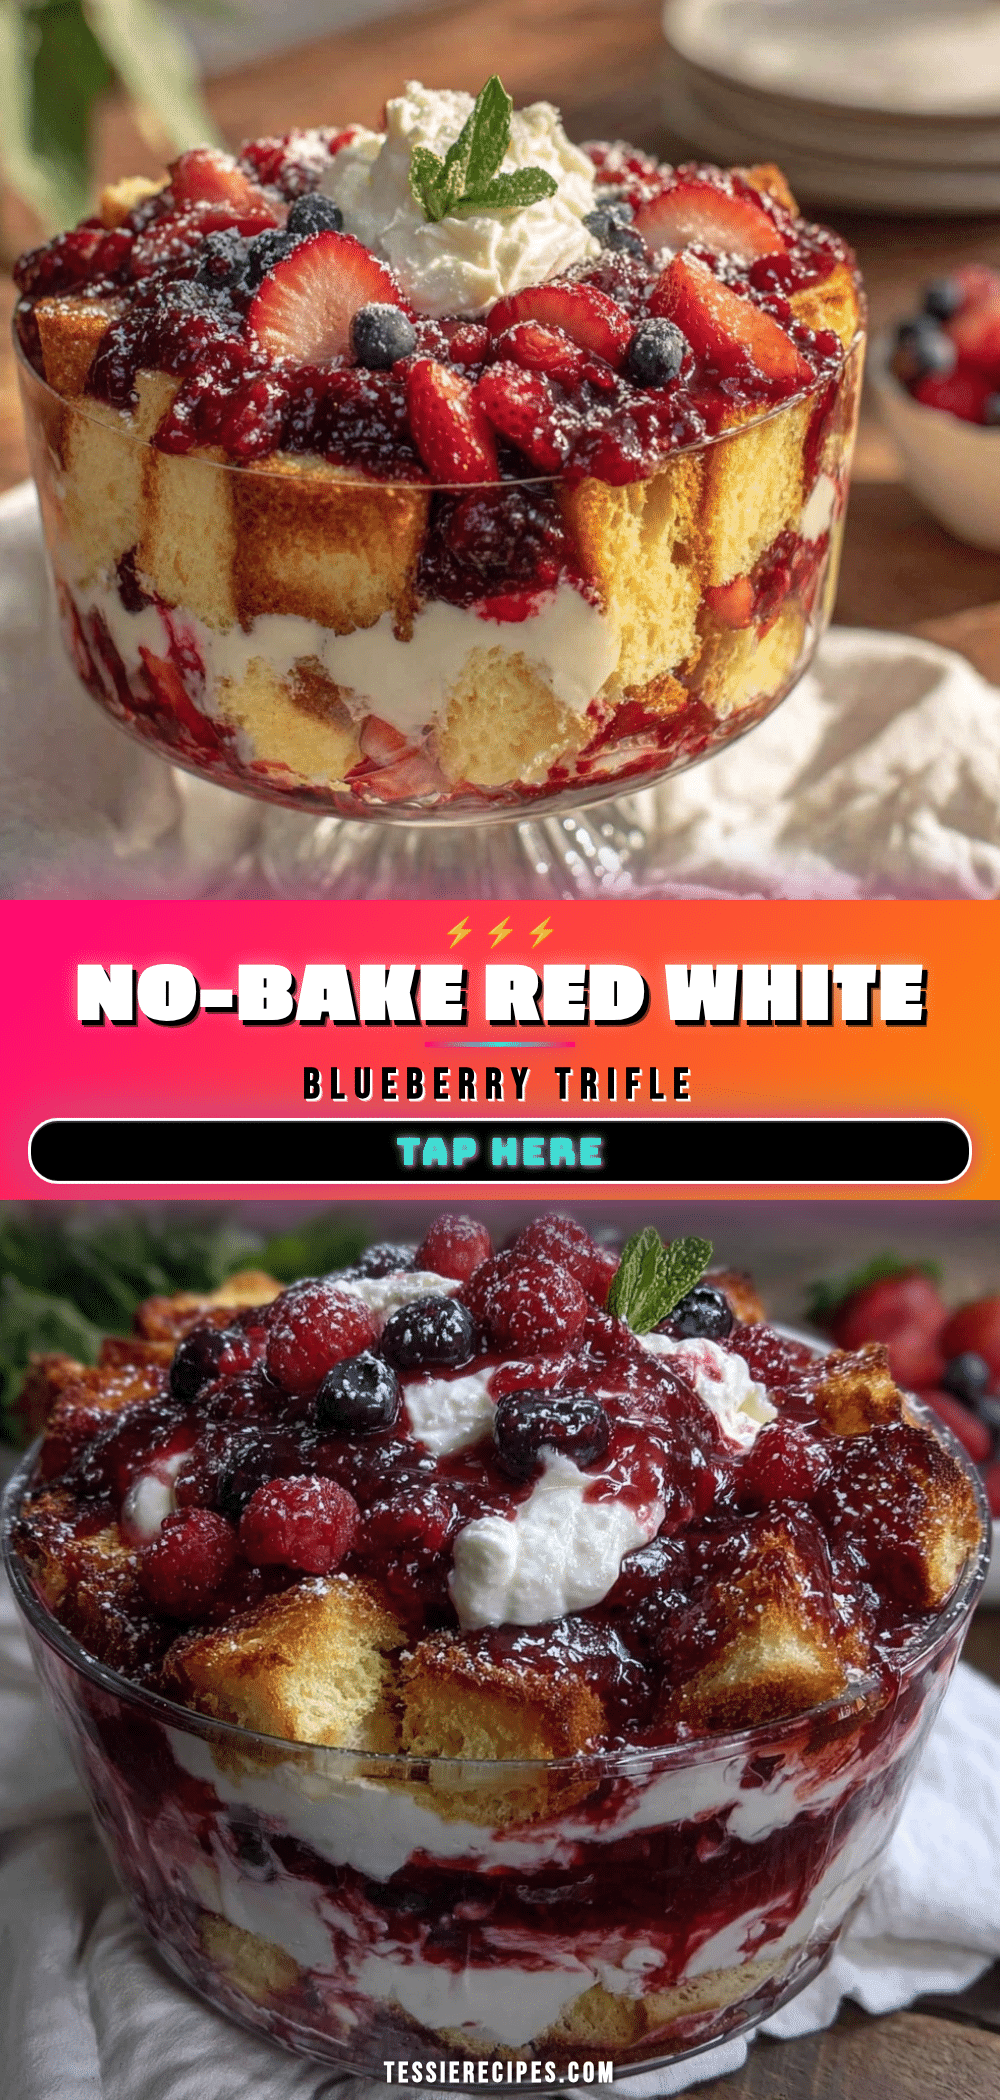
Easy No-Bake Red White and Blue Berry Trifle Recipe for Perfect Summer Dessert

A quick and easy no-bake trifle featuring layers of vanilla sponge cake, fresh red, white, and blue berries, whipped cream, and a creamy yogurt mixture. Perfect for summer celebrations and fuss-free entertaining.
- Prep Time: 15 minutes
- Cook Time: 0 minutes
- Total Time: 2 hours 15 minutes
- Yield: 8 servings 1x
- Category: Dessert
- Cuisine: American
Ingredients
- 6 cups (600 g) vanilla sponge cake, cut into bite-size cubes (store-bought or homemade)
- 1 cup (150 g) fresh strawberries, sliced
- 1 cup (150 g) fresh blueberries
- 1 cup (120 g) fresh raspberries (optional)
- 2 cups (480 ml) heavy cream
- 2 tablespoons (15 g) powdered sugar (for whipped cream)
- 1 teaspoon (5 ml) vanilla extract
- 1 cup (240 g) plain Greek yogurt
- 4 ounces (115 g) cream cheese, softened
- 1 tablespoon (12 g) powdered sugar (for yogurt mixture)
- 1 teaspoon lemon zest
- Fresh mint leaves for garnish (optional)
Instructions
- In a chilled mixing bowl, beat 2 cups (480 ml) of heavy cream with 2 tablespoons (15 g) powdered sugar and 1 teaspoon (5 ml) vanilla extract until soft peaks form, about 3-5 minutes.
- In a separate bowl, combine 1 cup (240 g) plain Greek yogurt with 4 ounces (115 g) softened cream cheese and 1 tablespoon (12 g) powdered sugar. Whisk until smooth and creamy. Add 1 teaspoon lemon zest and mix.
- Wash and dry 1 cup (150 g) strawberries and slice thinly. Rinse 1 cup (150 g) blueberries and 1 cup (120 g) raspberries, pat dry gently.
- Cube about 6 cups (600 g) of vanilla sponge cake into bite-sized pieces.
- Start layering in a trifle bowl: place 1/3 of the cake cubes at the bottom.
- Spread half of the yogurt mixture over the cake layer, smoothing gently.
- Scatter about 1/3 of the berries evenly over the yogurt layer.
- Spoon 1/3 of the whipped cream over the berries and spread lightly.
- Repeat layers: add another 1/3 of cake cubes, remaining yogurt mixture, another 1/3 of berries, and the rest of the whipped cream on top.
- Reserve a handful of berries for garnish and sprinkle over the final whipped cream layer. Add fresh mint leaves if desired.
- Cover the trifle with plastic wrap and refrigerate for at least 2 hours, preferably 4, to allow flavors to meld and cake to soften slightly.
- Serve chilled, spooning portions into dessert bowls or serving directly from the trifle bowl.
Notes
Use chilled bowls and beaters to whip cream faster. To prevent soggy cake, layer just before serving and keep chilled. For dairy-free, substitute coconut whipped cream and plant-based yogurt. Frozen berries should be thawed and drained well. Drizzle milk or vanilla syrup on cake cubes if dry.
Nutrition
- Serving Size: About 1 cup (250 ml)
- Calories: 275
- Sugar: 15
- Sodium: 120
- Fat: 18
- Saturated Fat: 11
- Carbohydrates: 22
- Fiber: 3
- Protein: 5
Keywords: no-bake dessert, summer dessert, berry trifle, patriotic dessert, easy trifle, red white and blue dessert, whipped cream dessert



