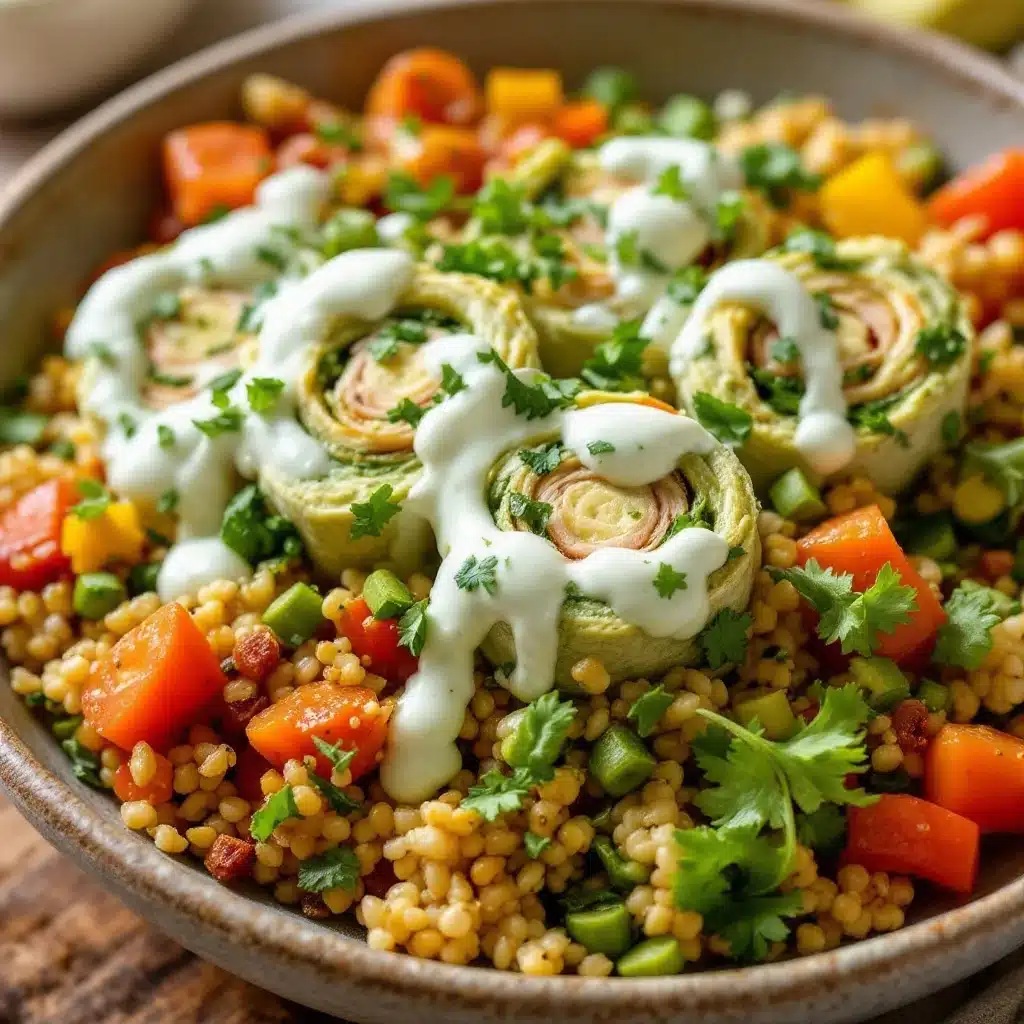
Dropping my son off at school five minutes late again, I was already mentally preparing for the afternoon snack battle. You know the one—where you open the fridge, stare blankly, and realize you have absolutely nothing fun to pack. I had a half-empty package of turkey slices, some leftover basil pesto from last night’s pasta, and a flour tortilla that was about to hit its expiration date. Not exactly lunchbox gold. But I was tired, honestly, and I just started layering things together like a desperate food scientist. I spread the pesto thin, laid the turkey flat, rolled it tight, and sliced. And there they were—these perfect little spirals staring back at me like they’d been the plan all along.
The first time I made these easy turkey pesto pinwheel lunchbox roll-ups, I didn’t even photograph them. I just threw them into a container and hoped for the best. But when my kid came home asking for “those swirly things” again the next day, I knew I’d stumbled onto something real. They’re not fancy. They’re not complicated. But they solve that awful mid-week lunch problem better than anything else I’ve tried. And let’s face it—anything that makes lunch packing feel less like a chore and more like a tiny victory is worth holding onto.
These roll-ups have become my secret weapon for busy mornings when I need something fast, filling, and actually fun to eat. No heating required. No weird textures. Just a simple, tasty spiral that somehow feels like a treat even though it’s basically a sandwich in disguise. That’s the kind of recipe that sticks around.
Why You’ll Love This Recipe
I’ve tested a lot of lunchbox ideas over the years, and most of them fall into two categories: either they take forever to assemble, or they fall apart by lunchtime. These turkey pesto pinwheels are the sweet spot between speed and staying power. After making them at least a dozen times now, I can tell you exactly why they work so well.
- Ready in 10 minutes flat. No joke. By the time you brew your morning coffee, these are done and chilling in the fridge. Perfect for those chaotic school mornings when every minute counts.
- Just 4 main ingredients. Tortillas, turkey, pesto, and cheese. That’s it. You probably have all of them right now, which means no last-minute grocery runs.
- Totally customizable. Swap the turkey for ham or roast beef. Use sun-dried tomato pesto instead of basil. Add spinach or roasted red peppers. They adapt to whatever you have on hand.
- Kid-approved and adult-friendly. My kids devour these, but I’ve also packed them for my own work lunches more times than I can count. They’re equally at home in a lunchbox or a picnic basket.
- No cooking required. This is a no-bake, no-stove recipe. If you can spread and roll, you can make these. Perfect for hot days when you don’t want to turn on the oven.
What really sets these apart from other wrap recipes is the texture. The pesto keeps everything moist without making the tortilla soggy, and the cream cheese creates a barrier that holds everything together beautifully. I learned that trick after my first few attempts ended up as sad, unrolled messes. Now they stay tight and neat, even after hours in a lunchbox.
There’s something deeply satisfying about opening a container and seeing those perfect little spirals. It feels like you put in way more effort than you actually did, and honestly, I’m not mad about that. These roll-ups have saved me on days when I had nothing else planned, and they’ve become the lunch I actually look forward to packing.
What Ingredients You Will Need
This recipe keeps things simple, but each ingredient plays a specific role in making these pinwheels work. Here’s what you’ll need and why each one matters.
For the Pinwheels
- 4 large flour tortillas (10-inch) — Go with burrito-sized tortillas if you can find them. The larger surface area gives you more room to layer and creates bigger, more satisfying pinwheels. I prefer flour over corn here because it rolls without cracking. If you’re gluten-free, use your favorite large gluten-free tortillas, just warm them slightly before rolling to prevent breaking.
- 8 ounces cream cheese, softened — This is the secret to keeping everything together. The cream cheese acts as a spreadable glue that holds the fillings in place and prevents the pesto from soaking through the tortilla. Make sure it’s really soft—leave it out for 30 minutes or microwave for 10 seconds. I’ve tried this with reduced-fat cream cheese and it works fine, though the texture is slightly less creamy.
- 1/2 cup basil pesto (store-bought or homemade) — Pesto brings all the flavor here. I usually grab a good-quality jar from the store because it saves time, but homemade pesto takes these to another level. Look for refrigerated pesto in the deli section—it tends to have brighter flavor than shelf-stable versions. If you’re nut-free, use a pesto made with sunflower seeds or pumpkin seeds instead of pine nuts.
- 12 slices deli turkey breast — Get your turkey sliced thin but not shaved. You want slices that hold together when rolled. I like oven-roasted turkey breast for its mild flavor, but honey turkey or smoked turkey work great too. For a vegetarian version, use thick slices of provolone or mozzarella instead.
- 1 cup shredded mozzarella cheese — This adds a mild, melty quality even though these are served cold. The mozzarella gives the pinwheels a little body and makes them feel more substantial. You can substitute provolone slices or even cheddar for a sharper flavor.
Optional Add-Ins
- Fresh spinach leaves — A handful of baby spinach adds color and a nutritional boost without changing the flavor much. Pat them completely dry before adding, or they’ll make the roll-ups soggy.
- Sun-dried tomatoes (chopped) — These add a sweet, tangy pop that pairs beautifully with pesto. Drain and pat them dry first.
- Roasted red peppers (strips) — Another great addition for extra flavor and color. Again, blot them dry to avoid excess moisture.
I recommend using full-fat cream cheese for the best texture. I’ve tested this with Neufchâtel (the lower-fat version) and it works, but the pinwheels don’t hold together quite as well. If you’re dairy-free, there are some decent vegan cream cheeses out there—just make sure it’s a spreadable variety, not a block.
One brand note: I’ve had the best luck with Classico pesto for store-bought, and Boar’s Head turkey for the deli meat. But honestly, use whatever you have access to. This recipe is forgiving enough that even budget brands turn out delicious.
Equipment Needed
The beauty of this recipe is that you don’t need much. Here’s what you’ll want to have on hand:
- A sharp knife — This is non-negotiable. A dull knife will squish your pinwheels and make the edges ragged. A good chef’s knife or a long serrated knife works beautifully for clean cuts.
- A cutting board — Preferably one with some grip so it doesn’t slide around while you’re rolling and slicing.
- A butter knife or offset spatula — For spreading the cream cheese and pesto evenly. An offset spatula gives you more control, but a regular butter knife works just fine.
- Plastic wrap — Wrapping the rolls tightly before chilling helps them hold their shape. You can use reusable beeswax wrap if you’re trying to reduce plastic waste.
- A baking sheet or large plate — For holding the wrapped rolls in the fridge. Make sure it’s flat so the rolls don’t deform.
- Toothpicks (optional) — If you’re packing these for older kids or adults, a toothpick through each pinwheel makes them easier to grab and eat.
If you don’t have plastic wrap, you can use a damp paper towel wrapped around the rolls, then place them in a sealed container. It’s not quite as tight, but it works in a pinch. I’ve also used reusable silicone bags to chill the rolls, and they hold their shape surprisingly well.
One tip I learned the hard way: make sure your knife is really sharp before slicing. My first batch looked like a toddler cut them because I was too lazy to sharpen my blade. A clean cut makes all the difference between beautiful spirals and sad, squished ovals.
Preparation Method
Making these pinwheels is straightforward, but a few small details make the difference between okay and amazing. Follow these steps and you’ll have perfect spirals every time.
-
Soften the cream cheese. Take your cream cheese out of the fridge about 30 minutes before you start. You want it soft enough to spread like butter. If you forgot to plan ahead, unwrap it and microwave on low power for 10-15 seconds. Be careful not to melt it—you just want it pliable, not runny.
-
Lay out your first tortilla. Place it flat on your cutting board. If your tortillas are cold from the fridge, let them sit at room temperature for 5 minutes. Cold tortillas are more likely to crack when you roll them.
-
Spread the cream cheese. Using your butter knife or offset spatula, spread about 2 tablespoons of softened cream cheese over the entire surface of the tortilla. Go all the way to the edges—this creates a seal that keeps the fillings from falling out later. Don’t skimp here; a thin, even layer is what you’re after.
-
Add the pesto. Spoon about 2 tablespoons of pesto over the cream cheese and spread it evenly. The cream cheese underneath helps the pesto spread without tearing the tortilla. You want a thin, even coating, not globs. If your pesto is very oily, give it a stir first to redistribute the oil.
-
Layer the turkey. Place 3 slices of turkey flat on top of the pesto layer. Overlap them slightly to cover the entire tortilla. Don’t pile them too thick, or the roll will be hard to slice. If your turkey slices are very large, you might only need 2 per tortilla. Use your judgment.
-
Sprinkle the cheese. Scatter about 1/4 cup of shredded mozzarella evenly over the turkey. If you’re adding spinach or other veggies, layer them on top of the cheese now. Remember to pat any wet ingredients dry first.
-
Roll it up tight. Starting at one edge, roll the tortilla as tightly as you can without tearing it. Use your fingers to keep the filling tucked in as you go. Think of it like rolling a sleeping bag—firm and even pressure. When you reach the end, press down gently to seal the seam.
-
Wrap in plastic. Place the rolled tortilla seam-side down on a piece of plastic wrap. Wrap it tightly, twisting the ends like a candy wrapper. This keeps the roll compressed while it chills. Repeat with the remaining tortillas.
-
Chill for at least 30 minutes. Place the wrapped rolls on a baking sheet or plate and refrigerate for 30-60 minutes. This step is crucial—it firms up the cream cheese and helps the rolls hold their shape when sliced. I’ve rushed this step before and ended up with messy, flattened pinwheels. Don’t skip it.
-
Slice into pinwheels. Unwrap the chilled rolls and place them on your cutting board. Using a sharp knife, trim off the very ends (about 1/2 inch from each side) where the filling is uneven. Then slice the roll into 1-inch thick rounds. A gentle sawing motion works better than pressing straight down. You should get about 6-8 pinwheels per tortilla.
-
Arrange and serve. Place the pinwheels cut-side up in your lunchbox or serving platter. If you’re packing them for later, arrange them in a single layer in an airtight container with a piece of parchment paper between layers if stacking.
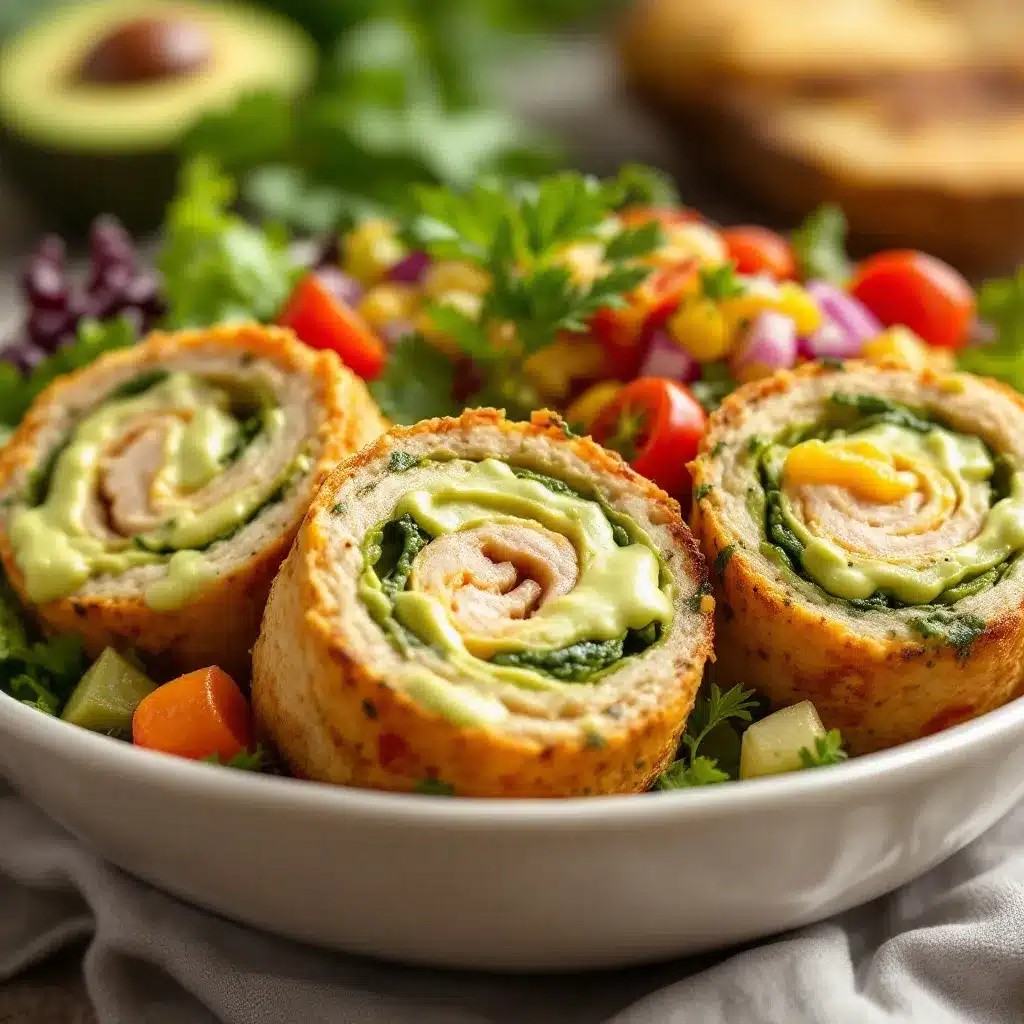
Your pinwheels should look like neat little spirals with distinct layers of green pesto, white cream cheese, and pink turkey. If they look a little messy at first, don’t worry—you’ll get better with practice. My first few batches were definitely wonky, but they still tasted great.
Cooking Tips & Techniques
After making these roll-ups more times than I can count, I’ve picked up a few tricks that make the process smoother and the results better. Here’s what I wish someone had told me from the start.
Don’t overfill. I know it’s tempting to pile on the ingredients, but less really is more here. Too much filling makes the roll hard to close and causes the pinwheels to fall apart when sliced. Stick to thin, even layers and you’ll get clean, beautiful spirals every time.
Chill is non-negotiable. I made the mistake of skipping the chilling step once when I was in a hurry, and the results were a disaster. The rolls squished flat under the knife, the filling oozed out, and I ended up with a plate of sad, messy blobs. Thirty minutes in the fridge makes all the difference. If you’re really pressed for time, pop them in the freezer for 15 minutes instead.
Use a serrated knife for cleaner cuts. A serrated knife with a gentle sawing motion cuts through the tortilla without squishing the filling. If you only have a straight-edge knife, make sure it’s razor sharp. I ruined an entire batch with a dull knife and learned my lesson the hard way.
Wipe your knife between cuts. The cream cheese and pesto will build up on your blade after each slice, making the next cut messier. A quick wipe with a damp paper towel between cuts keeps things clean and your pinwheels looking professional.
Toast the tortillas for extra crunch. If you’re serving these immediately (not packing for later), try lightly toasting the tortillas in a dry skillet for about 30 seconds per side before assembling. This gives the pinwheels a slightly crispy exterior that contrasts beautifully with the creamy filling. Just let them cool completely before spreading the cream cheese.
Make ahead for better flavor. These actually taste better after a few hours in the fridge. The flavors meld together, and the texture firms up perfectly. I often make them the night before and slice them in the morning. They hold up beautifully for 2-3 days in the refrigerator.
Variations & Adaptations
One of the best things about this recipe is how easily it adapts to different tastes, diets, and what you have in your fridge. Here are some variations I’ve tried and loved.
Mediterranean version. Swap the turkey for roasted red peppers and sliced olives, use sun-dried tomato pesto instead of basil pesto, and add crumbled feta cheese instead of mozzarella. This version is vegetarian and absolutely packed with flavor. I made this for a picnic last summer and it was gone in minutes.
Spicy southwest roll-ups. Use pepper jack cheese instead of mozzarella, add a thin layer of refried beans under the cream cheese, and swap the turkey for sliced grilled chicken. A few slices of pickled jalapeños add a nice kick. These are great for game day snacks or a more filling lunch.
Low-carb option. Use large lettuce leaves or low-carb tortillas instead of flour tortillas. If using lettuce, choose sturdy varieties like romaine or butter lettuce, and roll them gently to avoid tearing. The cream cheese helps hold everything together even without the tortilla.
Breakfast pinwheels. Replace the turkey with scrambled eggs and cooked breakfast sausage or bacon. Use a mild cheddar instead of mozzarella, and spread the cream cheese with a little everything bagel seasoning. These make a fantastic grab-and-go breakfast for busy mornings.
Nut-free version. Most store-bought pestos contain pine nuts, which are tree nuts. Look for a nut-free pesto made with sunflower seeds or pumpkin seeds. You can also make your own by blending basil, garlic, olive oil, and sunflower seeds. The flavor is slightly different but still delicious.
Dairy-free version. Use dairy-free cream cheese and vegan mozzarella shreds. I’ve tested this with Kite Hill cream cheese and Violife mozzarella, and the results were surprisingly good. Just make sure your dairy-free cream cheese is spreadable and not too watery.
I’ve also tried adding a thin layer of hummus under the pesto for extra creaminess, and it worked beautifully. The possibilities are really endless once you understand the basic technique. Don’t be afraid to experiment with whatever you have in your fridge.
Serving & Storage Suggestions
These pinwheels are incredibly versatile when it comes to serving. Here’s how to make the most of them.
Serving temperature. These are best served cold or at room temperature. If you’ve chilled them overnight, let them sit out for about 10 minutes before serving to take the chill off. They’re perfect straight from the lunchbox, which is one reason they work so well for packed lunches.
Presentation ideas. Arrange the pinwheels on a platter cut-side up so the beautiful spirals are visible. For parties, stick a toothpick through each one for easy grabbing. Garnish with a few fresh basil leaves or a sprinkle of red pepper flakes for color. They look gorgeous on a charcuterie board alongside some bacon-wrapped jalapeño poppers for a complete appetizer spread.
What to serve with them. These pair beautifully with a simple side salad, fresh fruit, or vegetable sticks with ranch dip. For a heartier lunch, serve them alongside a cup of creamy chicken taco soup or a bowl of roasted butternut squash soup. They’re also great with a handful of chips and some pickles for an easy lunch plate.
Storage instructions. Store assembled but unsliced rolls in the refrigerator for up to 3 days. Wrap them tightly in plastic wrap or place them in an airtight container. Once sliced, the pinwheels are best eaten within 24 hours, as the tortilla can start to dry out around the edges.
Freezing tips. You can freeze the whole rolls (unsliced) for up to 1 month. Wrap each roll tightly in plastic wrap, then place them in a freezer bag. To thaw, transfer to the refrigerator overnight. Slice them cold and they’ll be ready for lunchboxes the next morning. I’ve done this many times and the texture holds up surprisingly well.
Reheating. These are meant to be served cold, so reheating isn’t recommended. If you prefer them warm, try toasting the tortillas before assembling as mentioned in the tips section. The cold version is really the way to go for the best texture and convenience.
The flavors actually develop and improve after a few hours in the fridge. I’ve noticed the pesto and cream cheese meld together beautifully, creating a more cohesive taste. So don’t worry if you’re making these a day ahead—they’ll taste even better.
Nutritional Information & Benefits
While these pinwheels are definitely a treat, they also offer some solid nutritional benefits. Here’s a rough breakdown per serving (about 6 pinwheels, which is a generous lunch portion).
| Nutrient | Amount per Serving |
|---|---|
| Calories | 380-420 |
| Protein | 25-30g |
| Carbohydrates | 28-32g |
| Fat | 18-22g |
| Saturated Fat | 8-10g |
| Fiber | 2-3g |
| Sodium | 800-900mg |
Health highlights. Turkey breast is a lean protein source that helps keep you full and satisfied. It’s low in fat and high in B vitamins, which support energy metabolism. The pesto provides healthy fats from olive oil and basil, which is rich in antioxidants like vitamin K and beta-carotene.
Dietary considerations. This recipe is naturally nut-free if you use a nut-free pesto. It can be made gluten-free with gluten-free tortillas, dairy-free with plant-based alternatives, and lower in calories by using reduced-fat cream cheese and low-fat turkey. The protein content makes it a satisfying lunch option that won’t leave you reaching for a snack an hour later.
Allergen notes. This recipe contains dairy (cream cheese, mozzarella), gluten (tortillas), and potentially tree nuts (pesto). Always check your ingredient labels if cooking for someone with allergies. The pesto is the biggest variable—many store-bought versions contain pine nuts and Parmesan cheese.
I like that these pinwheels feel indulgent but aren’t actually terrible for you. They’re balanced enough to be a regular part of your lunch rotation, especially if you load them up with extra veggies. And for picky eaters, they’re a great way to sneak in some greens without anyone complaining.
Conclusion
These easy turkey pesto pinwheel lunchbox roll-ups have honestly changed the way I think about packed lunches. They’re quick enough for chaotic mornings, fancy enough for parties, and adaptable enough to never get boring. I love that something so simple can feel so satisfying to make and eat.
What started as a desperate fridge-scavenging moment has become one of my most-requested recipes. Friends ask for them at gatherings. My kids request them for school field trips. And I keep a batch in the fridge more often than I’d like to admit. There’s just something about those perfect little spirals that makes everyone happy.
I’d love to hear how these turn out for you. Did you try a fun variation? Did your kids love them? Drop a comment below and let me know—I read every single one and I’m always looking for new ideas to try. And if you’re looking for another easy lunch idea, check out these cranberry pecan chicken wraps or this spicy avocado chicken wrap for more lunchbox inspiration.
Happy rolling, friends. Your lunchboxes are about to get a whole lot more interesting.
Frequently Asked Questions
Can I make these turkey pesto pinwheels the night before?
Absolutely. In fact, they taste better after chilling overnight. Assemble and roll the tortillas, wrap them tightly in plastic, and refrigerate. Slice them in the morning before packing. They’ll hold up perfectly for 2-3 days in the fridge.
How do I keep the pinwheels from getting soggy in a lunchbox?
The cream cheese layer acts as a barrier that prevents the pesto from soaking into the tortilla. Make sure to pat any wet ingredients like spinach or roasted peppers dry before adding them. Also, don’t slice the pinwheels until right before packing to minimize moisture exposure.
Can I use a different type of meat instead of turkey?
Yes, absolutely. Ham, roast beef, salami, or sliced grilled chicken all work beautifully. For a vegetarian option, use thick slices of provolone or mozzarella, or layer in roasted vegetables and extra cheese. The technique stays the same regardless of what you use.
What’s the best way to slice pinwheels without squishing them?
Use a sharp serrated knife and use a gentle sawing motion rather than pressing straight down. Chilling the rolls for at least 30 minutes first is crucial—it firms up the cream cheese and helps everything hold its shape. Wipe the knife clean between cuts for the neatest results.
Can I freeze these pinwheels for later use?
Yes, but freeze them whole (unsliced). Wrap each roll tightly in plastic wrap, then place them in a freezer bag. They’ll keep for up to 1 month. Thaw overnight in the refrigerator, then slice cold. The texture is slightly softer after freezing, but they’re still delicious and perfect for lunchboxes.
Pin This Recipe!
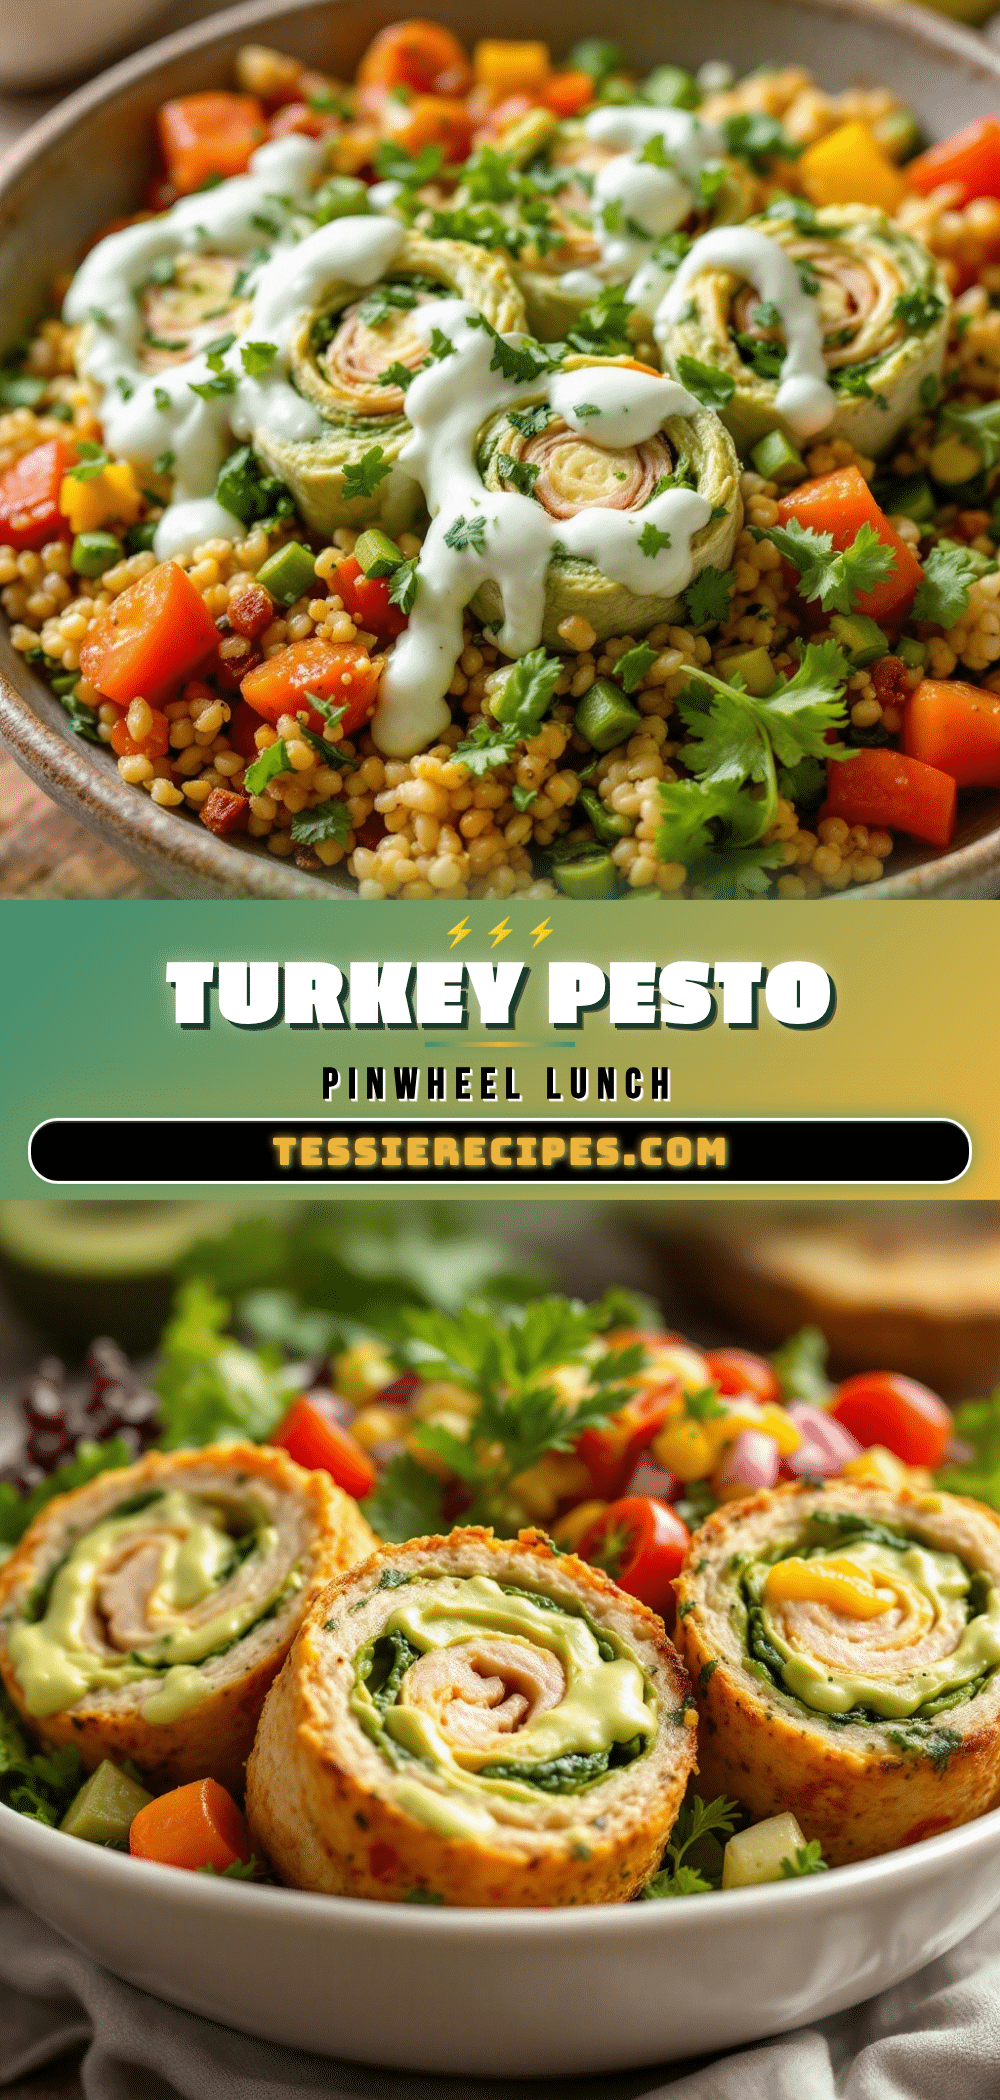
Easy Turkey Pesto Pinwheel Lunchbox Roll-Ups

Quick and easy turkey pesto pinwheel roll-ups made with just 4 main ingredients. Perfect for lunchboxes, parties, or a fast snack—no cooking required.
- Prep Time: 10 minutes
- Cook Time: 0 minutes
- Total Time: 40 minutes (includes 30 minutes chilling)
- Yield: 4 servings 1x
- Category: Lunch
- Cuisine: American
Ingredients
- 4 large flour tortillas (10-inch)
- 8 ounces cream cheese, softened
- 1/2 cup basil pesto (store-bought or homemade)
- 12 slices deli turkey breast
- 1 cup shredded mozzarella cheese
- Fresh spinach leaves (optional)
- Sun-dried tomatoes, chopped (optional)
- Roasted red pepper strips (optional)
Instructions
- Soften the cream cheese by leaving it out for 30 minutes or microwaving on low for 10-15 seconds.
- Lay a tortilla flat on a cutting board. Spread about 2 tablespoons of softened cream cheese evenly over the entire surface.
- Spread about 2 tablespoons of pesto over the cream cheese layer.
- Place 3 slices of turkey flat on top, overlapping slightly to cover the tortilla.
- Sprinkle about 1/4 cup of shredded mozzarella evenly over the turkey. Add any optional ingredients (spinach, sun-dried tomatoes, roasted red peppers) if desired.
- Starting at one edge, roll the tortilla tightly, tucking in the filling as you go. Press the seam to seal.
- Wrap the rolled tortilla tightly in plastic wrap, twisting the ends. Repeat with remaining tortillas.
- Chill the wrapped rolls in the refrigerator for at least 30 minutes (or up to overnight).
- Unwrap the chilled rolls. Using a sharp knife, trim off the uneven ends, then slice into 1-inch thick rounds.
- Arrange pinwheels cut-side up in a lunchbox or serving platter. Serve cold or at room temperature.
Notes
Chilling is essential for clean slices. Use a serrated knife for best results. Make ahead for better flavor—these taste even better after a few hours in the fridge. For gluten-free, use large gluten-free tortillas. For dairy-free, use dairy-free cream cheese and vegan mozzarella.
Nutrition
- Serving Size: 6 pinwheels
- Calories: 400
- Sugar: 3
- Sodium: 850
- Fat: 20
- Saturated Fat: 9
- Carbohydrates: 30
- Fiber: 2.5
- Protein: 27
Keywords: turkey pesto pinwheels, lunchbox roll-ups, easy lunch, no-cook recipe, kid-friendly lunch, turkey wrap, pesto wrap