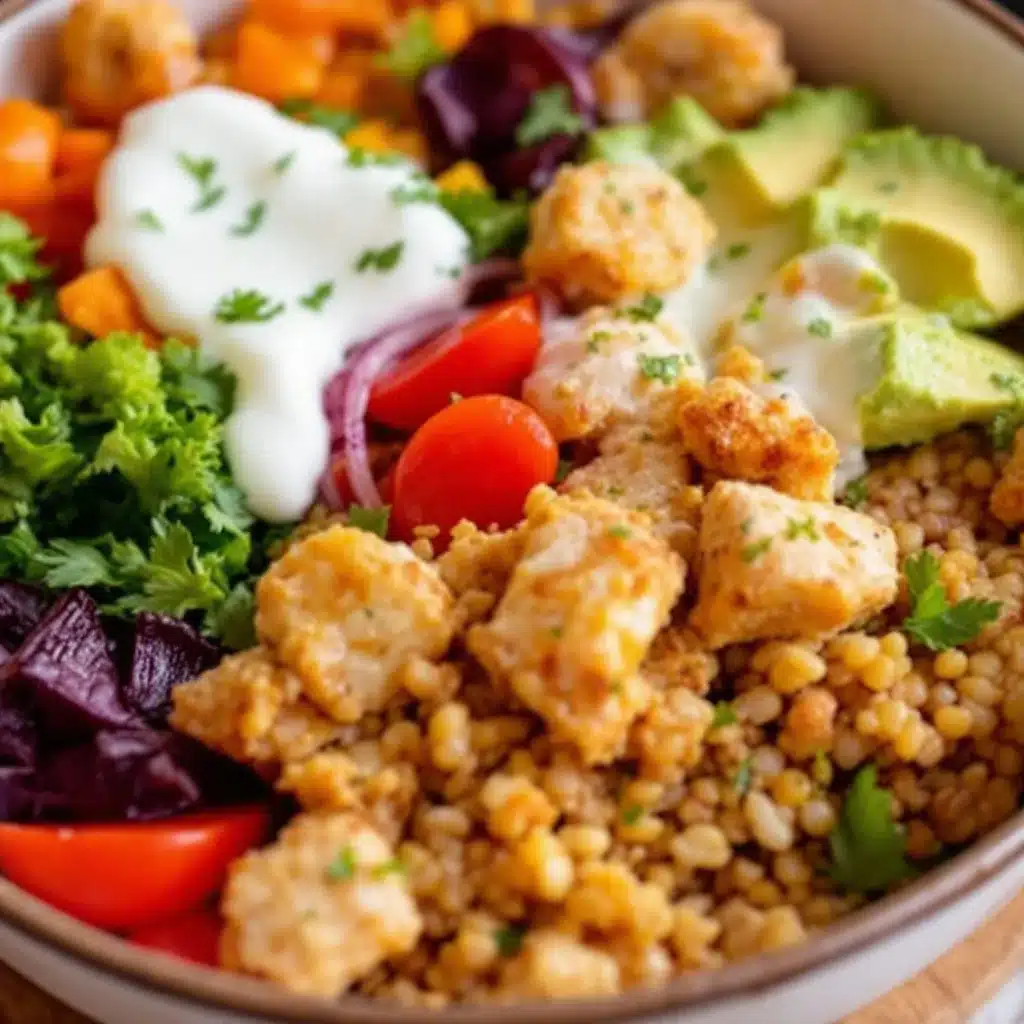
That first bite of soggy bread — the kind that disintegrates into a sad, damp paste the moment you pick up your sandwich — still makes me cringe just thinking about it. It was a Tuesday afternoon, maybe three years ago, sitting on a park bench with a turkey and cheese sandwich that had been packed just two hours earlier. The bread was wet, the turkey was sliding around, and honestly, I almost threw the whole thing in the trash. Instead, I got mad. Not the angry kind of mad, but the determined kind. I sat there thinking, there has to be a way to keep the bread from turning into a sponge. That frustration turned into a mission, and that mission became this Easy No-Soggy-Bread Turkey & Cheese Bento Box. It’s not just a lunch — it’s a solution to a problem every packed-lunch lover knows too well.
The trick, I discovered, is all about how you build the box. You don’t assemble the sandwich ahead of time. Instead, you pack the components separately and let the eater become the architect of their own lunch. It sounds simple, and honestly, it is. But the difference in texture is night and day. The bread stays crisp, the turkey stays tender, and the cheese stays perfectly sliceable. For someone like me who loves a good spicy avocado chicken wrap but craves variety, this bento box became a weekly staple. It’s the kind of lunch that feels like a treat, even on a random Wednesday.
I’ve tested this with different breads, different cheeses, and even different meats. The result is always the same: no soggy bread, no regrets, and a lunch that actually makes you look forward to your break. It’s a small change, but it’s one of those kitchen tricks that sticks with you. Once you try it, you’ll wonder why you ever made a sandwich any other way.
Why You’ll Love This Recipe
Let me tell you why this Easy No-Soggy-Bread Turkey & Cheese Bento Box has become my go-to lunch solution. I’ve packed lunches for myself, for friends, and for picky eaters, and this one always gets the nod of approval. It’s not just about avoiding soggy bread — though that’s a huge win. It’s about creating a lunch that feels intentional, satisfying, and honestly, a little bit fun.
- Quick & Easy: This whole box comes together in under 10 minutes. No cooking, no fuss, just assembly. Perfect for those mornings when you’re running late but still want a decent lunch.
- Simple Ingredients: You probably already have everything you need. Turkey, cheese, bread, and a few crunchy sides. No fancy grocery trips required.
- Perfect for Meal Prep: Make a few boxes on Sunday and grab one each morning. They hold up beautifully for 3-4 days in the fridge.
- Crowd-Pleaser: Kids love the interactive assembly, and adults appreciate the fresh texture. It’s a win-win.
- Unbelievably Delicious: The contrast between crisp bread, cold turkey, and creamy cheese is next-level. It’s comfort food, but smarter.
What makes this recipe different from every other lunch idea out there is the technique. Most people pre-assemble their sandwiches, and by lunchtime, the bread has absorbed moisture from the turkey and cheese. By keeping them separate until the last minute, you preserve the integrity of each component. It’s a small shift in thinking, but it changes everything. This isn’t just another lunch idea — it’s your best version of a packed meal.
Emotionally, this recipe taps into that feeling of wanting something familiar but better. It’s the kind of lunch that makes you close your eyes after the first bite, not because it’s fancy, but because it’s exactly what you needed. No stress, no mess, just a good, honest meal that hits the spot every single time.
What Ingredients You Will Need
This recipe uses simple, wholesome ingredients to deliver that perfect bite every time. The key is choosing items that hold their texture and flavor, even after a few hours in the lunch bag.
- Bread: 2 slices of your favorite sturdy bread. I recommend sourdough, ciabatta, or a hearty whole wheat. Avoid soft, airy breads like white sandwich bread — they’re the biggest culprits for sogginess. (Pro tip: Toast the bread lightly before packing for extra crunch.)
- Turkey: 4-6 slices of oven-roasted turkey breast. Look for thick-cut slices from the deli counter — they hold up better than pre-packaged shaved turkey. I personally prefer Boar’s Head for consistent quality.
- Cheese: 2 slices of your favorite cheese. Swiss, provolone, or sharp cheddar work beautifully. The cheese acts as a barrier between the bread and the turkey, so choose one that’s firm enough to hold its shape. (Avoid super soft cheeses like brie for this application.)
- Lettuce: 2-3 large leaves of romaine or iceberg lettuce. These crunchy greens add texture and act as an additional moisture barrier. Pat them completely dry before packing.
- Tomato: 2-3 slices of a firm tomato. Roma or vine-ripened tomatoes work best because they have fewer seeds and less moisture. (If you’re packing the night before, consider leaving the tomato out and adding it fresh in the morning.)
- Condiment: 1-2 tablespoons of mayonnaise, mustard, or your favorite spread. Pack it separately in a small container to prevent any moisture transfer. I love a good honey mustard or spicy brown mustard for extra kick.
- Crunchy Sides: A handful of baby carrots, cucumber slices, bell pepper strips, or apple slices. These add volume, nutrients, and that satisfying crunch that makes a bento box feel complete.
- Optional Add-ins: Pickles, olives, nuts, or a small handful of pretzels. These little extras make the box feel special and give you something to look forward to.
For substitutions, you can easily swap the turkey for ham, roast beef, or even grilled chicken. If you’re vegetarian, try using thick slices of halloumi or a sturdy plant-based deli meat. The same principles apply — just keep the moisture levels in check. And if you’re gluten-free, use your favorite GF bread or sturdy rice cakes. The technique works with almost any base.
Equipment Needed
You don’t need a lot of fancy gear for this Easy No-Soggy-Bread Turkey & Cheese Bento Box. Here’s what I use:
- Bento Box or Lunch Container: A divided container is ideal. I use a standard three-compartment bento box, but any container with separate sections works. If you only have a single container, use silicone cupcake liners or small reusable containers to keep ingredients separated.
- Small Condiment Container: A tiny 2-ounce jar or a silicone sauce cup for your spread. Keeping the condiment separate is non-negotiable for the no-soggy-bread rule.
- Sharp Knife: For slicing bread, cheese, and veggies cleanly. A dull knife can crush soft bread and ruin the texture.
- Cutting Board: Any clean cutting board will do. I prefer a wooden board for bread and a separate plastic one for veggies to avoid cross-contamination.
- Paper Towels: For patting lettuce and tomato slices completely dry. This step is crucial, so don’t skip it.
- Optional: Toaster or Oven: If you want to toast your bread for extra crunch, a quick 2-minute toast makes a noticeable difference.
I’ve tried this with cheap plastic containers and high-end glass ones. Honestly, the container doesn’t matter as much as the technique. Just make sure everything is packed dry and separated, and you’re golden. If you’re looking for a budget-friendly option, the basic meal prep containers from the grocery store work perfectly fine.
Preparation Method

Here’s how to build your Easy No-Soggy-Bread Turkey & Cheese Bento Box in just a few minutes. Follow these steps, and you’ll have a lunch that stays fresh and crispy until you’re ready to eat.
- Prep the Bread: Take your two slices of bread and lightly toast them if desired. I usually toast mine for about 2 minutes until just golden. Let them cool completely before packing — warm bread creates steam, which leads to sogginess. (I learned this the hard way after a particularly sad lunch of damp sourdough.)
- Dry the Veggies: Wash and thoroughly dry your lettuce leaves and tomato slices. Use paper towels to pat them until no visible moisture remains. This step is non-negotiable. Even a little water can start the soggy process.
- Slice the Cheese and Turkey: If your cheese and turkey aren’t pre-sliced, cut them into even pieces. Aim for slices that are about the same size as your bread for easy assembly later. Stack them neatly in your bento box compartment.
- Pack the Bread: Place the two slices of bread in a dry compartment of your bento box. If you’re using a single container, wrap the bread in a paper towel to absorb any stray moisture.
- Pack the Fillings: In separate compartments, add the turkey slices, cheese slices, lettuce leaves, and tomato slices. Keep everything separated to prevent moisture transfer. If you’re short on compartments, use small silicone cups or parchment paper as dividers.
- Pack the Condiment: Spoon your mayonnaise, mustard, or spread into a small container with a tight lid. Place it in the box alongside the other components.
- Add Crunchy Sides: Fill any remaining space with your crunchy sides — baby carrots, cucumber slices, bell pepper strips, or apple slices. These add bulk and texture to your lunch.
- Assemble at Lunchtime: When you’re ready to eat, take out the bread, spread your condiment, layer the cheese, turkey, lettuce, and tomato, and close the sandwich. The bread will be perfectly crisp, the fillings fresh, and every bite will be exactly as it should be.
The whole process takes about 8 minutes. If you’re meal prepping, you can pack 3-4 boxes at once. Just leave the bread and condiment separate until you’re ready to eat. The other components — turkey, cheese, veggies — hold up beautifully for 3-4 days in the fridge.
Cooking Tips & Techniques
Over the years, I’ve made every mistake in the book when it comes to packed lunches. Here are the lessons I’ve learned so you don’t have to repeat them.
The Bread Choice Matters: I once used a soft brioche bun because I thought it would be fancy. By lunchtime, it was a sticky, wet mess. Stick with sturdy, crusty breads. Sourdough, ciabatta, and hearty whole wheat are your best friends. They have structure that resists moisture absorption.
Dry Everything: This cannot be overstated. Even a slightly damp lettuce leaf can ruin your bread. After washing your veggies, lay them on a clean kitchen towel and roll it up to absorb excess water. Then pat with paper towels for good measure.
The Condiment Barrier: If you absolutely must pre-spread your condiment, spread it on the cheese or turkey, not the bread. The fat in the cheese and meat acts as a barrier, while the bread stays dry. It’s a small trick, but it works wonders.
Temperature Control: Keep your bento box in the refrigerator until you leave for work or school. If you’re packing it the night before, don’t add the bread until morning. Cold ingredients produce less condensation, which means less moisture for your bread to absorb.
Timing is Everything: I’ve found that the sweet spot for this box is about 4-5 hours after packing. Any longer, and even the sturdiest bread starts to soften. If you need it to last longer, pack the bread completely separately in a ziplock bag and assemble at lunchtime.
Toast for Extra Insurance: A light toasting before packing adds an extra layer of protection. The dry, slightly crisp surface resists moisture much better than fresh bread. Just make sure it’s completely cool before you pack it.
Variations & Adaptations
This Easy No-Soggy-Bread Turkey & Cheese Bento Box is endlessly customizable. Here are some of my favorite variations:
- Italian Style: Swap turkey for salami and provolone, add roasted red peppers and a drizzle of balsamic glaze. Pack a few pepperoncini on the side for a zesty kick.
- Veggie Delight: Use thick slices of grilled halloumi or marinated tofu instead of turkey. Add avocado slices, roasted zucchini, and a smear of pesto. It’s hearty enough to satisfy even the most dedicated meat-eater.
- Spicy Southwest: Use pepper jack cheese and add a few slices of jalapeño. Pack a small container of chipotle mayo for spreading. Pair with crunchy jicama sticks and a side of creamy jalapeño popper chicken chili for a full meal.
- Breakfast Bento: Use croissant halves instead of bread, add ham and Swiss cheese, and pack a small container of honey mustard. Include apple slices and a hard-boiled egg for protein.
- Low-Carb Option: Replace the bread with large lettuce wraps or collard green leaves. The same assembly rules apply — just wrap everything tightly and pack the condiment separately.
- Kid-Friendly: Use cookie cutters to cut the bread and cheese into fun shapes. Add a small treat like a few chocolate chips or a fruit pouch to make lunch exciting.
I once tried a version with smoked gouda and apple slices instead of tomato. It was incredible — the sweetness of the apple paired perfectly with the smoky cheese. Don’t be afraid to experiment. The no-soggy-bread technique works with almost any combination.
Serving & Storage Suggestions
This bento box is best served cold or at room temperature. I prefer to take it out of the fridge about 10 minutes before eating to let the flavors come to life. Cold turkey and cheese taste better when they’re not straight-from-the-fridge cold.
For presentation, arrange the components neatly in your bento box. I like to place the bread on one side, the turkey and cheese in the middle, and the veggies on the other side. The condiment goes in a small corner container. It looks like a mini charcuterie board, which makes lunch feel a little more special.
Storage Instructions:
- Refrigerator: Packed without the bread, the components will stay fresh for 3-4 days. Add the bread on the morning you plan to eat it.
- Freezer: I don’t recommend freezing the assembled box. The veggies and cheese will lose their texture. However, you can freeze the turkey slices separately for up to 2 months.
- Reheating: This is a cold lunch, so no reheating needed. If you’re using a heartier bread like ciabatta, you can toast it at work if you have access to a toaster.
One thing I’ve noticed is that the flavors actually get better after a day in the fridge. The turkey absorbs a bit of the cheese’s saltiness, and the veggies stay perfectly crisp. It’s one of those rare lunches that tastes just as good on day three as it does on day one.
Nutritional Information & Benefits
Here’s an approximate breakdown for one serving of this Easy No-Soggy-Bread Turkey & Cheese Bento Box (using sourdough bread, Swiss cheese, and turkey):
- Calories: 450-500
- Protein: 35g
- Carbohydrates: 40g
- Fat: 18g
- Fiber: 5g
- Sugar: 8g
This lunch is packed with lean protein from the turkey, which helps keep you full and focused through the afternoon. The cheese adds calcium and healthy fats, while the veggies provide essential vitamins and fiber. If you’re watching your sodium, opt for low-sodium turkey and skip the added salt.
For dietary considerations, this recipe is naturally low-carb if you skip the bread or use lettuce wraps. It’s also gluten-free if you choose a GF bread option. The main allergens are gluten (from the bread) and dairy (from the cheese), so adjust accordingly. Personally, I love that this lunch gives me sustained energy without the afternoon crash. It’s balanced, satisfying, and honestly, it just makes me feel good about what I’m eating.
Conclusion
This Easy No-Soggy-Bread Turkey & Cheese Bento Box is more than just a lunch idea — it’s a game-changer for anyone who’s ever been disappointed by a sad, soggy sandwich. The technique is simple, the ingredients are accessible, and the result is consistently delicious. Whether you’re packing for work, school, or a picnic, this box delivers every single time.
I encourage you to make this your own. Swap the turkey for ham, try different cheeses, or add your favorite crunchy sides. The beauty of this recipe is its flexibility. It’s a template, not a rulebook. And honestly, that’s what makes cooking fun.
I’d love to hear how your bento box turns out. Drop a comment below and let me know what combinations you tried. Did you add pickles? Did you use a spicy mustard? Share your creations, and don’t forget to tag a friend who needs to say goodbye to soggy bread forever. Happy packing!
Frequently Asked Questions
Can I use any type of bread for this bento box?
You can, but sturdy breads like sourdough, ciabatta, or hearty whole wheat work best. Soft breads like white sandwich bread tend to get soggy faster. Toasting the bread lightly before packing also helps a lot.
How long will the ingredients stay fresh in the fridge?
Packed without the bread, the turkey, cheese, and veggies will stay fresh for 3-4 days. Add the bread on the morning you plan to eat for the best texture. The condiment should also be added fresh.
Can I make this bento box gluten-free?
Absolutely. Use your favorite gluten-free bread or sturdy rice cakes. The same no-soggy-bread rules apply — keep everything dry and separated until you’re ready to eat.
What if I don’t have a bento box with compartments?
No problem. Use a standard lunch container with small silicone cupcake liners or reusable containers to keep ingredients separated. You can also wrap the bread in a paper towel to absorb any stray moisture.
Can I add hot components to this bento box?
I wouldn’t recommend it. Heat creates steam, which leads to soggy bread and wilted veggies. This recipe is designed for cold or room temperature components. If you want a warm lunch, pack the hot item separately and assemble when you’re ready to eat.
Pin This Recipe!
Easy No-Soggy-Bread Turkey & Cheese Bento Box

A clever lunch solution that keeps bread crisp by packing components separately. Assemble your own perfect sandwich at lunchtime with no soggy bread, just fresh, delicious layers.
- Prep Time: 8 minutes
- Cook Time: 2 minutes
- Total Time: 10 minutes
- Yield: 1 serving 1x
- Category: Lunch
- Cuisine: American
Ingredients
- 2 slices sturdy bread (sourdough, ciabatta, or hearty whole wheat)
- 4–6 slices oven-roasted turkey breast (thick-cut)
- 2 slices cheese (Swiss, provolone, or sharp cheddar)
- 2–3 large leaves romaine or iceberg lettuce
- 2–3 slices firm tomato (Roma or vine-ripened)
- 1–2 tablespoons mayonnaise, mustard, or favorite spread
- 1 handful baby carrots, cucumber slices, bell pepper strips, or apple slices
- Optional: pickles, olives, nuts, or pretzels
Instructions
- Prep the bread: Lightly toast bread slices for about 2 minutes until just golden. Let cool completely.
- Dry the veggies: Wash and thoroughly dry lettuce and tomato slices with paper towels until no visible moisture remains.
- Slice the cheese and turkey: Cut into even pieces, about the same size as the bread. Stack neatly in bento box compartment.
- Pack the bread: Place bread slices in a dry compartment of the bento box. If using a single container, wrap bread in a paper towel.
- Pack the fillings: In separate compartments, add turkey, cheese, lettuce, and tomato. Use silicone cups or parchment as dividers if needed.
- Pack the condiment: Spoon spread into a small container with a tight lid and place in the box.
- Add crunchy sides: Fill remaining space with baby carrots, cucumber slices, bell pepper strips, or apple slices.
- Assemble at lunchtime: Spread condiment on bread, layer cheese, turkey, lettuce, and tomato, and close the sandwich.
Notes
Keep bread and condiment separate until lunchtime. Dry all veggies thoroughly. For longer storage, pack bread completely separately. Toast bread for extra crunch. The components (without bread) stay fresh for 3-4 days in the fridge.
Nutrition
- Serving Size: 1 bento box
- Calories: 475
- Sugar: 8
- Sodium: 800
- Fat: 18
- Saturated Fat: 8
- Carbohydrates: 40
- Fiber: 5
- Protein: 35
Keywords: bento box, turkey and cheese, no soggy bread, packed lunch, meal prep, easy lunch, healthy lunch



