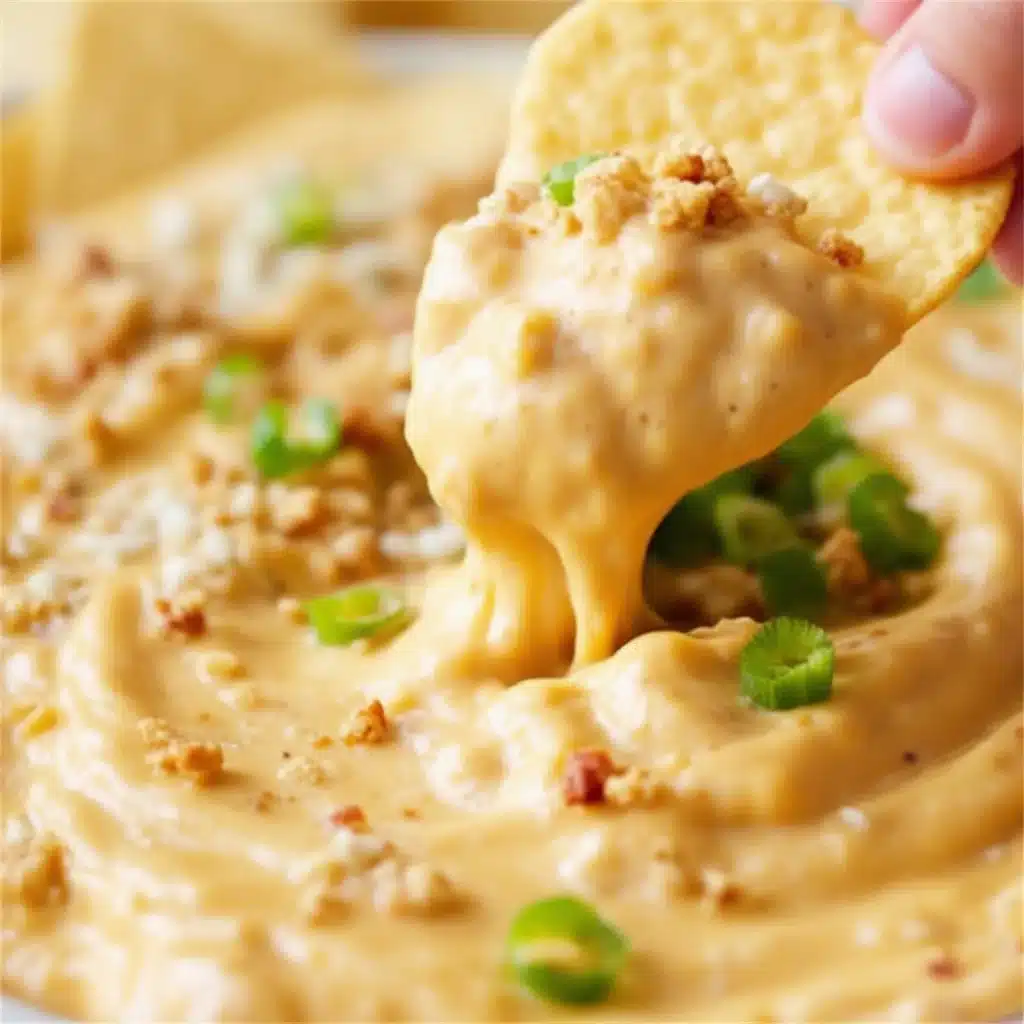
For years, I just accepted that queso dip from a restaurant was always going to taste better than what I could make at home. It was a fact of life, like bad parking or slow internet. You know the drill—you buy the block of processed cheese, throw in some Rotel, and hope for the best. It’s fine, honestly. But fine isn’t what you crave when you’re staring down a bag of tortilla chips on game day. What I wanted was that deep, smoky, almost complex flavor you get from a proper chile con queso, the kind that makes you close your eyes for a second. I wanted the fire.
Then a friend brought a bag of fresh Hatch chiles back from New Mexico one September, and everything changed. I roasted them on the grill until the skins blistered and blackened, and the smell—honestly, it was like autumn had a flavor. That first batch of queso I made with those smoky, fire-roasted chiles was a revelation. It wasn’t just melted cheese. It was velvety, a little spicy, and deeply, unmistakably smoky. This Smoky Roasted Hatch Chili Queso Dip is what I’ve been making ever since. It’s the one that finally made me stop looking.
Why You’ll Love This Recipe
Let’s be real—a good queso recipe is a necessary part of life. But this one? It’s a little different. It starts with real ingredients, not just processed cheese product. You get that incredible roasted flavor from the chiles, plus a creamy, smooth texture that stays dippable even as it cools. It feels special, but it’s surprisingly easy to pull off.
- Real, Smoky Flavor: The star here is the roasted Hatch chiles. They bring a unique, earthy heat that you just can’t get from a can of green chiles. It’s the kind of flavor that makes people ask, “What did you put in this?”
- Perfectly Creamy Texture: We’re using a blend of real cheeses and a touch of evaporated milk. It melts into the silkiest, most luxurious queso without turning grainy or separating. No Velveeta required.
- Simple, Real Ingredients: You can pronounce everything in this recipe. It’s cheese, milk, chiles, and a few aromatics. That’s it. No weird additives, just pure, honest flavor.
- Crowd-Pleaser for Game Day: This dip disappears fast. I’ve served it at football parties, taco nights, and casual get-togethers, and it’s always the first bowl to be scraped clean. It pairs perfectly with other game-day favorites like our bacon-wrapped jalapeño poppers.
- Better Than Takeout: Honestly, it’s better than most restaurant queso I’ve had. The smoky depth from the roasted chiles gives it a complexity that processed queso just can’t touch.
What Ingredients You Will Need
This recipe uses simple, wholesome ingredients to deliver that big, bold flavor. Most of these are pantry staples, but the Hatch chiles are the star. Here’s what you’ll need to grab:
For the Queso Base
- 8 oz Monterey Jack cheese, freshly shredded: This is your main melting cheese. It’s mild, creamy, and melts like a dream. Buy a block and shred it yourself—pre-shredded cheese has anti-caking agents that can make the queso grainy.
- 8 oz sharp white cheddar cheese, freshly shredded: Adds that sharp, tangy kick that balances the smoky chiles. Again, shred it fresh for the best texture.
- 1 can (12 oz) evaporated milk: This is the secret to a smooth, stable queso. It has a higher protein content than regular milk, which prevents the cheese from breaking or becoming oily. It’s a game-changer.
- 1 tablespoon unsalted butter: For sautéing the aromatics. It adds a rich, buttery flavor to the base.
- 1/2 medium yellow onion, finely diced (about 1/2 cup): Adds a subtle sweetness and savory depth. Don’t skip it—it builds the flavor foundation.
- 2 cloves garlic, minced: Because garlic makes everything better. Fresh is best here.
- 1/2 teaspoon ground cumin: A warm, earthy spice that pairs beautifully with the smoky chiles. It’s a classic Southwest flavor.
- 1/4 teaspoon smoked paprika: This reinforces the smoky flavor from the Hatch chiles. It’s like a double dose of delicious.
- Salt and black pepper to taste: Simple seasonings to bring everything together.
For the Smoky Hatch Chiles
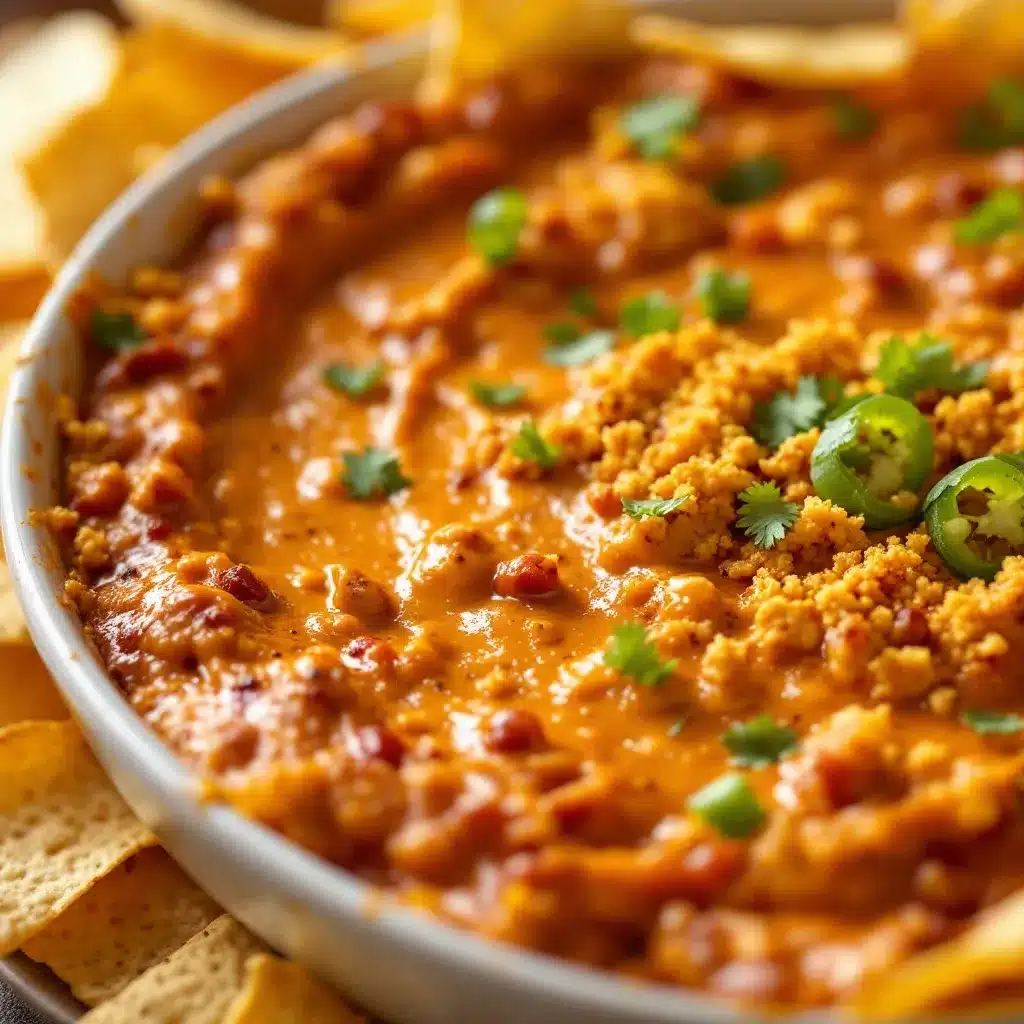
- 3-4 fresh Hatch chiles (green or red, depending on your heat preference): These are the soul of the recipe. Hatch chiles have a unique, fruity, and smoky flavor that you can’t replicate. Look for them in late summer and early fall. I prefer a mix of mild and hot for a balanced heat.
- 1 tablespoon olive oil: For roasting the chiles. Helps the skin blister evenly.
For Serving (Optional but Recommended)
- Fresh cilantro, chopped: For a pop of freshness and color.
- Pickled jalapeños: For extra heat and tang.
- Crumbled cotija cheese: For a salty, crumbly finish.
- Tortilla chips or fresh vegetables: For dipping. I’m partial to thick, restaurant-style chips.
Equipment Needed
You don’t need a lot of fancy gadgets for this recipe, which is part of its charm. Here’s what you’ll need:
- Baking sheet or grill: For roasting the Hatch chiles. A baking sheet works in the oven, but I prefer a hot grill for an even smokier flavor.
- Medium saucepan: For making the queso base. A heavy-bottomed saucepan is best to prevent scorching.
- Wooden spoon or silicone spatula: For stirring. A wooden spoon won’t scratch your pan, and a silicone spatula is great for scraping the sides.
- Cutting board and chef’s knife: For dicing the onion, mincing the garlic, and chopping the roasted chiles.
- Box grater: For shredding your cheese. A microplane is also great for zesting citrus if you want to add a little lime.
- Small bowl and plastic wrap: For steaming the roasted chiles to make peeling easier.
If you don’t have a grill, you can roast the chiles under the broiler. Just keep a close eye on them so they don’t burn completely. For the saucepan, a non-stick or enameled cast iron pot works like a charm. I’ve used a basic stainless steel pot for years, and it works perfectly fine—just keep the heat low and stir often.
Preparation Method
Let’s get to the good part. This recipe moves quickly once you start, so I like to have everything prepped and ready to go. Trust me, you don’t want to be shredding cheese while your onions are burning.
Step 1: Roast the Hatch Chiles
- Preheat your grill to medium-high heat or set your oven to broil. If using the oven, place a rack about 4-6 inches from the heating element.
- Rub the fresh Hatch chiles with the olive oil. Place them directly on the grill grates or on a baking sheet under the broiler.
- Roast for 5-7 minutes per side, turning occasionally, until the skins are blistered, blackened, and charred. You want them to look almost burnt. This is where the smoky flavor comes from.
- Transfer the roasted chiles to a small bowl and cover tightly with plastic wrap. Let them steam for 10-15 minutes. This loosens the skin, making it much easier to peel.
- Once cool enough to handle, peel off the blackened skins. Don’t worry about getting every last bit—a few charred pieces add flavor. Remove the stems and seeds (leave some seeds for extra heat). Roughly chop the chiles and set aside.
Step 2: Sauté the Aromatics
- In a medium saucepan over medium heat, melt the butter. Add the finely diced onion and cook for 3-4 minutes, until softened and translucent. You want them to sweat, not brown.
- Add the minced garlic, ground cumin, and smoked paprika. Cook for another minute, stirring constantly, until the garlic is fragrant. Be careful not to burn the garlic or it will become bitter.
Step 3: Build the Queso Base
- Pour the evaporated milk into the saucepan with the aromatics. Whisk to combine and bring the mixture to a gentle simmer over medium-low heat. Do not let it boil.
- Reduce the heat to low. Add the freshly shredded Monterey Jack and white cheddar cheese, one handful at a time. Stir continuously in a figure-eight motion with your wooden spoon or spatula until each handful is fully melted before adding the next. This low-and-slow approach is key to a smooth, non-grainy queso.
- Once all the cheese is melted and the mixture is smooth and velvety, stir in the chopped roasted Hatch chiles. Taste and season with salt and black pepper. Remember, the cheese is salty, so go easy on the salt at first.
Step 4: Serve Immediately
- Transfer the queso to a serving bowl. Garnish with fresh cilantro, pickled jalapeños, and crumbled cotija cheese if desired.
- Serve hot with tortilla chips. The queso will thicken as it cools, so it’s best enjoyed right away. If you need to keep it warm for a party, you can transfer it to a small slow cooker on the “warm” setting.
Cooking Tips & Techniques
I’ve made this queso more times than I can count, and I’ve learned a few things the hard way. Here are my best tips to guarantee success:
- Low and Slow is the Law: This is the most important tip I can give you. Melt the cheese over low heat. High heat will cause the proteins in the cheese to seize up, resulting in a grainy, clumpy mess. Patience is your friend here.
- Shred Your Own Cheese: I know it’s tempting to buy the pre-shredded bags, but they are coated in potato starch or cellulose to prevent clumping. These anti-caking agents also prevent the cheese from melting smoothly. A block of cheese and a box grater is the way to go.
- Don’t Skip the Evaporated Milk: Regular milk or cream can work, but evaporated milk is the MVP for queso. Its higher protein and lower water content make it incredibly stable and resistant to breaking. It’s the secret to that restaurant-quality texture.
- Roast More Chiles Than You Need: Roasted Hatch chiles are a seasonal treasure. Roast a whole batch, peel and chop them, and freeze them in small bags. You’ll have smoky flavor ready to go for months. I always double the chile portion of the recipe just for this reason.
- Taste as You Go: The heat level of Hatch chiles can vary wildly. A “mild” chile might still have a little kick. Taste your queso after adding the chiles and adjust from there. You can always add more heat, but you can’t take it out.
Variations & Adaptations
This queso is a fantastic base recipe that’s easy to customize. Here are a few of my favorite ways to change it up:
- Spicy Chorizo Queso: Brown 1/2 pound of Mexican chorizo in the pan before adding the onion. Drain off the excess fat, then proceed with the recipe. The spicy, savory chorizo is a match made in heaven with the smoky chiles.
- Roasted Poblano & Corn Queso: Swap one of the Hatch chiles for a roasted poblano pepper. Poblanos are milder and have a rich, earthy flavor. Stir in 1/2 cup of fire-roasted corn kernels (canned or frozen) along with the chiles for a sweet, crunchy twist.
- Smoky Black Bean Queso: For a heartier dip, fold in 1/2 cup of rinsed and drained black beans along with the chiles. This adds fiber, protein, and a great texture. It’s almost a meal in itself.
- Dairy-Free Adaptation: You can make a surprisingly good dairy-free version. Use a high-quality dairy-free cheddar shred (I like the ones made with coconut oil or cashew base) and substitute the evaporated milk with full-fat canned coconut milk. The flavor will change slightly, but the creamy, smoky essence remains.
- Extra Smoky Version: If you’re a smoke fanatic like me, add a drop or two of liquid smoke along with the spices. Be careful—a little goes a long way. You want a hint of campfire, not a full-on bonfire.
Serving & Storage Suggestions
This queso is best served hot and fresh, but here’s how to handle leftovers and presentation:
- Serving Temperature: Serve the queso immediately after making it, while it’s still warm and pourable. It will thicken as it cools. If you’re serving it at a party, a small slow cooker on the “warm” setting is perfect for keeping it dippable.
- What to Dip: Obviously, tortilla chips are the classic choice. But don’t stop there. This queso is incredible drizzled over nachos, tacos, or burrito bowls. It’s also great as a warm sauce for roasted vegetables or as a topping for a loaded baked potato. It would even be fantastic on our loaded bacon cheeseburger soup.
- Storing Leftovers: Store any leftover queso in an airtight container in the refrigerator for up to 3 days. The texture will thicken significantly when cold. To reheat, warm it gently in a saucepan over low heat, stirring constantly. You may need to add a splash of milk or evaporated milk to thin it back out to the right consistency. Avoid the microwave—it tends to reheat unevenly and can make the queso grainy.
- Freezing: I don’t recommend freezing this queso. The texture changes too much upon thawing, becoming grainy and watery. It’s best enjoyed fresh or within a few days.
Nutritional Information & Benefits
While this is an indulgent treat, it’s made with real, whole ingredients. Here’s a rough estimate per serving (about 1/4 cup, without chips):
- Calories: 180-220
- Fat: 15-18g
- Protein: 10-12g
- Carbohydrates: 4-6g
The Hatch chiles are a fantastic source of vitamin C and capsaicin, which can boost metabolism. The cheese provides calcium and protein, making this a more satisfying snack than you might think. The onions and garlic also offer prebiotic fiber and antioxidants. It’s a dip that’s as close to “good for you” as queso can get. If you’re looking for a lighter option, you can use reduced-fat cheese and low-fat evaporated milk, but the texture will be slightly less luxurious.
Conclusion
This Smoky Roasted Hatch Chili Queso Dip is the kind of recipe that makes you look forward to game day, taco Tuesday, or just a random Tuesday night. It’s proof that with a little bit of effort—roasting a few chiles, shredding some cheese—you can create something that tastes infinitely better than anything from a jar. The smoky, earthy flavor of the Hatch chiles is something you’ll crave all year long.
I honestly hope you give this one a try. It’s become a staple in my house, and I think it will in yours, too. Don’t be afraid to make it your own—add more heat, throw in some chorizo, or just keep it simple. Let me know in the comments how it turns out! I’d love to hear about your variations. Happy dipping!
Frequently Asked Questions
Can I use canned green chiles instead of fresh Hatch chiles?
You can, but the flavor will be different. Canned green chiles are usually milder and lack that deep, smoky, roasted flavor. If you can’t find fresh Hatch chiles, roast a poblano pepper or two and use them for a closer approximation. For an extra smoky kick, add a pinch of smoked paprika or a drop of liquid smoke.
Why did my queso turn out grainy?
Grainy queso is usually a result of too much heat. The proteins in the cheese seize up when exposed to high temperatures. Always melt the cheese over low heat, and add it to the liquid gradually, stirring constantly. Also, make sure you’re using freshly shredded cheese, not the pre-shredded stuff.
How can I make this queso spicier?
There are several ways to turn up the heat. Use hot Hatch chiles instead of mild. Leave some of the seeds and ribs in the chiles when you chop them. You can also add a finely diced jalapeño or serrano pepper when you sauté the onions, or stir in a few tablespoons of pickled jalapeño brine at the end.
Can I make this queso in a slow cooker?
Yes, but I recommend making the base on the stovetop first. Sauté the aromatics, then transfer everything to a slow cooker on low. Add the shredded cheese and evaporated milk, and stir occasionally until melted. Once it’s smooth, you can keep it on the “warm” setting for serving. This is great for parties.
What’s the best way to reheat leftover queso?
The best way is on the stovetop. Place the leftover queso in a small saucepan over very low heat. Add a splash of milk or evaporated milk to help loosen it up. Stir constantly until it’s warm and smooth again. The microwave can work in a pinch, but use 50% power and stir every 15 seconds to prevent it from separating.
Pin This Recipe!
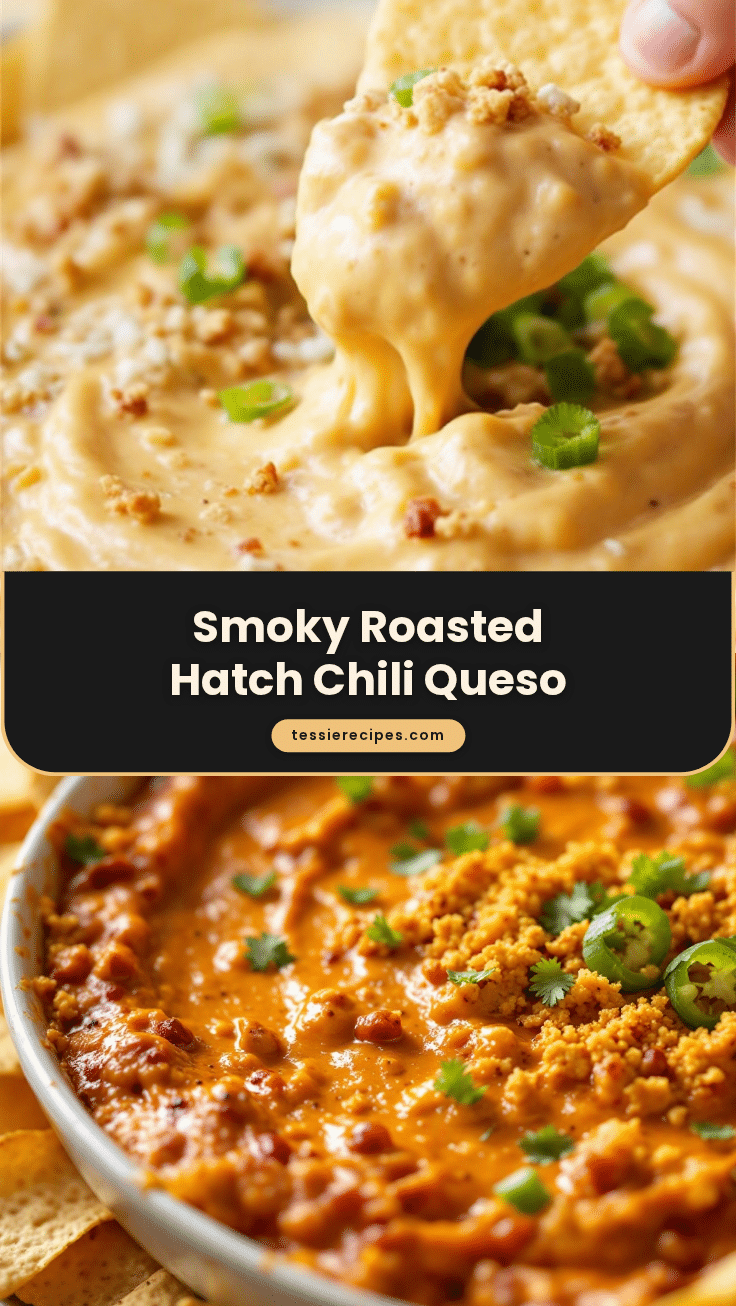
Smoky Roasted Hatch Chili Queso Dip (Easy & Best)

This Smoky Roasted Hatch Chili Queso Dip is a creamy, smoky, and deeply flavorful dip made with real ingredients. It’s perfect for game day, taco night, or any gathering, and it’s surprisingly easy to make.
- Prep Time: 15 minutes
- Cook Time: 20 minutes
- Total Time: 35 minutes
- Yield: 8 servings 1x
- Category: Appetizer
- Cuisine: Southwestern
Ingredients
- 8 oz Monterey Jack cheese, freshly shredded
- 8 oz sharp white cheddar cheese, freshly shredded
- 1 can (12 oz) evaporated milk
- 1 tablespoon unsalted butter
- 1/2 medium yellow onion, finely diced (about 1/2 cup)
- 2 cloves garlic, minced
- 1/2 teaspoon ground cumin
- 1/4 teaspoon smoked paprika
- Salt and black pepper to taste
- 3–4 fresh Hatch chiles (green or red)
- 1 tablespoon olive oil
- Fresh cilantro, chopped (for serving, optional)
- Pickled jalapeños (for serving, optional)
- Crumbled cotija cheese (for serving, optional)
- Tortilla chips or fresh vegetables (for serving)
Instructions
- Preheat your grill to medium-high heat or set your oven to broil. If using the oven, place a rack about 4-6 inches from the heating element.
- Rub the fresh Hatch chiles with the olive oil. Place them directly on the grill grates or on a baking sheet under the broiler.
- Roast for 5-7 minutes per side, turning occasionally, until the skins are blistered, blackened, and charred.
- Transfer the roasted chiles to a small bowl and cover tightly with plastic wrap. Let them steam for 10-15 minutes.
- Once cool enough to handle, peel off the blackened skins. Remove the stems and seeds. Roughly chop the chiles and set aside.
- In a medium saucepan over medium heat, melt the butter. Add the finely diced onion and cook for 3-4 minutes, until softened and translucent.
- Add the minced garlic, ground cumin, and smoked paprika. Cook for another minute, stirring constantly, until the garlic is fragrant.
- Pour the evaporated milk into the saucepan with the aromatics. Whisk to combine and bring the mixture to a gentle simmer over medium-low heat. Do not let it boil.
- Reduce the heat to low. Add the freshly shredded Monterey Jack and white cheddar cheese, one handful at a time. Stir continuously until each handful is fully melted before adding the next.
- Once all the cheese is melted and the mixture is smooth and velvety, stir in the chopped roasted Hatch chiles. Taste and season with salt and black pepper.
- Transfer the queso to a serving bowl. Garnish with fresh cilantro, pickled jalapeños, and crumbled cotija cheese if desired.
- Serve hot with tortilla chips.
Notes
For best results, shred your own cheese and melt over low heat to avoid graininess. Roast extra chiles and freeze for later use. The queso thickens as it cools; reheat gently with a splash of milk.
Nutrition
- Serving Size: 1/4 cup
- Calories: 200
- Sugar: 3
- Sodium: 350
- Fat: 16
- Saturated Fat: 10
- Carbohydrates: 5
- Fiber: 1
- Protein: 11
Keywords: queso, hatch chile, dip, game day, smoky, cheese dip, appetizer



