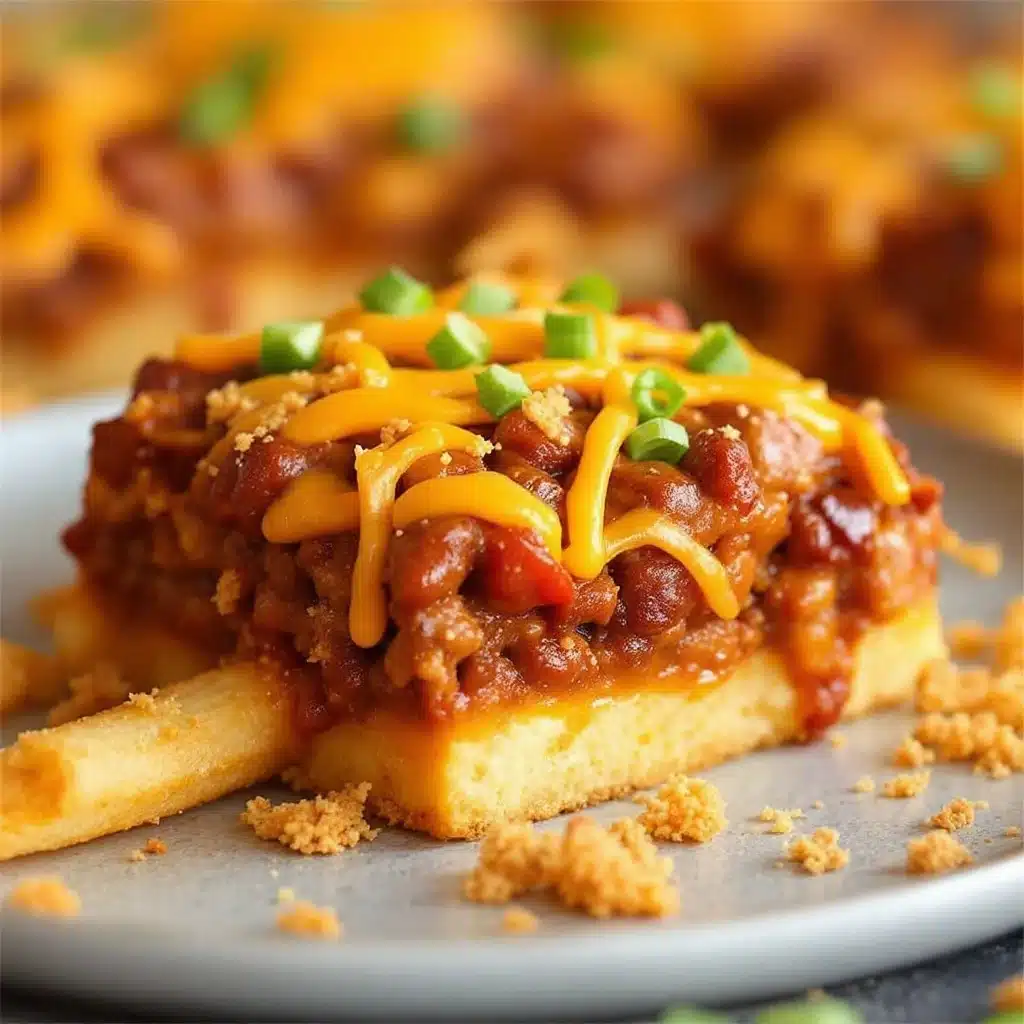
The way the cheese stretches when you pull a loaded fry from the pile — that’s the whole reason this spread exists. Not the chili, not the crunch of the bacon, not even the game on TV. It’s that moment when you lift a single fry and the shredded cheddar clings to it like it doesn’t want to let go, and you have to tilt your head back just to catch it before it snaps. Everything else about this easy chili cheese fries bar for game day is secondary to that one perfect pull.
I didn’t grow up going to Super Bowl parties. My family wasn’t really the gather-around-a-dip kind. But when I started hosting my own game day get-togethers in my tiny apartment — the one with the counter that barely fit a cutting board — I realized something fast. People don’t come for the game. They come for the food that lets them stand around, talk, and eat with their hands. And nothing does that better than a pile of fries you can dress up however you want.
This wasn’t some calculated recipe development either. It started as a desperate move one Sunday when I had leftover chili in the freezer and a bag of frozen fries I’d bought on a whim. I laid everything out on the counter — shredded cheese, jalapeños from a jar, sour cream that was about to expire — and told my friends to just build their own plates. They went quiet for about four minutes (which is basically a century in snack time). Then someone said, “We need to do this every week.”
So here we are. This isn’t fancy food. It’s honest, messy, crowd-feeding food that makes people happy without trying so hard. And honestly? That’s the kind of cooking I trust most.
Why You’ll Love This Recipe
Let me tell you why this easy chili cheese fries bar for game day works so well. I’ve tested this setup at four different gatherings now — from a casual Sunday football watch to a birthday party where nobody wanted to sit down — and it never fails. Here’s what makes it different:
- Completely Customizable — Everyone builds their own plate. Picky eaters can keep it simple. Adventurous eaters can pile on everything. Nobody complains because they’re in control.
- Make-Ahead Friendly — The chili can be made three days in advance. The toppings can be prepped the morning of. You’re not stuck in the kitchen when guests arrive.
- Feeds a Crowd Without Breaking the Bank — A bag of frozen fries, some ground beef, and basic pantry staples feed 8-10 people for under $25. That’s hard to beat.
- Kid-Approved and Adult-Approved — I’ve watched kids go back for thirds while adults sneak extra bacon onto their plates when they think nobody’s looking.
- No Special Equipment Needed — You don’t need a deep fryer or a fancy slow cooker. A sheet pan and a large pot are all you really need.
What makes this version different from the typical chili cheese fries recipe is the texture balance. Most versions end up soggy within minutes because the chili is too watery or the cheese doesn’t melt properly. I spent three rounds figuring out the right chili consistency — thick enough to cling to the fries without turning them into mush — and the right cheese blend that melts smoothly without getting greasy. It’s not complicated, but those small adjustments make the difference between fries that collapse and fries that stay crispy through the whole game.
This recipe also connects to something deeper. Game day food should feel like an event, not just snacks thrown on a table. When you set up a chili cheese fries bar, you’re creating a focal point. People gather around it. They talk about their toppings. They compare their creations. It turns eating into an activity, which is exactly what you want when the game hits a commercial break and conversation needs a spark.
What Ingredients You Will Need
This easy chili cheese fries bar for game day uses simple, hearty ingredients that come together without much fuss. Most of these are pantry staples or easy to find at any grocery store. Here’s what you’ll need and why each one matters:
For the Chili
- 1 lb ground beef (80/20 works best — the fat adds flavor and helps the chili cling to the fries)
- 1 medium yellow onion, diced (adds sweetness and texture; I prefer yellow over white for a milder bite)
- 3 cloves garlic, minced (fresh is non-negotiable here; jarred garlic just doesn’t taste the same)
- 1 can (15 oz) tomato sauce (provides the base without being too chunky)
- 1 can (15 oz) diced tomatoes, drained (I use fire-roasted for extra depth)
- 2 tbsp tomato paste (thickens the chili and adds concentrated tomato flavor)
- 1 can (15 oz) kidney beans, drained and rinsed (adds heartiness; you can skip these if someone in your crowd doesn’t like beans)
- 2 tbsp chili powder (the backbone of the seasoning; I prefer Gebhardt for its balanced heat)
- 1 tsp cumin (adds warmth and earthiness)
- 1 tsp smoked paprika (gives the chili a subtle smoky note)
- 1/2 tsp cayenne pepper (adjust based on your crowd; I keep it mild and let people add hot sauce)
- 1 cup beef broth (adds liquid without making the chili watery; low-sodium is best so you control the salt)
- Salt and black pepper to taste
For the Fries
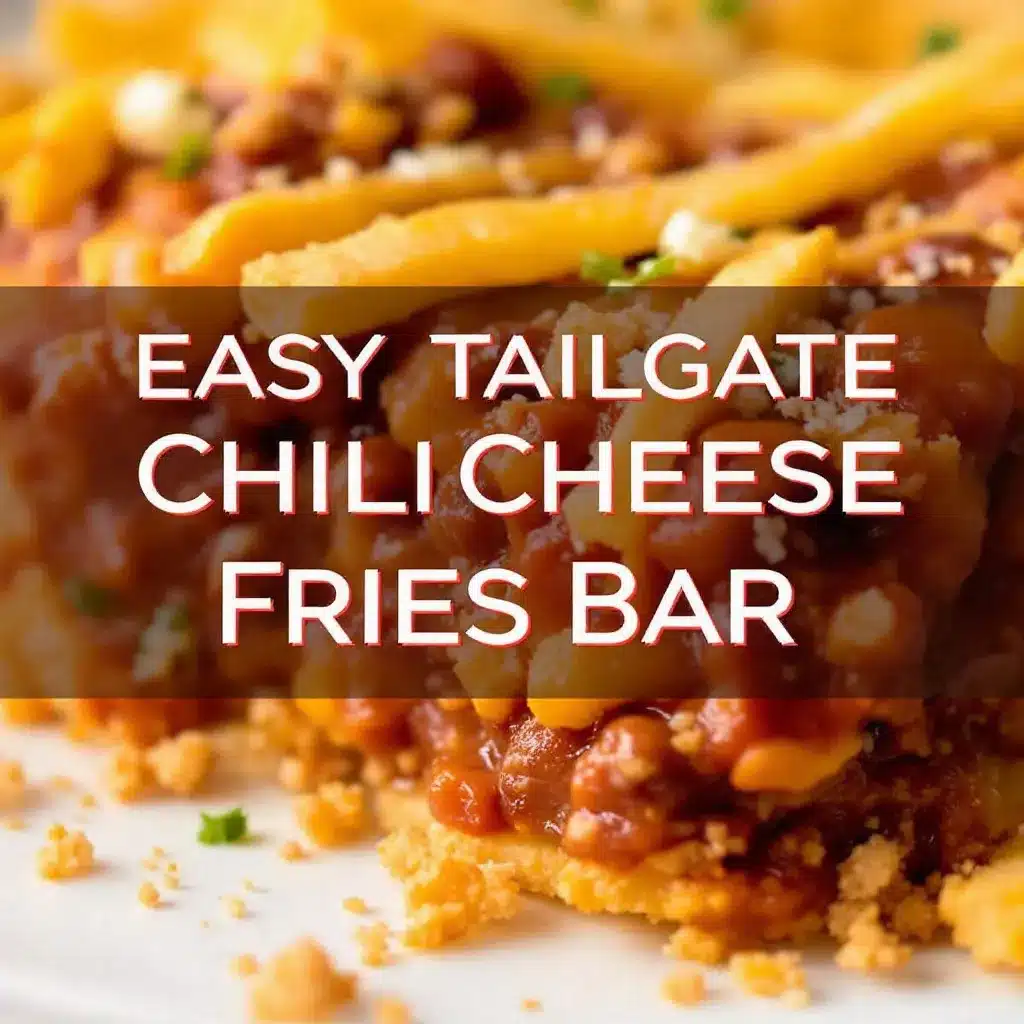
- 1 bag (28-32 oz) frozen crinkle-cut or straight-cut fries (crinkle-cut holds toppings better; I use Ore-Ida for consistent crispiness)
- 2 tbsp olive oil (helps the fries brown evenly in the oven)
- Salt for sprinkling
For the Cheese Sauce
- 2 tbsp unsalted butter
- 2 tbsp all-purpose flour
- 1 1/2 cups whole milk (don’t use skim — it won’t get creamy enough)
- 2 cups shredded sharp cheddar cheese (shred it yourself from a block; pre-shredded has anti-caking agents that prevent smooth melting)
- 1/2 tsp mustard powder (brings out the cheese flavor without tasting like mustard)
- Pinch of cayenne
Toppings Bar
- 1 cup sour cream
- 4-5 green onions, sliced
- 1/2 cup pickled jalapeños (drained)
- 6 slices bacon, cooked and crumbled
- 1 cup shredded Mexican blend cheese (for extra melting on top)
- Hot sauce of choice (I always set out Cholula and Tabasco)
- Fresh cilantro, chopped (for those who like it)
Equipment Needed
You don’t need a professional kitchen to pull off this easy chili cheese fries bar for game day. Here’s what I use and what you can substitute if needed:
- Large pot or Dutch oven — For the chili. A Dutch oven distributes heat more evenly, but any large pot works fine. I use my 5.5-quart Le Creuset, but I’ve made this in a regular stockpot too.
- Large baking sheet — To cook the fries. A half-sheet pan (18×13 inches) is ideal. If you only have a smaller pan, just cook the fries in batches so they’re not overcrowded.
- Medium saucepan — For the cheese sauce. A non-stick surface helps here because melted cheese can stick to the bottom.
- Whisk — Essential for smooth cheese sauce without lumps.
- Wooden spoon or spatula — For stirring the chili.
- Cutting board and knife — For prepping onions, garlic, and toppings.
- Serving dishes — Small bowls for each topping so people can build their own plates.
If you want to make this even easier, a slow cooker works great for keeping the chili warm during the game. Just transfer the finished chili to a slow cooker set to warm and let guests serve themselves. I’ve also used a small electric fondue pot for the cheese sauce when I wanted to keep it warm and dippable for hours. Not necessary, but a nice touch if you have one.
Preparation Method
This easy chili cheese fries bar for game day comes together in about 45 minutes total. Here’s how I do it, step by step, with all the little details that make a difference.
- Start the chili (30 minutes before guests arrive). Heat a large pot over medium-high heat. Add the ground beef and cook, breaking it apart with a wooden spoon, until browned — about 6-8 minutes. Don’t drain all the fat; leave about a tablespoon in the pot for flavor. Add the diced onion and cook for 3-4 minutes until it softens and turns translucent. Add the minced garlic and cook for 30 seconds until fragrant. You’ll smell it when it’s ready.
- Build the chili base. Stir in the tomato paste and cook for 1 minute, letting it darken slightly. This step deepens the flavor. Add the chili powder, cumin, smoked paprika, cayenne, salt, and pepper. Stir everything together and let the spices toast for about 30 seconds. Then pour in the tomato sauce, diced tomatoes, and beef broth. Bring to a simmer, then reduce the heat to low. Let it bubble gently for 15-20 minutes, stirring occasionally. Add the kidney beans in the last 5 minutes so they warm through without falling apart.
- Cook the fries (20 minutes before serving). While the chili simmers, preheat your oven to 425°F. Spread the frozen fries in a single layer on your baking sheet. Drizzle with olive oil and toss to coat. Bake according to package directions — usually 18-22 minutes — flipping halfway through. I like to add an extra 2 minutes for extra crispiness. Sprinkle with salt right when they come out of the oven.
- Make the cheese sauce (10 minutes before serving). In a medium saucepan, melt the butter over medium heat. Whisk in the flour and cook for 1 minute — this gets rid of the raw flour taste. Slowly pour in the milk while whisking constantly to prevent lumps. Keep whisking until the mixture thickens, about 3-4 minutes. Remove from heat and stir in the shredded cheddar, mustard powder, and cayenne. Stir until completely smooth. If it seems too thick, add a splash of milk. If it’s too thin, let it sit for a minute — it will thicken as it cools.
- Cook the bacon. While the fries are baking, cook the bacon until crispy. I do mine in a skillet over medium heat for about 6-8 minutes, flipping once. Let it drain on paper towels, then crumble it into small pieces. You can also bake the bacon on a separate sheet pan at 400°F for 15 minutes if you want to multitask.
- Set up the bar. Arrange everything in separate bowls: the chili in a large bowl or slow cooker, the cheese sauce in a small pot or fondue pot, and all the toppings in individual bowls. Place the hot fries on a large platter or let guests grab their own plates and pile fries on them. That’s the whole point — letting everyone build their perfect plate.
- Assemble and serve. Each person starts with a pile of fries, then ladles chili over the top, drizzles cheese sauce, and adds their choice of toppings. The order matters: chili first so it soaks into the fries slightly, then cheese sauce so it melts into the chili, then cold toppings like sour cream and green onions for contrast.
Cooking Tips & Techniques
After making this easy chili cheese fries bar for game day more times than I can count, I’ve learned a few things the hard way. Here are the tips that actually matter:
Don’t oversimmer the chili. The biggest mistake I made early on was letting the chili cook too long, thinking it would get better. It just gets thicker and thicker until it’s more like a paste. You want it thick enough to cling to a fry but loose enough to drizzle. Aim for a consistency similar to canned chili — not soupy, not pasty. If it gets too thick, add a splash of beef broth to loosen it up.
Shred your own cheese. I know it’s tempting to buy the pre-shredded bags. I’ve done it. But the anti-caking agents (usually potato starch and cellulose) prevent the cheese from melting smoothly. Your cheese sauce will turn out grainy instead of silky. Just buy a block of sharp cheddar and shred it yourself. It takes two extra minutes and makes a noticeable difference.
Keep the fries crispy. The enemy of chili cheese fries is sogginess. To combat this, I do two things: First, I cook the fries a little longer than the package says — extra crispy means they hold up better under the toppings. Second, I let guests build their own plates instead of assembling everything on one big tray. This way, nobody’s fries sit under chili for too long. The first bite should still have crunch.
Warm the serving bowls. This is a small thing that makes a big difference. If you put hot chili into a cold bowl, it cools down fast. Run your serving bowls under hot water for a minute and dry them before adding the chili. Same goes for the cheese sauce. Warm bowls keep everything at the right temperature longer.
Double the cheese sauce if you have a big crowd. I once made this for 12 people and ran out of cheese sauce in the first 15 minutes. The recipe above is perfect for 6-8 people, but if you’re feeding more, double the cheese sauce ingredients. People go heavier on the cheese than you expect.
Variations & Adaptations
One of the best things about this easy chili cheese fries bar for game day is how flexible it is. Here are some variations I’ve tried and loved:
Vegetarian Version. Swap the ground beef for a plant-based crumble or use two cans of black beans and one can of kidney beans instead. Add an extra tablespoon of chili powder and a splash of soy sauce to deepen the savory flavor. I tested this with Beyond Meat crumbles and honestly, my meat-eating friends didn’t notice the difference until I told them.
Loaded Nacho Style. Instead of fries, use thick tortilla chips. Everything else stays the same, but I add a layer of refried beans under the chili and top with pickled red onions and sliced black olives. This version is great if you’re feeding people who aren’t big on potatoes.
Spicy Buffalo Twist. Stir 3 tablespoons of buffalo sauce into the chili right before serving. Swap the cheddar cheese sauce for blue cheese crumbles and drizzle with ranch dressing. Add diced celery for crunch. This version is a hit with people who love heat — just warn your guests before they load up.
Sweet Potato Fries Base. Use frozen sweet potato fries instead of regular. The sweetness balances the spicy chili beautifully. I bake the sweet potato fries a little longer — about 24 minutes — because they tend to be softer and need extra time to crisp up. The cheese sauce pairs surprisingly well with the sweetness.
Low-Carb Option. Skip the fries entirely and serve the chili and toppings over a bed of shredded lettuce or roasted cauliflower florets. It’s not quite the same experience, but it works if someone in your group is watching carbs. I’ve also used zucchini fries (breaded and baked) as a base, and they held up better than I expected.
Serving & Storage Suggestions
This easy chili cheese fries bar for game day is best served immediately, but here’s how to handle leftovers and make-ahead planning:
Serving Temperature. Serve the chili hot, the cheese sauce warm, and the fries straight from the oven. Cold toppings like sour cream and green onions should be chilled. The contrast between hot and cold is part of what makes this so satisfying. I set out everything about 10 minutes before the game starts so people can grab plates during the first commercial break.
Make-Ahead Strategy. The chili can be made up to 3 days in advance and stored in the fridge. Reheat it on the stovetop over medium-low heat, adding a splash of beef broth if it’s too thick. The cheese sauce is best made fresh, but you can make it a day ahead and reheat gently with a splash of milk. The fries should always be cooked fresh — they don’t reheat well.
Storage. Store leftover chili in an airtight container in the fridge for up to 4 days. The cheese sauce keeps for 3 days, but it will thicken significantly when cold. Reheat it slowly on the stovetop with a splash of milk, whisking until smooth. Leftover fries are not worth saving — they get soft and sad. Just make fresh fries if you’re having leftovers the next day.
Freezing. The chili freezes beautifully for up to 3 months. Let it cool completely, then transfer to freezer-safe containers. Thaw overnight in the fridge and reheat on the stovetop. The cheese sauce doesn’t freeze well — it separates when thawed — so only make what you’ll use.
Flavor Development. The chili actually tastes better the next day. The flavors meld together overnight, and the spices become more rounded. If you’re making this for a party, I highly recommend making the chili a day ahead. Just reheat it before serving. Your guests will think you spent all day on it.
Nutritional Information & Benefits
Let’s be honest — this easy chili cheese fries bar for game day isn’t health food. But it does have some redeeming qualities if you’re paying attention:
Estimated Per Serving (1/8 of recipe, with toppings):
– Calories: 520-580
– Protein: 28g
– Fat: 32g
– Carbohydrates: 38g
– Fiber: 6g
– Sugar: 8g
– Sodium: 980mg
Health Highlights. The kidney beans add fiber and plant-based protein, which helps slow down digestion and keeps you feeling full longer. The beef provides iron and B12. The tomatoes in the chili are rich in lycopene, an antioxidant that supports heart health. And the onions and garlic offer anti-inflammatory benefits — small wins, but they count.
Dietary Considerations. This recipe contains dairy (cheese, butter, milk) and gluten (flour in the cheese sauce). For a gluten-free version, use cornstarch instead of flour to thicken the cheese sauce — mix 1 tablespoon cornstarch with 2 tablespoons cold milk, then whisk it into the hot milk mixture. For a dairy-free version, use a plant-based cheese alternative and coconut milk for the sauce, though the texture won’t be quite the same. The chili itself is naturally gluten-free if you skip the flour-based thickener.
Allergen Notes. Contains dairy and gluten. The bacon adds nitrates, so if you’re sensitive, use uncured bacon or skip it. The pickled jalapeños may contain sulfites for preservation.
My Personal Take. I don’t make this every week — it’s a treat, not a daily meal. But I’ve learned that sharing food with people matters more than counting every calorie. One game day spread isn’t going to derail anyone’s health goals. And honestly, the joy of watching people pile toppings on their fries and laugh through a football game is worth the extra sodium.
Conclusion
This easy chili cheese fries bar for game day has become my go-to for any gathering where I want people to feel relaxed and well-fed. It’s not complicated. It’s not fancy. But it works every single time. The chili is hearty without being heavy. The cheese sauce is creamy and smooth. And the toppings bar lets everyone create their perfect plate — which means nobody leaves hungry.
What I love most about this recipe is how it brings people together. There’s something about standing around a table, building your own plate of loaded fries, that makes conversation flow naturally. You’re not sitting in separate chairs with separate plates. You’re reaching for the same bacon, passing the same sour cream, and comparing your creations. That’s the kind of eating I want to be part of.
I’d love to hear how your chili cheese fries bar turns out. What toppings did your crowd go crazy for? Did anyone invent a combination you didn’t expect? Drop a comment below and let me know — I’m always looking for new ideas to try. And if you make this for your next game day, tag me in your photos. Seeing those loaded plates makes my day every time.
Now go make some fries. Your people are waiting.
Frequently Asked Questions
Can I use canned chili instead of making it from scratch?
Absolutely. If you’re short on time, two cans of your favorite chili work fine. Just heat it up and season it with an extra teaspoon of chili powder and a pinch of cumin to make it taste more homemade. I’ve done this when I was running late, and nobody complained.
How do I keep the fries from getting soggy?
The key is letting everyone build their own plate instead of assembling everything on one big tray. Also, bake the fries until they’re extra crispy — add 2-3 minutes to the package directions. And serve the chili thick, not watery. A thicker chili clings to the fries without soaking them.
Can I make this in a slow cooker?
Yes! Brown the beef and onions on the stovetop first, then transfer everything to a slow cooker. Cook on low for 4-6 hours or high for 2-3 hours. The slow cooker is also great for keeping the chili warm during the game — just switch it to the warm setting after it’s done cooking.
What are the best fries for chili cheese fries?
Crinkle-cut fries are my top choice because the ridges catch the chili and cheese. Straight-cut fries work too, but they don’t hold toppings as well. Waffle fries are a fun alternative if you want extra surface area. Avoid shoestring fries — they get soggy too quickly under the weight of the toppings.
Can I prepare the toppings ahead of time?
Most toppings can be prepped the day before. Chop the green onions, crumble the bacon, shred the cheese, and slice the jalapeños. Store everything in separate containers in the fridge. The sour cream and hot sauce can go straight from the fridge to the table. This makes game day setup about 10 minutes instead of 30.
If you love this recipe, you might also enjoy our Creamy Jalapeño Popper Chicken Chili for another game day favorite, or our Loaded Bacon Cheeseburger Soup for a warm, hearty option. And don’t miss the Bacon-Wrapped Jalapeño Poppers — they’re always a hit alongside these loaded fries.
Pin This Recipe!
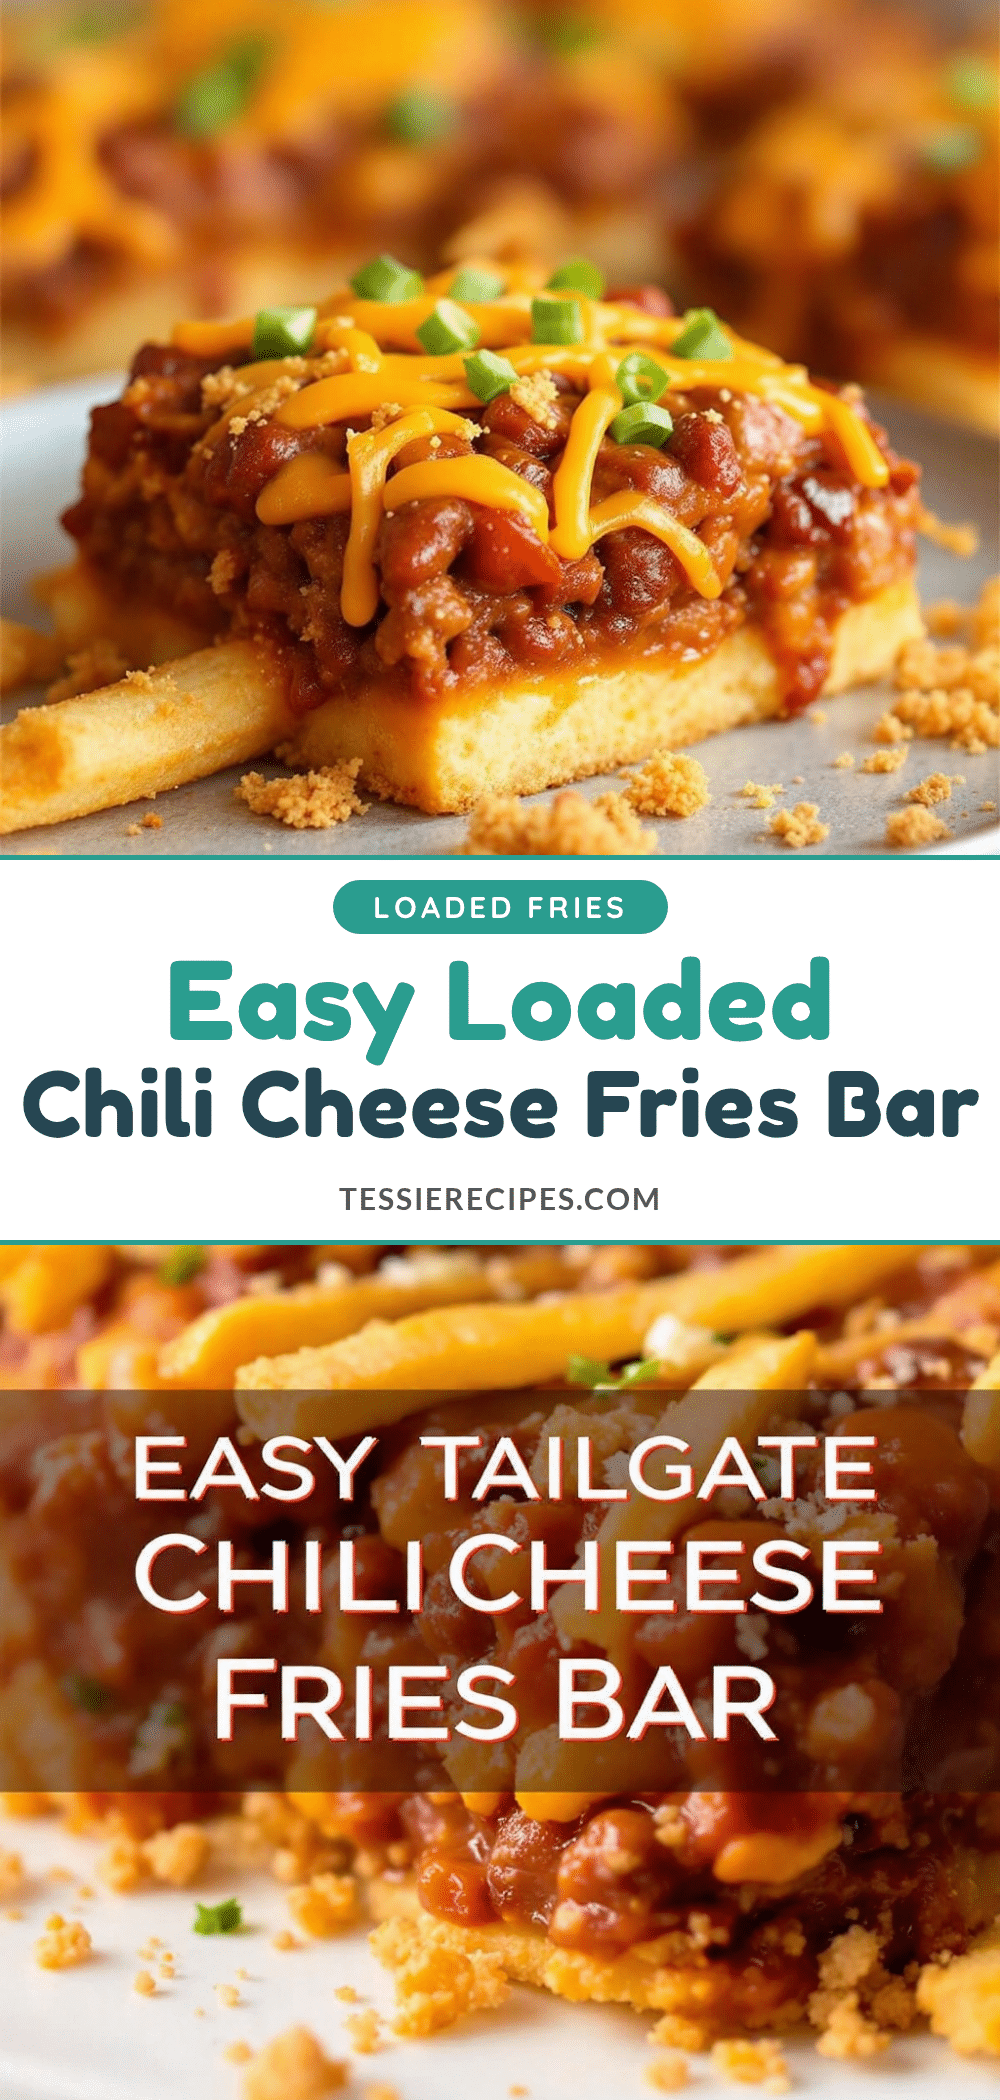
The Best Easy Chili Cheese Fries Bar for Game Day

A customizable chili cheese fries bar with crispy fries, hearty chili, creamy cheese sauce, and a variety of toppings, perfect for game day gatherings.
- Prep Time: 15 minutes
- Cook Time: 30 minutes
- Total Time: 45 minutes
- Yield: 8 servings 1x
- Category: Main Course
- Cuisine: American
Ingredients
- 1 lb ground beef (80/20)
- 1 medium yellow onion, diced
- 3 cloves garlic, minced
- 1 can (15 oz) tomato sauce
- 1 can (15 oz) diced tomatoes, drained
- 2 tbsp tomato paste
- 1 can (15 oz) kidney beans, drained and rinsed
- 2 tbsp chili powder
- 1 tsp cumin
- 1 tsp smoked paprika
- 1/2 tsp cayenne pepper
- 1 cup beef broth (low-sodium)
- Salt and black pepper to taste
- 1 bag (28-32 oz) frozen crinkle-cut or straight-cut fries
- 2 tbsp olive oil
- Salt for sprinkling
- 2 tbsp unsalted butter
- 2 tbsp all-purpose flour
- 1 1/2 cups whole milk
- 2 cups shredded sharp cheddar cheese
- 1/2 tsp mustard powder
- Pinch of cayenne
- 1 cup sour cream
- 4–5 green onions, sliced
- 1/2 cup pickled jalapeños, drained
- 6 slices bacon, cooked and crumbled
- 1 cup shredded Mexican blend cheese
- Hot sauce of choice (e.g., Cholula, Tabasco)
- Fresh cilantro, chopped
Instructions
- Start the chili: Heat a large pot over medium-high heat. Add ground beef and cook, breaking it apart, until browned (6-8 minutes). Leave about 1 tbsp fat in the pot. Add diced onion and cook 3-4 minutes until softened. Add minced garlic and cook 30 seconds until fragrant.
- Build the chili base: Stir in tomato paste and cook 1 minute. Add chili powder, cumin, smoked paprika, cayenne, salt, and pepper; toast for 30 seconds. Pour in tomato sauce, diced tomatoes, and beef broth. Bring to a simmer, then reduce heat to low. Let bubble gently for 15-20 minutes, stirring occasionally. Add kidney beans in the last 5 minutes.
- Cook the fries: Preheat oven to 425°F. Spread frozen fries in a single layer on a baking sheet. Drizzle with olive oil and toss to coat. Bake according to package directions (18-22 minutes), flipping halfway. Add 2 extra minutes for extra crispiness. Sprinkle with salt immediately.
- Make the cheese sauce: In a medium saucepan, melt butter over medium heat. Whisk in flour and cook 1 minute. Slowly pour in milk while whisking constantly. Continue whisking until mixture thickens (3-4 minutes). Remove from heat and stir in shredded cheddar, mustard powder, and cayenne until smooth.
- Cook the bacon: In a skillet over medium heat, cook bacon until crispy (6-8 minutes), flipping once. Drain on paper towels and crumble.
- Set up the bar: Arrange chili in a large bowl or slow cooker, cheese sauce in a small pot, and all toppings in individual bowls. Place hot fries on a large platter or let guests grab their own plates.
- Assemble and serve: Each person starts with fries, then ladles chili, drizzles cheese sauce, and adds desired toppings. Order: chili first, then cheese sauce, then cold toppings.
Notes
For extra crispy fries, bake 2-3 minutes longer than package directions. Shred cheese from a block for smoother sauce. Chili can be made up to 3 days ahead. Keep fries separate until serving to avoid sogginess.
Nutrition
- Serving Size: 1/8 of recipe
- Calories: 550
- Sugar: 8
- Sodium: 980
- Fat: 32
- Saturated Fat: 12
- Carbohydrates: 38
- Fiber: 6
- Protein: 28
Keywords: chili cheese fries, game day food, loaded fries, party appetizer, comfort food