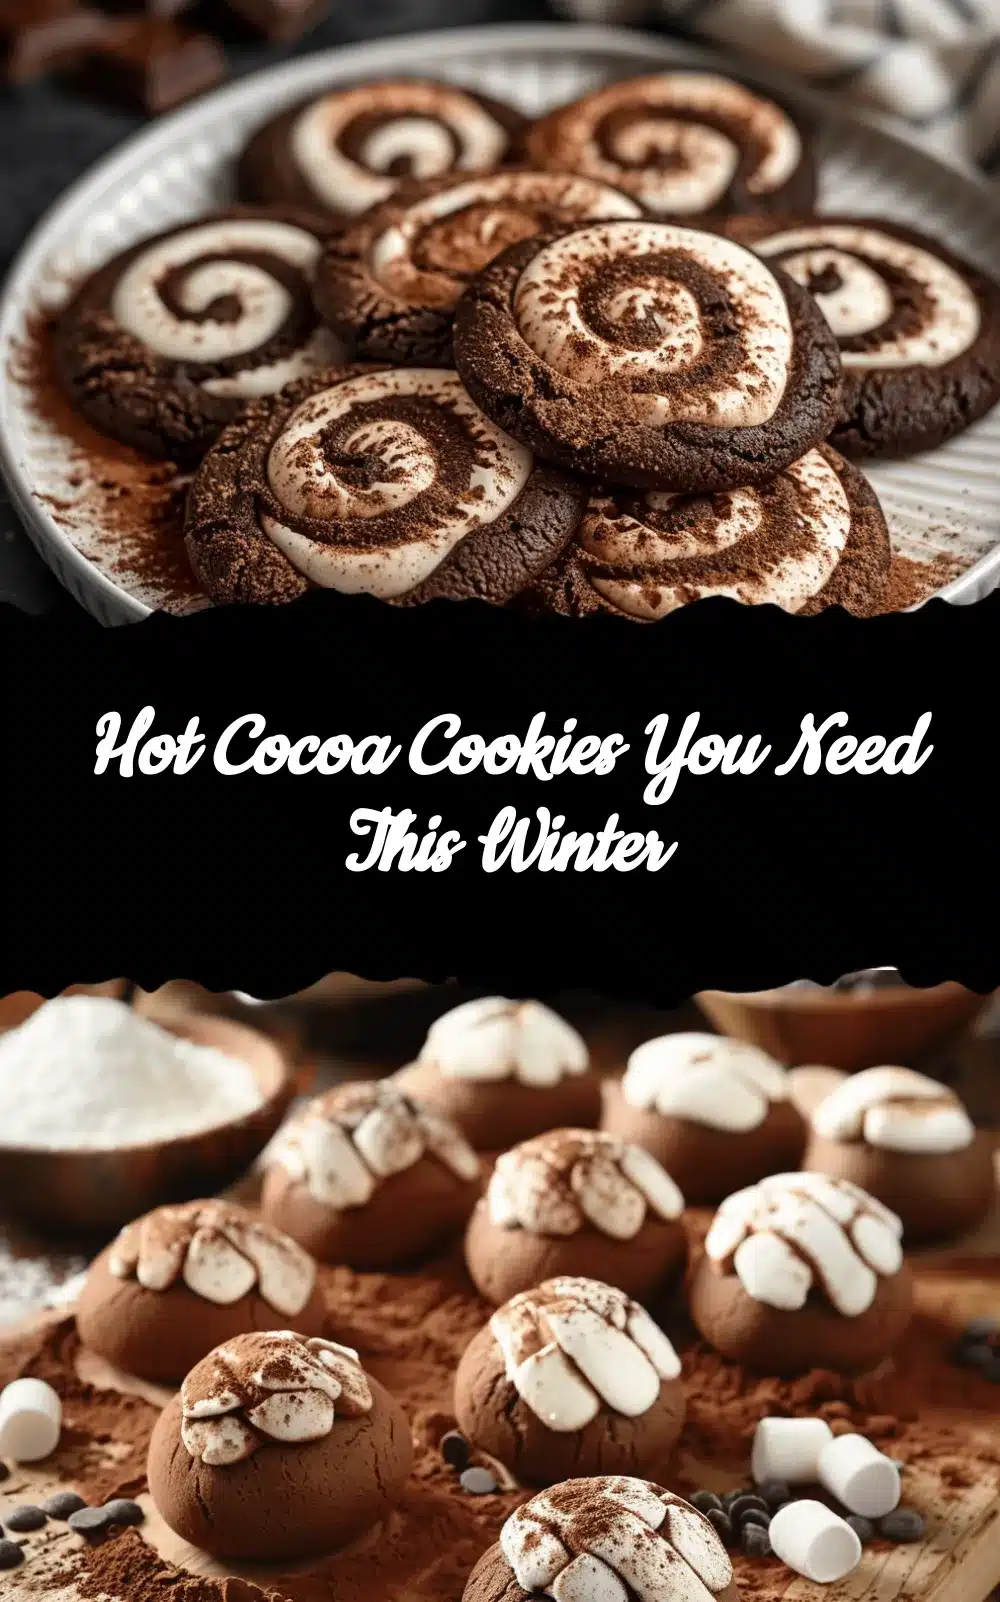
The aroma of chocolate wafting through your kitchen, the melty pockets of marshmallow goodness, and that perfect swirl of cocoa and vanilla — these Hot Cocoa Swirl Cookies are everything you love about winter in one delicious bite. I remember the first time I baked these cookies on a snowed-in afternoon, and they instantly became a family favorite. They’re warm, cozy, and just the right amount of indulgent.
If you’re like me, winter is all about finding small, comforting joys, whether it’s wrapping your hands around a mug of hot cocoa or baking something special to share with loved ones. These cookies capture that same nostalgic magic. With a chewy, buttery texture and a ribbon of cocoa running through every bite, they’re a delicious twist on classic holiday treats. Plus, they’re easy enough to make with the kids and fancy enough to impress at your next cookie swap. Let’s get baking!
Why You’ll Love This Recipe
- Cold-weather comfort: These cookies are the edible version of your favorite mug of hot cocoa, complete with marshmallows!
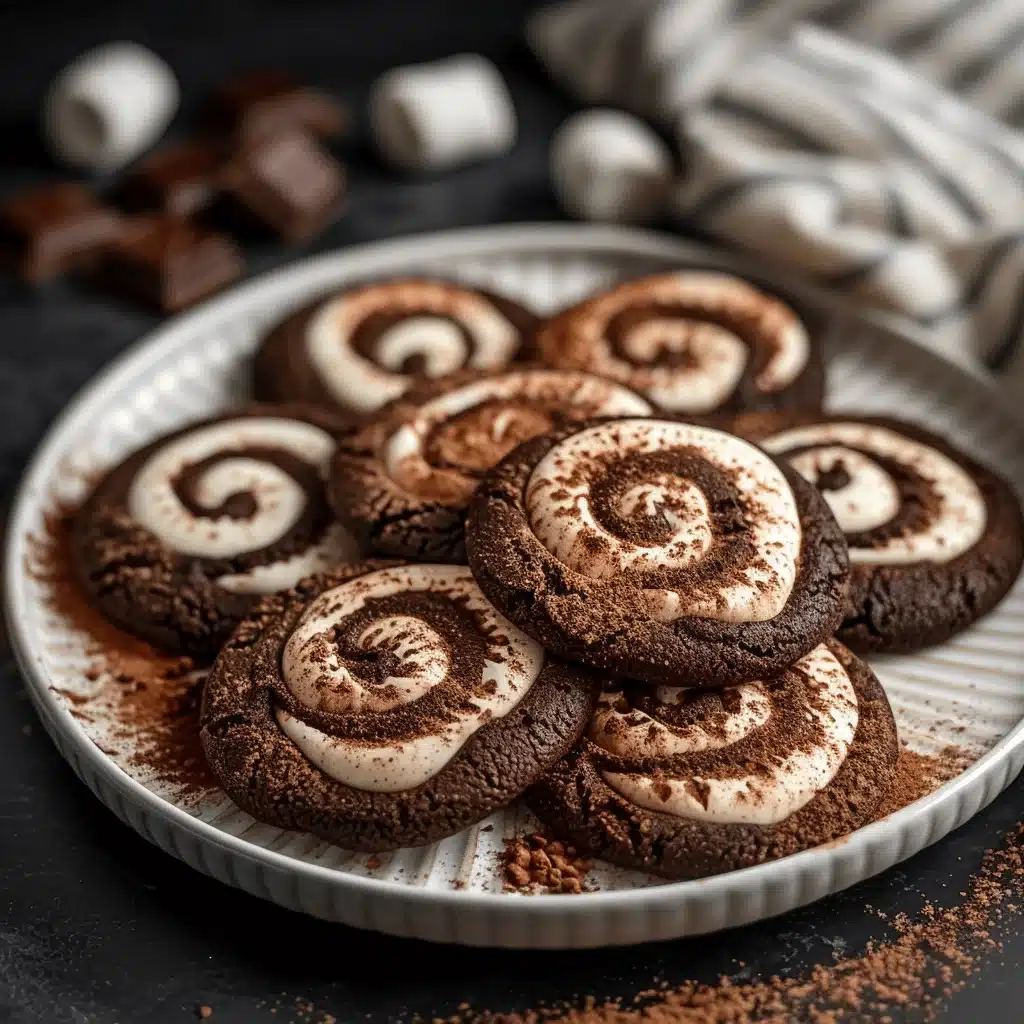
- Swirl perfection: The marbled cocoa and vanilla dough not only look stunning but taste incredible together.
- Easy to make: No fancy equipment or hard-to-find ingredients required — just a few pantry staples and about an hour of your time.
- Kid-friendly: Rolling and swirling the dough is a fun activity for little helpers in the kitchen.
- Holiday-ready: These cookies are perfect for gifting, cookie swaps, or serving alongside a cozy cup of hot chocolate.
What sets this recipe apart is its balance of flavors — the rich cocoa isn’t overwhelming, and the vanilla dough keeps everything light and buttery. And don’t even get me started on the marshmallow bits that caramelize slightly in the oven. It’s pure winter magic in cookie form!
What Ingredients You Will Need
This recipe uses simple ingredients that you probably already have in your pantry. Here’s what you’ll need:
- All-purpose flour: The base of the cookie dough, giving it structure and chewiness.
- Unsalted butter, softened: Adds richness and that signature buttery flavor.
- Granulated sugar: For sweetness and to help the cookies spread just the right amount.
- Brown sugar: Adds a hint of molasses flavor and keeps the cookies soft.
- Large eggs: Bind the dough together and add moisture.
- Vanilla extract: Enhances the flavor of the vanilla dough.
- Cocoa powder: Use high-quality, unsweetened cocoa powder for the best flavor in the chocolate swirl.
- Baking soda: Helps the cookies rise slightly and stay soft.
- Salt: Balances the sweetness and enhances the other flavors.
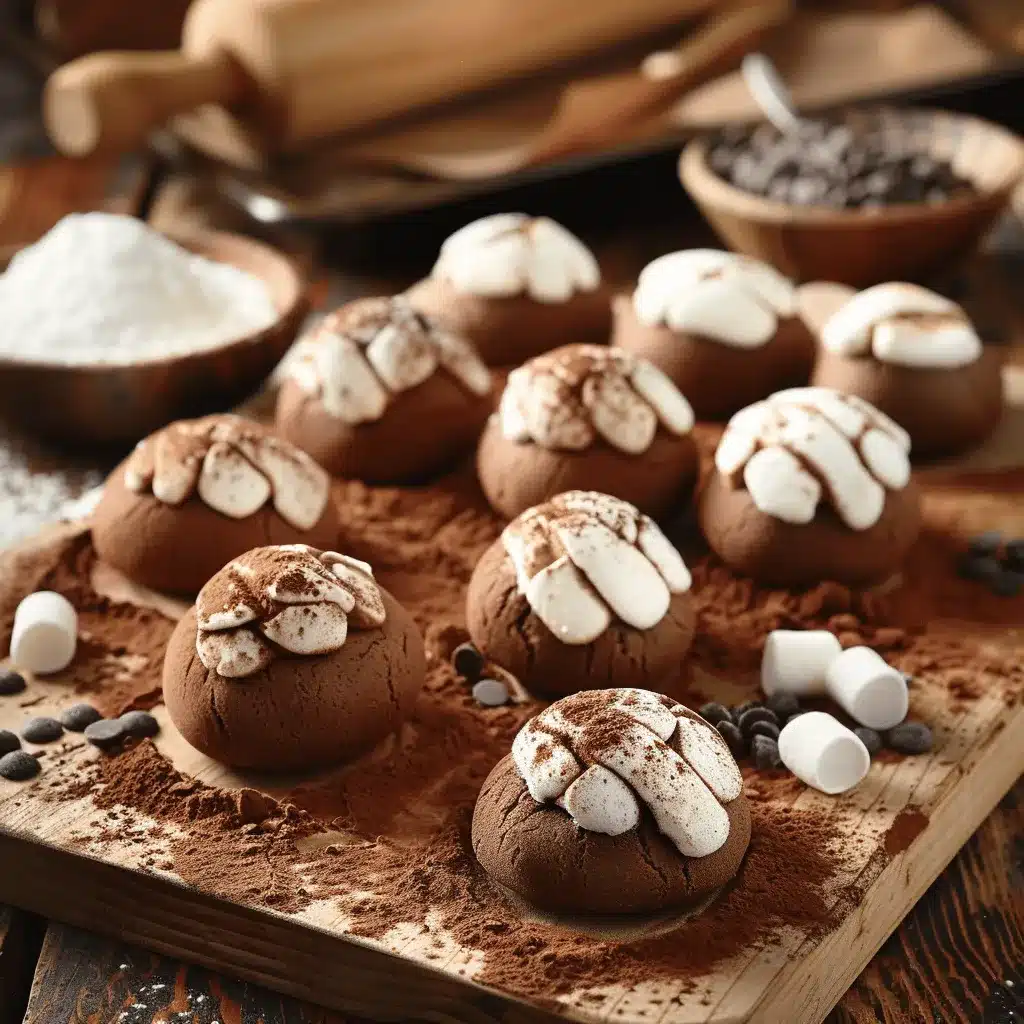
- Mini marshmallow bits: These tiny marshmallows hold their shape during baking and add that hot cocoa vibe.
Optional: A sprinkle of flaky sea salt on top before baking adds a lovely contrast to the sweetness (highly recommended!).
Equipment Needed
- Mixing bowls: You’ll need at least two — one for the vanilla dough and one for the cocoa dough.
- Electric hand mixer or stand mixer: Makes creaming the butter and sugar a breeze.
- Cookie sheets: Line these with parchment paper for easy cleanup and even baking.
- Rolling pin: Useful for flattening the dough before creating the swirl.
- Sharp knife or dough scraper: For cutting the dough log into even slices.
Don’t have a rolling pin? No problem! A clean wine bottle works in a pinch. And if you don’t have parchment paper, lightly greasing your cookie sheets will do just fine.
Preparation Method
- Create the vanilla dough: In a large mixing bowl, cream together 1 cup (226g) of softened butter, 1 cup (200g) of granulated sugar, and ½ cup (100g) of brown sugar until light and fluffy (about 2 minutes). Beat in 2 large eggs and 2 teaspoons of vanilla extract. Gradually mix in 2 ¾ cups (345g) of all-purpose flour, 1 teaspoon of baking soda, and ½ teaspoon of salt. Set aside.
- Prepare the cocoa dough: In a separate bowl, take half of the prepared vanilla dough and mix in ¼ cup (25g) of unsweetened cocoa powder until fully incorporated.
- Roll the doughs: On a lightly floured surface, roll out both the vanilla and cocoa doughs into equal-sized rectangles (about ¼-inch thick).
- Create the swirl: Lay the cocoa dough on top of the vanilla dough. Gently press them together and roll into a tight log. Wrap the log in plastic wrap and refrigerate for at least 30 minutes (this step ensures clean slices).
- Preheat the oven: While the dough chills, preheat your oven to 350°F (175°C) and line your cookie sheets with parchment paper.
- Slice and bake: Remove the dough log from the fridge and slice into ¼-inch thick rounds. Place cookies on the prepared sheets, spacing them about 2 inches apart. Press a few mini marshmallow bits into the top of each cookie.
- Bake: Bake for 10-12 minutes or until the edges are set and the centers look slightly underbaked (they’ll firm up as they cool). Cool on the sheets for 5 minutes before transferring to a wire rack.
Enjoy your cookies warm or let them cool completely before storing!
Cooking Tips & Techniques
- For the cleanest swirls, chill the dough log longer if it starts to feel sticky while slicing.
- Use a serrated knife to cut the dough log for smoother, even slices.
- If your marshmallows stick to your knife, lightly coat the blade with nonstick spray.
- Don’t overbake! The cookies will continue to cook slightly as they cool, so pull them out when the centers are still soft.
Trust me on the flaky sea salt sprinkle — it takes these cookies to the next level.
Variations & Adaptations
- Gluten-free option: Substitute the all-purpose flour with a 1:1 gluten-free baking blend.
- Dairy-free version: Use plant-based butter and vegan mini marshmallows.
- Holiday twist: Add ½ teaspoon of peppermint extract to the cocoa dough for a peppermint hot cocoa flavor.
- Nutty addition: Fold in ½ cup of finely chopped hazelnuts or almonds for extra crunch.
Feel free to experiment with the recipe! I once added crushed graham crackers to the dough for a s’mores-inspired version, and it was a hit.
Serving & Storage Suggestions
These cookies are best enjoyed slightly warm when the marshmallow bits are gooey. Serve them alongside a cup of hot cocoa or your favorite winter tea for the ultimate cozy treat.
To store, place the cooled cookies in an airtight container at room temperature for up to 5 days. For longer storage, freeze the baked cookies for up to 3 months. Reheat in the microwave for 10-15 seconds to bring back their fresh-from-the-oven warmth.
Nutritional Information & Benefits
Each cookie contains approximately:
- Calories: 140
- Fat: 6g
- Carbohydrates: 20g
- Protein: 2g
While these cookies are an indulgence, the small portions make them a great way to satisfy your sweet tooth without overdoing it. Plus, the recipe is flexible for different dietary needs!
Conclusion
These Hot Cocoa Swirl Cookies are everything you love about winter rolled into one delightful treat. Whether you’re baking for a holiday gathering or just because you’re craving something sweet and cozy, these cookies are bound to become a staple in your winter repertoire.
I’d love to hear how yours turn out! Leave a comment below with your thoughts or any fun variations you tried. And don’t forget to share the love by pinning this recipe or sharing it with your fellow cookie enthusiasts. Happy baking!
FAQs
Can I freeze the dough?
Yes! Wrap the dough log tightly in plastic wrap and freeze for up to 2 months. Slice and bake straight from the freezer, adding an extra minute or two to the bake time.
Can I use regular marshmallows instead of mini bits?
Mini marshmallow bits work best as they hold their shape during baking. Regular marshmallows tend to melt and spread too much.
How do I make the swirls more pronounced?
Roll the dough tightly and chill it well before slicing. A sharp knife also helps create clean edges.
Can I double the recipe?
Absolutely! This recipe doubles easily. Just make sure you have enough fridge space for the dough logs.
What’s the best way to reheat frozen cookies?
Microwave for 10-15 seconds or place in a 300°F (150°C) oven for about 5 minutes to warm them up.
Pin This Recipe!