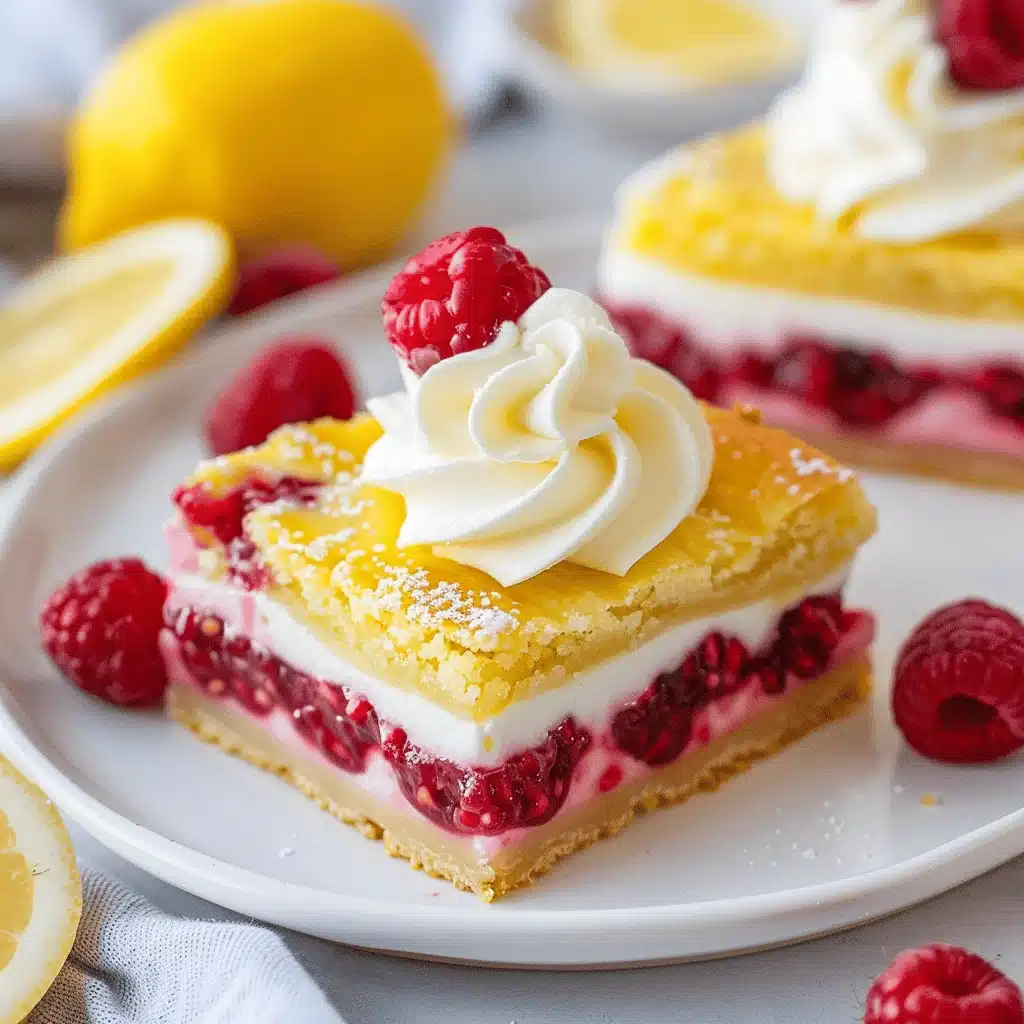
Is there anything better than biting into a tangy, sweet lemon raspberry bar on a breezy spring afternoon? Let me tell you, the combination of zesty citrus and juicy raspberries is pure magic. These bars always remind me of backyard gatherings, with the smell of fresh flowers in the air and everyone reaching for seconds. If you’re looking for a dessert that’s equal parts refreshing and satisfying, these lemon raspberry bars are exactly what you need. Trust me, they’re a showstopper for any spring occasion, from brunches to picnics.
I’ve perfected this recipe over the years, tweaking the ratios to get the ideal balance of tart lemon, sweet fruit, and buttery crust. Plus, they’re surprisingly simple to make, even if you’re not a seasoned baker. Grab some fresh raspberries and lemons, and let’s bring a little sunshine to your kitchen!
Why You’ll Love This Recipe
- Bright and Refreshing: The zingy lemon flavor pairs beautifully with the sweetness of raspberries, making this dessert light yet indulgent.
- Perfect for Spring: Whether it’s a sunny brunch, Easter celebration, or just a weekend treat, these bars are the ultimate spring dessert.
- Simple Ingredients: No fancy grocery list needed—everything in this recipe is easy to find and affordable.
- Crowd-Pleaser: Kids and adults alike will be fighting over the last piece. Trust me, they disappear fast!
- Easy to Make: While the flavor is complex, the steps are straightforward, even for beginner bakers.
What makes these zesty lemon raspberry bars stand out is the balance—neither too sweet nor too tart—and the way the buttery shortbread crust melts in your mouth. It’s the kind of dessert that makes you stop and savor every bite. Plus, the vibrant colors make them absolutely Instagram-worthy, so don’t forget to snap a picture before serving!
What Ingredients You Will Need
This recipe uses simple, wholesome ingredients to pack a punch of flavor and texture. Here’s what you’ll need:
- For the crust:
- 1 cup (120g) all-purpose flour
- 1/4 cup (50g) granulated sugar
- 1/2 cup (115g) unsalted butter, softened
- Pinch of salt
- For the filling:
- 2 large eggs
- 3/4 cup (150g) granulated sugar
- 1/4 cup (30g) all-purpose flour
- 1/2 cup (120ml) fresh lemon juice (about 2-3 lemons)
- 1 tbsp lemon zest
- 1 cup (125g) fresh raspberries
- For garnish:
- Powdered sugar (optional, for dusting)
- Extra fresh raspberries and lemon slices (optional, for serving)
If fresh raspberries aren’t available, frozen raspberries work well too—just make sure to thaw and drain them first. And if you love an extra tangy kick, feel free to add another tablespoon of lemon zest!
Equipment Needed
You don’t need any fancy gadgets to whip up these lemon raspberry bars! Here’s what you’ll need:
- 9×9-inch baking dish (or similar size)
- Mixing bowls (one large, one medium)
- Whisk and spatula
- Microplane or zester (for the lemon zest)
- Juicer or reamer (optional, for squeezing lemons)
- Parchment paper (to line the baking dish)
If you don’t have a microplane for zesting, the fine side of a box grater works just as well. And for the crust, you can use a pastry cutter or even your fingers to blend the butter into the flour mixture.
Preparation Method
- Preheat your oven: Set it to 350°F (175°C). Line a 9×9-inch baking dish with parchment paper, leaving some overhang for easy removal.
- Make the crust: In a medium mixing bowl, combine the flour, sugar, softened butter, and salt. Use a pastry cutter or your fingers to blend until the mixture resembles coarse crumbs. Press the crust evenly into the bottom of the prepared baking dish. Bake for 15 minutes, or until lightly golden. Remove and let it cool slightly.
- Prepare the filling: In a large mixing bowl, whisk together the eggs and sugar until smooth. Add the flour, lemon juice, and lemon zest, whisking until fully combined.
- Add the raspberries: Gently fold the raspberries into the lemon filling mixture, ensuring they’re evenly distributed but not crushed.
- Assemble and bake: Pour the filling over the cooled crust, spreading it evenly. Bake for 25-30 minutes, or until the filling is set and just slightly jiggles in the center. Avoid overbaking to keep the filling creamy.
- Cool completely: Let the bars cool in the pan for at least an hour, then refrigerate for another hour to fully set.
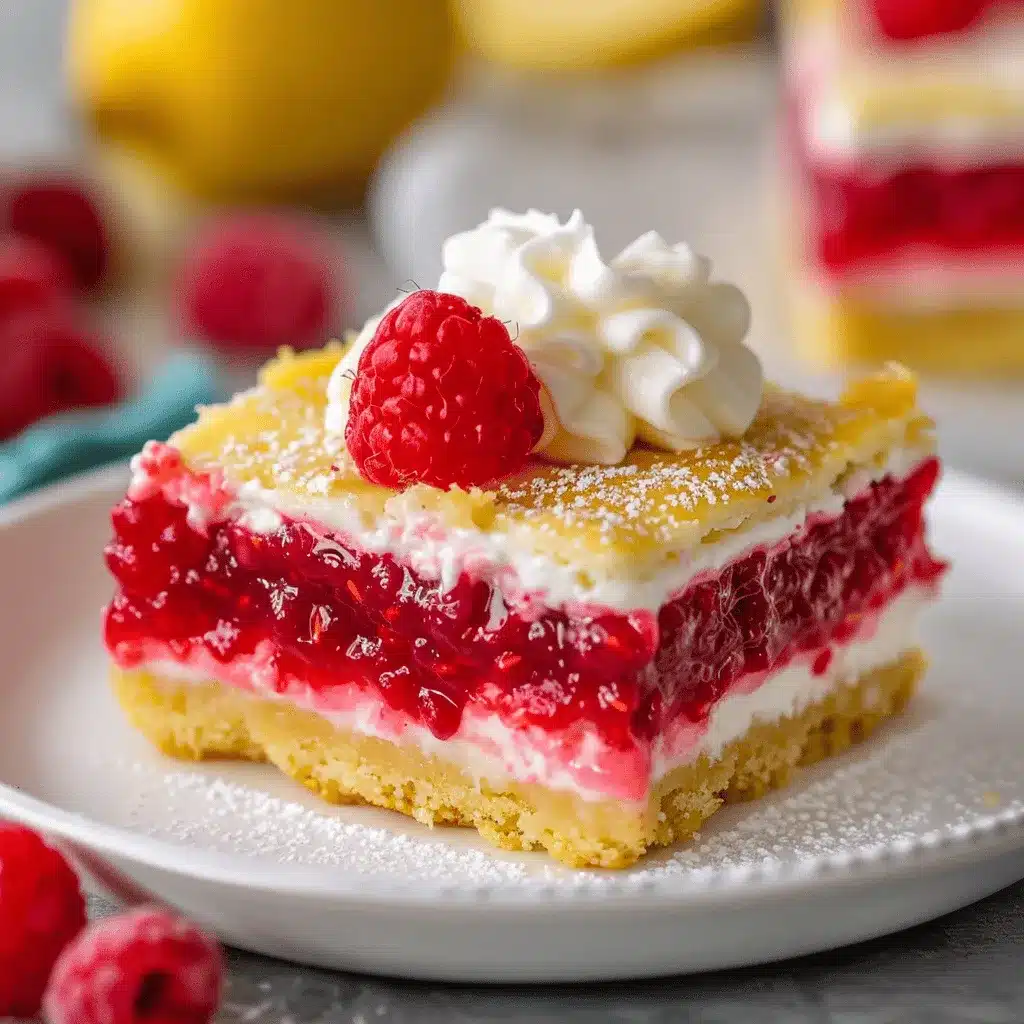
- Slice and serve: Use the parchment overhang to lift the bars out of the pan. Dust with powdered sugar, slice into squares, and garnish with fresh raspberries or lemon slices if desired.
These bars are best served slightly chilled, but they’re delicious at room temperature too. Just be sure to store leftovers in the fridge!
Cooking Tips & Techniques
- Don’t skip the parchment paper: It makes removing the bars from the pan so much easier and prevents sticking.
- Use fresh lemons: Bottled lemon juice won’t have the same bright flavor, so stick to freshly squeezed juice for the best results.
- Chill before slicing: These bars need time to set fully, so don’t rush the cooling process. Refrigerating them makes slicing much cleaner.
- Fold raspberries gently: Be careful not to crush the raspberries when mixing into the filling—they should stay whole for bursts of fruity flavor.
- Taste as you zest: If you’re a big lemon fan, feel free to add a little extra zest for more citrus punch.
Variations & Adaptations
- Gluten-Free: Substitute the all-purpose flour with a gluten-free baking blend for both the crust and filling.
- Berry Swap: Try blueberries or blackberries instead of raspberries for a different flavor combo.
- Extra Tangy: Add a teaspoon of lemon extract to the filling for an even bolder citrus flavor.
- Vegan Option: Use vegan butter for the crust and replace eggs with aquafaba or a plant-based egg substitute.
- Summer Twist: Add a handful of shredded coconut to the crust for a tropical flavor boost.
I’ve personally tried the coconut variation, and it adds a delightful chewy texture that complements the citrus beautifully!
Serving & Storage Suggestions
These zesty lemon raspberry bars are best served chilled or at room temperature. For a beautiful presentation, arrange them on a platter and garnish with fresh raspberries, lemon slices, or a light dusting of powdered sugar. Pair them with iced tea, lemonade, or even a glass of bubbly for a refreshing treat.
To store leftovers, place the bars in an airtight container and refrigerate for up to 5 days. You can also freeze them—just wrap each bar individually in plastic wrap and store in a freezer-safe bag for up to 2 months. Thaw in the fridge overnight for best results.
Nutritional Information & Benefits
Here’s an estimate of the nutritional breakdown per serving (based on 12 servings):
- Calories: 180
- Fat: 8g
- Carbohydrates: 25g
- Protein: 2g
- Sugar: 15g
These bars are a great way to enjoy fresh fruit and citrus while keeping things light and vibrant. Lemons are packed with vitamin C, and raspberries bring antioxidants and fiber to the mix. Keep in mind the buttery crust adds indulgence, but it’s all about balance!
Conclusion
If you’re craving a dessert that screams spring, these zesty lemon raspberry bars are the answer. They’re fresh, flavorful, and ridiculously easy to make. Whether you’re hosting a party or just treating yourself, these bars will impress every single time.
I love how customizable they are—you can tweak the flavors, swap the berries, or make them gluten-free without losing their charm. So gather your ingredients and give them a try! I’d love to hear what you think—don’t forget to leave a comment below or share your own variations. Happy baking!
FAQs
Can I use frozen raspberries?
Yes, frozen raspberries work well! Just thaw and drain them before using to prevent excess moisture.
How do I prevent the crust from crumbling?
Make sure the crust is fully baked and cooled before adding the filling. Pressing it firmly into the pan also helps.
Can I make these bars ahead of time?
Absolutely! They can be stored in the fridge for up to 5 days or frozen for longer storage. Just thaw before serving.
What can I use instead of parchment paper?
If you don’t have parchment paper, greasing the pan with butter or baking spray works as an alternative.
Can I double the recipe for a larger batch?
Yes, simply use a larger pan (like a 9×13-inch dish) and adjust the baking time slightly to ensure even cooking.
Pin This Recipe!