Introduction
The smell of peppermint and chocolate swirling together is the ultimate holiday mood booster, isn’t it? I still remember the first time I made this peppermint swirl fudge—it was a snowy December evening, and I wanted something festive but easy to whip up. This recipe was a hit from the very first batch! Whether you’re a seasoned candy maker or just dipping your toes in the art of homemade treats, this recipe is as foolproof as they come.
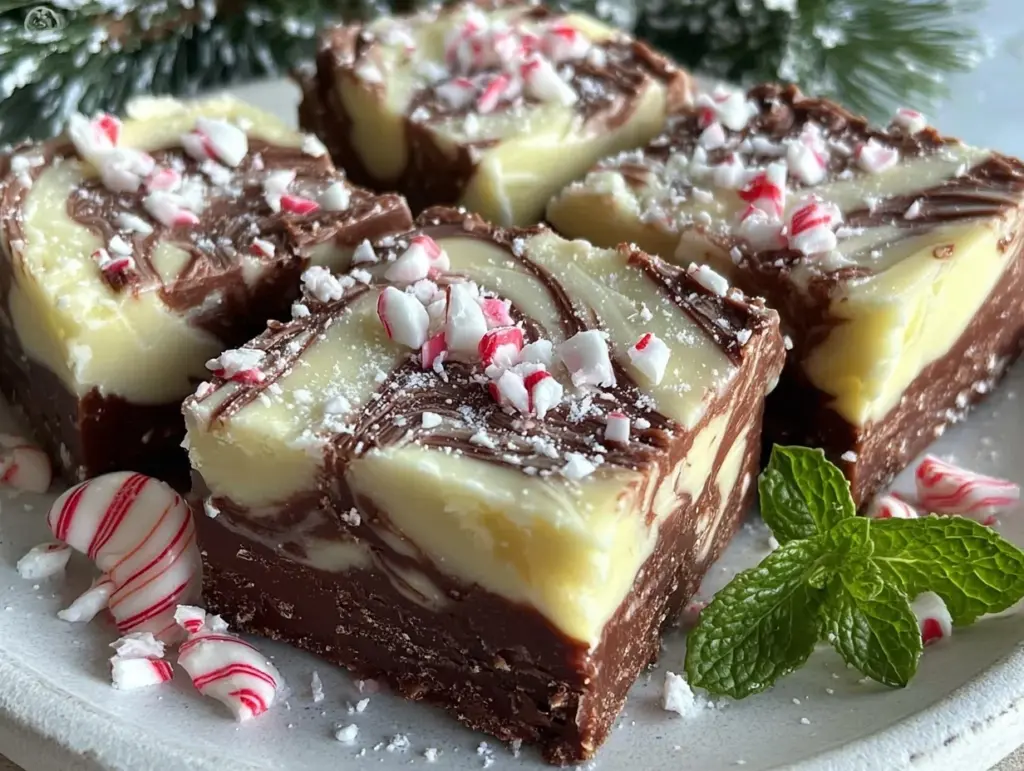
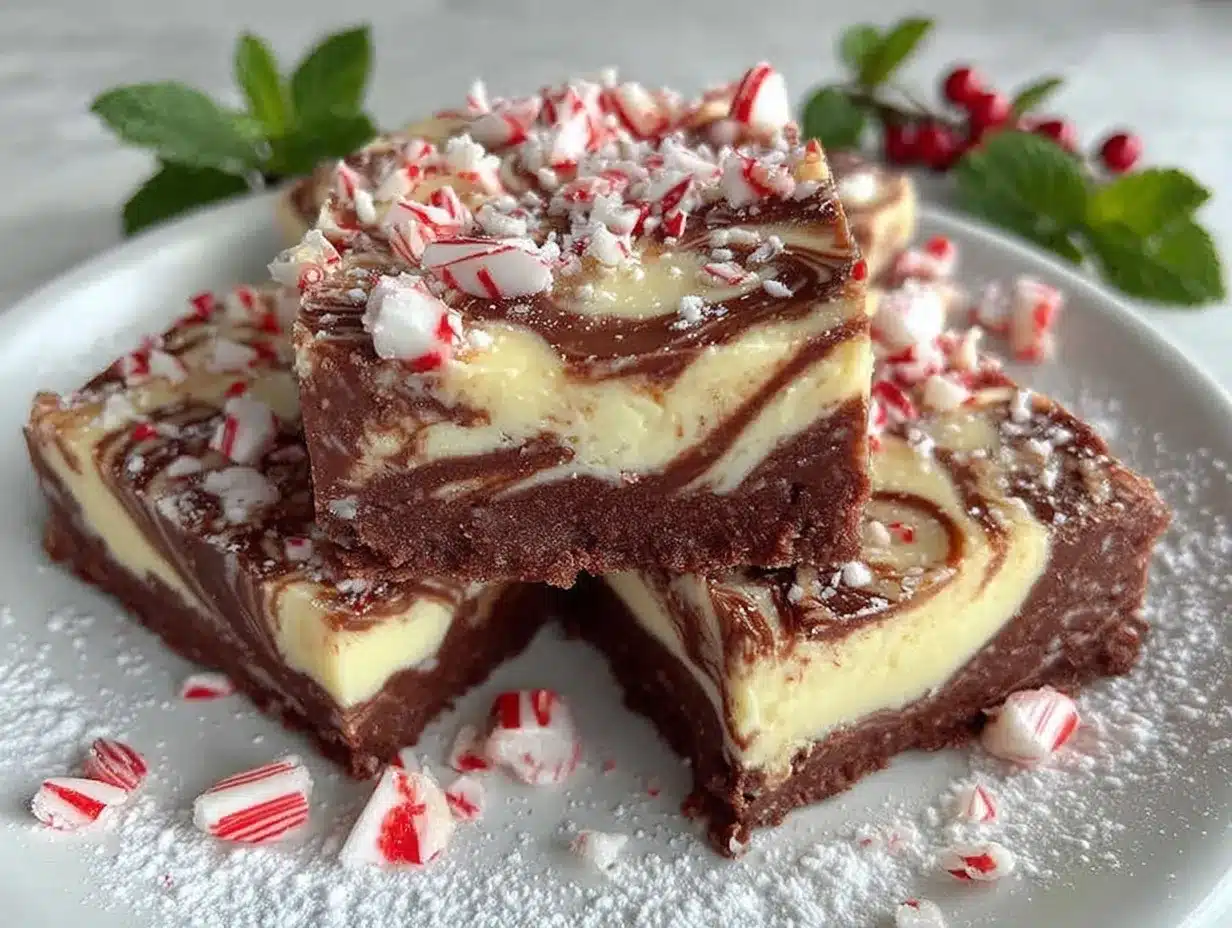
Peppermint swirl fudge combines the creamy richness of white chocolate with the cool, refreshing bite of peppermint. It’s a hands-down favorite at holiday parties, cookie swaps, and cozy nights in front of the fireplace. Plus, it looks so pretty with its swirled red and white design that’s bound to steal the spotlight on your dessert table. Trust me, this one’s going to be your go-to holiday fudge recipe.
Why You’ll Love This Recipe
- Quick & Easy: This recipe comes together in under 20 minutes, and the rest is just letting it set in the fridge.
- Simple Ingredients: Everything you need can be found at your local grocery store—no fancy candy-making equipment required.
- Perfect for Holiday Gatherings: Whether it’s a gift for neighbors or a centerpiece for your dessert table, this fudge is festive and fun.
- A Visual Treat: The gorgeous red and white swirls make a stunning presentation—Pinterest-worthy, for sure!
- Customizable: You can tweak the flavors or colors to fit any theme or occasion.
What sets this recipe apart is the balance of flavors. The white chocolate is sweet and creamy, while the peppermint adds a cool, crisp contrast that cuts through the richness. The secret to the perfect swirl? A simple, easy technique that guarantees beautiful results every time. And let’s be honest—there’s something so satisfying about homemade candy that looks like it came straight out of a gourmet shop!
What Ingredients You Will Need
This recipe uses straightforward, festive ingredients to create a holiday treat that’s bursting with flavor and charm. Here’s what you’ll need:
- Sweetened condensed milk: This is the backbone of the fudge’s creamy texture.
- White chocolate chips: Use high-quality white chocolate chips for the smoothest, richest flavor.
- Unsalted butter: Adds a touch of richness and helps with the texture.
- Peppermint extract: A little goes a long way for that cool, refreshing flavor.
- Red gel food coloring: For creating the signature swirls—gel food coloring works best for vibrant hues without thinning the fudge.
- Crushed peppermint candies: Optional, but they add a fun crunch and extra peppermint flavor.
- Vanilla extract: Enhances the overall flavor profile and rounds out the sweetness.
- Salt: Just a pinch to balance the sweetness.
If you prefer, you can substitute peppermint extract with mint extract for a slightly different flavor profile. You can also use white chocolate bars chopped into small pieces if you don’t have chips on hand. Trust me, the ingredients are simple, but the result is anything but ordinary!
Equipment Needed
- Medium saucepan: For melting the chocolate and butter mixture.
- Heatproof spatula: Essential for stirring and ensuring a smooth texture.
- 9×9-inch baking dish: The perfect size for setting the fudge.
- Parchment paper: Makes removing the fudge a breeze.
- Toothpick or skewer: For creating the peppermint swirls.
If you don’t have a square baking dish, a similar-sized pan will work just fine. I’ve even used disposable aluminum pans in a pinch when gifting batches to friends during the holidays!
Preparation Method
- Line a 9×9-inch baking dish with parchment paper, leaving some overhang for easy removal later.
- In a medium saucepan, combine the sweetened condensed milk and butter. Heat over low-medium heat until the butter is fully melted, stirring constantly to prevent burning.
- Add the white chocolate chips to the milk mixture and continue stirring until completely melted and smooth. This should take about 5 minutes. If the mixture looks grainy, lower the heat further and keep stirring.
- Remove the saucepan from heat and stir in the peppermint extract, vanilla extract, and a pinch of salt. Mix well to ensure even distribution of flavors.
- Pour the fudge mixture into the prepared baking dish, smoothing out the top with a spatula.
- Add several drops of red gel food coloring on top of the fudge. Using a toothpick or skewer, gently swirl the coloring through the mixture to create the desired pattern. Be careful not to over-mix—less is more!
- Optional: Sprinkle crushed peppermint candies on top for added texture and visual appeal.
- Place the dish in the refrigerator and let the fudge set for at least 2 hours or until firm.
- Once set, use the parchment paper to lift the fudge out of the pan. Cut into squares or rectangles with a sharp knife and serve.
Pro tip: Be patient when swirling the food coloring. The key to achieving those Instagram-worthy swirls is to make slow, deliberate motions with your toothpick or skewer.
Cooking Tips & Techniques
- Low heat is key: Don’t rush the melting process—keep the heat low to avoid scorching the chocolate.
- Use gel food coloring: Liquid food coloring can throw off the consistency of the fudge, so stick to gel for the best results.
- Don’t skip the parchment paper: Trust me, trying to pry fudge out of an unlined pan is not fun!
- Swirl technique: To get perfect swirls, make small figure-eight motions or gentle zigzags with a toothpick. Avoid over-mixing, as it could muddy the colors.
- Storage tip: Store the fudge in an airtight container to keep it fresh and prevent it from absorbing any fridge odors.
One time, I tried using liquid food coloring, and my fudge didn’t set properly. Lesson learned: gel coloring is the way to go for vibrant and consistent results!
Variations & Adaptations
- Chocolate Peppermint Fudge: Swap half the white chocolate chips for semi-sweet chocolate chips for a two-tone effect.
- Dairy-Free Option: Use dairy-free condensed milk and vegan white chocolate chips for a plant-based version.
- Seasonal Swaps: Replace the red food coloring with green for St. Patrick’s Day or pink for Valentine’s Day.
- Nutty Twist: Add crushed pistachios, almonds, or pecans for added texture and flavor.
One year, I made a batch using crushed candy canes in the mix instead of as a topping—it added an extra crunch and was a hit with my family!
Serving & Storage Suggestions
Serve your peppermint swirl fudge chilled for the best texture. Arrange the squares on a festive platter or wrap them individually in parchment paper for a thoughtful homemade gift. Pair with a mug of hot cocoa or a glass of chilled eggnog for the ultimate holiday indulgence.
For storage, keep the fudge in an airtight container in the fridge for up to 2 weeks. You can also freeze it for up to 3 months—just be sure to wrap it tightly in plastic wrap and store in a freezer-safe bag. To thaw, leave it in the fridge overnight or at room temperature for a few hours. Pro tip: the flavors deepen and meld beautifully after a day or two, so making this fudge ahead of time is a great idea!
Nutritional Information & Benefits
This peppermint swirl fudge is pure indulgence, but it’s also a treat that’s perfect in moderation. Each piece is packed with creamy sweetness, and the peppermint flavor adds a refreshing twist.
- Calories: Approximately 150 calories per piece (depending on portion size).
- Key Benefits: Peppermint extract is known for its digestive properties and refreshing aroma.
- Dietary Considerations: This recipe is gluten-free, but always double-check ingredient labels for any hidden allergens.
- Allergens: Contains dairy; opt for dairy-free substitutes if needed.
While this fudge isn’t a health food, it’s a delicious way to enjoy a bit of holiday cheer without going overboard.
Conclusion
This irresistible peppermint swirl fudge is the perfect holiday treat that brings together festive flavors and Pinterest-worthy presentation. It’s quick, easy, and adaptable to suit any occasion or preference. Whether you’re a peppermint lover or just looking for a unique addition to your holiday dessert table, this recipe is sure to become a favorite.
FAQs
Can I use milk chocolate instead of white chocolate?
Yes, you can substitute milk chocolate, but keep in mind the flavor and color will be different. You can even do half milk chocolate and half white chocolate for a layered effect.
How do I keep the fudge from sticking to the pan?
Make sure to line your baking dish with parchment paper, leaving some overhang on the edges for easy lifting.
Can I make this fudge without peppermint extract?
You can substitute vanilla extract or almond extract for a different flavor, though it won’t have the same festive peppermint taste.
What’s the best way to crush peppermint candies?
Place the candies in a zip-top bag and use a rolling pin to crush them into small pieces. It’s easy and mess-free!
Can I make this fudge ahead of time?
Absolutely! This fudge keeps well in the fridge for up to 2 weeks and even longer in the freezer. The flavors actually deepen over time.
Pin This Recipe!
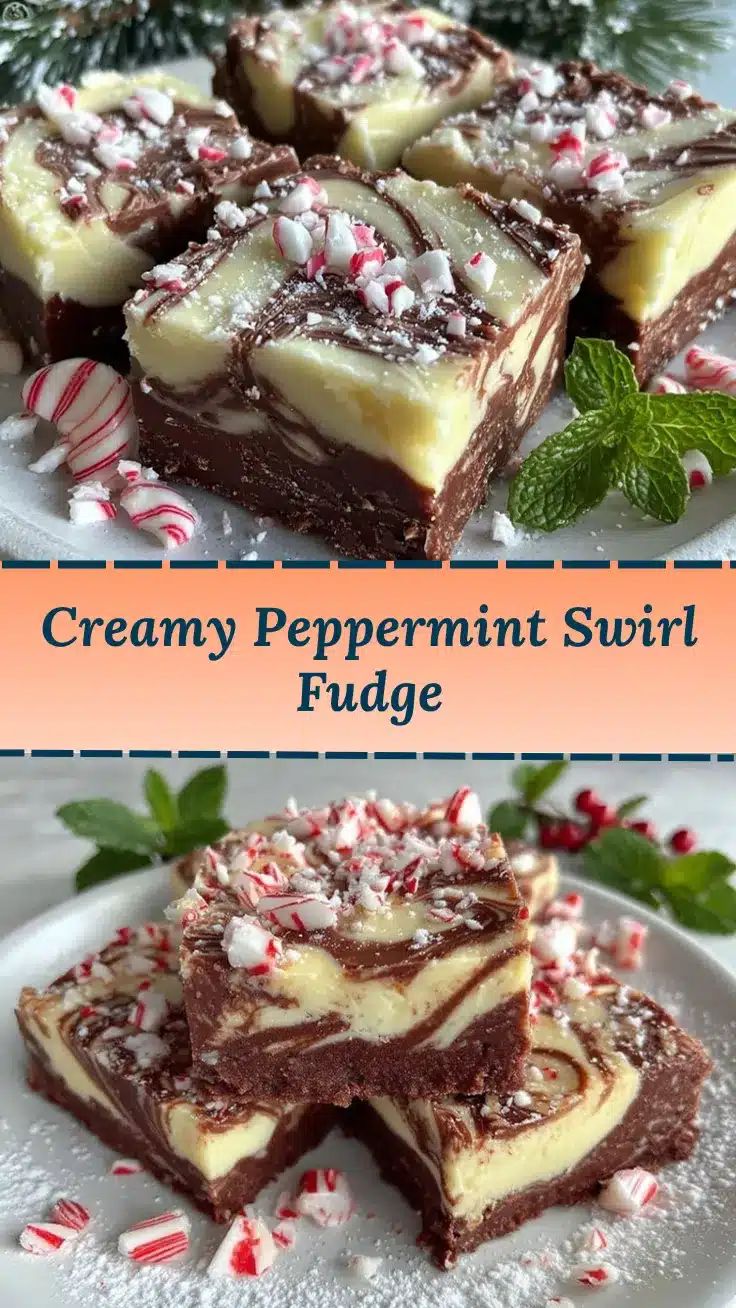
Peppermint Swirl Fudge Recipe Easy Holiday Favorite

This peppermint swirl fudge combines the creamy richness of white chocolate with the cool, refreshing bite of peppermint, making it a festive and foolproof holiday treat.
- Prep Time: 15 minutes
- Cook Time: 5 minutes
- Total Time: 2 hours 20 minutes
- Yield: 16 servings 1x
- Category: Dessert
- Cuisine: American
Ingredients
- 1 can (14 ounces) sweetened condensed milk
- 2 cups white chocolate chips
- 2 tablespoons unsalted butter
- 1 teaspoon peppermint extract
- Red gel food coloring
- Optional: Crushed peppermint candies
- 1 teaspoon vanilla extract
- Pinch of salt
Instructions
- Line a 9×9-inch baking dish with parchment paper, leaving some overhang for easy removal later.
- In a medium saucepan, combine the sweetened condensed milk and butter. Heat over low-medium heat until the butter is fully melted, stirring constantly to prevent burning.
- Add the white chocolate chips to the milk mixture and continue stirring until completely melted and smooth, about 5 minutes.
- Remove the saucepan from heat and stir in the peppermint extract, vanilla extract, and a pinch of salt. Mix well.
- Pour the fudge mixture into the prepared baking dish, smoothing out the top with a spatula.
- Add several drops of red gel food coloring on top of the fudge. Using a toothpick or skewer, gently swirl the coloring through the mixture to create the desired pattern.
- Optional: Sprinkle crushed peppermint candies on top for added texture and visual appeal.
- Place the dish in the refrigerator and let the fudge set for at least 2 hours or until firm.
- Once set, use the parchment paper to lift the fudge out of the pan. Cut into squares or rectangles with a sharp knife and serve.
Notes
Use gel food coloring for vibrant swirls without affecting the fudge’s consistency. Store in an airtight container in the fridge for up to 2 weeks or freeze for up to 3 months.
Nutrition
- Serving Size: 1 piece
- Calories: 150
- Sugar: 16
- Sodium: 40
- Fat: 8
- Saturated Fat: 5
- Carbohydrates: 18
- Protein: 2
Keywords: peppermint fudge, holiday dessert, easy fudge recipe, Christmas candy, homemade treats



