Introduction
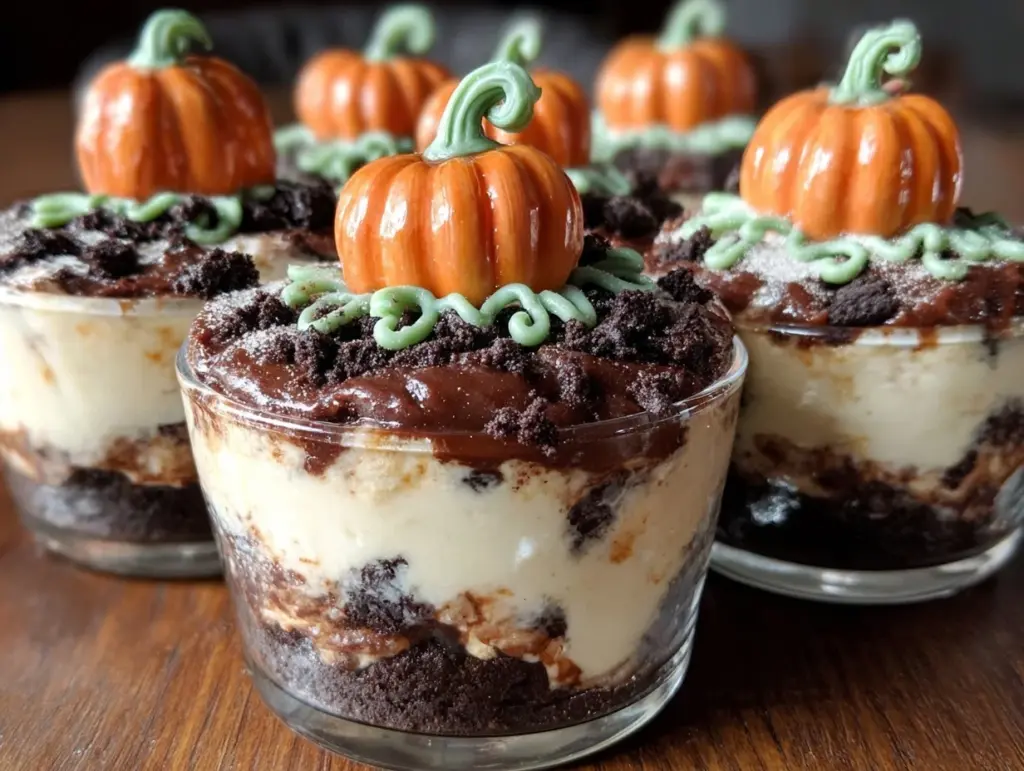
The crunch of crushed cookies, the creaminess of pudding, and a whimsical pumpkin patch design—these irresistible Pumpkin Patch Dirt Cups are an absolute Halloween hit. Every year, I whip these up for our Halloween party, and they never fail to steal the show. It’s not just a dessert; it’s a conversation starter! The best part? They’re easy to make, kid-friendly, and totally Instagram-worthy.
I first made these when I wanted to bring a festive treat to a school Halloween party for my kids. I was brainstorming ideas that were fun, spooky, and easy to transport—and voila, Pumpkin Patch Dirt Cups were born. Watching the kids’ eyes light up as they dug into their personal edible pumpkin patch was priceless. Since then, it’s become a tradition.
Whether you’re hosting a spooky soirée or looking for a creative treat to share with friends and family, this recipe combines classic flavors with a playful Halloween twist. Trust me—these dirt cups will be the highlight of your Halloween table.
Why You’ll Love This Recipe
- Super Simple: No baking required, and it comes together in under 30 minutes!
- Kid-Friendly: Perfect for little hands and big imaginations. Let the kids help decorate their own pumpkin patch!
- Halloween Themed: The edible pumpkins and crushed cookie “dirt” make these cups spooky-cute.
- Customizable: You can easily swap ingredients to fit dietary needs or personalize the design.
- Crowd-Pleaser: These cups are fun for kids and adults alike—there’s something magical about playing with your food.
- Delicious Layers: The combination of creamy pudding, whipped topping, and crunchy cookie crumbs is classic comfort food with a festive twist.
This recipe stands out because it’s more than just a dessert—it’s a Halloween experience. Feel free to get creative with the decorations. Add gummy worms or candy spiders if you’re feeling spooky!
What Ingredients You Will Need
This recipe uses simple ingredients to create festive Pumpkin Patch Dirt Cups. Chances are, you already have many of these in your pantry!
- Chocolate pudding mix: Instant pudding works best for quick preparation.
- Milk: Use cold milk to prepare the pudding (whole milk or 2% for creamier results).
- Whipped topping: A tub of whipped topping like Cool Whip adds a light, fluffy texture.
- Chocolate sandwich cookies: Crushed cookies (like Oreos) make the perfect “dirt.” Remove the filling for a finer texture.
- Candy pumpkins: These little pumpkin-shaped candies are the star of the show. Look for mellowcreme pumpkins or similar options.
- Green icing or sprinkles: For the “vines” or grass decorating the pumpkin patch.
- Clear cups: Use small clear plastic cups for individual servings so everyone can see the layers.
Optional: Add gummy worms, candy spiders, or edible tombstones for extra Halloween fun!
Equipment Needed
- Mixing bowls
- Whisk
- Food processor (for cookie crushing)
- Clear plastic cups or glass jars
- Spoon or spatula
- Piping bag or zip-top bag (for green icing)
If you don’t have a food processor, place the cookies in a zip-top bag and crush them with a rolling pin—it works just as well and is oddly satisfying!
Preparation Method
- Make the pudding: In a mixing bowl, whisk together the chocolate pudding mix and cold milk according to the package instructions. Let the pudding set for about 5 minutes until thickened.
- Prepare the whipped topping: Fold the whipped topping into the pudding gently until fully combined. This creates a light, mousse-like texture.
- Crush the cookies: Use a food processor to crush the cookies into a fine crumb that resembles dirt. If you prefer chunkier dirt, pulse the cookies lightly.
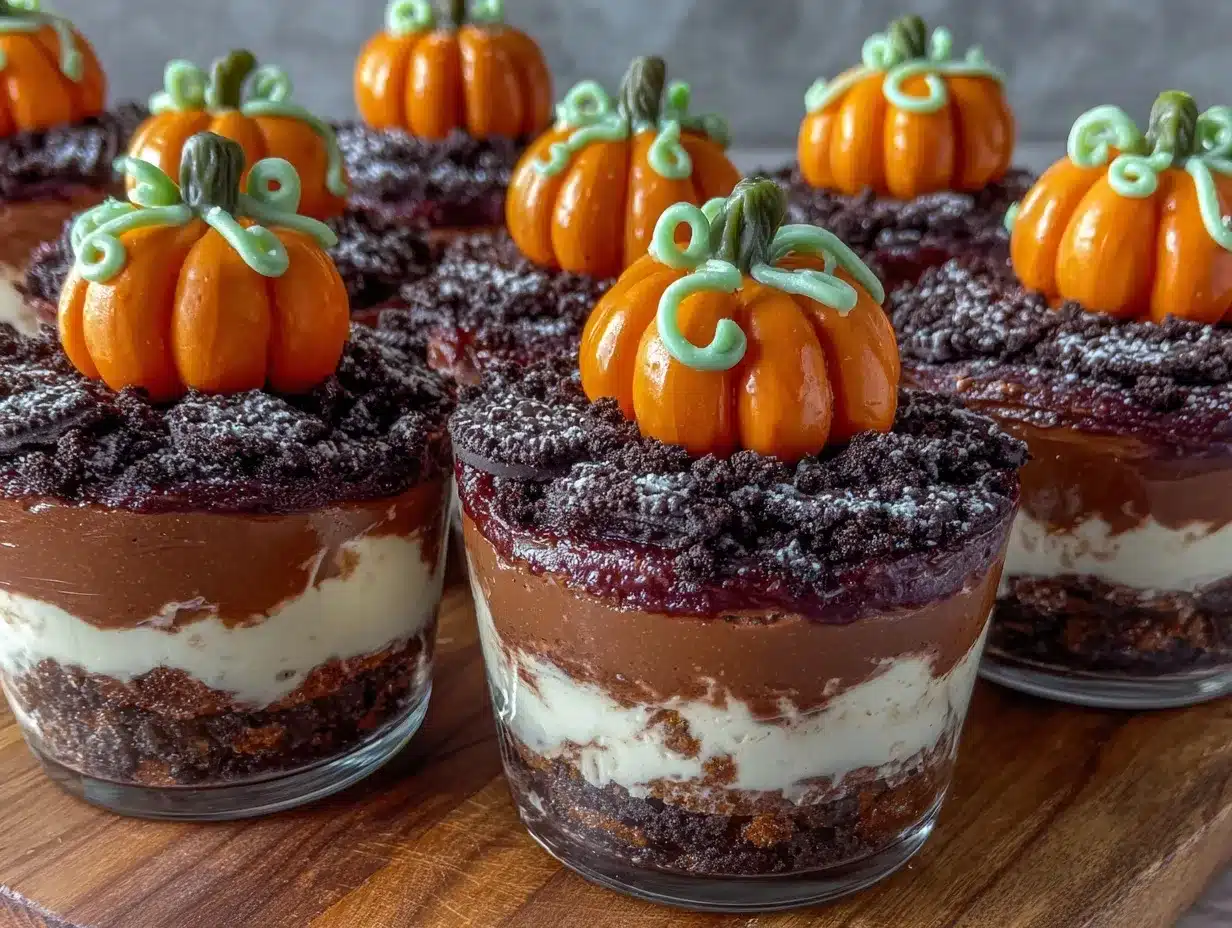
- Assemble the layers: Spoon a layer of pudding into the bottom of each clear cup, followed by a generous layer of crushed cookies. Repeat the layers until the cup is filled, ending with cookie crumbs on top.
- Add decorations: Place candy pumpkins on top of the “dirt.” Use green icing or sprinkles to create vines or grass around the pumpkins. Add any extra Halloween candy for fun.
- Chill: Refrigerate the cups for at least 30 minutes before serving. This helps the flavors meld together and keeps the decorations intact.
Tip: If you’re making these ahead of time, store the cups covered in the refrigerator and add decorations right before serving to keep them looking fresh.
Cooking Tips & Techniques
- Crush cookies evenly: Removing the filling from the cookies ensures a finer crumb for your dirt. Save the filling for another recipe—or snack on it!
- Layer carefully: Use a spoon or piping bag to add the pudding layers neatly to the cups without smudging the sides.
- Chill before decorating: Allow the assembled cups to chill for a bit so the pudding sets properly before adding the candy pumpkins.
- Use edible markers: If you want to get creative, write spooky messages on candy tombstones or draw faces on the pumpkins.
These dirt cups are forgiving, so don’t stress if your layers aren’t perfect. The charm lies in the homemade look!
Variations & Adaptations
- Gluten-Free Option: Use gluten-free chocolate sandwich cookies and verify that your pudding mix is also gluten-free.
- Dairy-Free Option: Substitute almond or oat milk for regular milk, and use a dairy-free whipped topping.
- Spooky Variation: Add gummy worms “crawling” out of the dirt or top with candy eyeballs for extra Halloween flair.
- Flavor Twist: Swap chocolate pudding for vanilla or butterscotch pudding for a different flavor profile.
- Kids’ Customization: Set up a decorating station where kids can add their own candy toppings and designs.
I once swapped the candy pumpkins for mini marshmallow ghosts decorated with edible markers—it was a hit!
Serving & Storage Suggestions
Serve these Pumpkin Patch Dirt Cups chilled for the best texture. Arrange them on a festive tray or table with Halloween-themed decorations for an extra spooky vibe.
- Complementary treats: Pair these cups with warm apple cider or a spooky punch for the perfect Halloween spread.
- Storage: Cover the cups with plastic wrap and store them in the refrigerator for up to 2 days. Avoid adding decorations until just before serving.
- Reheating: No reheating necessary—these are served cold!
The flavors deepen over time, so they’re even tastier the next day. Just don’t let them sit too long or the cookies may lose their crunch.
Nutritional Information & Benefits
Each Pumpkin Patch Dirt Cup contains approximately:
- Calories: 250
- Fat: 10g
- Carbohydrates: 35g
- Protein: 3g
Health benefits: While these cups are a fun dessert, they’re surprisingly low on prep stress and big on portion control. Plus, the candy pumpkins add a festive touch without going overboard on sugar.
Allergen note: This recipe contains dairy and gluten. Be sure to check individual ingredient labels for cross-contamination if you’re accommodating allergies.
Conclusion
If you’re looking for a Halloween dessert that’s fun, easy, and guaranteed to delight, these Pumpkin Patch Dirt Cups are a must-try. They’re customizable, festive, and perfect for parties or cozy nights at home. Honestly, they’re one of my favorite ways to celebrate the spooky season.
What’s stopping you? Gather your ingredients, channel your inner pumpkin patch designer, and enjoy the magic of Halloween desserts. Don’t forget to share your creations in the comments or tag me on social media—I’d love to see your spooky masterpieces!
Happy Halloween and happy baking!
FAQs
Can I make these ahead of time?
Yes! Assemble the cups up to a day in advance, but add the decorations just before serving to keep them looking fresh.
What can I use instead of candy pumpkins?
Mini marshmallows, gummy worms, or candy eyeballs are great alternatives for a spooky twist.
Can I use homemade pudding instead of instant?
Absolutely! Homemade pudding works perfectly, though it may take a bit longer to prepare.
How do I crush the cookies without a food processor?
Place the cookies in a zip-top bag and crush them with a rolling pin or mallet—it’s quick and easy!
Are these dirt cups suitable for vegetarians?
Yes, as long as the candy pumpkins and pudding mix are vegetarian-friendly. Check labels to confirm!
Pin This Recipe!
Irresistible Pumpkin Patch Dirt Cups Perfect for Halloween

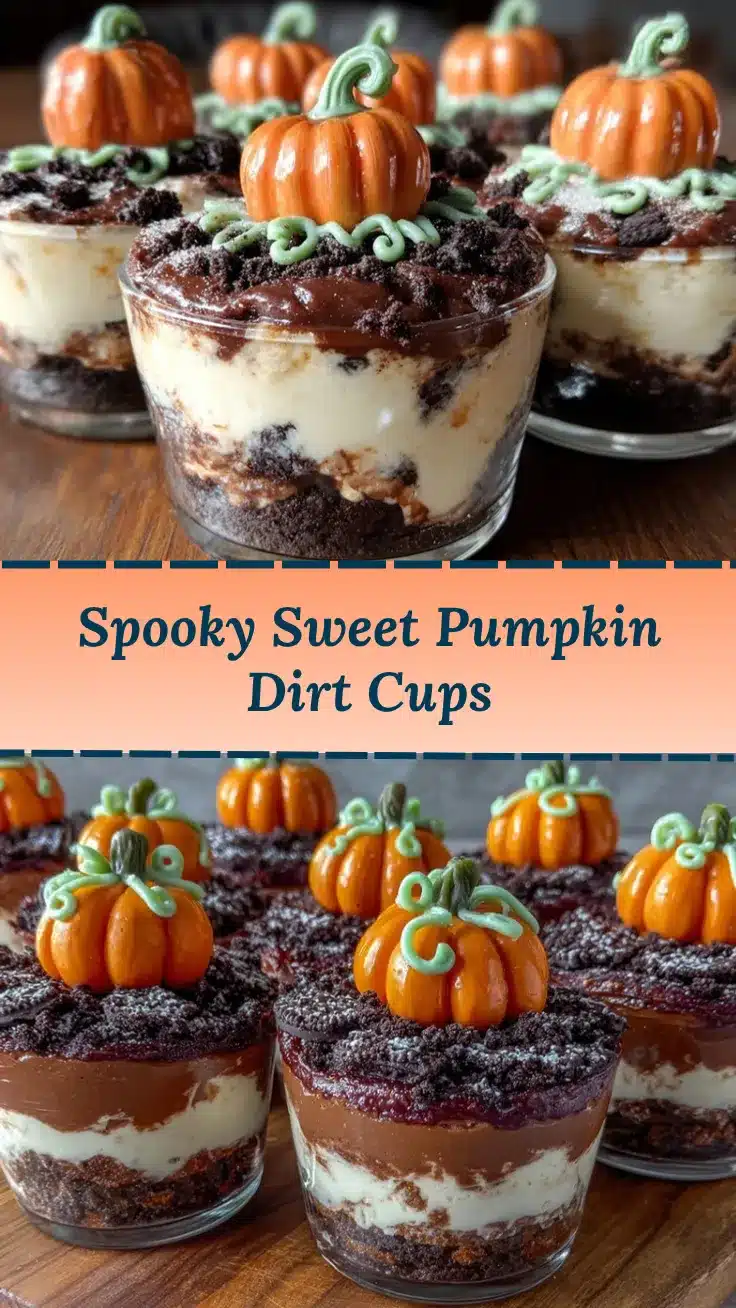
These Pumpkin Patch Dirt Cups combine creamy pudding, crunchy cookie crumbs, and festive decorations for a fun and easy Halloween dessert.
- Prep Time: 15 minutes
- Cook Time: 0 minutes
- Total Time: 30 minutes
- Yield: 6 servings 1x
- Category: Dessert
- Cuisine: American
Ingredients
- 1 package chocolate pudding mix
- 2 cups cold milk
- 1 tub whipped topping (e.g., Cool Whip)
- 20 chocolate sandwich cookies (e.g., Oreos, filling removed)
- Candy pumpkins (e.g., mellowcreme pumpkins)
- Green icing or sprinkles
- Optional: gummy worms, candy spiders, or edible tombstones
Instructions
- In a mixing bowl, whisk together the chocolate pudding mix and cold milk according to the package instructions. Let the pudding set for about 5 minutes until thickened.
- Fold the whipped topping into the pudding gently until fully combined to create a light, mousse-like texture.
- Use a food processor to crush the cookies into a fine crumb resembling dirt. For chunkier dirt, pulse the cookies lightly.
- Spoon a layer of pudding into the bottom of each clear cup, followed by a generous layer of crushed cookies. Repeat the layers until the cup is filled, ending with cookie crumbs on top.
- Place candy pumpkins on top of the ‘dirt.’ Use green icing or sprinkles to create vines or grass around the pumpkins. Add any extra Halloween candy for fun.
- Refrigerate the cups for at least 30 minutes before serving to help the flavors meld together and keep the decorations intact.
Notes
[‘Remove the filling from the cookies for a finer crumb.’, ‘Chill the cups before decorating to ensure the pudding sets properly.’, ‘Add decorations just before serving to keep them looking fresh.’, ‘Use edible markers to customize candy decorations.’]
Nutrition
- Serving Size: 1 cup
- Calories: 250
- Fat: 10
- Carbohydrates: 35
- Protein: 3
Keywords: Halloween dessert, Pumpkin Patch Dirt Cups, kid-friendly recipe, no-bake dessert, festive treat



