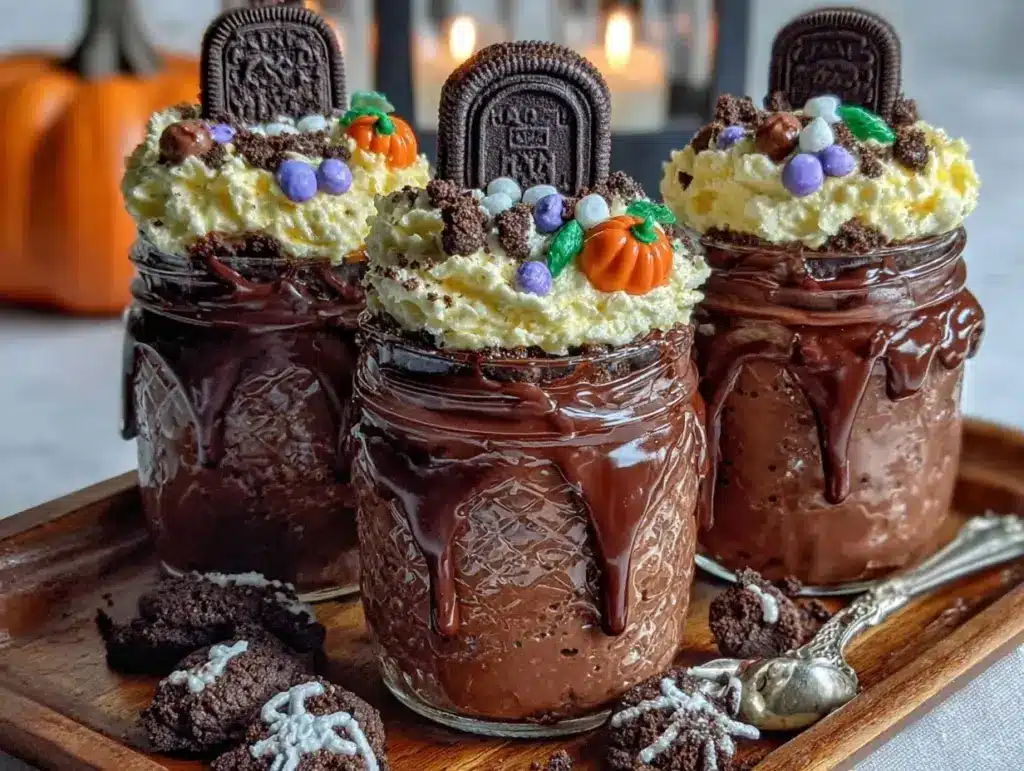
Picture this: a table full of spooky treats, and among them, the star of the show—Graveyard Pudding Cups. These adorably creepy desserts are the perfect blend of eerie and delicious, making them a must-have for Halloween parties and cozy October nights. I first made these when my kids begged for a Halloween-themed dessert, and let me tell you, they were an instant hit. From the chocolatey pudding base to the crunchy cookie “dirt” and gummy worms crawling out, these cups are as fun to make as they are to eat!
What I love about this recipe is its simplicity. You don’t have to be a pastry chef to whip up something that looks impressive; in fact, this is one of those recipes where messy equals authentic. Whether you’re hosting a Halloween bash or just want a fun dessert to enjoy while watching scary movies, Graveyard Pudding Cups are the way to go. Trust me, they’ll be the talk of the night!
Why You’ll Love This Recipe
- Easy to Make: No baking required! This recipe is straightforward and perfect for beginners.
- Kid-Friendly: Kids will love assembling their own spooky creations—plus, it’s a great way to get them involved in the kitchen.
- Perfect for Halloween: These pudding cups are a festive addition to any Halloween spread, from school parties to family gatherings.
- Customizable: You can switch up the decorations to fit your style—make them as spooky or cute as you want!
- Delicious: With rich chocolate pudding, crunchy cookie crumbs, and gummy candy, every bite is indulgent and fun.
What sets this recipe apart is the creative design. The crushed cookie “soil” looks eerily real, and the tombstone cookies add a playful touch. Plus, you can let your imagination run wild with decorations—mini pumpkins, candy eyeballs, or even edible glitter can take these cups to the next level.
What Ingredients You Will Need
This recipe uses simple ingredients you can find at any grocery store or might already have at home. Here’s what you’ll need:
- Instant chocolate pudding mix: The base of the dessert—rich, creamy, and chocolatey.
- Milk: Use whole milk for the creamiest pudding, or opt for a dairy-free alternative if needed.
- Chocolate sandwich cookies: Crushed to resemble dirt. I recommend Oreos for that authentic texture.
- Gummy worms: For a creepy, crawly effect.
- Rectangular cookies: Perfect for tombstones. You can use graham crackers or Milano cookies.
- Writing icing: To decorate the tombstones with spooky messages like “RIP.”
- Optional decorations: Candy pumpkins, eyeballs, or edible glitter for extra flair.
You can easily swap out ingredients based on dietary needs. For example, use gluten-free cookies and pudding mix if required, or add whipped cream for an extra layer of indulgence.
Equipment Needed
Here’s what you’ll need to make your Graveyard Pudding Cups:
- Mixing bowls: For preparing the pudding.
- Whisk: To ensure the pudding is smooth and lump-free.
- Plastic cups or small glass jars: These are the perfect size for individual servings.
- Ziploc bag: For crushing the cookies (a rolling pin works wonders here!).
- Spatula: To layer and smooth the pudding.
If you don’t have plastic cups, small mason jars or even wine glasses can work beautifully. And for crushing cookies, a food processor gets the job done quickly, though smashing them by hand is oddly satisfying.
Preparation Method
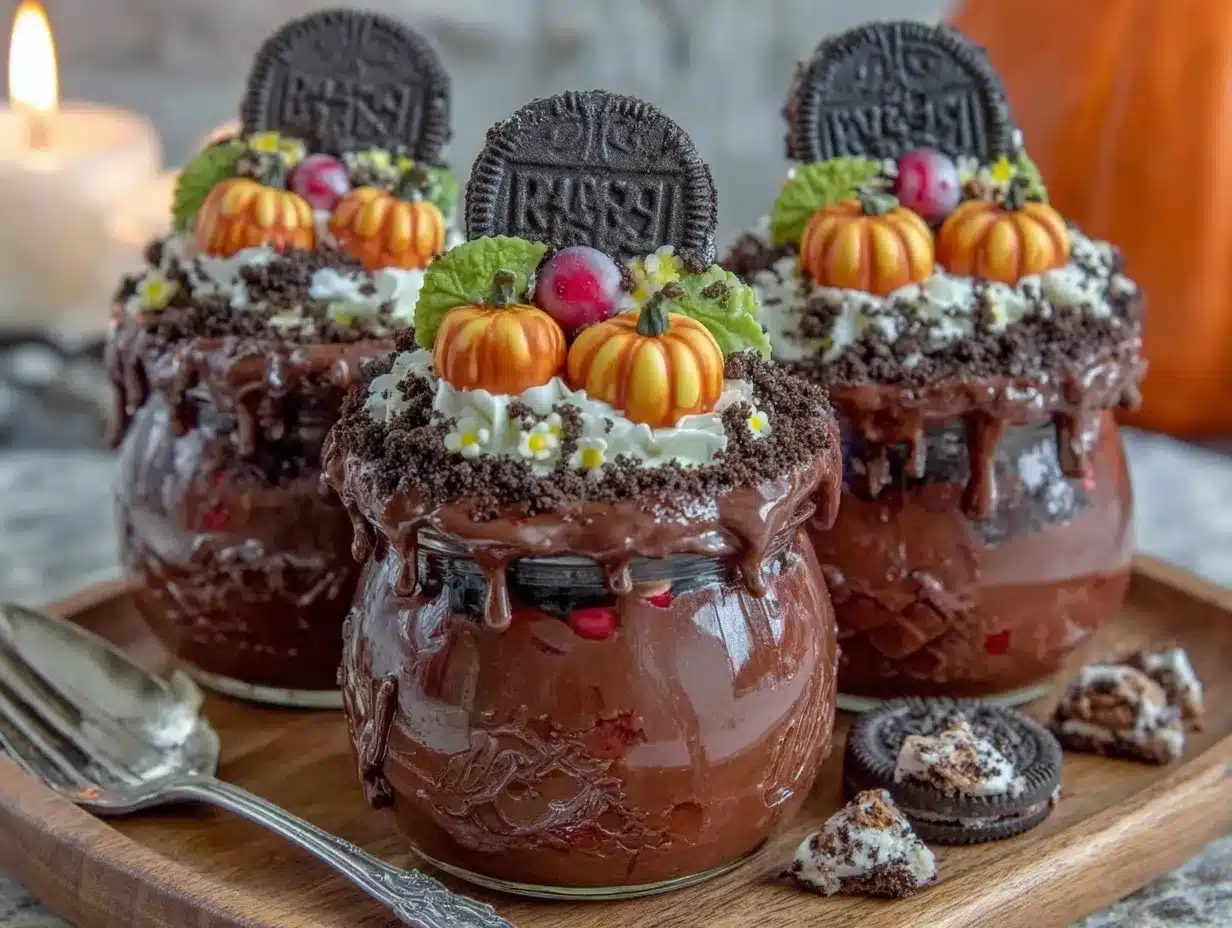
- Prepare the pudding: In a mixing bowl, whisk together the instant pudding mix and milk according to the package instructions (usually 2 cups milk for one package). Let the pudding set for about 5 minutes.
- Crush the cookies: Place the chocolate sandwich cookies in a Ziploc bag and crush them using a rolling pin until they resemble fine dirt. Set aside.
- Decorate the tombstones: Using writing icing, decorate the rectangular cookies with spooky phrases like “RIP,” “Boo,” or “Stay Spooky.” Let the icing dry before assembling.
- Assemble the cups: Spoon a layer of pudding into the bottom of each cup. Add a generous sprinkle of crushed cookies on top to create the “dirt.” Nestle a few gummy worms into the dirt for a creepy effect.
- Add tombstones: Stick the decorated cookies upright into the pudding to resemble gravestones. Press gently so they stay in place.
- Optional decorations: Add candy pumpkins, eyeballs, or edible glitter for extra spooky flair.
Serve immediately or chill in the refrigerator for 30 minutes before serving for a firmer texture. These cups can be made a few hours ahead of time if you’re prepping for a party!
Cooking Tips & Techniques
- Use cold milk: To ensure your pudding sets properly, make sure your milk is chilled before mixing.
- Don’t over-crush the cookies: A mix of fine crumbs and larger chunks creates a more realistic “dirt” texture.
- Let kids help: Decorating the tombstones and assembling the cups is a fun activity for little ones—they’ll love getting creative!
- Customize the tombstones: Use different colors of icing to make each tombstone unique.
- Keep the gummy worms fresh: Add them just before serving to prevent them from getting soggy.
And here’s a pro tip: If you’re hosting a party, set up a DIY station with all the ingredients so guests can make their own spooky creations!
Variations & Adaptations
Get creative with these variations to make the recipe your own:
- Dietary restrictions: Use dairy-free pudding and cookies for vegan or lactose-intolerant guests.
- Seasonal twist: Swap gummy worms for candy canes and use crushed peppermint cookies for a Christmas-themed version.
- Adult version: Add a splash of Irish cream to the pudding for an adults-only treat.
When I want to add extra flair, I’ve used edible spiders and candy bones to make the cups even more haunting. The possibilities for customization are endless!
Serving & Storage Suggestions
- Serving: Serve the cups chilled for the best texture. Arrange them on a spooky platter for a festive presentation.
- Pairings: Serve with a warm cup of apple cider or a pumpkin spice latte to complete the Halloween vibe.
- Storage: Cover the cups with plastic wrap and store in the refrigerator for up to 2 days. Avoid adding decorations like gummy worms until just before serving.
- Reheating: These cups don’t require reheating, but if the pudding firms up too much, let them sit at room temperature for 10 minutes before serving.
The flavors intensify as they chill, so don’t be afraid to make them ahead of time. Just keep the decorations fresh for maximum appeal!
Nutritional Information & Benefits
While these Graveyard Pudding Cups are all about fun, here’s a quick nutritional breakdown per serving:
- Calories: Approximately 200-250 (varies depending on toppings).
- Fat: Around 10g.
- Sugar: Approximately 20g.
Chocolate pudding contains calcium, and the gummy candies provide a quick energy boost—perfect for keeping the Halloween spirit alive. If you use low-fat milk, you can cut down on calories without sacrificing flavor!
Conclusion
Graveyard Pudding Cups are more than just a dessert—they’re an experience. From their spooky appearance to their irresistible taste, they’ll make your Halloween extra special. Whether you stick to the classic design or go wild with decorations, this recipe is sure to please kids and adults alike.
Don’t forget to share your creepy creations! I’d love to hear how you’ve customized your Graveyard Pudding Cups. Drop a comment below or tag me on social media—I can’t wait to see your spooky masterpieces. Happy Halloween!
FAQs
Can I make Graveyard Pudding Cups ahead of time?
Yes! Prepare the pudding and cookie crumbs ahead of time, but assemble the cups and add decorations just before serving for the freshest look.
What can I use instead of gummy worms?
You can use candy spiders, candy bones, or even mini marshmallows to create a spooky effect.
Can I make this recipe gluten-free?
Absolutely! Use gluten-free pudding mix and cookies, and you’re good to go.
How long can I store these in the fridge?
They’ll stay fresh for up to 2 days in the refrigerator. Cover them tightly with plastic wrap.
Can I use homemade pudding instead of instant?
Yes, homemade pudding works perfectly. Just make sure it’s thick enough to hold the cookie crumbs and decorations.
Pin This Recipe!
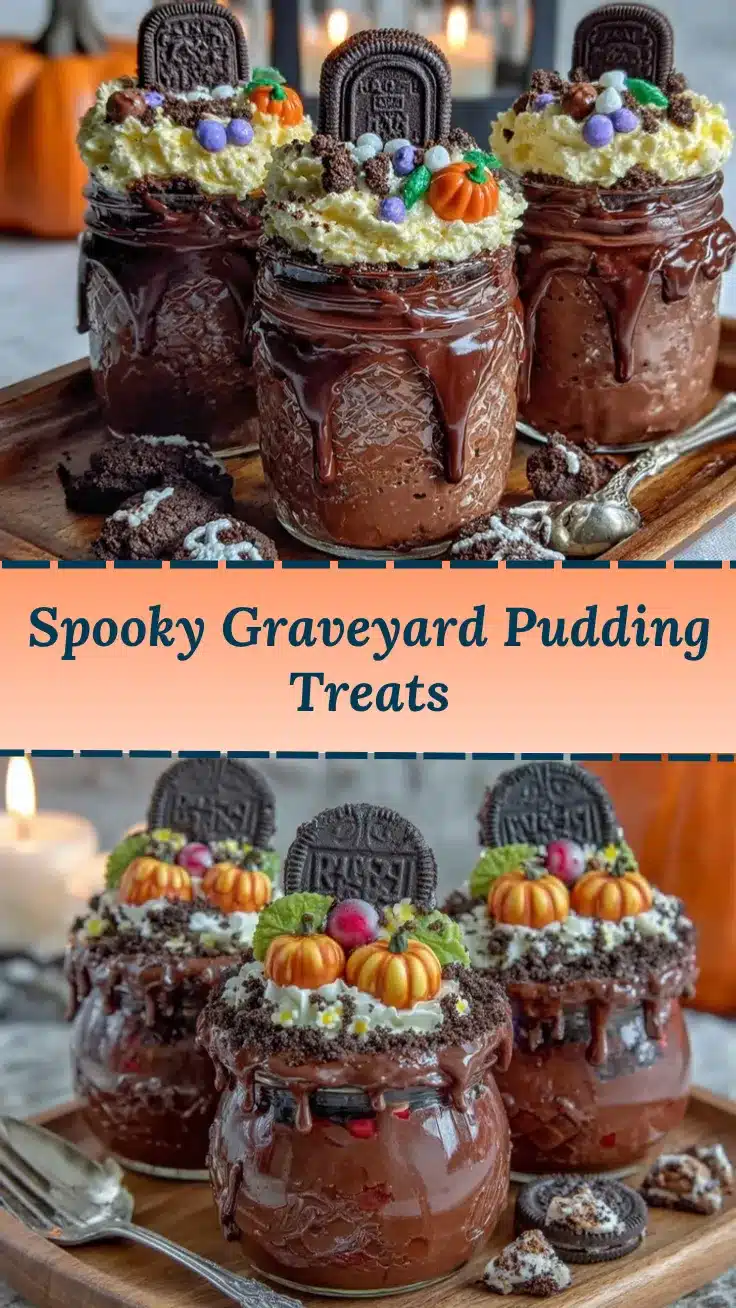
Irresistible Graveyard Pudding Cups Recipe for Halloween

These spooky and delicious Graveyard Pudding Cups are perfect for Halloween parties, featuring chocolate pudding, cookie crumbs, and creepy gummy worms.
- Prep Time: 10 minutes
- Cook Time: 0 minutes
- Total Time: 10 minutes
- Yield: 6 servings 1x
- Category: Dessert
- Cuisine: American
Ingredients
- 1 package instant chocolate pudding mix
- 2 cups milk (whole milk or dairy-free alternative)
- 10 chocolate sandwich cookies (e.g., Oreos), crushed
- Gummy worms
- 6 rectangular cookies (e.g., graham crackers or Milano cookies)
- Writing icing
- Optional decorations: candy pumpkins, candy eyeballs, edible glitter
Instructions
- In a mixing bowl, whisk together the instant pudding mix and milk according to the package instructions. Let the pudding set for about 5 minutes.
- Place the chocolate sandwich cookies in a Ziploc bag and crush them using a rolling pin until they resemble fine dirt. Set aside.
- Using writing icing, decorate the rectangular cookies with spooky phrases like ‘RIP,’ ‘Boo,’ or ‘Stay Spooky.’ Let the icing dry before assembling.
- Spoon a layer of pudding into the bottom of each cup. Add a generous sprinkle of crushed cookies on top to create the ‘dirt.’ Nestle a few gummy worms into the dirt for a creepy effect.
- Stick the decorated cookies upright into the pudding to resemble gravestones. Press gently so they stay in place.
- Add optional decorations like candy pumpkins, eyeballs, or edible glitter for extra spooky flair.
- Serve immediately or chill in the refrigerator for 30 minutes before serving for a firmer texture.
Notes
[‘Use cold milk to ensure the pudding sets properly.’, “A mix of fine crumbs and larger chunks creates a more realistic ‘dirt’ texture.”, ‘Let kids help with decorating tombstones and assembling the cups for a fun activity.’, ‘Add gummy worms just before serving to keep them fresh.’, ‘Customize the tombstones with different icing colors and spooky phrases.’]
Nutrition
- Serving Size: 1 pudding cup
- Calories: 200250
- Sugar: 20
- Fat: 10
Keywords: Halloween, Graveyard Pudding Cups, spooky dessert, chocolate pudding, kid-friendly, easy recipe



