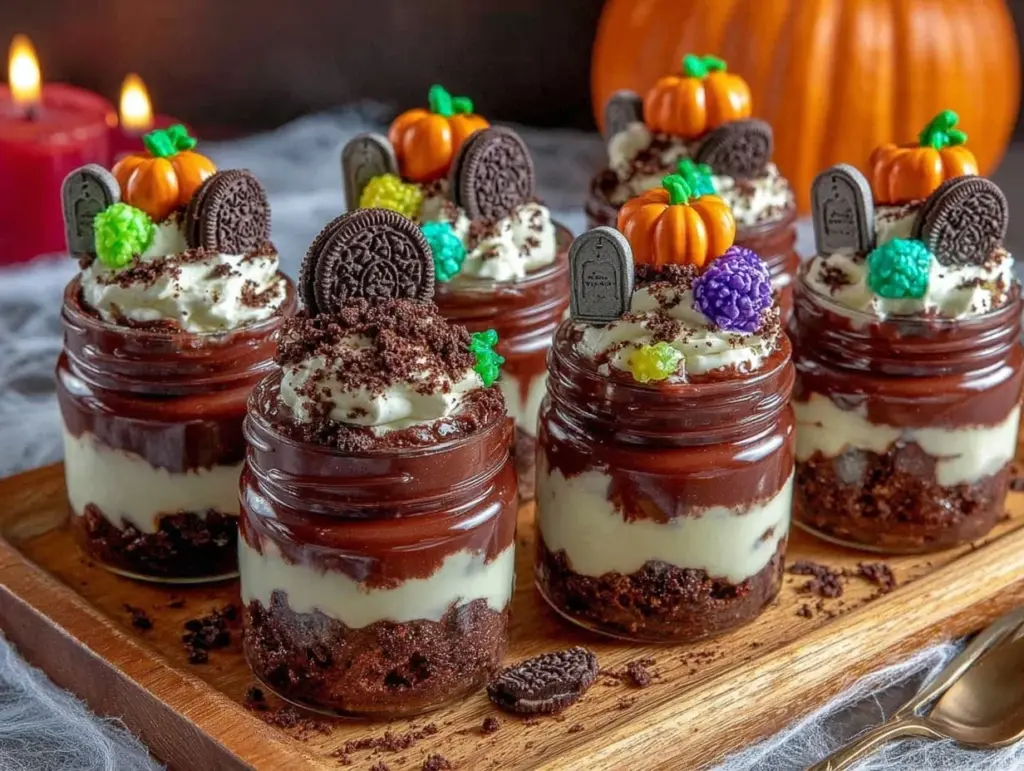
Picture this: rich, creamy chocolate pudding layered with crushed cookies for “dirt,” topped with eerie edible decorations like candy tombstones and gummy worms. These Spooky Haunted Chocolate Graveyard Pudding Jars are a Halloween dream come true—and they’re easier to make than you’d think! Whether you’re hosting a party or just looking for a fun holiday activity with the family, these jars are guaranteed to delight kids and adults alike. Let’s dive into this festive, frightfully delicious dessert!
Why You’ll Love This Recipe
- Easy and Fun: The recipe is simple enough for kids to help, and assembling the jars is part of the fun!
- Perfect for Halloween Parties: These spooky pudding jars are guaranteed to steal the show at your Halloween gathering.
- No-Bake Dessert: No need to fuss with the oven—this is a quick and hassle-free treat.
- Customizable: From candy tombstones to marshmallow ghosts, you can personalize these jars to match your Halloween vibe.
- Irresistible Layers: Creamy chocolate pudding paired with crushed cookies creates the ultimate “graveyard dirt” texture.
What sets this recipe apart is its playful design and versatility. You don’t just make dessert—you create a spooky edible masterpiece! Plus, the combination of rich chocolate pudding and crunchy cookie crumbs is pure indulgence. Trust me, once you take your first bite, you’ll understand why this recipe is a Halloween favorite.
What Ingredients You Will Need
These pudding jars use simple, accessible ingredients to create the perfect spooky treat:
- Chocolate Pudding: Use store-bought pudding or make your own from scratch for an extra indulgent base.
- Crushed Chocolate Sandwich Cookies: These mimic soil and add a satisfying crunch. (Think Oreos!)
- Candy Tombstones: Look for tombstone-shaped candies or use white chocolate and write on them with edible markers.
- Gummy Worms: These wriggly candies add a creepy-crawly element to your jars.
- Whipped Cream: A light dollop to balance the richness of the pudding.
- Sprinkles: Halloween-themed sprinkles for that extra festive touch.
- Marshmallows: Use them to create marshmallow ghosts or other spooky figures.
If you want to make this recipe even more festive, you can add a layer of pumpkin pudding or use orange-colored sprinkles for a pop of Halloween color. Feel free to get creative with the decorations!
Equipment Needed
- Small Mason Jars or Glass Cups: For serving individual portions.
- Mixing Bowls: To prep your pudding and whipped cream layers.
- Plastic Bag and Rolling Pin: For crushing cookies into fine crumbs.
- Decorating Tools: Edible markers, small piping bags, and mini spatulas for easy assembly.
If you don’t have mason jars, don’t worry—you can use clear plastic cups or any small container you have on hand. The clear sides are key for showing off those spooky layers!
Preparation Method
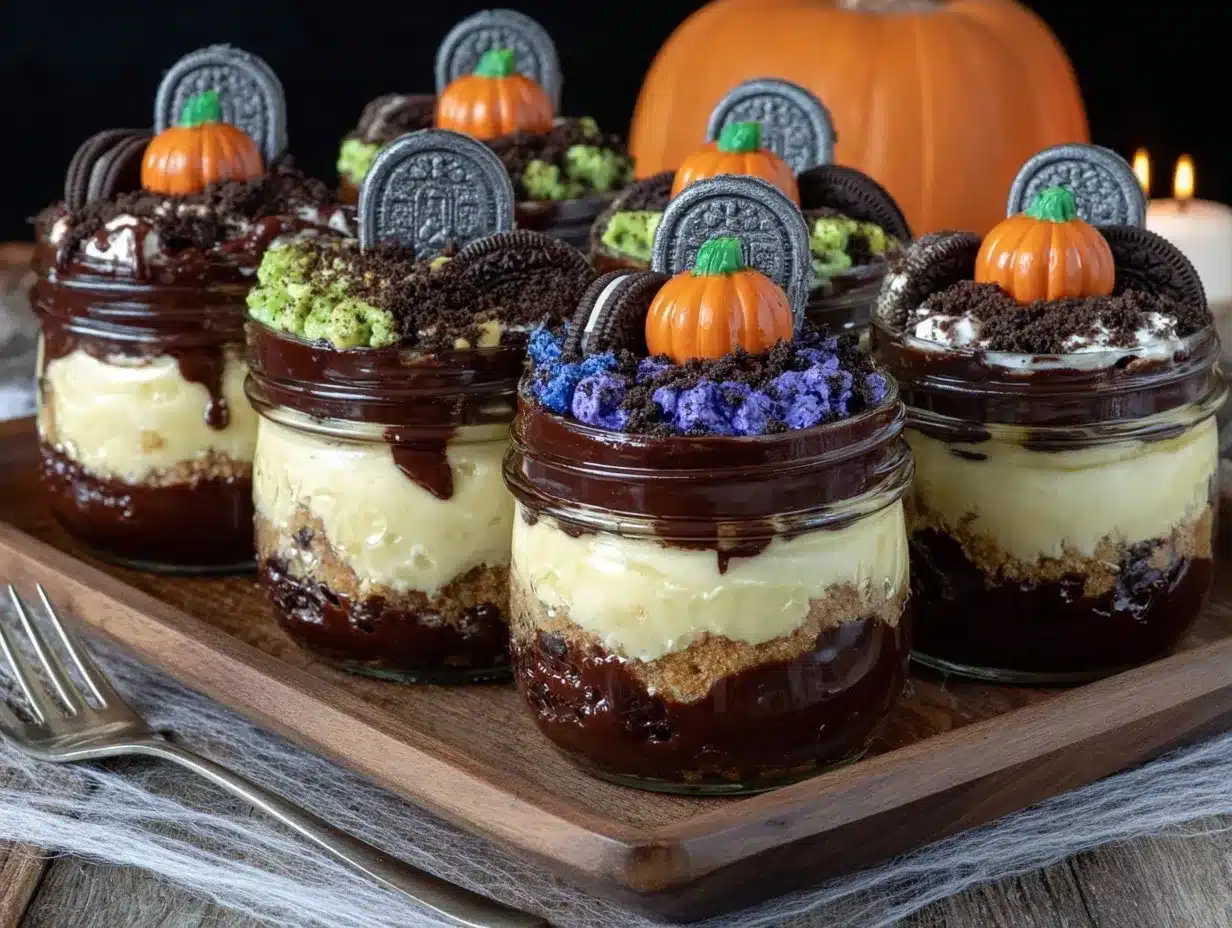
- Make the Chocolate Pudding: Prepare store-bought pudding according to package instructions or whip up your favorite homemade recipe. Allow it to chill in the fridge for at least 30 minutes.
- Crush the Cookies: Place chocolate sandwich cookies in a plastic bag and use a rolling pin to crush them into fine crumbs. These will serve as your “dirt.”
- Prep the Decorations: Write spooky messages on candy tombstones with edible markers. Assemble gummy worms, sprinkles, and marshmallows for decorating.
- Layer the Jars: Start by adding a layer of chocolate pudding to the bottom of each jar. Sprinkle crushed cookie crumbs on top for the “soil.” Repeat this process until the jars are nearly full.
- Add Whipped Cream: Pipe a small dollop of whipped cream on top of the last layer of cookie crumbs.
- Decorate the Graveyard: Place candy tombstones upright in the “dirt.” Add gummy worms crawling out of the layers and sprinkle Halloween-themed sprinkles for extra flair. Use marshmallows to create ghosts or other spooky figures.
Once assembled, these jars are ready to serve! If you’re prepping them in advance, store them in the fridge until party time.
Cooking Tips & Techniques
- Crush Cookies Evenly: Use a food processor for perfectly uniform crumbs, or crush them manually for a rustic look.
- Chill the Pudding: Cold pudding holds its texture better and makes layering easier.
- Decorate Just Before Serving: For the freshest look, add whipped cream and decorations right before presenting your jars.
- Get Creative: Mix in a few drops of green food coloring to the whipped cream to create a “slimy” effect.
- Layer Neatly: Use a spoon or mini spatula to smooth out each layer for a professional finish.
Remember, the fun is in the creativity! Don’t worry about perfection—these jars are meant to be spooky and playful.
Variations & Adaptations
- Dietary-Friendly Option: Swap regular pudding for dairy-free pudding and use gluten-free cookies for a vegan and gluten-free treat.
- Seasonal Twist: Add a layer of pumpkin pudding or use orange-colored candy decorations for a fall-inspired flavor.
- Flavor Customization: Use vanilla pudding instead of chocolate and add crushed graham crackers for a lighter option.
- Healthier Version: Substitute crushed granola for cookies and use Greek yogurt in place of pudding.
Personally, I’ve tried adding crushed peppermint candies to the “soil” for a spooky winter twist—it was a hit!
Serving & Storage Suggestions
These pudding jars are best served chilled. Arrange them on a festive tray with spooky Halloween decorations for maximum impact. Pair them with hot apple cider or pumpkin spice lattes for a cozy Halloween vibe.
To store, cover the jars tightly with plastic wrap or lids and refrigerate for up to 2 days. Avoid adding whipped cream and decorations until right before serving to keep them looking fresh. If you have leftovers, you can reassemble the jars with fresh decorations for another spooky treat!
Nutritional Information & Benefits
While these spooky pudding jars are more of a festive treat than a health food, here’s a quick breakdown:
- Calories: Approximately 250-300 per jar
- Protein: 3-5g from the pudding
- Key Benefits: Contains calcium and protein from milk-based pudding; great for satisfying sweet cravings.
If you’re looking to lighten them up, using low-fat pudding or swapping cookies for granola can reduce calories while maintaining flavor. Be cautious about allergens in store-bought candy decorations, as some may contain nuts or gluten.
Conclusion
These Spooky Haunted Chocolate Graveyard Pudding Jars are the ultimate Halloween dessert—fun, creative, and ridiculously delicious. Whether you’re hosting a party or just want to surprise the family, this recipe is sure to become a yearly tradition. I love how customizable it is, allowing you to put your own spooky spin on every jar.
Give this recipe a try, and let your imagination run wild! Share your creations in the comments below—I’d love to see your spooky designs. Don’t forget to pin this recipe for later so you can recreate it next Halloween. Happy haunting!
FAQs
Can I make these pudding jars ahead of time?
Yes! You can prepare the pudding and cookie layers ahead, but wait to add whipped cream and decorations until just before serving for the freshest look.
What can I use instead of mason jars?
Clear plastic cups or other small glass containers work perfectly for this recipe.
Can I use store-bought pudding?
Absolutely! Store-bought pudding makes this recipe quick and easy. Just make sure to chill it well before layering.
Are there gluten-free options for this recipe?
Yes! Use gluten-free chocolate cookies or granola, and make sure your candy decorations are gluten-free.
How long can these jars be stored?
These jars can be stored in the fridge for up to 2 days, but it’s best to decorate them right before serving for the best presentation.
Pin This Recipe!
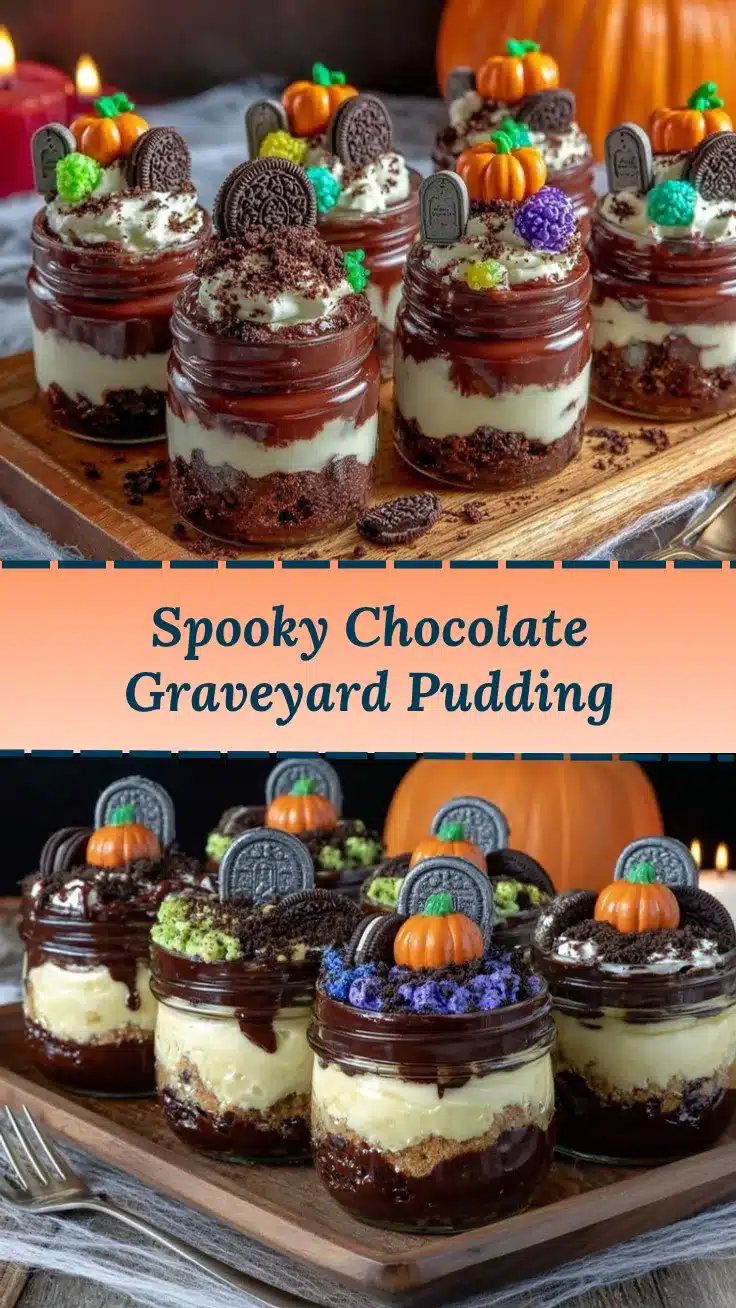
Spooky Chocolate Graveyard Pudding Jars Recipe for Halloween

Rich, creamy chocolate pudding layered with crushed cookies for ‘dirt,’ topped with eerie edible decorations like candy tombstones and gummy worms. A fun and festive Halloween dessert for kids and adults alike.
- Prep Time: 15 minutes
- Cook Time: 0 minutes
- Total Time: 15 minutes
- Yield: 6 servings
- Category: Dessert
- Cuisine: American
Ingredients
- Chocolate pudding (store-bought or homemade)
- Crushed chocolate sandwich cookies (e.g., Oreos)
- Candy tombstones
- Gummy worms
- Whipped cream
- Halloween-themed sprinkles
- Marshmallows
Instructions
- Prepare store-bought pudding according to package instructions or make homemade pudding. Chill in the fridge for at least 30 minutes.
- Place chocolate sandwich cookies in a plastic bag and crush them into fine crumbs using a rolling pin.
- Write spooky messages on candy tombstones with edible markers. Gather gummy worms, sprinkles, and marshmallows for decorating.
- Layer jars by adding a layer of chocolate pudding to the bottom, followed by crushed cookie crumbs. Repeat until jars are nearly full.
- Pipe a small dollop of whipped cream on top of the last layer of cookie crumbs.
- Decorate the jars with candy tombstones, gummy worms, Halloween-themed sprinkles, and marshmallows to create spooky figures.
Notes
[‘Use a food processor for uniform cookie crumbs or crush manually for a rustic look.’, ‘Chill pudding for easier layering.’, ‘Decorate jars just before serving for the freshest presentation.’, ‘Add green food coloring to whipped cream for a slimy effect.’, ‘Layer neatly using a spoon or mini spatula for a professional finish.’]
Nutrition
- Serving Size: 1 jar
- Calories: 250300
- Protein: 35
Keywords: Halloween, Chocolate, Pudding, Dessert, Spooky, No-Bake, Fun, Kids



