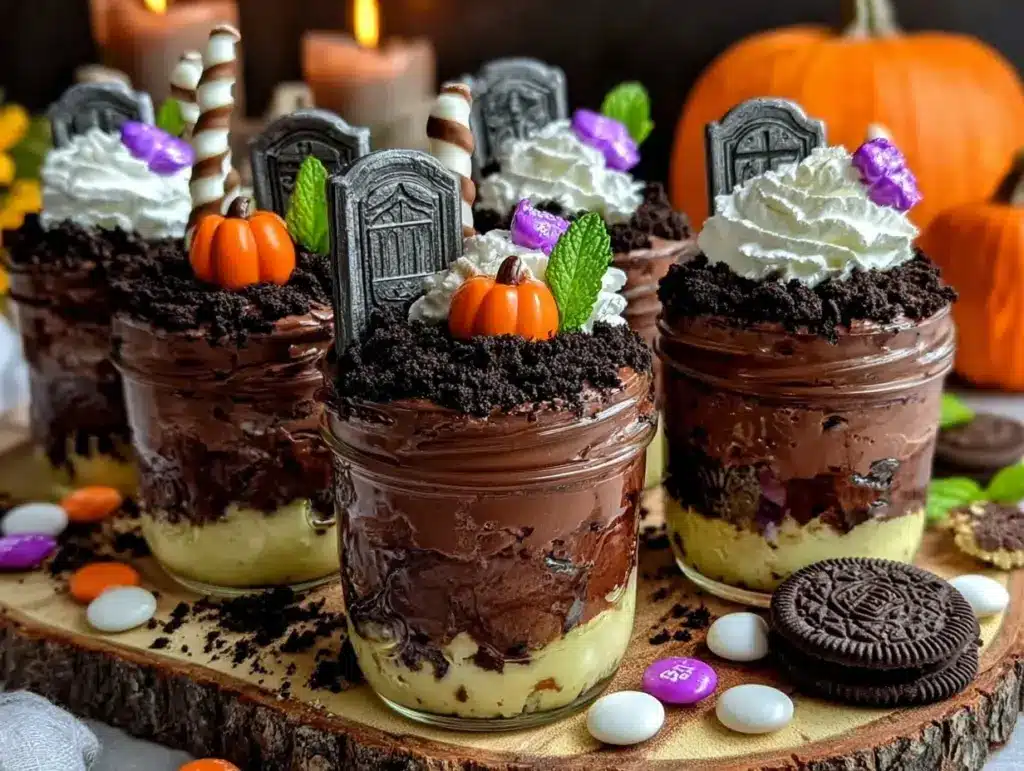
The sight of gooey, chocolatey layers topped with creepy cookie tombstones and eerie gummy worms is enough to send chills down your spine—but in the best way possible! Graveyard pudding cups are the ultimate Halloween treat, combining spooky fun with irresistible flavor. I first whipped these up for a Halloween party a few years ago, and let’s just say they’ve become a tradition ever since. Whether you’re hosting a haunted house bash or just want to surprise your family with a festive dessert, these pudding cups never fail to make everyone grin (and maybe shiver a little).
What I love most about this recipe is how simple it is to assemble, even if you’re not a pro in the kitchen. Plus, they’re a great way to let your creativity run wild—decorate them as spooky or silly as you like! With layers of creamy chocolate pudding, crushed cookies, and gummy candies, these cups offer a fun mix of textures and flavors that scream Halloween. Trust me, these Graveyard Pudding Cups are about to become your new party favorite.
Why You’ll Love This Recipe
- Fun and Festive: These pudding cups are the perfect edible Halloween decoration to wow your guests.
- Easy to Make: You don’t need advanced baking skills or fancy tools—just mix, layer, and decorate!
- Kid-Friendly: Get your little ones involved in creating their own spooky masterpieces.
- Customizable: Add your favorite candies, cookies, or even switch up the pudding flavor.
- Impressive: Despite how simple they are to make, these cups look like they took hours to create.
Unlike traditional Halloween desserts, Graveyard Pudding Cups don’t require baking or complicated techniques. You can prep them ahead of time so you’re not scrambling on the big day. Plus, they’re a great way to use up leftover Halloween candy—especially if you’ve got gummy worms or candy corns lying around.
What sets these apart is the fun factor. Everyone loves a dessert that doubles as a decoration, and these cups are perfect for setting the spooky mood. Whether you’re hosting a school party, a neighborhood gathering, or just celebrating with family, these pudding cups are guaranteed to put smiles on faces (and maybe a few playful screams).
What Ingredients You Will Need
This recipe uses simple ingredients you can find at your local grocery store—or you might already have them stocked in your pantry! Here’s everything you’ll need:
- Chocolate pudding mix: Choose your favorite instant pudding mix for that rich, creamy base.
- Milk: Whole milk or 2% works best for a creamy texture.
- Oreo cookies: Crush them up to create the perfect “dirt” topping.
- Gummy worms: For that creepy-crawly effect.
- Rectangular cookies: Ladyfingers or Milano cookies are great for making the tombstones.
- Chocolate chips: Melted for writing on the cookies—perfect for customizing tombstones.
- Whipped cream: Optional, but adds a nice fluffy layer to the cups.
- Green sprinkles or shredded coconut: (Optional) Dyed green for a grassy effect.
Feel free to mix things up! Swap the chocolate pudding for vanilla or butterscotch, or use gluten-free cookies for a dietary-friendly dessert. These pudding cups are all about creativity and versatility.
Equipment Needed
- Mixing bowls: For preparing the pudding.
- Whisk: Helps to achieve that smooth pudding texture.
- Plastic cups or small glass jars: Perfect for individual servings.
- Rolling pin: Use it to crush the cookies into “dirt.”
- Plastic bag: A great tool for crushing cookies without making a mess.
- Small spatula or spoon: For layering the pudding and cookie crumbs.
- Decorating piping bag or zip-top bag: For writing on the cookie tombstones.
If you don’t have a rolling pin, a sturdy glass or can will do the trick for crushing cookies. For writing on the tombstones, a toothpick can be used to create simple designs if you don’t have a piping bag.
Preparation Method
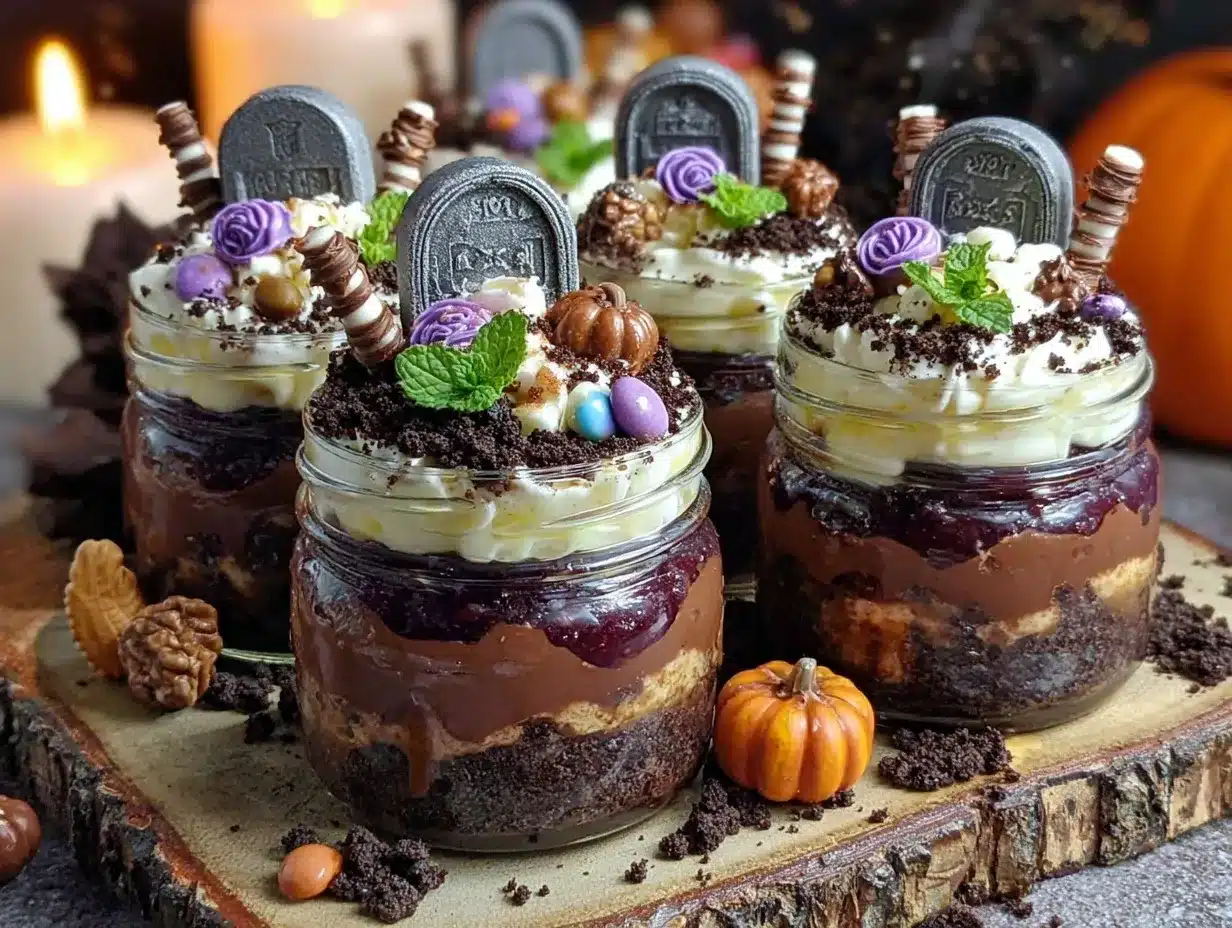
- Prepare the pudding: In a large mixing bowl, whisk together the chocolate pudding mix and cold milk as directed on the package. Make sure there are no lumps. Place the pudding in the refrigerator to set, usually for about 5 minutes.
- Crush the cookies: Place the Oreo cookies in a plastic bag and seal it tightly. Use a rolling pin or a sturdy glass to crush the cookies into fine crumbs. Set aside.
- Make the tombstones: Melt the chocolate chips in a microwave-safe bowl in 30-second intervals, stirring each time until smooth. Use a piping bag or zip-top bag with a small corner snipped off to create spooky messages on the rectangular cookies like “RIP” or “BOO.” Let the chocolate harden before using.
- Layer the pudding cups: Start by adding a layer of pudding to each cup. Follow with a layer of crushed cookies to mimic dirt. Repeat the layers until the cup is full, finishing with a cookie crumb layer on top.
- Decorate the cups: Insert a cookie tombstone into the top layer of “dirt.” Add gummy worms crawling out of the dirt and sprinkle the top with green sprinkles or dyed shredded coconut for an eerie grassy effect.
- Chill and serve: Place the completed pudding cups in the refrigerator for at least 30 minutes to set and chill. Serve cold for the best flavor and texture.
Pro tip: If you want to make these ahead of time, wait to add the gummy worms and cookie tombstones until right before serving to keep them fresh and visually appealing.
Cooking Tips & Techniques
Making Graveyard Pudding Cups is fun and straightforward, but here are a few tips to take them to the next level:
- Perfect pudding texture: Whisk the pudding mix and milk thoroughly to avoid lumps. Using cold milk will help the pudding set faster.
- Crushing cookies: For the perfect “dirt” texture, use a rolling pin and a zip-top bag. Smash gently to avoid turning the cookies into powder—you want small chunks for that authentic dirt look.
- Tombstone designs: If you’re not confident in your piping skills, use a toothpick to carve into the melted chocolate on the cookie before it hardens.
- Layer evenly: Use a small spatula or spoon to spread the pudding and cookie crumbs evenly for a polished look.
- Keep it fresh: Wait to decorate with gummy worms and sprinkles until you’re ready to serve, so they don’t get soggy.
Variations & Adaptations
One of the best things about Graveyard Pudding Cups is how versatile they are. Here are some fun ways to switch things up:
- Dietary adaptations: For a dairy-free version, use almond milk and vegan pudding mix. Swap out Oreos with gluten-free cookies for a celiac-friendly option.
- Flavor twists: Try using vanilla pudding dyed with black food coloring for a spooky twist. Butterscotch pudding can also add a richer flavor profile.
- Seasonal decorations: Swap gummy worms for candy pumpkins or ghost-shaped marshmallows for a different spooky vibe.
- Healthy customization: Use Greek yogurt mixed with cocoa powder and honey instead of pudding for a slightly healthier take.
One year, I added crushed graham crackers dyed green for a grassy look, and it was a fun twist that everyone loved. Experiment and make these cups your own!
Serving & Storage Suggestions
Graveyard Pudding Cups are best served chilled, straight from the fridge. Here are some tips to make the most of them:
- Serving temperature: Keep them cold for the best creamy texture and flavor.
- Presentation: Serve them in clear cups or mini mason jars to show off the spooky layers.
- Complementary dishes: Pair these pudding cups with other Halloween-themed snacks like mummy hot dogs or pumpkin-shaped cookies.
- Storage: Store the assembled cups in the refrigerator for up to 2 days. If you’re making them ahead, hold off on adding toppings like gummy worms until right before serving.
- Reheating: These are meant to be enjoyed cold, so no reheating is needed!
Over time, the flavors meld nicely, but the cookie crumbs can get a little soft if stored too long. For the freshest flavor, eat them within 24 hours.
Nutritional Information & Benefits
Here’s a quick breakdown of the nutritional information per serving (approximate):
- Calories: 280
- Fat: 12g
- Carbohydrates: 38g
- Protein: 4g
While these pudding cups are definitely a sweet treat, you can easily make them more balanced by swapping ingredients. Dark chocolate chips and low-sugar pudding mix are great options for reducing sugar content. Plus, the calcium from the milk adds a little nutritional boost!
Conclusion
Graveyard Pudding Cups are the ultimate Halloween dessert—easy to make, endlessly customizable, and guaranteed to impress. Whether you’re hosting a spooky party or just want to add a festive touch to your family dinner, these pudding cups are a surefire hit.
I love making these every year because they bring so much joy (and a little spookiness) to the table. Plus, they’re a great way to get creative with decorations and let the kids join in on the fun!
If you try this recipe, I’d love to hear how it turned out! Leave a comment below or share your spooky creations on social media. Let’s make this Halloween the tastiest one yet!
FAQs
Can I make Graveyard Pudding Cups ahead of time?
Yes! You can prepare the pudding and cookie layers up to 2 days in advance. Add the decorations like gummy worms and cookie tombstones right before serving for the freshest look.
Can I use homemade pudding instead of instant mix?
Absolutely! Homemade pudding works beautifully, just ensure it’s completely cooled before layering.
What can I use instead of gummy worms?
You can use candy pumpkins, ghost-shaped marshmallows, or even licorice ropes for a spooky effect.
Are these cups gluten-free?
Not as written, but you can make them gluten-free by using gluten-free cookies and ensuring your pudding mix is safe for celiac diets.
How do I dye shredded coconut green?
Place shredded coconut in a zip-top bag, add a few drops of green food coloring, and shake until evenly coated. Easy and fun!
Pin This Recipe!
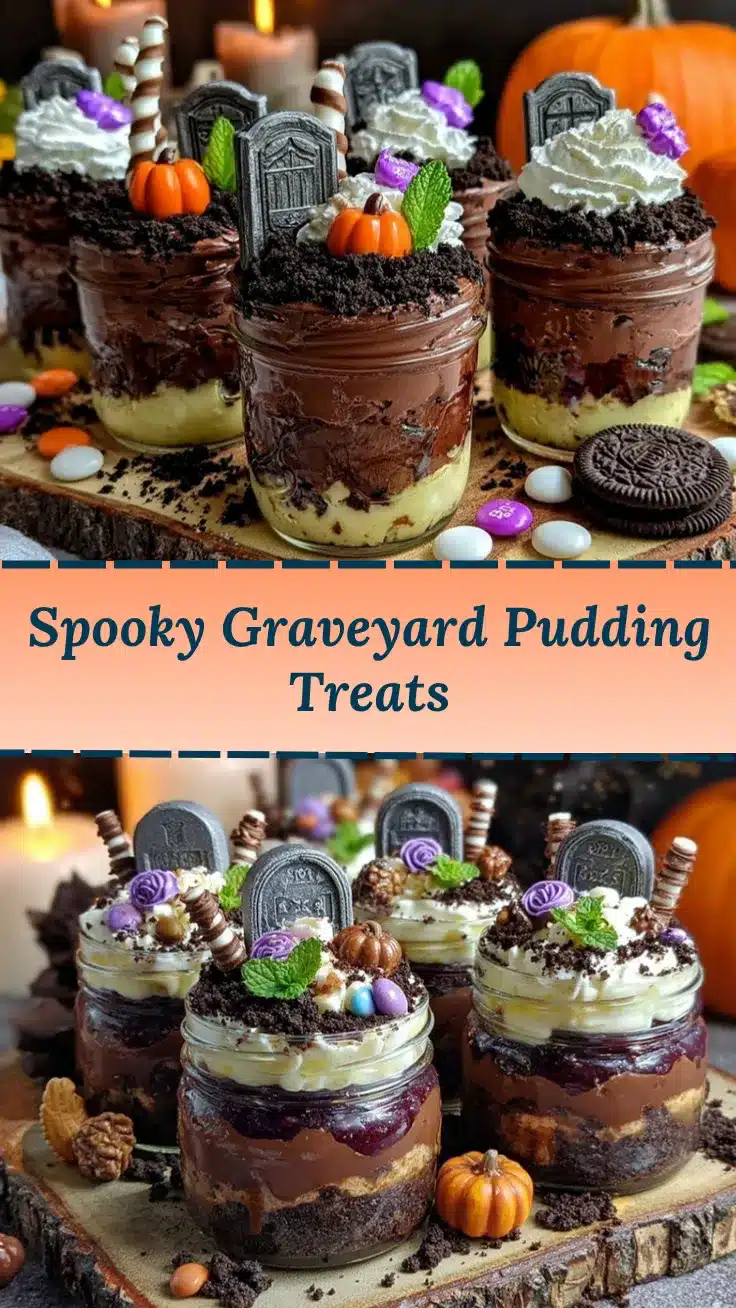
Graveyard Pudding Cups Recipe Perfect for Halloween Fun

Graveyard pudding cups are a spooky and fun Halloween treat featuring layers of chocolate pudding, crushed cookies, and creepy gummy worms. They’re easy to make and perfect for parties or family celebrations.
- Prep Time: 15 minutes
- Cook Time: 0 minutes
- Total Time: 45 minutes
- Yield: 6 servings 1x
- Category: Dessert
- Cuisine: American
Ingredients
- 1 package chocolate pudding mix
- 2 cups cold milk
- 15 Oreo cookies, crushed
- 12 gummy worms
- 6 rectangular cookies (e.g., ladyfingers or Milano cookies)
- 1/2 cup chocolate chips, melted
- 1 cup whipped cream (optional)
- Green sprinkles or shredded coconut dyed green (optional)
Instructions
- In a large mixing bowl, whisk together the chocolate pudding mix and cold milk as directed on the package. Ensure there are no lumps. Refrigerate for about 5 minutes to set.
- Place the Oreo cookies in a plastic bag and seal tightly. Use a rolling pin or sturdy glass to crush the cookies into fine crumbs. Set aside.
- Melt the chocolate chips in a microwave-safe bowl in 30-second intervals, stirring each time until smooth. Use a piping bag or zip-top bag with a small corner snipped off to write spooky messages on the rectangular cookies like ‘RIP’ or ‘BOO.’ Let the chocolate harden.
- Start layering the pudding cups by adding a layer of pudding to each cup. Follow with a layer of crushed cookies to mimic dirt. Repeat the layers until the cup is full, finishing with a cookie crumb layer on top.
- Insert a cookie tombstone into the top layer of ‘dirt.’ Add gummy worms crawling out of the dirt and sprinkle the top with green sprinkles or dyed shredded coconut for a grassy effect.
- Place the completed pudding cups in the refrigerator for at least 30 minutes to set and chill. Serve cold.
Notes
[‘Wait to add gummy worms and cookie tombstones until right before serving to keep them fresh.’, ‘Use cold milk to help the pudding set faster.’, “Crush cookies gently to avoid turning them into powder for a more authentic ‘dirt’ look.”, ‘Experiment with different pudding flavors or decorations for a personalized touch.’]
Nutrition
- Serving Size: 1 pudding cup
- Calories: 280
- Fat: 12
- Carbohydrates: 38
- Protein: 4
Keywords: Halloween dessert, spooky pudding cups, easy Halloween recipe, kid-friendly dessert, party treat



