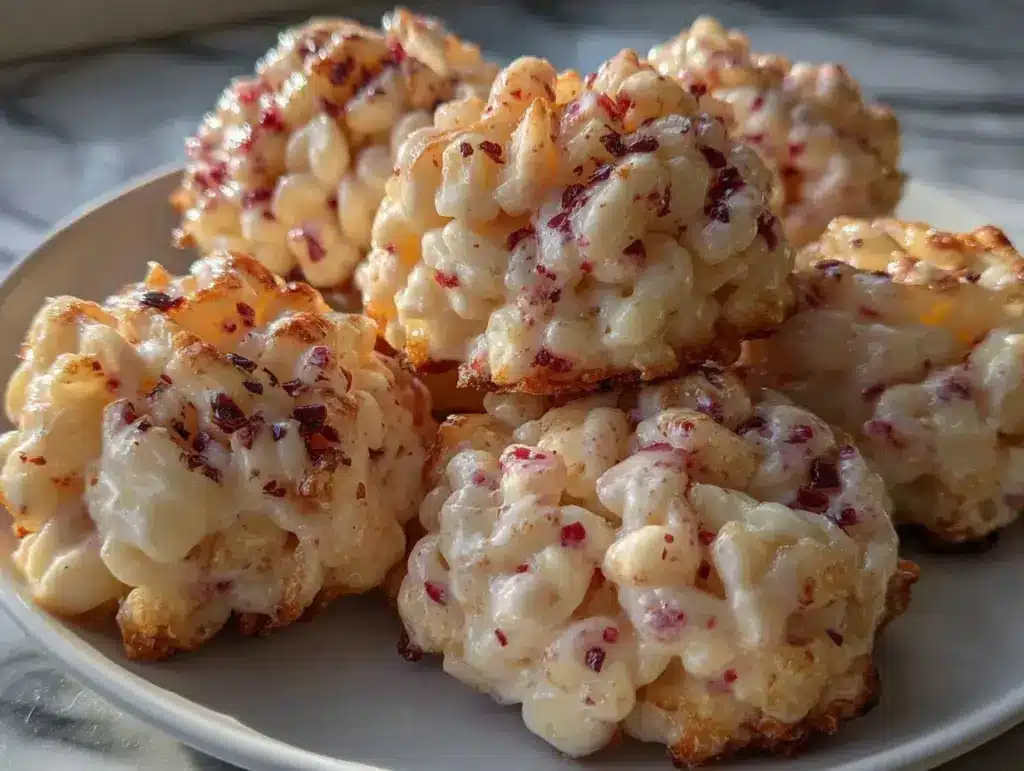
The crunch of Rice Krispies paired with gooey marshmallows—does it get any better? Add some festive Halloween flair, and you’ve got the ultimate party treat that will delight kids and adults alike. This recipe is nostalgic, incredibly simple, and a total crowd-pleaser. Whether you’re hosting a spooky soirée or just looking for a fun activity with the kids, these Marshmallow Rice Krispies Treats bring Halloween spirit to life in the tastiest way possible.
I first made these treats for a Halloween party when I realized I needed something quick, easy, and guaranteed to be a hit. The combination of marshmallows and crispy rice cereal was a no-brainer, but adding a spooky twist took them to the next level. Over the years, I’ve experimented with colors, decorations, and flavorings to make them even more festive—trust me, these treats have become a staple at every Halloween gathering!
With just a few simple ingredients and tools, you’ll whip up these delightful treats in no time. They’re perfect for busy parents, anyone who loves a nostalgic dessert, or those who want to impress their guests without spending hours in the kitchen. So, grab your mixing bowl and let’s get started on these irresistible Marshmallow Rice Krispies Treats!
Why You’ll Love This Recipe
- Quick & Easy: You’ll have these treats ready in under 30 minutes, making them ideal for last-minute party prep or impromptu celebrations.
- Simple Ingredients: Just butter, marshmallows, Rice Krispies, and a few optional add-ons—no need for an elaborate shopping list!
- Customizable for Halloween: Add food coloring, candy eyeballs, sprinkles, or drizzle with chocolate to create spooky designs.
- Crowd-Pleaser: Marshmallow Rice Krispies Treats are loved by kids and adults alike, making them a guaranteed hit at any party.
- Unbelievably Delicious: The mix of crunch and gooey sweetness is pure comfort food perfection, leaving everyone wanting seconds.
What sets this recipe apart is its versatility. You can keep it simple or go all out with decorations to match your Halloween theme. Plus, the marshmallows make these treats delightfully soft and chewy, while the Rice Krispies offer that satisfying crunch. It’s the perfect balance of texture and flavor that makes you smile after every bite.
Whether you’re hosting a party or simply indulging in the Halloween spirit, these treats are bound to be a memorable addition to your festivities. Trust me, they’re not just good—they’re so good you’ll find yourself sneaking bites when no one’s looking!
What Ingredients You Will Need
This recipe uses everyday ingredients that you probably already have in your pantry. Each one plays an important role in creating the perfect balance of flavor and texture.
- Butter: Unsalted, 4 tablespoons (softened, for richness).
- Mini Marshmallows: 10 ounces (feel free to use colored marshmallows for a Halloween vibe).
- Rice Krispies Cereal: 6 cups (the classic brand works best, but any crispy rice cereal will do).
- Vanilla Extract: 1 teaspoon (adds a subtle depth of flavor).
- Food Coloring: Orange and black gel or liquid food coloring (optional, for Halloween-themed treats).
- Halloween Sprinkles: Optional, but a fun way to add festive flair.
- Candy Eyes: Optional, perfect for spooky designs.
- White Chocolate: Melted, for drizzling on top (optional).
If you’re catering to dietary needs, you can easily make substitutions. For a dairy-free version, use plant-based butter and check that your marshmallows are vegan. Gluten-free Rice Krispies are also a great option if needed!
Equipment Needed
Here’s the essential kitchen equipment to make Marshmallow Rice Krispies Treats:
- Large Saucepan: Perfect for melting butter and marshmallows evenly.
- Mixing Spoon: A sturdy wooden or silicone spoon works best to handle the sticky mixture.
- 9×13-Inch Baking Dish: For spreading and setting the treats.
- Parchment Paper: Makes cleanup a breeze and ensures the treats don’t stick.
- Spatula: Useful for pressing the mixture evenly into the pan.
- Decorating Tools: Optional for Halloween touches, like piping bags or toothpicks for designs.
If you don’t have a 9×13-inch pan, you can use smaller pans for thicker treats or even muffin tins for individual portions. And don’t worry—your saucepan doesn’t need to be fancy; any pot large enough to hold the melted marshmallows will work!
Preparation Method
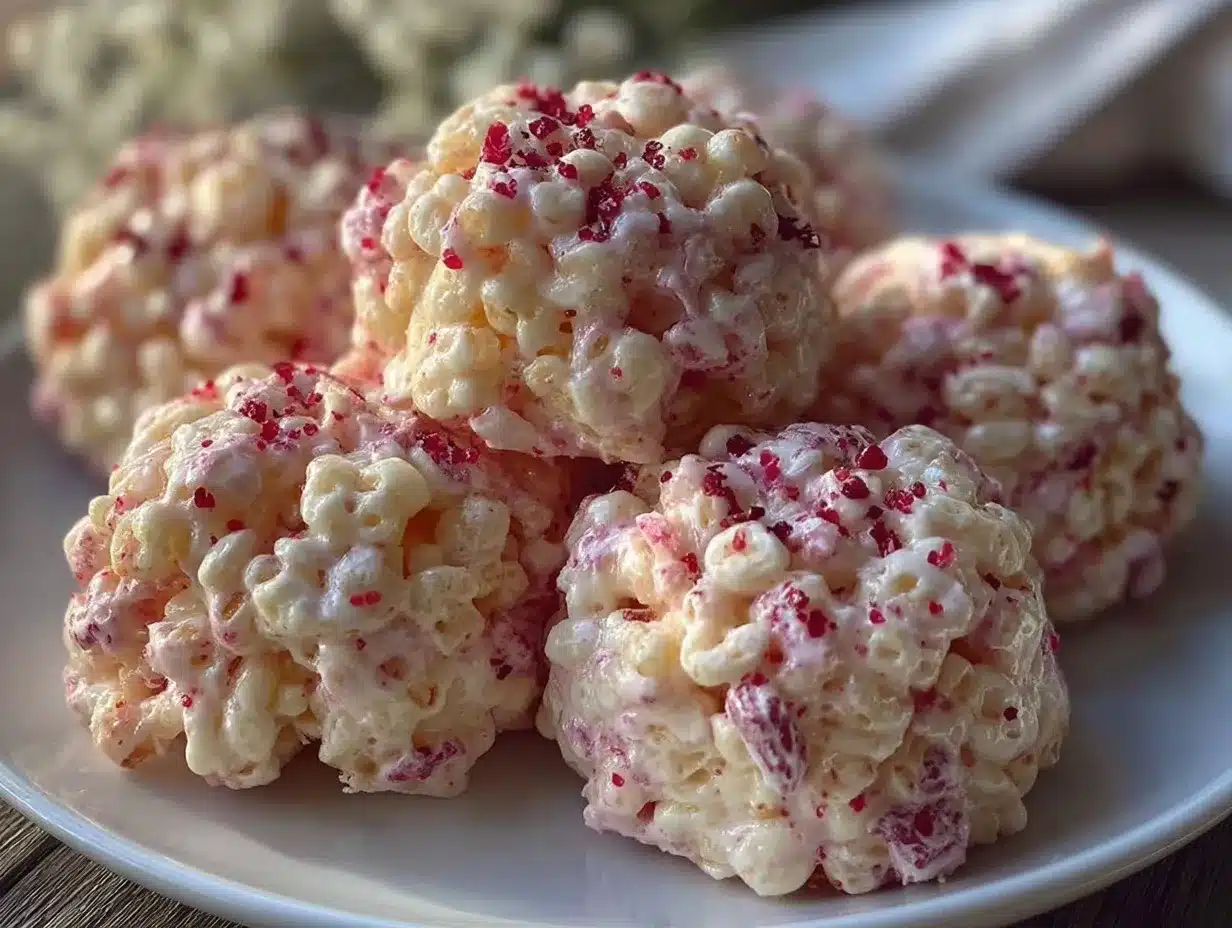
- Prepare your baking dish by lining it with parchment paper. Lightly grease the paper to avoid sticking.
- In a large saucepan, melt the butter over low heat. Stir occasionally to prevent it from browning.
- Add the mini marshmallows to the melted butter and continue stirring until fully melted and smooth. This should take about 5-7 minutes.
- Remove the saucepan from heat and stir in the vanilla extract. If using food coloring, add a few drops now and mix until the desired color is achieved.
- Gradually fold in the Rice Krispies cereal, one cup at a time. Mix gently but thoroughly to ensure the cereal is coated evenly.
- Transfer the mixture to your prepared baking dish. Use a spatula to press it down evenly. Be careful not to pack it too tightly, or the treats may turn out too dense.
- If decorating, sprinkle Halloween sprinkles and press them gently into the surface. Add candy eyes or drizzle melted white chocolate for spooky designs.
- Let the treats cool at room temperature for about 30 minutes to set. Cut into squares or shapes using cookie cutters.
Tip: If your marshmallow mixture starts to harden while mixing, warm it briefly over low heat to regain its smooth texture. And don’t rush the cooling process—it’s worth the wait!
Cooking Tips & Techniques
Here are some helpful tips to ensure your Marshmallow Rice Krispies Treats turn out perfectly every time:
- Low Heat is Key: Keep the heat low when melting butter and marshmallows to avoid scorching or altering the taste.
- Work Quickly: Once the marshmallows are melted, move fast! The mixture can harden if left too long before transferring to the pan.
- Use Fresh Marshmallows: Stale marshmallows don’t melt as well and can make your treats dry.
- Grease Your Tools: Lightly grease your spatula and hands to prevent sticking when shaping the mixture.
- Get Creative: Play with colors and decorations for the ultimate Halloween flair. Use cookie cutters for themed shapes like pumpkins or ghosts!
By following these tips, you’ll avoid common pitfalls like overly dense treats or uneven mixing. Plus, the decorating possibilities are endless!
Variations & Adaptations
Want to mix things up? Here are a few fun variations:
- Chocolate Lovers: Add 1/4 cup of cocoa powder to the melted marshmallows for a chocolatey twist.
- Gluten-Free Option: Use gluten-free crispy rice cereal and ensure your marshmallows are gluten-free.
- Fall Flavors: Sprinkle in pumpkin spice or cinnamon for an autumn-themed treat.
- Nut-Free Halloween: Skip any toppings that contain nuts for allergy-friendly treats.
- Personalized Shapes: Use cookie cutters to create festive Halloween shapes like bats, pumpkins, or ghosts.
Personally, I love adding orange and black food coloring to create layers or swirls that scream Halloween fun. The possibilities are endless!
Serving & Storage Suggestions
These treats are best enjoyed at room temperature. Arrange them on a platter with Halloween-themed decorations for the ultimate party centerpiece. Pair with hot cocoa or apple cider for a cozy vibe!
To store leftovers, wrap the treats individually in plastic wrap or place them in an airtight container. They’ll stay fresh for 3-4 days. For longer storage, you can freeze them for up to a month—just let them thaw at room temperature before serving.
Reheat slightly in the microwave for a few seconds if you want to revive their gooey texture. Be careful not to overheat!
Nutritional Information & Benefits
Here’s a quick overview of the nutritional details for one serving:
- Calories: Approximately 120-150 per square.
- Carbohydrates: High from marshmallows and cereal—great for a quick energy boost!
- Fat: Minimal, depending on butter amount.
- Protein: Low, as expected for a sweet treat.
While these aren’t a health food, they’re perfect for indulging responsibly. Plus, they’re nut-free and can be made gluten-free, making them versatile for various dietary needs.
Conclusion
Marshmallow Rice Krispies Treats are the ultimate Halloween party dessert—easy, fun, and endlessly customizable. Whether you keep them classic or deck them out with spooky decorations, they’re guaranteed to be a hit.
Personally, I love how simple and nostalgic this recipe is. It’s a treat that brings smiles and creates memories year after year. So, grab your ingredients, get creative, and share your spooky creations in the comments below!
Don’t forget to pin this recipe for your next Halloween gathering—and happy haunting!
FAQs
Can I make these treats ahead of time?
Yes! They store well for up to 4 days in an airtight container. Just keep them at room temperature for the best texture.
Can I use regular-sized marshmallows instead of mini ones?
Definitely! Just make sure to melt them slowly over low heat, stirring frequently to avoid burning.
How do I avoid sticky hands when pressing the mixture into the pan?
Lightly grease your hands or spatula with butter or cooking spray—it works like a charm!
Can I make these treats dairy-free?
Yes, use plant-based butter and check that your marshmallows are vegan. They’ll turn out just as delicious!
What’s the best way to cut these into shapes?
Use cookie cutters while the treats are still slightly warm but set enough to hold their shape. Grease the cutters for clean edges.
Pin This Recipe!
Marshmallow Rice Krispies Treats Perfect for Halloween Parties

These nostalgic Marshmallow Rice Krispies Treats are quick, easy, and customizable for Halloween parties, making them a crowd-pleasing dessert for kids and adults alike.
- Prep Time: 10 minutes
- Cook Time: 7 minutes
- Total Time: 37 minutes
- Yield: 12 servings 1x
- Category: Dessert
- Cuisine: American
Ingredients
- 4 tablespoons unsalted butter, softened
- 10 ounces mini marshmallows
- 6 cups Rice Krispies cereal
- 1 teaspoon vanilla extract
- Orange and black gel or liquid food coloring (optional)
- Halloween sprinkles (optional)
- Candy eyes (optional)
- Melted white chocolate (optional)
Instructions
- Prepare your baking dish by lining it with parchment paper. Lightly grease the paper to avoid sticking.
- In a large saucepan, melt the butter over low heat. Stir occasionally to prevent it from browning.
- Add the mini marshmallows to the melted butter and continue stirring until fully melted and smooth. This should take about 5-7 minutes.
- Remove the saucepan from heat and stir in the vanilla extract. If using food coloring, add a few drops now and mix until the desired color is achieved.
- Gradually fold in the Rice Krispies cereal, one cup at a time. Mix gently but thoroughly to ensure the cereal is coated evenly.
- Transfer the mixture to your prepared baking dish. Use a spatula to press it down evenly. Be careful not to pack it too tightly, or the treats may turn out too dense.
- If decorating, sprinkle Halloween sprinkles and press them gently into the surface. Add candy eyes or drizzle melted white chocolate for spooky designs.
- Let the treats cool at room temperature for about 30 minutes to set. Cut into squares or shapes using cookie cutters.
Notes
Work quickly when mixing the marshmallows and cereal to prevent hardening. Use fresh marshmallows for better texture and lightly grease your tools to avoid sticking.
Nutrition
- Serving Size: 1 square
- Calories: 120150
Keywords: Halloween, Marshmallow, Rice Krispies, Treats, Dessert, Easy Recipe, Party Food, Kid-Friendly, No-Bake, Spooky



