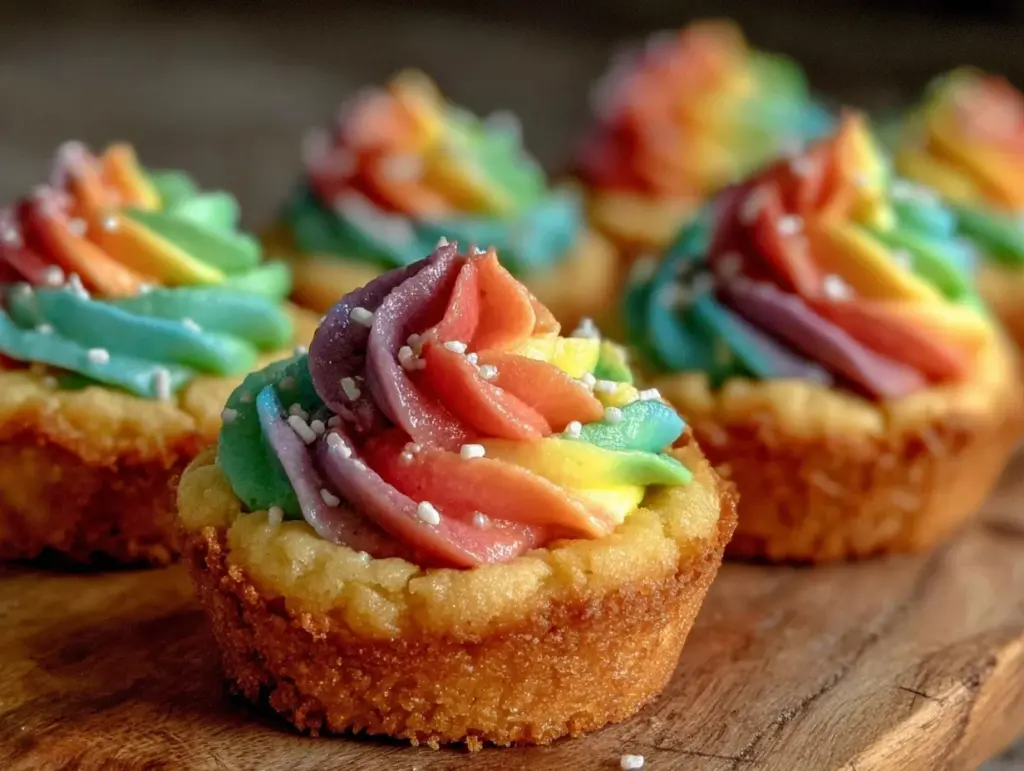
The burst of colors swirling together in these Vibrant Dr. Seuss Rainbow Frosting Cookie Swirl Cups is honestly like a party for your eyes and taste buds. I still remember the first time I whipped these up on a whim—my kitchen looked like a rainbow exploded, and everyone who tried one couldn’t stop smiling. There’s something magical about combining bright, playful frosting with tender cookie cups that just makes you want to dig in right away.
I’ve tweaked this recipe a few times, balancing the frosting’s sweetness with the cookie’s soft crumb until it felt just right for my family—and trust me, picky eaters included. These cookie swirl cups aren’t just eye candy; they’re a delightful treat that brings a splash of fun to any occasion, whether it’s a kids’ birthday bash or a whimsical weekend baking project. If you love colorful desserts that are as charming as they are delicious, this recipe is one you’ll want to keep on repeat.
What makes these Vibrant Dr. Seuss Rainbow Frosting Cookie Swirl Cups stand out is the playful swirl of bright frosting colors nestled inside a buttery cookie cup shell. It’s a nostalgic nod to the beloved author’s vibrant style, and honestly, baking them feels like crafting your own little edible masterpiece. After testing this recipe multiple times in my kitchen (often with frosting on my nose), I’m confident it’s a crowd-pleaser that’s both fun and surprisingly easy to make.
Why You’ll Love This Recipe
- Quick & Easy: You can have these cookie swirl cups ready in about 45 minutes—perfect for last-minute celebrations or sweet cravings.
- Simple Ingredients: No obscure items needed; just basic baking staples and some food coloring to get that rainbow pop.
- Perfect for Parties: These colorful treats are a hit at birthday parties, holiday gatherings, or any day that needs a little extra cheer.
- Crowd-Pleaser: Kids and adults alike adore the soft cookie paired with the creamy, vibrant frosting swirls.
- Unbelievably Delicious: The buttery cookie cups provide a sturdy but tender base while the frosting melts in your mouth, creating a perfect balance of texture and flavor.
What really sets this recipe apart is the way the frosting is piped in playful rainbow swirls right inside the cookie cups, giving every bite a splash of color and joy. I’ve found that using gel food coloring keeps the frosting bright without watering it down. Plus, the cookie base is buttery but not overpowering, letting the frosting shine through. Honestly, these cups are comfort food with a twist—fun, colorful, and totally satisfying.
This recipe isn’t just another cookie—it’s a celebration of color and flavor that feels like a mini escape to a Dr. Seuss storybook. You’ll find yourself closing your eyes with that first bite, savoring the sweet creaminess and the soft cookie texture. It’s a simple way to bring a little magic to your baking routine.
What Ingredients You Will Need
This recipe uses simple, wholesome ingredients to deliver bold flavor and a striking visual effect without any complicated steps. Most of these are pantry staples, and you probably already have them hanging out in your kitchen cabinets.
- For the Cookie Cups:
- All-purpose flour – 2 ½ cups (312 g), for that perfect cookie structure
- Baking powder – 1 tsp (4 g), helps the cookie rise just right
- Salt – ½ tsp (3 g), balances sweetness
- Unsalted butter – 1 cup (227 g), softened to room temperature (I recommend Land O’Lakes for best consistency)
- Granulated sugar – ¾ cup (150 g), adds that classic cookie sweetness
- Brown sugar – ¼ cup packed (50 g), for a hint of molasses flavor
- Vanilla extract – 1 ½ tsp (7 ml), use pure for best aroma
- Large eggs – 2, room temperature for smooth mixing
- For the Rainbow Frosting:
- Unsalted butter – 1 cup (227 g), softened (I prefer Kerrygold for its creaminess)
- Powdered sugar – 4 cups (480 g), sifted for smooth texture
- Vanilla extract – 1 tsp (5 ml)
- Whole milk – 2-3 tbsp (30-45 ml), adjust for desired consistency
- Gel food coloring – assorted colors (red, orange, yellow, green, blue, purple), gel works best to keep frosting vibrant without thinning it out
Ingredient Tips: Look for firm, high-quality butter as it affects both the cookie’s texture and frosting’s creaminess. Using gel food coloring is key to getting those bright Dr. Seuss-style hues without watering down the frosting. If you want a dairy-free version, swap butter and milk with coconut oil and almond milk respectively, but the texture will be a bit different.
Equipment Needed
- Muffin tin or cupcake pan – essential for shaping the cookie cups
- Electric mixer or stand mixer – makes creaming butter and sugar a breeze
- Mixing bowls – at least two, for cookie dough and frosting
- Rubber spatula – great for scraping down the sides of bowls
- Piping bags and round piping tips – for creating the fun rainbow frosting swirls
- Measuring cups and spoons – for precise ingredient amounts
- Cooling rack – to cool cookie cups before frosting
If you don’t have piping bags, you can use small zip-top bags with a corner snipped off (worked for me in a pinch!). For a budget-friendly option, silicone muffin liners can help with cleanup and keep the cookie cups from sticking. I’ve tried both metal and silicone pans; metal gives a crisper edge while silicone makes removal easier, so it depends on your preference.
Detailed Preparation Method
- Preheat your oven to 350°F (175°C). Grease a 12-cup muffin tin or line with silicone liners. This helps the cookie cups release easily after baking.
- Prepare the cookie dough: In a medium bowl, whisk together 2 ½ cups (312 g) all-purpose flour, 1 tsp (4 g) baking powder, and ½ tsp (3 g) salt. Set aside.
- Cream the butter and sugars: In a large bowl, use an electric mixer to beat 1 cup (227 g) softened unsalted butter, ¾ cup (150 g) granulated sugar, and ¼ cup (50 g) packed brown sugar until light and fluffy (about 3-4 minutes). This step is crucial—it traps air for a tender cookie.
- Add eggs and vanilla: Beat in 2 large eggs (room temperature), one at a time, then stir in 1 ½ tsp (7 ml) vanilla extract. Mix until fully combined, but don’t overbeat or it might toughen the dough.
- Combine wet and dry ingredients: Gradually add the flour mixture to the butter mixture, mixing on low until just combined. The dough will be thick and slightly sticky—perfect for shaping.
- Form cookie cups: Divide the dough evenly among the muffin cups (about 2 tbsp per cup). Press the dough into the bottom and up the sides of each cup to form a shallow bowl shape. Don’t worry if the edges aren’t perfect; rustic is charming here.
- Bake for 12-15 minutes until the edges are lightly golden and the centers set but still soft. They will firm up as they cool. Remove from oven and allow cups to cool in the tin for 10 minutes before carefully transferring to a wire rack to cool completely.
- Make the rainbow frosting: Beat 1 cup (227 g) softened unsalted butter until creamy. Gradually add 4 cups (480 g) sifted powdered sugar, mixing on low speed. Add 1 tsp (5 ml) vanilla extract and 2-3 tbsp (30-45 ml) whole milk to reach a spreadable but firm consistency.
- Divide frosting into 6 small bowls. Tint each portion a different color using gel food coloring (red, orange, yellow, green, blue, purple).
- Fill piping bags: Spoon each colored frosting into separate piping bags fitted with round tips. For a swirl effect, you can also spoon all colors side-by-side into a larger piping bag without a tip.
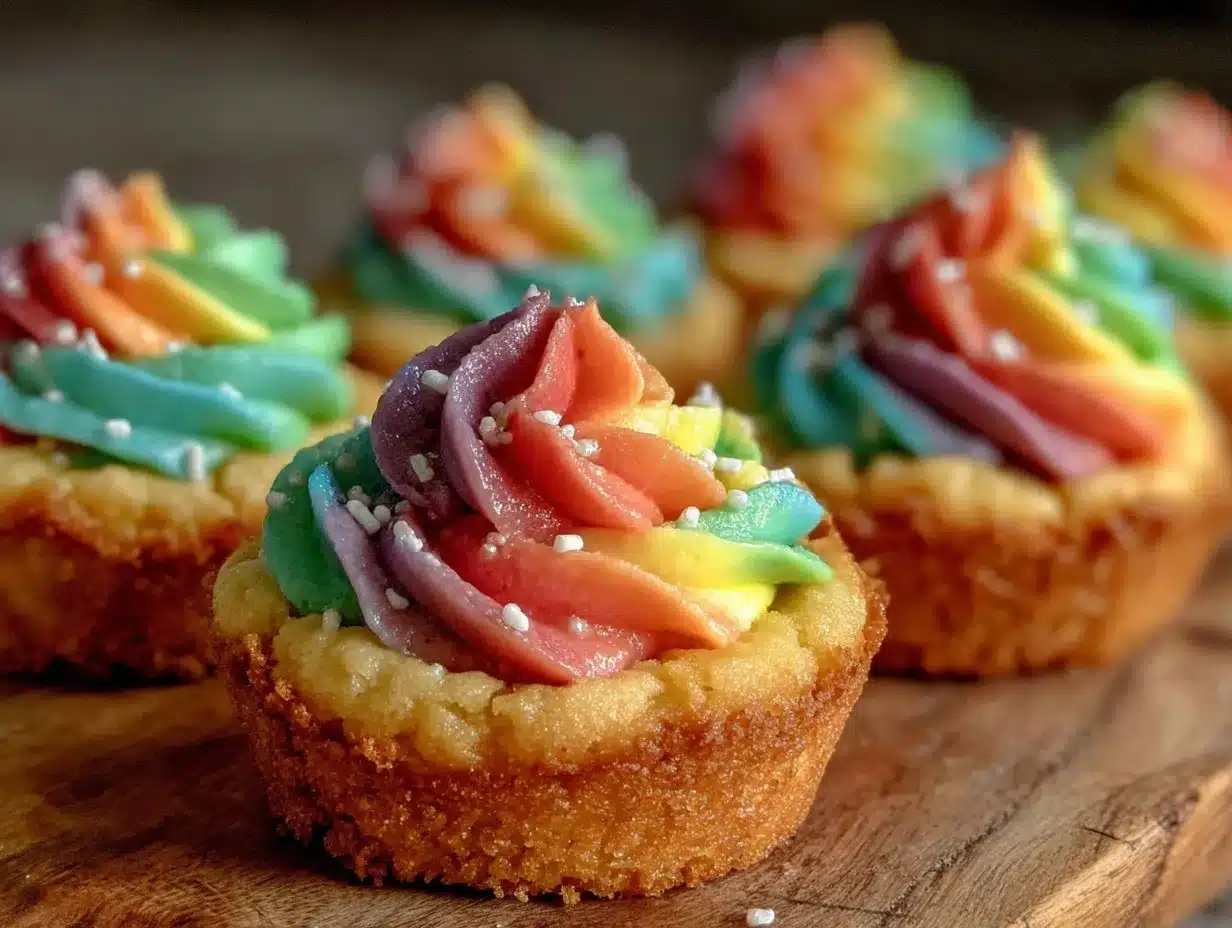
- Pipe rainbow swirls: Starting at the edge of each cookie cup, pipe a swirl of rainbow frosting moving toward the center. Layer colors gently so they don’t mix too much—this keeps the vibrant look.
- Chill the cookie cups: Refrigerate for at least 30 minutes to let the frosting set before serving. It helps the frosting hold its shape and makes the cookies easier to handle.
Pro tip: If the frosting gets too soft while piping, pop it in the fridge for 10 minutes before continuing. Also, make sure the cookie cups are completely cool to avoid melting the frosting on contact.
Cooking Tips & Techniques
Creating these rainbow frosting cookie swirl cups is all about balancing texture and color while keeping your frosting vibrant and your cookie cups tender.
- Butter Temperature Matters: Using room temperature butter for both cookie dough and frosting is key. Too cold, and mixing gets lumpy; too warm, and the frosting might be runny.
- Don’t Overmix Dough: Overworking cookie dough can lead to tough cookies. Mix just until ingredients combine for tender results.
- Gel Colors Over Liquid: Gel food coloring keeps frosting bright without watering down the texture. I’ve tried liquid colorings, and the frosting ended up too soft.
- Swirling Technique: When piping multiple colors, loading them side-by-side into one bag creates the perfect rainbow swirl effect without mixing the colors into a muddy mess.
- Cooling Is Crucial: Letting cookie cups cool completely before frosting prevents melting and keeps those swirls sharp and pretty.
- Storage: Frosted cups keep best refrigerated, but take them out 15 minutes before serving for softer frosting.
I learned the hard way that piping too fast can cause colors to blend, so slow and steady wins the race here. Also, if you want crispier cookie edges, bake a couple extra minutes but watch closely to avoid overbaking.
Variations & Adaptations
Feel free to customize these cookie swirl cups to match your style, dietary needs, or the season. Here are a few ideas I’ve tried or recommend:
- Gluten-Free Option: Swap all-purpose flour with a 1:1 gluten-free baking flour blend. The texture is slightly different but still delicious.
- Dairy-Free Version: Use vegan butter and coconut milk in the frosting. The flavor shifts a bit but stays creamy and colorful.
- Seasonal Colors: Instead of rainbow, try pastel shades for spring or red and green for the holidays.
- Flavor Twists: Add a teaspoon of lemon zest to the cookie dough or a splash of almond extract to the frosting for a fresh kick.
- Chocolate Swirl: Fold a bit of cocoa powder into part of the frosting and do a half-and-half swirl for a fun chocolate-rainbow combo.
Personally, I once made a batch using natural food colorings from beet and spinach powders—colors were softer but still charming. It’s a fun way to keep things natural if you’re into that.
Serving & Storage Suggestions
These cookie swirl cups are best served slightly chilled or at room temperature. The frosting softens a bit at room temp, making each bite melt in your mouth.
For presentation, arrange them on a colorful platter or tiered stand—trust me, they’ll brighten up any dessert table. Pair them with a simple glass of cold milk, a cup of tea, or even a fruity punch for a festive vibe.
Store leftovers in an airtight container in the refrigerator for up to 4 days. If you want to keep them longer, freeze unfrosted cookie cups for up to 2 months and frost after thawing.
When reheating, let refrigerated cups sit at room temperature for 15 minutes or warm gently in a microwave for 5-7 seconds (watch closely!). The flavors tend to deepen after a day or two, so if you can resist, they taste even better the next day.
Nutritional Information & Benefits
One Vibrant Dr. Seuss Rainbow Frosting Cookie Swirl Cup contains approximately:
| Calories | 220 |
|---|---|
| Fat | 12g |
| Carbohydrates | 28g |
| Sugar | 18g |
| Protein | 2g |
While these treats are indulgent, they do provide some calcium and vitamin A from the butter and milk in the frosting. Using high-quality butter and real vanilla extract adds depth and some nutrients compared to artificial alternatives.
For those watching gluten or dairy, the recipe adapts well with substitutions I mentioned earlier. Just keep in mind the texture and flavor will shift slightly.
In my experience, enjoying these cookie swirl cups in moderation makes for a joyful treat that brightens the day without guilt. Plus, baking them at home means you control the ingredients and can avoid preservatives found in store-bought sweets.
Conclusion
These Vibrant Dr. Seuss Rainbow Frosting Cookie Swirl Cups are more than just dessert—they’re a joyful experience. Their bright colors, soft cookie base, and creamy frosting make them perfect for any occasion that calls for a little fun and sweetness.
I love how easy they are to customize, and seeing everyone’s faces light up when they see the rainbow swirls never gets old. Honestly, baking these feels like a mini celebration every time.
Give this recipe a try and make it your own—swap colors, try new flavors, or share your favorite adaptations! I’d love to hear how your cookie swirl cups turn out, so please leave a comment or share your photos. Happy baking and enjoy every colorful bite!
FAQs
Can I make the cookie cups ahead of time?
Yes! You can bake the cookie cups a day or two in advance. Store them in an airtight container and frost just before serving for best results.
What’s the best way to get bright frosting colors?
Gel food coloring is your best bet for vibrant hues without thinning the frosting. Avoid liquid colorings if you want that intense rainbow look.
Can I freeze these cookie swirl cups?
You can freeze unfrosted cookie cups for up to 2 months. Thaw completely before frosting. Frosted cups freeze less well because the frosting texture changes.
How do I prevent the frosting from melting on the cookie cups?
Make sure the cookie cups are completely cooled before frosting. Also, keep the frosted cups refrigerated until serving to keep the frosting firm.
Is there a dairy-free version of this recipe?
Absolutely! Use vegan butter and plant-based milk in the frosting, and substitute butter with coconut oil or a vegan alternative in the cookie dough. The texture will be slightly different but still tasty.
Pin This Recipe!
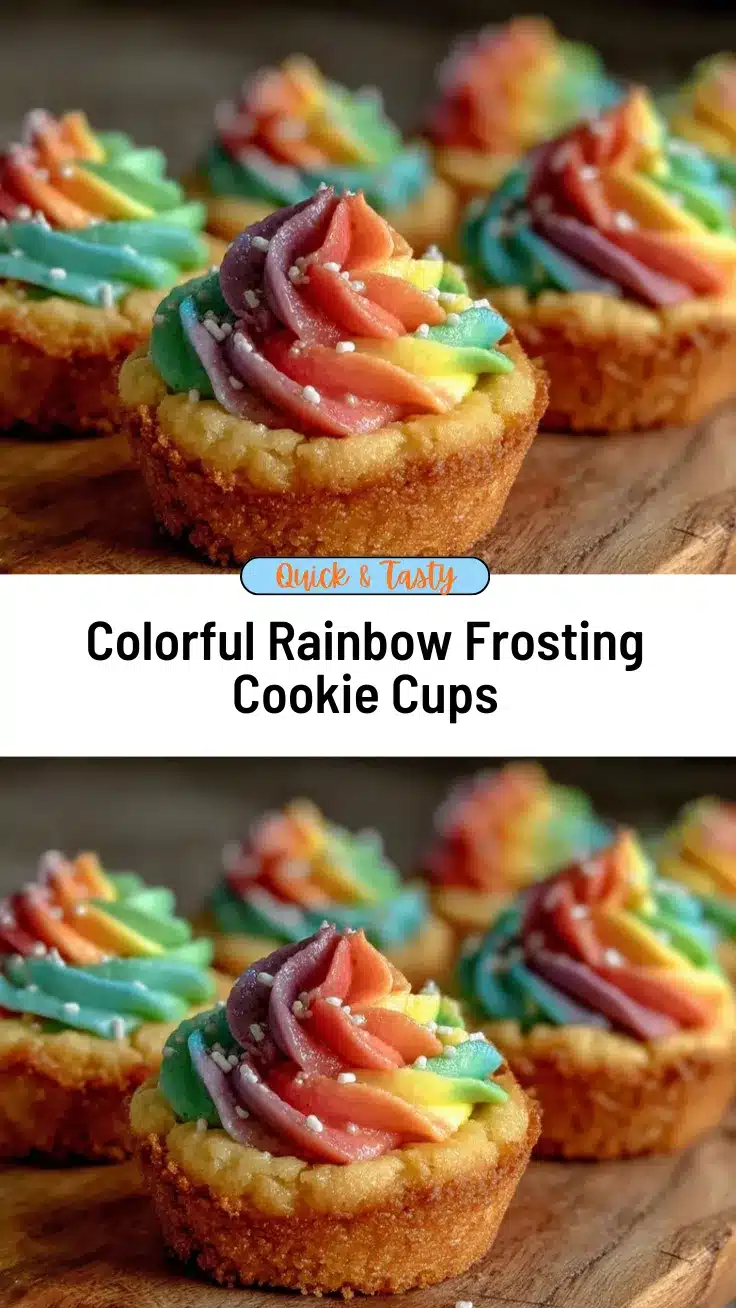
Vibrant Dr. Seuss Rainbow Frosting Cookie Swirl Cups

These colorful cookie swirl cups combine bright, playful rainbow frosting with tender buttery cookie cups, creating a delightful treat perfect for parties and celebrations.
- Prep Time: 15 minutes
- Cook Time: 15 minutes
- Total Time: 45 minutes
- Yield: 12 servings 1x
- Category: Dessert
- Cuisine: American
Ingredients
- 2 ½ cups (312 g) all-purpose flour
- 1 tsp (4 g) baking powder
- ½ tsp (3 g) salt
- 1 cup (227 g) unsalted butter, softened (for cookie cups)
- ¾ cup (150 g) granulated sugar
- ¼ cup packed (50 g) brown sugar
- 1 ½ tsp (7 ml) vanilla extract
- 2 large eggs, room temperature
- 1 cup (227 g) unsalted butter, softened (for frosting)
- 4 cups (480 g) powdered sugar, sifted
- 1 tsp (5 ml) vanilla extract
- 2–3 tbsp (30–45 ml) whole milk
- Gel food coloring (red, orange, yellow, green, blue, purple)
Instructions
- Preheat your oven to 350°F (175°C). Grease a 12-cup muffin tin or line with silicone liners.
- In a medium bowl, whisk together all-purpose flour, baking powder, and salt. Set aside.
- In a large bowl, beat softened unsalted butter, granulated sugar, and brown sugar with an electric mixer until light and fluffy (about 3-4 minutes).
- Beat in eggs one at a time, then stir in vanilla extract until fully combined.
- Gradually add the flour mixture to the butter mixture, mixing on low until just combined.
- Divide the dough evenly among muffin cups (about 2 tbsp per cup). Press dough into bottom and up sides to form shallow bowls.
- Bake for 12-15 minutes until edges are lightly golden and centers set but still soft. Cool in the tin for 10 minutes, then transfer to a wire rack to cool completely.
- For the frosting, beat softened unsalted butter until creamy. Gradually add powdered sugar, mixing on low speed.
- Add vanilla extract and whole milk to reach a spreadable but firm consistency.
- Divide frosting into 6 small bowls and tint each with a different gel food coloring.
- Fill piping bags with each colored frosting. For swirl effect, spoon all colors side-by-side into a larger piping bag without a tip.
- Pipe rainbow swirls starting at the edge of each cookie cup moving toward the center, layering colors gently.
- Refrigerate cookie cups for at least 30 minutes to let frosting set before serving.
Notes
Use gel food coloring to keep frosting vibrant without thinning. Room temperature butter is key for both dough and frosting. Chill frosting if it becomes too soft while piping. Let cookie cups cool completely before frosting to prevent melting. Store frosted cups refrigerated and bring to room temperature before serving for best texture.
Nutrition
- Serving Size: 1 cookie swirl cup
- Calories: 220
- Sugar: 18
- Fat: 12
- Carbohydrates: 28
- Protein: 2
Keywords: rainbow frosting, cookie cups, colorful dessert, Dr. Seuss inspired, easy baking, party treats, homemade cookies



