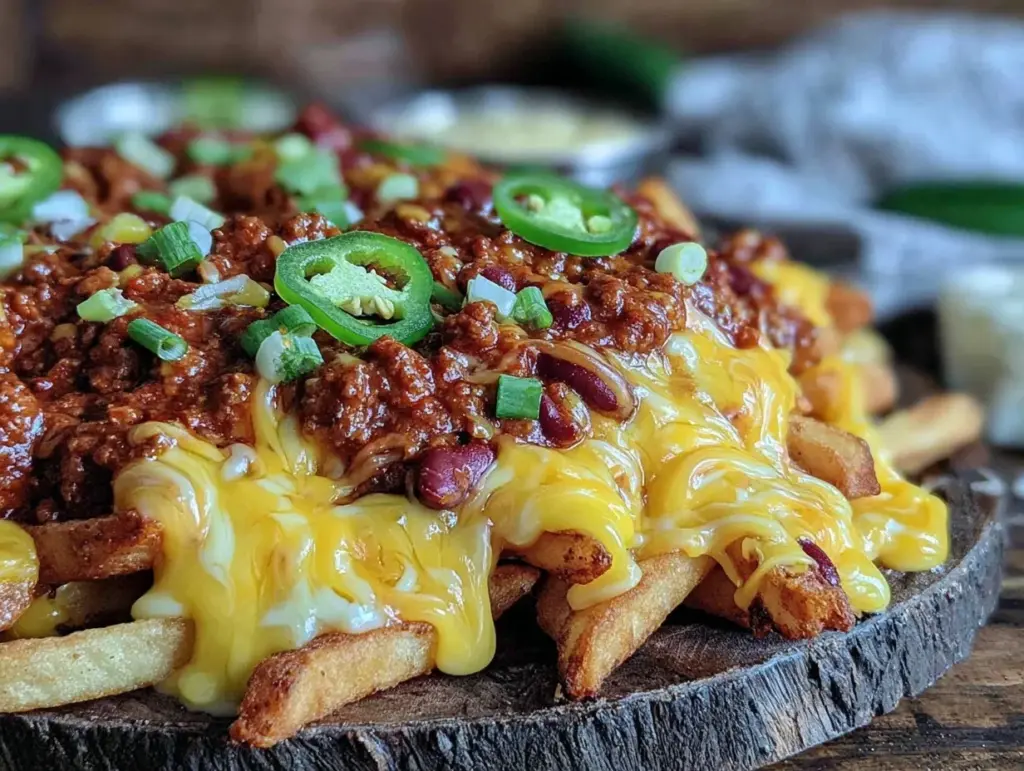
Let me tell you, the scent of sizzling chili mingled with melted cheese and perfectly crispy fries wafting from the oven is enough to make anyone’s mouth water. The first time I made these crispy loaded chili cheese fries, I was instantly hooked — the kind of moment where you pause, take a deep breath, and just smile because you know you’re onto something truly special. It all started years ago, when I was knee-high to a grasshopper, sneaking bites at family game nights. These fries have that pure, nostalgic comfort that feels like a warm hug from the inside out.
Honestly, my family couldn’t stop sneaking them off the cooling rack (and I can’t really blame them). This recipe is dangerously easy and perfect for those nights when you crave something cozy but crave a little kick too. Whether you’re gearing up for a game day, looking to brighten up your Pinterest snack board, or just want a sweet treat for your kids after school, these chili cheese fries deliver every time. I’ve tested and tweaked this recipe more times than I can count—in the name of research, of course—and it’s now a staple for family gatherings and gifting. Trust me, you’re going to want to bookmark this one.
Why You’ll Love This Recipe
From my kitchen to yours, this crispy loaded chili cheese fries recipe hits all the right notes. Here’s why it’s become a go-to comfort snack that I keep coming back to:
- Quick & Easy: Comes together in under 30 minutes, perfect for busy weeknights or last-minute cravings.
- Simple Ingredients: No fancy grocery trips needed; you likely already have everything in your pantry and fridge.
- Perfect for Game Day & Gatherings: Great for potlucks, casual parties, or a cozy night in.
- Crowd-Pleaser: Always gets rave reviews from kids, adults, and even picky eaters.
- Unbelievably Delicious: The crispy fries paired with hearty chili and gooey cheese is next-level comfort food.
What really sets this recipe apart is the perfect balance of textures—crispy fries that don’t get soggy, a chili that’s rich but not overpowering, and cheese that melts just right without being greasy. I like to blend in a little secret ingredient in the chili for that subtle smoky depth (I won’t spoil it here, but you’ll notice!). Whether you’re impressing guests or just treating yourself, this recipe feels like comfort food reimagined—fast, satisfying, and downright addictive.
What Ingredients You Will Need
This recipe uses simple, wholesome ingredients to deliver bold flavor and satisfying texture without the fuss. Most are pantry staples, making it easy to whip up on a whim.
- For the Fries:
- Frozen French fries (I recommend shoestring or crinkle-cut for max crispiness)
- Vegetable oil or olive oil spray (for extra crunch)
- Salt and freshly cracked black pepper (to taste)
- For the Chili:
- Ground beef (85% lean works best for flavor without excess grease)
- Yellow onion, finely chopped (adds sweetness and depth)
- Garlic cloves, minced (the soul of any chili)
- Canned diced tomatoes (14 oz / 400g, with juices)
- Kidney beans, drained and rinsed (optional but adds heartiness)
- Chili powder (I prefer a mild blend, but feel free to adjust heat)
- Ground cumin (adds that earthy warmth)
- Smoked paprika (for subtle smoky flavor)
- Salt and pepper (to taste)
- Beef broth or water (about 1/2 cup / 120ml to keep it saucy)
- For the Topping:
- Shredded sharp cheddar cheese (freshly shredded melts best)
- Jalapeños, sliced (optional for a spicy kick)
- Green onions, sliced (for freshness)
- Sour cream or plain Greek yogurt (to dollop on top)
- Fresh cilantro, chopped (adds brightness)
For substitutions, you can swap ground beef with ground turkey or plant-based crumbles for a lighter or vegetarian take. Use dairy-free cheese and yogurt alternatives if needed—though honestly, classic cheddar and sour cream give this recipe its signature soul. I like to use [Brand X] cheddar because it melts beautifully without getting greasy, but any good quality sharp cheddar will do.
Equipment Needed
- Oven or air fryer (for perfectly crispy fries)
- Large skillet or frying pan (for cooking the chili)
- Baking sheet (lined with parchment paper for easy cleanup)
- Mixing spoon and spatula (wooden or silicone works best)
- Cheese grater (if shredding your own cheese)
If you don’t have an air fryer, no worries—the oven method works just as well (though it takes a bit longer). For the skillet, a non-stick pan makes cleanup easier, but a cast iron skillet adds a nice depth of flavor if you have one handy. Budget-wise, you can get by with basic tools; no fancy gadgets required. Just make sure your oven or air fryer is preheated properly for that crispy finish.
Preparation Method
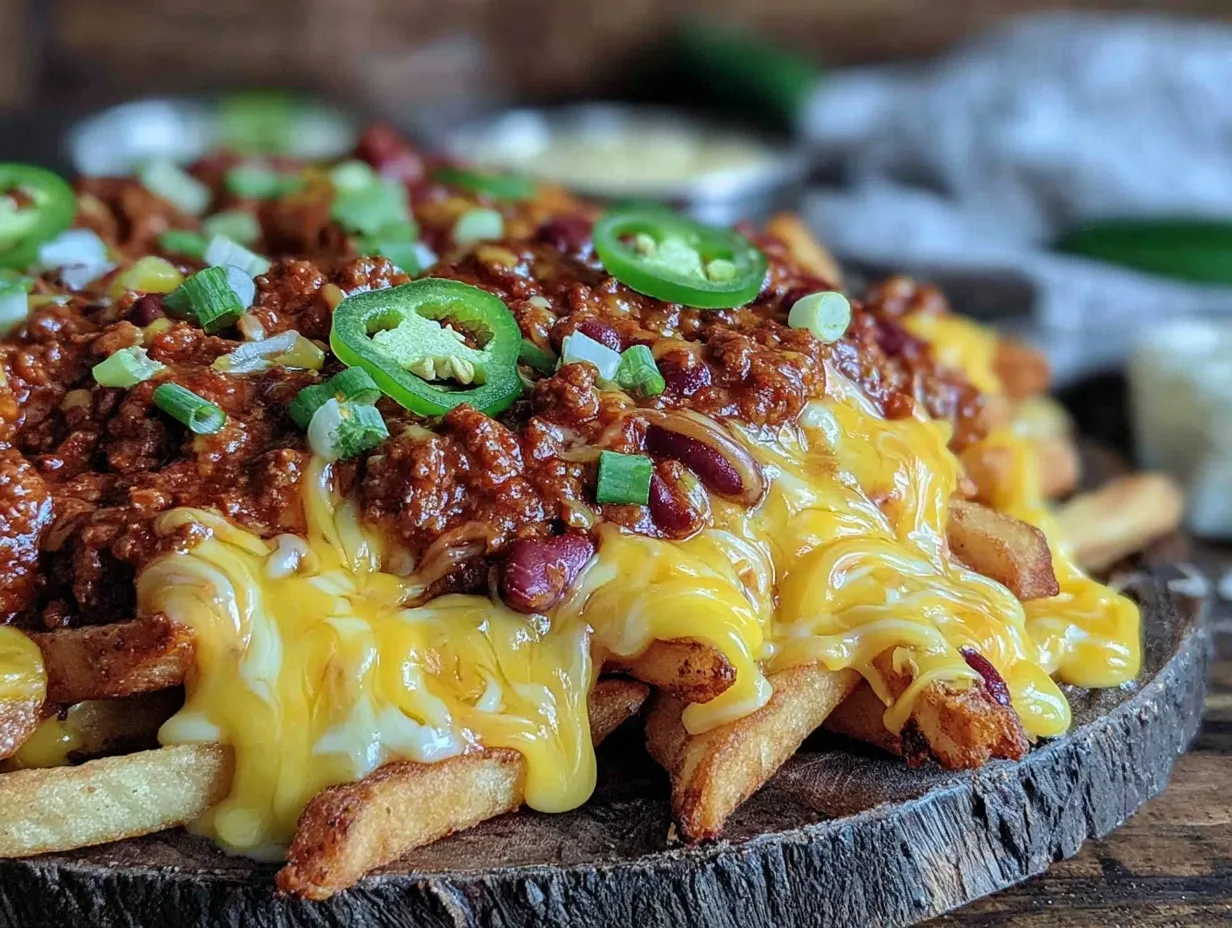
- Preheat your oven or air fryer: Set oven to 425°F (220°C) or air fryer to 400°F (200°C). This high heat is key for crispy fries.
- Prepare the fries: Spread frozen fries evenly on a baking sheet lined with parchment paper. Lightly spray with oil and sprinkle with salt and pepper. Bake for 20-25 minutes, flipping halfway, or air fry for 15-20 minutes until golden and crisp. Keep an eye—fries can go from perfect to burnt quickly!
- Cook the chili: While fries cook, heat a large skillet over medium-high heat. Add ground beef and cook about 5-7 minutes, breaking it apart with a spatula until browned. Drain excess fat if needed.
- Add aromatics: Stir in chopped onion and garlic, cooking 3-4 minutes until softened and fragrant.
- Season and simmer: Add chili powder, cumin, smoked paprika, salt, and pepper. Stir to coat meat and veggies. Pour in diced tomatoes with juices, beans, and broth. Bring to a gentle simmer and cook 10-15 minutes uncovered, stirring occasionally until thickened to your liking.
- Assemble the loaded fries: Once fries are crispy, transfer them to an oven-safe dish or leave on the baking sheet. Spoon generous amounts of chili evenly over fries.
- Add cheese and bake: Sprinkle shredded cheddar over the chili-topped fries. Return to oven or air fryer for 5-7 minutes, or until cheese is melted and bubbly.
- Top and serve: Remove from heat. Garnish with sliced jalapeños, green onions, dollops of sour cream, and fresh cilantro. Serve immediately—these fries wait for no one!
Pro tip: If your chili seems too watery, simmer it a bit longer before topping the fries. And don’t overcrowd the fries on the baking sheet; give them space to crisp up.
Cooking Tips & Techniques
Getting those crispy loaded chili cheese fries just right takes a few tricks, and I’ve learned them the hard way. First, don’t skip the high heat step for the fries. Whether oven or air fryer, 425°F (220°C) is your friend. Lower temps lead to limp fries, and nobody wants that.
When cooking the chili, browning the meat properly is crucial—it builds flavor and prevents a greasy texture. Drain excess fat but leave a little to keep it juicy. And don’t rush the simmer; it’s the secret to rich, melded flavors. I once tried to speed things up and ended up with bland chili—lesson learned!
Another tip: shred your cheese fresh. Pre-shredded cheese often contains anti-caking agents that can affect melting. Fresh cheddar melts smoother and stretches beautifully over the chili.
Finally, multitask by prepping the chili while fries bake. This timing dance means everything comes together hot and fresh, no waiting around. Trust me, a little planning here saves you hungry growls later.
Variations & Adaptations
This crispy loaded chili cheese fries recipe is super flexible. Here are some of my favorite ways to switch it up:
- Vegetarian version: Swap ground beef for lentils or plant-based crumbles. Use veggie broth, and load up on beans for protein.
- Spicy upgrade: Add diced chipotle peppers in adobo to the chili or sprinkle cayenne into the seasoning mix for an extra kick.
- Cheese varieties: Try pepper jack for a melty, spicy twist or mix in mozzarella for gooey stretchiness.
- Healthier twist: Bake sweet potato fries instead of regular fries, and use Greek yogurt instead of sour cream for a protein boost.
- Seasonal flair: In fall, add diced roasted butternut squash to the chili for sweetness; in summer, toss in fresh diced tomatoes instead of canned.
Once, I tried swapping the chili for a smoky black bean salsa topping—unexpected but delicious! Feel free to experiment based on what’s in your pantry and what tickles your taste buds.
Serving & Storage Suggestions
Serve your crispy loaded chili cheese fries straight from the oven while the cheese is still bubbling and the fries are hot and crisp. They’re perfect as a main snack or paired with a simple green salad to balance the richness.
For drinks, a cold beer or a classic cola pairs beautifully, cutting through the hearty flavors. A fresh lime wedge on the side adds a nice pop of brightness.
If you have leftovers (which might be rare), store them in an airtight container in the refrigerator for up to 2 days. To reheat, spread fries on a baking sheet and warm at 375°F (190°C) for 10 minutes to bring back crispness. Microwaving makes fries soggy, so avoid that if you can.
Over time, the flavors of the chili deepen, so leftovers taste even better the next day—if they last that long!
Nutritional Information & Benefits
Estimated per serving (serves 4):
| Calories | 550 kcal |
|---|---|
| Protein | 28 g |
| Carbohydrates | 45 g |
| Fat | 28 g |
| Fiber | 8 g |
This recipe packs protein from the ground beef and beans and fiber from the beans and potatoes. The chili’s tomatoes add vitamin C and antioxidants, while the cheese brings calcium and vitamin D. For those watching carbs, swapping fries for sweet potato or cauliflower fries can lower glycemic load.
Note: contains dairy and beef. For gluten-free, check your chili powder brand and use certified gluten-free fries. From a wellness perspective, this recipe balances indulgence with wholesome ingredients—comfort food that doesn’t feel like a total cheat.
Conclusion
If you’re craving a snack that’s seriously satisfying, crispy loaded chili cheese fries are your new best friend. This recipe hits that perfect spot between crispy, cheesy, spicy, and hearty—everything you want from ultimate comfort food. Don’t be shy about customizing it to your tastes or dietary needs; that’s part of the fun.
I love this recipe because it brings people together—whether for game day, casual dinners, or just a snack that feels like a hug. So go ahead, try it out, and let me know how you make it your own. And please, share your thoughts and any tweaks you tried—I’m always eager to hear!
Now, get cooking and enjoy every delicious bite!
FAQs About Crispy Loaded Chili Cheese Fries
Can I make these fries from scratch instead of using frozen?
Absolutely! Just slice fresh potatoes into fries, soak in cold water for 30 minutes to remove starch, dry well, and bake or fry until crispy. It takes a bit longer but tastes amazing.
How can I make the chili ahead of time?
You can prepare the chili up to 3 days in advance and store it in the fridge. Reheat gently on the stove before assembling the fries.
What’s the best cheese for melting on chili fries?
Sharp cheddar is classic because it melts well and adds great flavor. Monterey Jack or mozzarella work too if you prefer a milder cheese.
Can I freeze the leftovers?
Freezing loaded chili cheese fries isn’t ideal as the fries lose their crispness. However, you can freeze the chili separately for up to 3 months and thaw before reheating.
How do I make this recipe vegetarian or vegan?
Swap ground beef for lentils, mushrooms, or plant-based crumbles. Use dairy-free cheese and yogurt alternatives to keep it vegan-friendly.
Pin This Recipe!
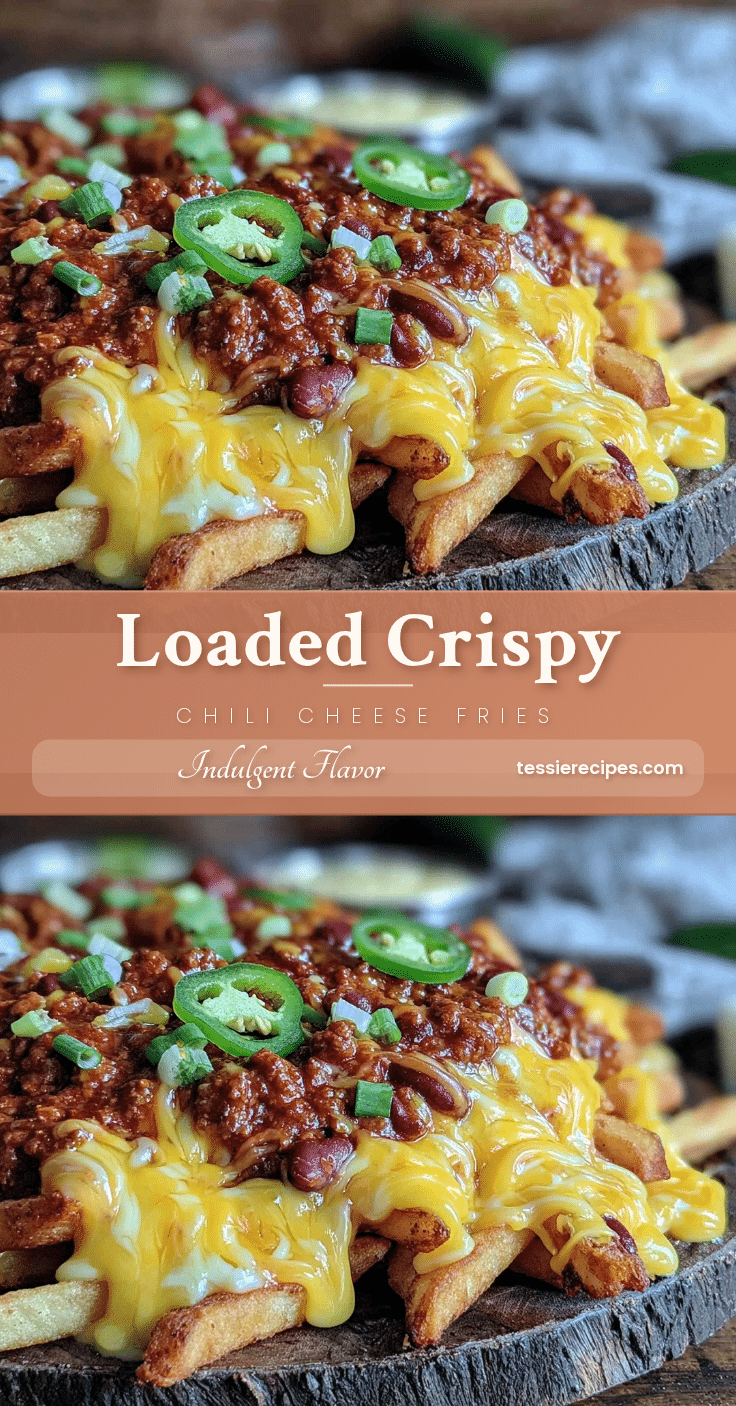
Crispy Loaded Chili Cheese Fries

A quick and easy comfort snack featuring crispy fries topped with hearty chili and melted sharp cheddar cheese, perfect for game day or casual gatherings.
- Prep Time: 10 minutes
- Cook Time: 25 minutes
- Total Time: 35 minutes
- Yield: 4 servings 1x
- Category: Snack
- Cuisine: American
Ingredients
- Frozen French fries (shoestring or crinkle-cut recommended)
- Vegetable oil or olive oil spray
- Salt and freshly cracked black pepper, to taste
- 1 lb ground beef (85% lean)
- 1 yellow onion, finely chopped
- 2 garlic cloves, minced
- 14 oz canned diced tomatoes with juices
- 1 cup kidney beans, drained and rinsed (optional)
- 1 tbsp chili powder (mild blend preferred)
- 1 tsp ground cumin
- 1 tsp smoked paprika
- Salt and pepper, to taste
- 1/2 cup beef broth or water
- 1 1/2 cups shredded sharp cheddar cheese
- Jalapeños, sliced (optional)
- Green onions, sliced
- Sour cream or plain Greek yogurt, for topping
- Fresh cilantro, chopped
Instructions
- Preheat your oven to 425°F (220°C) or air fryer to 400°F (200°C).
- Spread frozen fries evenly on a baking sheet lined with parchment paper. Lightly spray with oil and sprinkle with salt and pepper. Bake for 20-25 minutes, flipping halfway, or air fry for 15-20 minutes until golden and crisp.
- While fries cook, heat a large skillet over medium-high heat. Add ground beef and cook 5-7 minutes, breaking apart until browned. Drain excess fat if needed.
- Add chopped onion and garlic to the skillet and cook 3-4 minutes until softened and fragrant.
- Stir in chili powder, cumin, smoked paprika, salt, and pepper. Add diced tomatoes with juices, kidney beans, and beef broth. Bring to a gentle simmer and cook uncovered for 10-15 minutes, stirring occasionally until thickened.
- Once fries are crispy, transfer them to an oven-safe dish or leave on the baking sheet. Spoon chili evenly over fries.
- Sprinkle shredded cheddar cheese over the chili-topped fries. Return to oven or air fryer for 5-7 minutes until cheese is melted and bubbly.
- Remove from heat and garnish with sliced jalapeños, green onions, dollops of sour cream, and fresh cilantro. Serve immediately.
Notes
For extra crispy fries, do not overcrowd the baking sheet. Brown the meat well and drain excess fat but leave a little for juiciness. Shred cheese fresh for best melting. Chili can be made ahead and reheated. Avoid microwaving leftovers to keep fries crispy.
Nutrition
- Serving Size: 1/4 of the recipe (a
- Calories: 550
- Fat: 28
- Carbohydrates: 45
- Fiber: 8
- Protein: 28
Keywords: chili cheese fries, loaded fries, comfort food, game day snack, crispy fries, easy recipe



