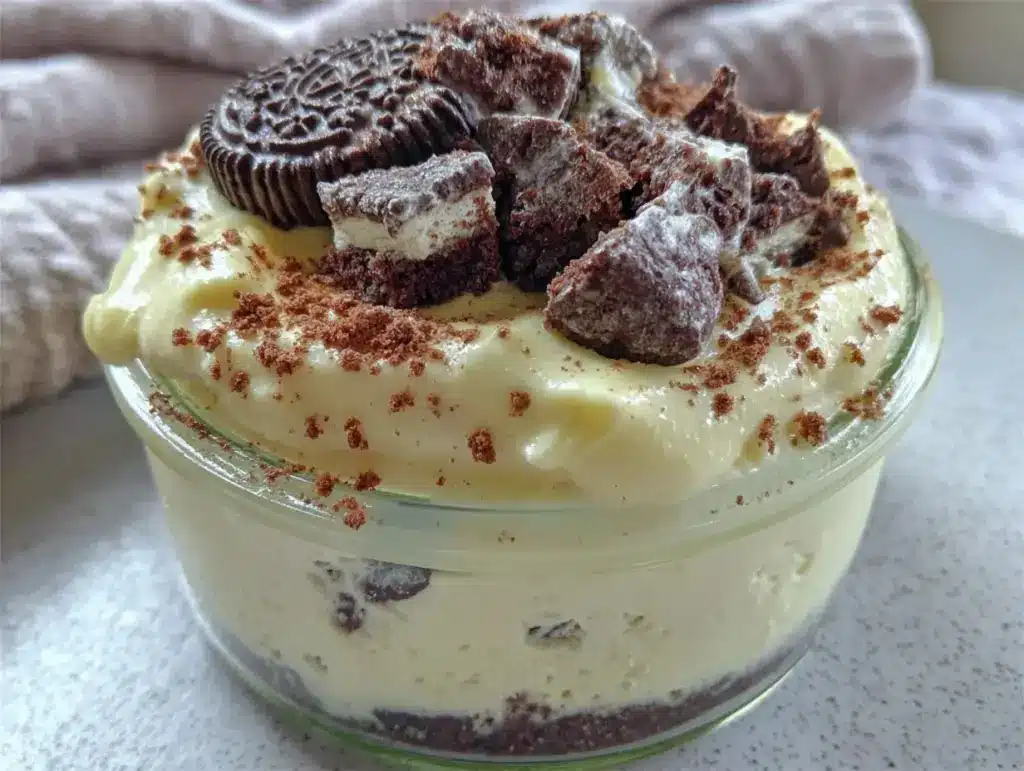
“You really need to try this!” my roommate declared one late evening, waving a tiny jar across the kitchen counter. Honestly, I was skeptical—no-bake cheesecakes always sounded a bit too good to be true, especially when served in such a petite jar. But as I took that first spoonful of the creamy no-bake Oreo cheesecake in a jar single serving, something clicked. The crunch of crushed Oreos, the smooth, almost dreamy cream cheese filling—it was like dessert magic in a jar. I found myself making this treat multiple times that week, each jar disappearing before I could even think about sharing.
That night, the quiet kitchen smelled faintly of chocolate and vanilla, the hum of the fridge the only other sound. It wasn’t fancy or complicated—just a simple, satisfying indulgence that felt like a little win when you need it most. This recipe stuck with me because it’s fuss-free, no oven required, and perfectly portioned for one. If you’ve ever needed a dessert fix without the mess or leftovers, you’ll understand why this cheesecake in a jar became my go-to.
It’s funny how sometimes the best recipes come from late-night snack cravings and the need for something quick and comforting. This one’s got that charm—nothing over the top, just pure, creamy goodness with the nostalgic Oreo twist. You’ll find yourself savoring every bite, closing your eyes for a moment, and maybe even thinking about the next jar before you finish the first.
Why You’ll Love This Recipe
This creamy no-bake Oreo cheesecake in a jar single serving isn’t just another dessert recipe—it’s a little treasure I’ve tested over and over to get just right. Here’s why it’s become such a staple around here:
- Quick & Easy: Ready in under 15 minutes, no oven needed, making it perfect for busy nights or last-minute cravings.
- Simple Ingredients: Uses pantry staples like cream cheese, crushed Oreos, and a few basic dairy ingredients—no fancy shopping trips.
- Perfect for Solo Treats: Designed for a single serving, so no leftover guilt or wasted dessert.
- Crowd-Pleaser: Even friends who aren’t cheesecake fans have been won over by this one.
- Unbelievably Delicious: The texture is silky and smooth, with just enough cookie crunch to keep things interesting.
What sets this recipe apart? It’s the delicate balance of flavors and textures that feels indulgent but never overwhelming. Instead of a heavy, overly sweet cheesecake, you get a light, creamy filling that melts in your mouth, paired with the nostalgic Oreo cookie crumb crust that adds a perfect touch. Plus, serving it in a jar means it’s portable, cute, and easy to personalize.
Honestly, after trying recipes like the triple chocolate mousse bars, I was surprised how this simple no-bake version could hold its own so well. It’s the kind of dessert that turns a regular evening into a small celebration.
What Ingredients You Will Need
This recipe uses simple, wholesome ingredients to deliver bold flavor and satisfying texture without the fuss. Most of these are pantry staples, and you might already have them on hand.
- Crushed Oreo Cookies: About 6 full Oreos, finely crushed (use classic Oreos or your favorite flavor; double-stuffed if you want an extra creamy touch)
- Unsalted Butter: 2 tablespoons, melted (helps bind the cookie crumbs)
- Cream Cheese: 4 ounces (115 grams), softened (I recommend Philadelphia cream cheese for smooth texture)
- Powdered Sugar: 1/4 cup (30 grams), sifted (balances the tartness with just the right sweetness)
- Heavy Whipping Cream: 1/2 cup (120 ml), cold (for that rich, fluffy finish)
- Vanilla Extract: 1/2 teaspoon (adds depth to the filling)
- Optional Toppings: Mini Oreo halves, chocolate shavings, or a drizzle of chocolate sauce to dress it up
For a dairy-free spin, you can swap cream cheese with a vegan cream cheese alternative and use coconut cream instead of heavy cream. If you’re watching carbs, almond flour mixed with crushed nuts can replace the Oreo crust for a low-carb base.
Equipment Needed
- Mixing Bowls: One medium for the crust, one large for the filling
- Electric Mixer or Whisk: To whip the heavy cream and blend the cream cheese filling smoothly (I’ve found a hand mixer gets the job done fast)
- Measuring Cups and Spoons: For precise ingredient amounts
- Small Jars or Dessert Cups: Mason jars, ramekins, or any small glass container for individual servings
- Spatula: For folding and scraping the mixture
If you don’t have an electric mixer, a sturdy whisk and a bit of elbow grease will work fine, but whipping the cream might take a bit longer. Mason jars are my favorite because they seal tight—great if you want to make these ahead and keep them fresh.
Preparation Method
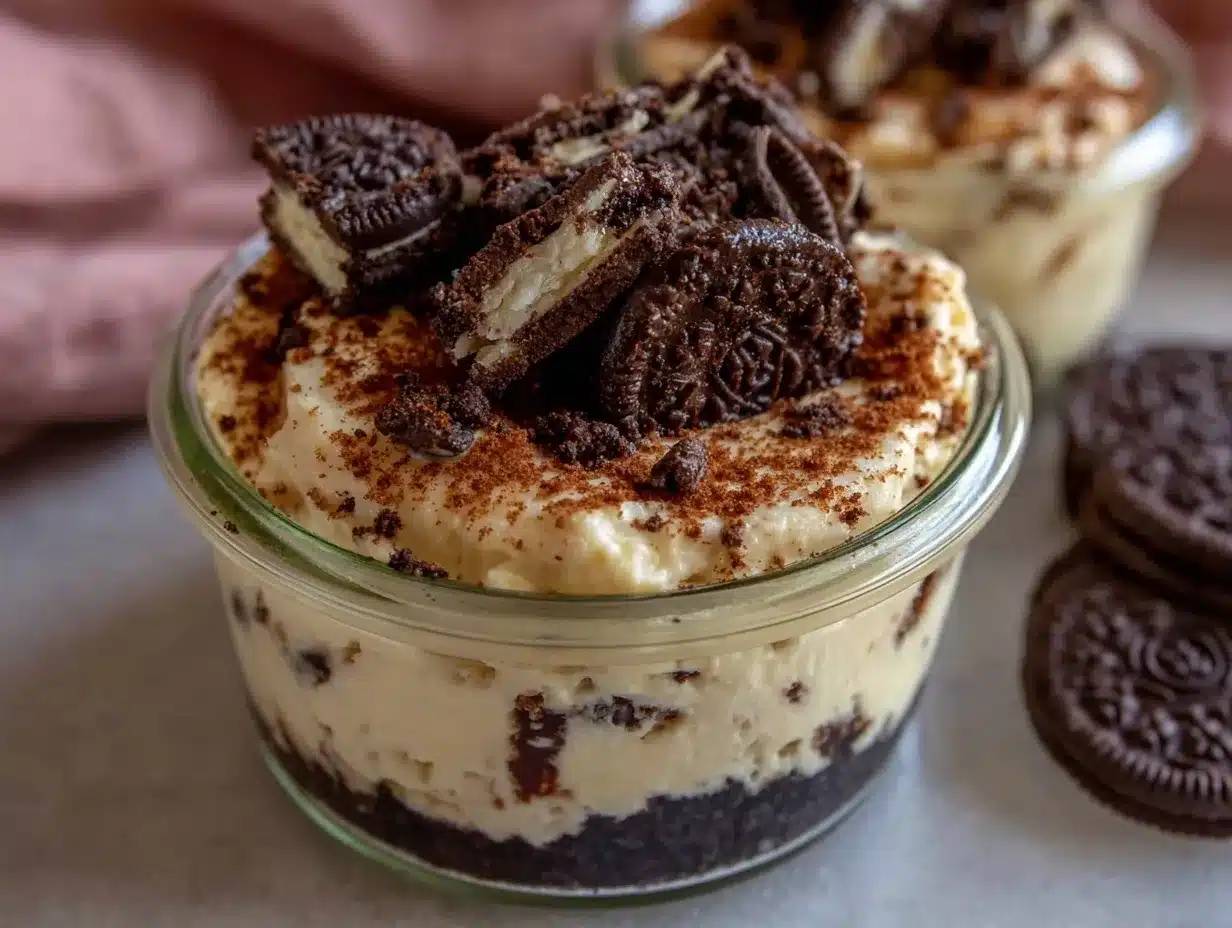
- Prepare the Oreo Crust: Crush about 6 Oreo cookies finely, using a food processor or by placing them in a sealed plastic bag and smashing with a rolling pin. Transfer crumbs to a bowl. Add 2 tablespoons (30 g) melted unsalted butter and mix until all crumbs are evenly moistened. This will form a slightly sticky crust.
- Assemble the Base Layer: Spoon half of the crumb mixture into your jar or serving glass. Press down firmly with the back of a spoon or your fingers to create an even, compact layer. This should take about 2 minutes.
- Make the Cream Cheese Filling: In a separate bowl, beat 4 ounces (115 g) softened cream cheese with 1/4 cup (30 g) powdered sugar and 1/2 teaspoon vanilla extract until smooth and creamy. This usually takes 2-3 minutes with an electric mixer on medium speed.
- Whip the Heavy Cream: In a chilled bowl, whip 1/2 cup (120 ml) cold heavy cream until stiff peaks form. This can take anywhere from 3 to 5 minutes. Be careful not to overwhip, or it will become grainy.
- Fold the Cream: Gently fold the whipped cream into the cream cheese mixture using a spatula. Do this slowly to keep the filling airy and light. It should look fluffy, not runny.
- Layer the Filling: Spoon the creamy filling over the Oreo crust in the jar, filling it almost to the top. You can smooth the surface with the spatula for a neat finish.
- Add Final Crumbs: Sprinkle the remaining Oreo crumbs on top for a crunchy garnish, or add mini Oreo halves for extra charm. Optional chocolate shavings or a drizzle of chocolate sauce can also go on now.
- Chill: Refrigerate the jars for at least 2 hours or overnight. This helps the cheesecake set and the flavors to meld together beautifully.
If you notice the filling is too thick or stiff, a splash of milk can help loosen it. Also, don’t rush the chilling step—this is key to that perfect creamy texture.
Cooking Tips & Techniques
Whipping cream to stiff peaks can be tricky if you’re new to it. A cold bowl and cold cream make a big difference—you might want to pop your mixing bowl in the fridge beforehand. Watch the cream closely; it can turn from perfect peaks to butter very fast.
When folding the whipped cream into the cream cheese, use gentle strokes. I’ve learned the hard way that stirring too vigorously will deflate the mixture, resulting in a dense, less fluffy texture. Think of it as coaxing rather than mixing.
The Oreo crust needs just enough butter to hold together but not so much that it becomes soggy. If it feels too dry, add a little more melted butter, a teaspoon at a time.
Also, using softened cream cheese directly from the fridge can cause lumps. Let it sit at room temperature for about 30 minutes or microwave it in 10-second bursts until just soft.
If you’re prepping these as party favors or gifts, the jars seal tight and keep well in the fridge for up to 3 days, making them a convenient sweet treat to have ready in advance.
Variations & Adaptations
- Fruit Twist: Add fresh raspberries or strawberries between the crust and filling for a fruity surprise. In summer, swapping crushed Oreos for graham cracker crumbs and adding a layer of lemon curd makes a nice citrusy version.
- Peanut Butter Oreo: Mix a tablespoon of creamy peanut butter into the cream cheese filling for a nutty flavor that pairs perfectly with the cookie crumbs.
- Vegan Version: Use dairy-free cream cheese and coconut cream whipped to stiff peaks. Swap Oreos for a gluten-free cookie if needed, as not all Oreos are vegan.
- Chocolate Overload: Fold in mini chocolate chips or sprinkle cocoa powder into the cream cheese mixture for an extra chocolate hit. This variation pairs beautifully with the triple chocolate mousse bars vibe.
Personally, I once tried a salted caramel drizzle over the top, and it was a game-changer—balances the sweetness with a bit of savory punch. Feel free to experiment with flavors that excite you.
Serving & Storage Suggestions
This cheesecake is best served chilled straight from the fridge. The creamy texture and cookie crunch are at their peak when cold but not frozen. If you want to serve it at a party, keep the jars refrigerated until just before serving.
Pair it with a cup of black coffee or a rich hot chocolate to complement the sweet, creamy layers. A light fruit salad or fresh berries on the side add a refreshing contrast.
To store, seal the jars with lids and keep refrigerated for up to 3 days. If you want to prepare ahead, it holds well and actually tastes better the next day as the flavors meld. Avoid freezing as the texture might become grainy after thawing.
When reheating leftovers (if you dare to!), just let them sit at room temperature for 10-15 minutes to soften slightly, but honestly, cold is best. The layers maintain that irresistible creamy and crunchy contrast.
Nutritional Information & Benefits
Each single-serving jar contains approximately 350-400 calories, depending on the exact Oreo brand and cream cheese used. It offers a moderate amount of protein from the cream cheese and a satisfying dose of calcium.
While this dessert is an indulgence, you can make it a bit lighter by using reduced-fat cream cheese and substituting heavy cream with whipped aquafaba for a vegan, lower-fat option.
The Oreo cookies provide that nostalgic crunch but also add sugar and carbs, so this dessert is best enjoyed as an occasional treat. For those with dairy allergies, the vegan adaptation ensures everyone can enjoy it.
From a wellness perspective, making desserts at home like this lets you control ingredients and portions, which is always a better option than store-bought sweets loaded with preservatives.
Conclusion
This creamy no-bake Oreo cheesecake in a jar single serving is proof that sometimes the simplest recipes deliver the biggest smiles. It’s a little jar of joy—comforting, sweet, and perfectly portioned to satisfy your dessert craving without going overboard.
Feel free to make it your own by tweaking the toppings or mixing in flavors you love. I’ve found this recipe to be endlessly adaptable and always a hit whether I’m indulging solo or bringing a sweet treat to share.
Give it a try, and see how quickly it becomes a favorite for your quick dessert moments. And hey, if you love the creamy indulgence of cheesecake, you might enjoy my take on no-bake peppermint cheesecake bites too—another easy, no-fuss delight!
Can’t wait to hear how you customize yours. There’s something special about a dessert that feels personal and fuss-free all at once.
FAQs
Can I make this cheesecake in larger jars for more servings?
Absolutely! Just multiply the ingredients accordingly and use larger jars or glasses. The layering process stays the same.
How long does this no-bake cheesecake keep in the fridge?
It keeps well for up to 3 days when stored in airtight jars. Beyond that, the texture might start to change.
Can I use other cookies instead of Oreos?
Yes! Chocolate chip cookies, graham crackers, or any crunchy cookie work. Just crush them finely and adjust the butter to bind the crumbs.
Is it possible to prepare this recipe ahead of time?
Definitely. In fact, chilling overnight helps the flavors meld and the cheesecake set perfectly.
What if I don’t have heavy cream? Can I substitute it?
You can try whipping coconut cream as a substitute for a dairy-free option, or use chilled whipping cream alternatives available in stores. Avoid using milk as it won’t whip properly.
Pin This Recipe!
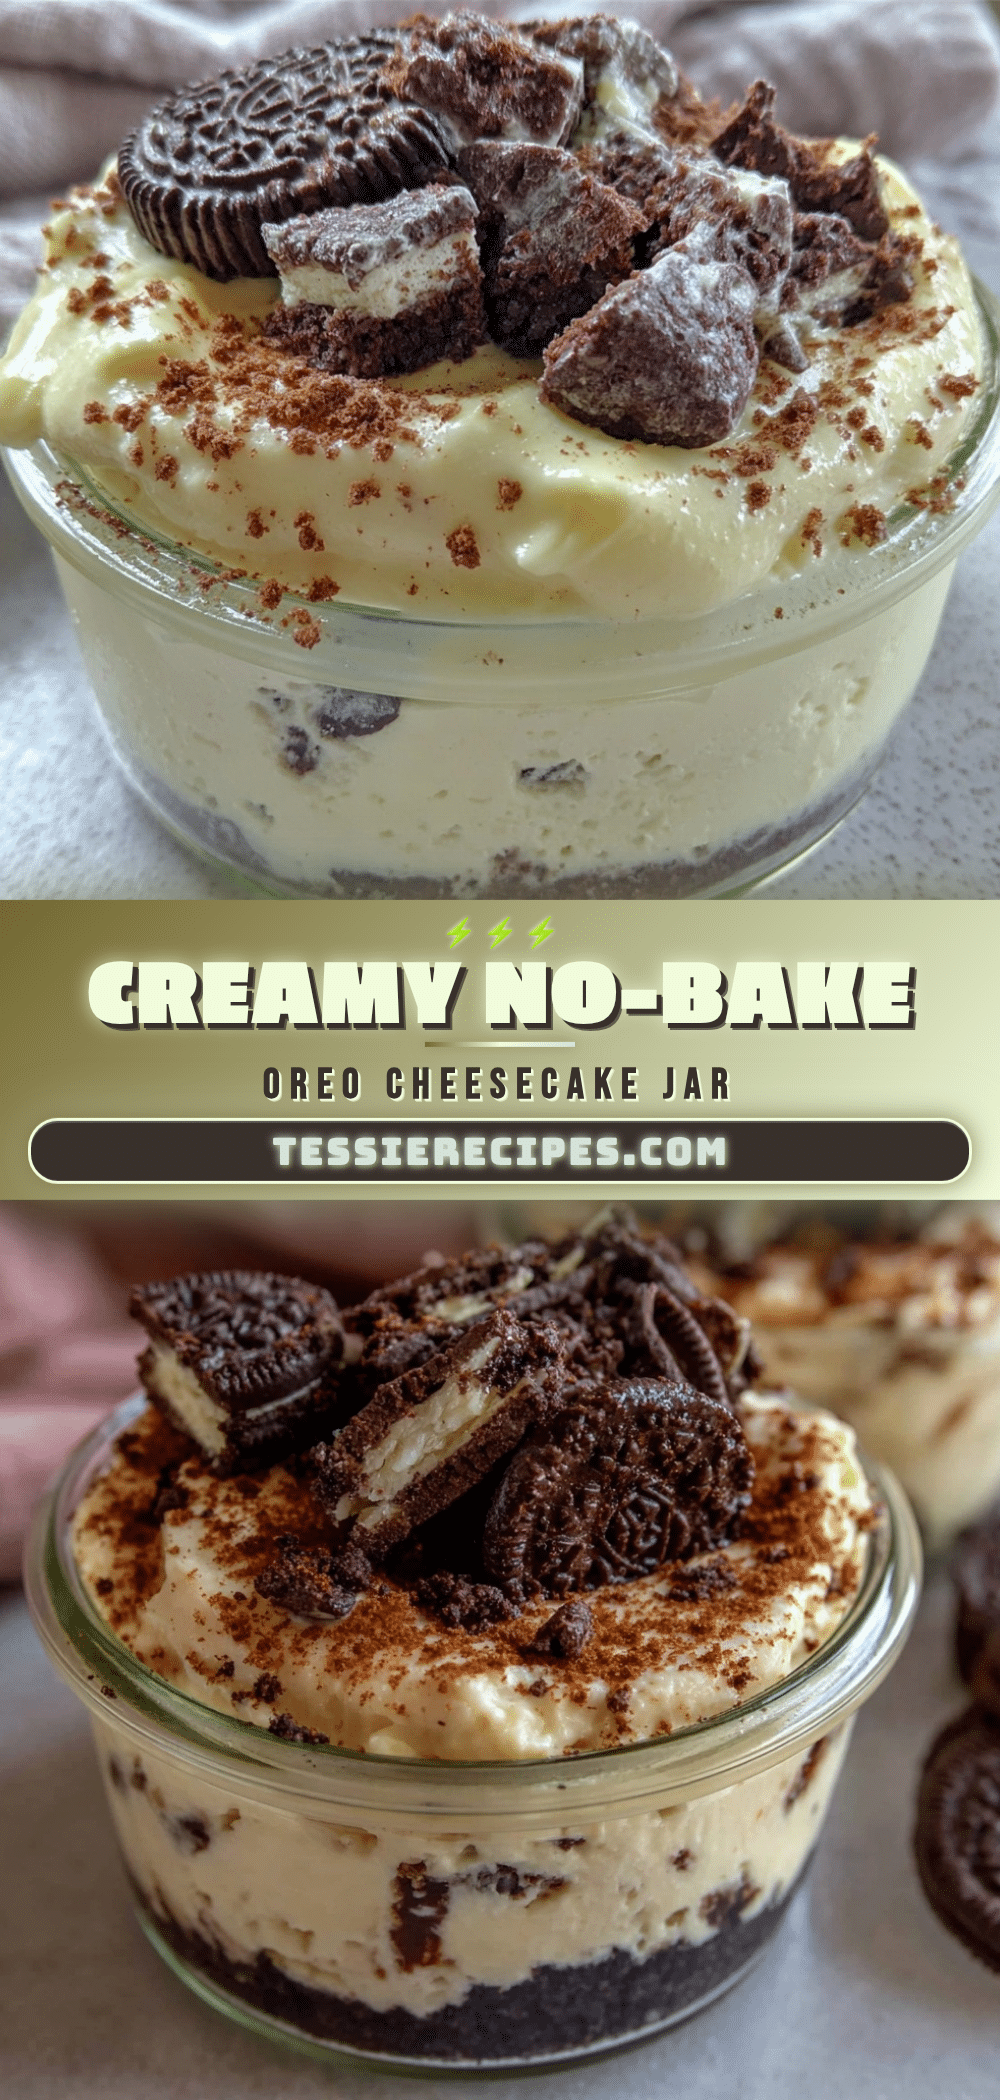
Creamy No-Bake Oreo Cheesecake in a Jar Single Serving

A quick and easy no-bake cheesecake served in a jar, featuring a creamy cream cheese filling and crunchy Oreo crust. Perfectly portioned for one and ready in under 15 minutes.
- Prep Time: 10 minutes
- Cook Time: 0 minutes
- Total Time: 2 hours 10 minutes
- Yield: 1 serving 1x
- Category: Dessert
- Cuisine: American
Ingredients
- 6 Oreo cookies, crushed (classic or double-stuffed)
- 2 tablespoons unsalted butter, melted
- 4 ounces cream cheese, softened
- 1/4 cup powdered sugar, sifted
- 1/2 cup heavy whipping cream, cold
- 1/2 teaspoon vanilla extract
- Optional toppings: mini Oreo halves, chocolate shavings, chocolate sauce drizzle
Instructions
- Crush about 6 Oreo cookies finely using a food processor or by smashing in a sealed plastic bag.
- Transfer crumbs to a bowl and mix with 2 tablespoons melted unsalted butter until evenly moistened.
- Spoon half of the crumb mixture into a jar or serving glass and press down firmly to create an even crust layer.
- In a separate bowl, beat 4 ounces softened cream cheese with 1/4 cup powdered sugar and 1/2 teaspoon vanilla extract until smooth and creamy.
- Whip 1/2 cup cold heavy cream in a chilled bowl until stiff peaks form.
- Gently fold the whipped cream into the cream cheese mixture until fluffy and light.
- Spoon the cream cheese filling over the Oreo crust in the jar, smoothing the surface.
- Sprinkle remaining Oreo crumbs or add mini Oreo halves and optional toppings on top.
- Refrigerate the jar for at least 2 hours or overnight to set.
Notes
Use a cold bowl and cold cream for whipping to achieve stiff peaks. Fold whipped cream gently into cream cheese mixture to keep it airy. Chill for at least 2 hours or overnight for best texture. Softened cream cheese should be at room temperature to avoid lumps. For dairy-free version, substitute cream cheese with vegan cream cheese and heavy cream with coconut cream.
Nutrition
- Serving Size: 1 jar (single servin
- Calories: 375
- Sugar: 20
- Sodium: 220
- Fat: 28
- Saturated Fat: 16
- Carbohydrates: 25
- Fiber: 1
- Protein: 5
Keywords: no-bake cheesecake, Oreo cheesecake, single serving dessert, easy cheesecake, no oven dessert, creamy cheesecake, Oreo crust



