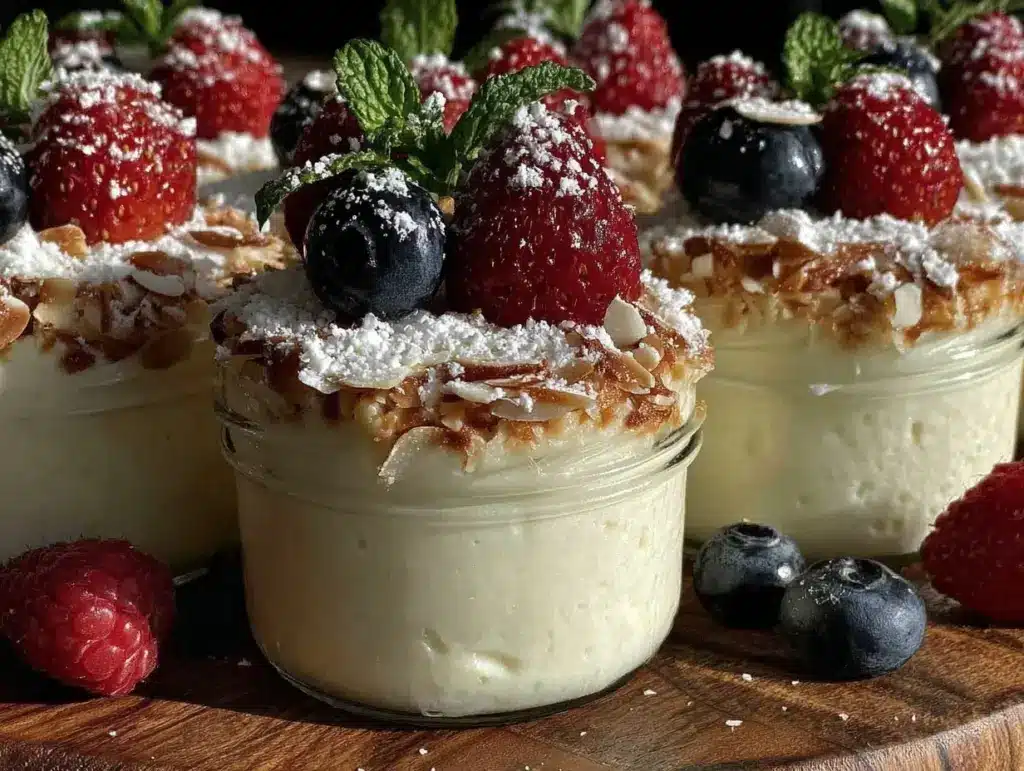
The first time I whipped up these healthy high-protein cheesecake cups, I was honestly just looking for a guilt-free dessert that didn’t skimp on flavor. You know that craving for cheesecake that hits out of nowhere? Well, these little cups satisfy it without the usual heavy guilt. What’s wild is how creamy and indulgent they feel, yet they’re packed with protein and healthier ingredients. I first stumbled upon the idea when trying to find a post-workout treat that wouldn’t undo all my gains. After several rounds of tweaking, I nailed a recipe that’s not only delicious but also simple enough to make on a busy weekday night.
These cheesecake cups are a game changer if you’re like me and want dessert that feels like a treat but supports a healthy lifestyle. Plus, they’re perfect for sharing—friends and family never guess they’re actually good for you! Whether you’re juggling a hectic schedule, watching your macros, or just craving something creamy and sweet, this recipe is definitely worth trying. And yes, I make a batch almost every weekend now—it’s that good.
Why You’ll Love This Recipe
- Quick & Easy: Ready in just about 30 minutes, including prep and chill time, perfect for last-minute dessert urges.
- Simple Ingredients: No need for specialty stores—mostly pantry staples plus a few wholesome ingredients you can find anywhere.
- Perfect for Any Occasion: Whether it’s a casual family night, a fancy brunch, or a weekend treat, these cheesecake cups fit right in.
- Crowd-Pleaser: Kids, adults, fitness buffs—everyone loves them! They’re creamy, tangy, and just sweet enough.
- Unbelievably Delicious: The texture is silky smooth thanks to blending the cottage cheese and Greek yogurt, giving it a rich mouthfeel without the heaviness.
This isn’t your typical cheesecake recipe. The secret lies in using cottage cheese blended to perfection combined with Greek yogurt, which adds creaminess and a protein boost. I also swap out heavy cream for a touch of almond milk, keeping it lighter but still luscious. After making this recipe over a dozen times, I can honestly say it’s the best healthy cheesecake I’ve ever had. It’s comforting and satisfying, but won’t leave you feeling weighed down or guilty.
What Ingredients You Will Need
This recipe uses simple, wholesome ingredients to deliver a bold flavor and satisfying texture without the fuss. Most of these are pantry staples, and a few fresh items make the whole thing shine. Feel free to swap in alternatives to suit your diet or what you have on hand.
- For the Base:
- 1 cup almond flour (or finely ground oats for a nut-free option)
- 2 tbsp melted coconut oil (adds richness and binds the crust)
- 1 tbsp coconut sugar or maple syrup (for a natural sweetness)
- For the Filling:
- 1 cup low-fat cottage cheese (I recommend small-curd cottage cheese for the best texture)
- 1/2 cup Greek yogurt, plain and unsweetened (Fage or Chobani work great)
- 2 large eggs, room temperature (helps the filling set perfectly)
- 1/4 cup honey or agave syrup (adjust sweetness to taste)
- 1 tsp pure vanilla extract (adds warmth and depth)
- 1 tbsp lemon juice (brightens the flavor)
- 2 tbsp almond milk or any milk of choice (use dairy-free if needed)
- Optional Toppings:
- Fresh berries or sliced fruit
- Chopped nuts for crunch
- A drizzle of dark chocolate or nut butter
If you want a gluten-free version, almond flour is perfect. For a vegan twist, you could try silken tofu instead of cottage cheese and yogurt, though the texture will change. Also, if you like a sweeter crust, feel free to increase the sweetener slightly. I usually stick to coconut sugar for a subtle caramel note.
Equipment Needed
- Food processor or high-speed blender (to blend cottage cheese and Greek yogurt smooth)
- Mixing bowls
- Measuring cups and spoons
- Mini muffin tin or silicone cupcake molds (for perfectly portioned cheesecake cups)
- Spatula for scraping bowls and folding ingredients
- Oven (for baking the crust and setting the filling)
If you don’t have a food processor, a strong blender can work, but it might take a little longer to get the cottage cheese silky. Silicone molds are my favorite because they make removing the cheesecake cups a breeze, but regular muffin tins lined with paper cups work fine too. I learned the hard way that greasing the molds lightly helps prevent sticking. Also, keep your measuring tools handy and precise—baking is forgiving but only up to a point!
Detailed Preparation Method
- Preheat your oven to 325°F (163°C). Lightly grease your mini muffin tin or line it with silicone molds.
- Make the crust: In a bowl, combine 1 cup almond flour, 2 tbsp melted coconut oil, and 1 tbsp coconut sugar. Mix until the mixture feels sandy but sticks together when pressed. Press about a tablespoon of the crust mixture into the bottom of each muffin cup firmly to form an even base. Bake for 8-10 minutes until golden and fragrant. Remove and let cool slightly.
- Prepare the filling: While the crust bakes, add 1 cup small-curd cottage cheese and 1/2 cup plain Greek yogurt to a food processor. Blend until completely smooth—this usually takes about 1-2 minutes. You want no lumps; the smoother, the creamier the cheesecake.
- Add eggs and sweeteners: To the blended mixture, add 2 large eggs, 1/4 cup honey, 1 tsp vanilla extract, 1 tbsp lemon juice, and 2 tbsp almond milk. Blend again just until combined. Avoid overmixing, which can add too much air and cause cracking after baking.
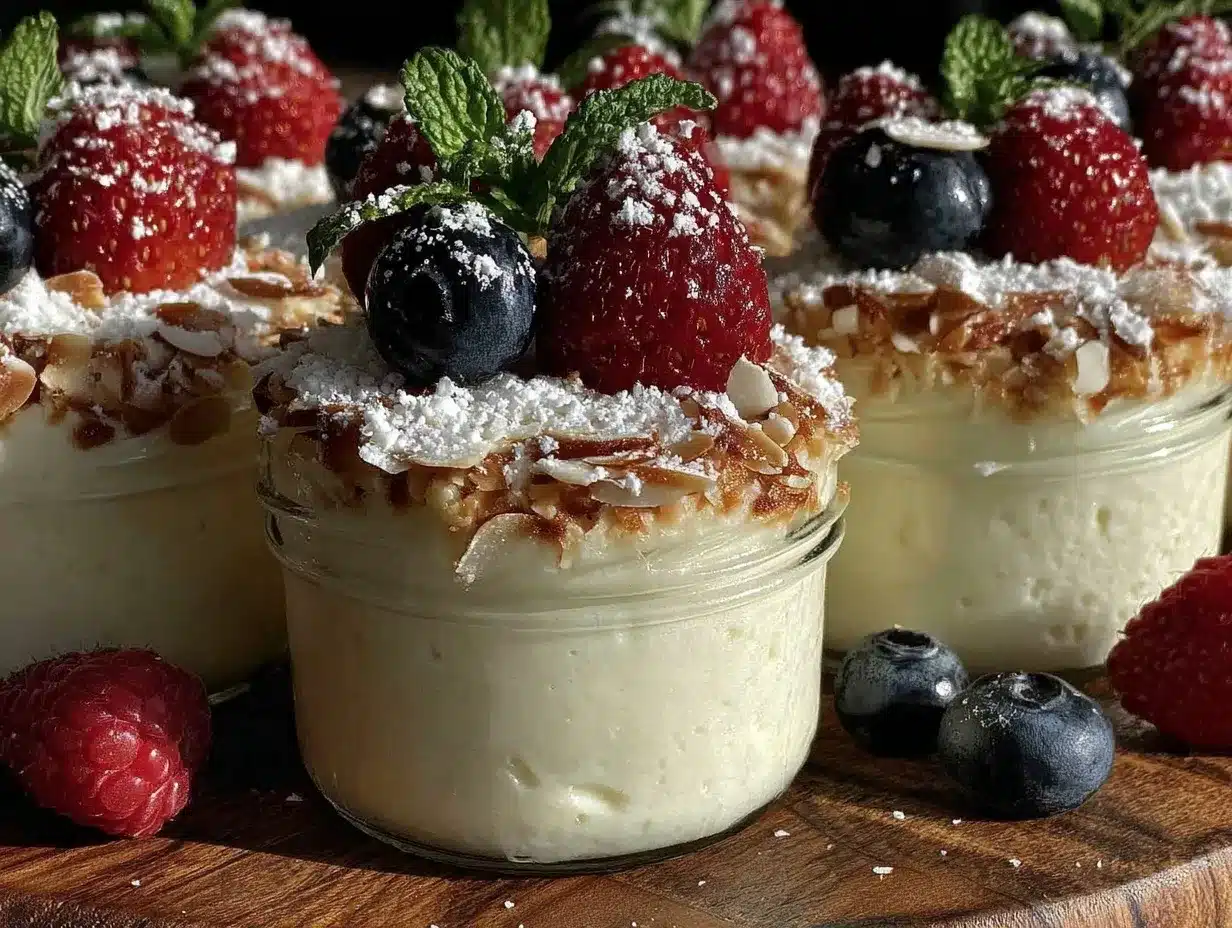
- Assemble and bake: Pour the filling evenly over the cooled crusts, filling each cup nearly to the top but not overflowing. Bake at 325°F (163°C) for 18-22 minutes. The edges should be set but the center will jiggle slightly—that’s perfect. Let the cheesecake cups cool in the pan on a wire rack for 15 minutes, then refrigerate at least 2 hours before serving to fully set.
If you notice cracks forming during baking, it’s usually from overbaking or overmixing. To avoid this, keep an eye on the oven and remove as soon as the edges are firm. Also, blending the cottage cheese smooth is key; I once skipped this step and ended up with a grainy texture that no one wanted to eat!
Cooking Tips & Techniques
Blending the cottage cheese and Greek yogurt until silky smooth is really the secret weapon here. If you skip this, your cheesecake cups might turn out grainy or chalky, and honestly, no one wants that. I’ve found that small-curd cottage cheese works best because it blends more easily and creates a creamier texture.
Another tip: don’t overbake. Cheesecake is done when the edges look set but the center still jiggles when you gently shake the pan. It will firm up as it chills. Overbaking makes it dry and crumbly, which kills the whole vibe.
When pressing the crust into the muffin tin, make sure it’s packed firmly and evenly. Otherwise, it might crumble or fall apart when you serve. I learned this the hard way after my first few batches!
Lastly, chilling is crucial. Give yourself enough time to refrigerate the cups for at least 2 hours—overnight is even better. The flavors meld, and the texture firms up to that luscious, creamy perfection.
Variations & Adaptations
- Berry Bliss: Fold fresh or frozen berries into the filling before baking for a fruity punch that brightens the cheesecake.
- Chocolate Swirl: Add 2 tbsp unsweetened cocoa powder to the filling and swirl in some melted dark chocolate for a decadent twist.
- Vegan Version: Swap cottage cheese and Greek yogurt with blended silken tofu and coconut yogurt. Use a flax egg (1 tbsp flaxseed meal + 3 tbsp water) instead of eggs. Baking time may vary.
- Nut-Free Crust: Use oat flour or crushed gluten-free graham crackers for the crust instead of almond flour.
- Spiced Up: Add 1 tsp cinnamon and 1/4 tsp nutmeg to the crust or filling for a cozy fall flavor.
Personally, I love tossing in a handful of chopped toasted pecans on top for crunch. It adds a nice texture contrast and a little extra flavor pop. Feel free to experiment with your favorite extracts or zests—lemon zest especially pairs beautifully.
Serving & Storage Suggestions
These cheesecake cups are best served chilled straight from the fridge. If you want a softer texture, let them sit at room temperature for 10-15 minutes before digging in. They look adorable on a dessert platter, especially when topped with fresh berries or a drizzle of honey.
Pair them with a cup of herbal tea or black coffee to balance the sweetness. They also make a lovely breakfast treat with a dollop of nut butter or sliced banana.
Store leftovers covered in the fridge for up to 4 days. You can freeze them, too—wrap each cup tightly in plastic wrap and store in an airtight container for up to 2 months. Thaw overnight in the fridge before enjoying.
Flavors tend to deepen after a day or two in the fridge, so if you can wait, they’re even better the next day.
Nutritional Information & Benefits
Each serving of these healthy high-protein cheesecake cups packs approximately 150-180 calories, depending on the size and specific ingredients used. Thanks to cottage cheese and Greek yogurt, you’re looking at around 12-15 grams of protein per cup, which is pretty impressive for a dessert.
The almond flour crust adds healthy fats and fiber, while the natural sweeteners like honey keep the sugar content moderate. This recipe is gluten-free by default (when using almond flour) and can easily be adapted for dairy-free or vegan diets.
From a wellness perspective, these cheesecake cups satisfy sweet cravings without causing blood sugar spikes, thanks to their protein content and low glycemic index ingredients. They’re a perfect treat for those mindful of nutrition but unwilling to give up dessert.
Conclusion
If you’re after a dessert that feels indulgent but isn’t a total calorie bomb, these healthy high-protein cheesecake cups are your new best friend. They’re easy to make, packed with protein, and taste way better than you’d expect from a “healthy” treat. I love how versatile they are—perfect for a quick snack, a fancy dessert, or even a special breakfast.
Feel free to tweak the flavors and toppings to match your mood or season. I’d love to hear how you customize them, so don’t be shy to leave a comment or share your version. Trust me, once you try this recipe, it’ll become a staple in your kitchen just like it did in mine!
Happy baking—and even happier indulging!
FAQs About Healthy High-Protein Cheesecake Cups
Can I make these cheesecake cups ahead of time?
Absolutely! They keep well in the fridge for up to 4 days and actually taste better after chilling overnight. You can also freeze them for longer storage.
What if I don’t have cottage cheese?
You can substitute with ricotta cheese or silken tofu for a dairy-free option, though texture and taste will vary slightly.
Can I use regular sugar instead of honey or maple syrup?
Yes, but honey and maple syrup add a nice flavor depth and keep the recipe a bit healthier. If using granulated sugar, consider adjusting the amount to taste.
How do I prevent cracks in my cheesecake cups?
Don’t overbake and avoid overmixing the filling. Bake until the edges are set but the center still jiggles slightly, then cool gradually.
Are these cheesecake cups suitable for meal prep?
Definitely! They’re portion-controlled, protein-packed, and keep well, making them a great option for healthy snacks or desserts throughout the week.
Pin This Recipe!

Healthy High-Protein Cheesecake Cups

These healthy high-protein cheesecake cups are a guilt-free dessert that’s creamy, indulgent, and packed with protein. Perfect for a quick treat or post-workout snack, they are easy to make and delicious.
- Prep Time: 10 minutes
- Cook Time: 30 minutes
- Total Time: 2 hours 40 minutes
- Yield: 12 servings 1x
- Category: Dessert
- Cuisine: American
Ingredients
- 1 cup almond flour (or finely ground oats for a nut-free option)
- 2 tbsp melted coconut oil
- 1 tbsp coconut sugar or maple syrup
- 1 cup low-fat small-curd cottage cheese
- 1/2 cup plain unsweetened Greek yogurt
- 2 large eggs, room temperature
- 1/4 cup honey or agave syrup
- 1 tsp pure vanilla extract
- 1 tbsp lemon juice
- 2 tbsp almond milk or any milk of choice
- Optional toppings: fresh berries or sliced fruit, chopped nuts, drizzle of dark chocolate or nut butter
Instructions
- Preheat your oven to 325°F (163°C). Lightly grease your mini muffin tin or line it with silicone molds.
- In a bowl, combine almond flour, melted coconut oil, and coconut sugar. Mix until sandy but sticks together when pressed. Press about a tablespoon of the crust mixture into the bottom of each muffin cup firmly to form an even base.
- Bake the crust for 8-10 minutes until golden and fragrant. Remove and let cool slightly.
- While the crust bakes, blend cottage cheese and Greek yogurt in a food processor until completely smooth (about 1-2 minutes).
- Add eggs, honey, vanilla extract, lemon juice, and almond milk to the blended mixture. Blend again just until combined, avoiding overmixing.
- Pour the filling evenly over the cooled crusts, filling each cup nearly to the top but not overflowing.
- Bake at 325°F (163°C) for 18-22 minutes until edges are set but the center jiggles slightly.
- Let the cheesecake cups cool in the pan on a wire rack for 15 minutes, then refrigerate at least 2 hours before serving to fully set.
Notes
Blend cottage cheese and Greek yogurt until silky smooth to avoid grainy texture. Do not overbake to prevent cracks; cheesecake is done when edges are set but center jiggles slightly. Chill at least 2 hours or overnight for best texture and flavor. Grease molds lightly to prevent sticking.
Nutrition
- Serving Size: 1 cheesecake cup
- Calories: 150180
- Sugar: 8
- Sodium: 120
- Fat: 9
- Saturated Fat: 3
- Carbohydrates: 12
- Fiber: 2
- Protein: 14
Keywords: healthy cheesecake, high-protein dessert, low-fat cheesecake, gluten-free dessert, easy cheesecake cups, guilt-free dessert



