“You seriously need to try these,” my friend texted me out of the blue one rainy afternoon. I was halfway through a day full of mismatched plans and soggy shoes, craving something simple but satisfying. Honestly, the idea of making cookies felt like too much effort at first — flour everywhere, waiting for the oven, the whole messy ordeal. But curiosity won over skepticism, and I found myself in the kitchen, melting butter and watching it bubble and turn golden like liquid caramel.
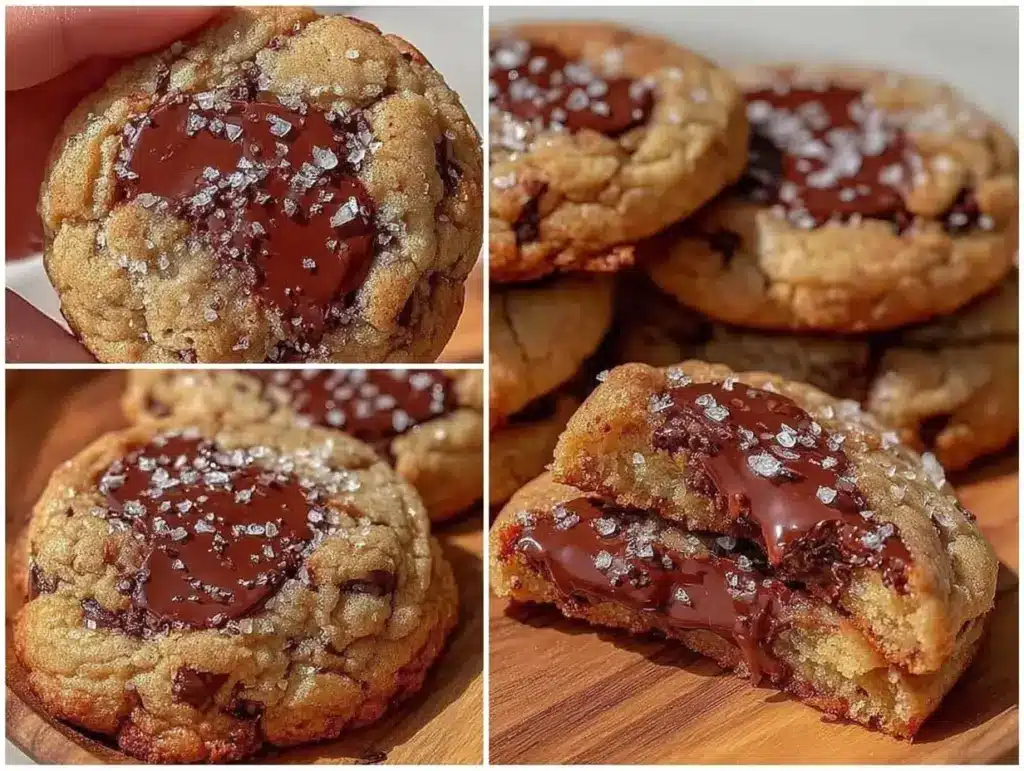
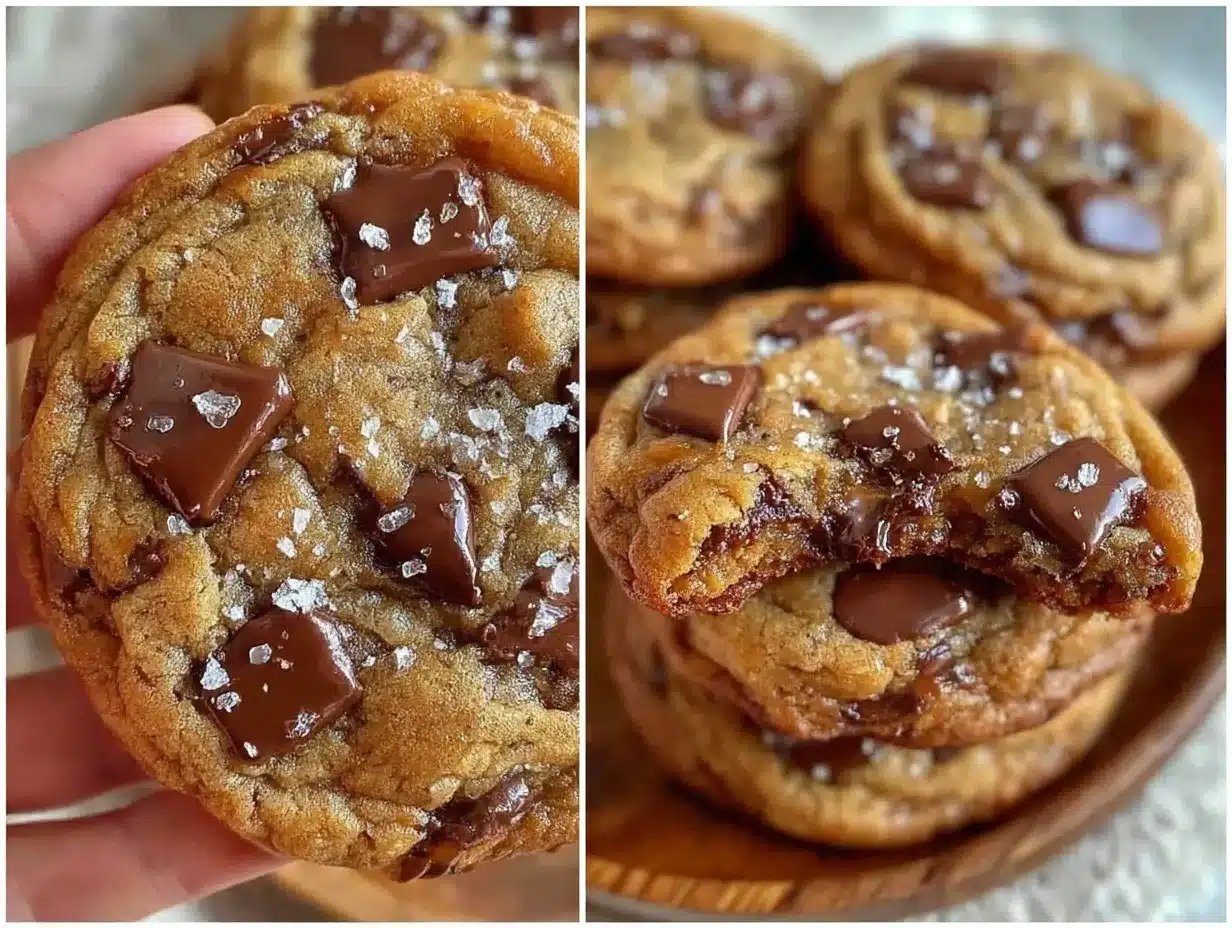
That’s how these brown butter chocolate chip cookies came into my life — almost by accident, really. The butter browned a little longer than usual, and I thought, “Well, that’s ruined.” But the smell! Nutty, warm, and inviting in a way that no plain old melted butter ever was. I folded in the chocolate chips, dropped spoonfuls onto the tray, and waited. The result? Crispy edges that snap just right, with a chewy, buttery center that makes you want to grab a glass of milk and hide in a corner to savor every bite.
It quickly became a routine — baking these cookies multiple times a week, each batch slightly tweaked but always, always hitting that sweet spot between crisp and chewy. The secret? That brown butter, of course, plus a few little tricks I picked up along the way. This recipe stuck because it’s approachable but feels like a treat, the kind of cookie that wins over even the staunchest “I’m not a cookie person.” And if you’re anything like me, you’ll find yourself quietly grateful for that rainy day text that nudged you into baking something that tastes like pure, buttery happiness.
Why You’ll Love This Brown Butter Chocolate Chip Cookies Recipe
Having tested plenty of chocolate chip cookie recipes over the years, I can say this one stands out for good reasons:
- Quick & Easy: You can mix, bake, and enjoy these cookies in under 30 minutes — perfect when you want a homemade treat without the hassle.
- Simple Ingredients: No fancy or hard-to-find items here. Butter, sugar, flour, chocolate chips — all pantry staples you likely already have.
- Perfect for Any Occasion: Whether it’s a cozy night in, a birthday gathering, or even a casual work snack, these cookies fit right in.
- Crowd-Pleaser: Friends and family always ask for the recipe after trying these. Kids love the crispy edges, adults appreciate the depth from the brown butter.
- Unbelievably Delicious: The brown butter adds a rich, nutty flavor that turns a classic cookie into something surprisingly indulgent.
This recipe isn’t just a repeat of the standard chocolate chip cookie. The key difference is in how the butter is browned — carefully cooked until it develops those toasty, caramel notes without burning. That little extra step transforms the flavor profile completely.
One time, I swapped out the usual granulated sugar for a mix of white and brown sugar, which worked beautifully to boost chewiness and caramel undertones. Plus, the crispy edges come from a slightly higher oven temperature and a bit of patience — no rushing here.
Honestly, this recipe feels like the perfect balance of comfort and sophistication. It’s like a familiar friend who’s learned a few new tricks and now surprises you in all the best ways.
What Ingredients You Will Need
This recipe uses simple, wholesome ingredients to deliver bold flavor and satisfying texture without the fuss. Most are pantry staples, but I’ll share a few tips to make sure your cookies come out just right.
- Unsalted butter (1 cup / 227g): The star of the show. Use good quality butter; I prefer Land O’Lakes for consistent results. It’s browned slowly to develop that nutty flavor.
- Granulated sugar (¾ cup / 150g): Adds crispiness to the edges.
- Brown sugar (¾ cup / 165g, packed): Gives moisture and chewiness. Dark brown sugar adds extra depth.
- Large eggs (2, room temperature): Help bind the dough and add richness.
- Pure vanilla extract (1 tsp): Enhances all the flavors.
- All-purpose flour (2 ½ cups / 315g): The base for structure. Spoon and level your flour for accuracy.
- Baking soda (1 tsp): Leavens and helps create that perfect rise.
- Salt (½ tsp): Balances the sweetness and elevates flavor.
- Semi-sweet chocolate chips (2 cups / 340g): I use Ghirardelli chips for their rich taste and melt quality.
You can swap the semi-sweet chips for dark chocolate if you prefer less sugar or add chopped nuts like walnuts for crunch. If you want a gluten-free option, try almond flour but expect a slightly different texture.
Equipment Needed
- Heavy-bottomed saucepan: Essential for browning the butter evenly without burning. A stainless steel pan works best.
- Mixing bowls: One large for dry ingredients, one medium for wet.
- Wooden spoon or heatproof spatula: For stirring the butter as it browns and mixing dough.
- Measuring cups and spoons: Accurate measurements make all the difference.
- Baking sheets: Two standard half-sheet pans, lined with parchment paper or silicone mats.
- Cooling rack: Helps cookies cool evenly and keeps edges crispy.
If you don’t have parchment paper, a silicone baking mat is a great investment for preventing sticking and promoting even baking. I’ve tried cheap non-stick sprays, but they don’t beat parchment’s performance.
Preparation Method
- Brown the butter (about 8-10 minutes): Place 1 cup (227g) unsalted butter in a heavy-bottomed saucepan over medium heat. Stir constantly as it melts, then foams and begins to turn a golden brown with a nutty aroma. Watch closely — once you see brown flecks and smell the toasty scent, remove from heat immediately to avoid burning.
- Mix sugars and wet ingredients (5 minutes): In a large bowl, combine ¾ cup (150g) granulated sugar and ¾ cup (165g) packed brown sugar. Pour in the browned butter (warm, not hot), and stir to combine. Add 2 large eggs (room temperature) and 1 tsp pure vanilla extract, mixing until smooth and glossy.
- Combine dry ingredients (3 minutes): In a separate bowl, whisk together 2 ½ cups (315g) all-purpose flour, 1 tsp baking soda, and ½ tsp salt. Gradually add dry mixture to the wet, folding gently until no flour streaks remain. Avoid overmixing to keep cookies tender.
- Add chocolate chips (2 minutes): Fold in 2 cups (340g) semi-sweet chocolate chips evenly throughout the dough.
- Chill dough (optional but recommended, 30 minutes): Cover the bowl with plastic wrap and refrigerate the dough for at least 30 minutes. This step helps prevent spreading and enhances flavor.
- Preheat oven and prepare baking sheets: Set oven to 375°F (190°C). Line baking sheets with parchment paper or silicone mats.
- Scoop and shape cookies (10 minutes): Using a cookie scoop or spoon, drop heaping tablespoons of dough about 2 inches apart on the trays. Slightly flatten each ball with your fingers for more even baking.
- Bake (10-12 minutes): Bake in the preheated oven until edges are golden brown and crisp but centers still look a bit soft. Rotate pans halfway through for even color.
- Cool on racks (15 minutes): Transfer cookies to wire racks immediately after baking to cool completely. This keeps the edges crisp and the centers chewy.
Pro tip: If your cookies spread too much, chill the dough longer or reduce the oven temperature by 10 degrees next time. The browned butter can make dough a bit softer, so chilling really helps maintain that perfect shape.
Cooking Tips & Techniques
Brown butter can be intimidating, but it’s really about patience and attention. Stir constantly, and don’t walk away — it can go from golden to burnt in seconds. The smell is your best guide; once you detect that warm, nutty scent, it’s time to pull it off the heat.
Using both granulated and brown sugars balances texture: the granulated sugar helps create those crispy edges, while brown sugar locks in moisture for chewiness. Skipping either changes the cookie’s personality quite a bit.
Another trick I learned is chilling the dough. I used to skip this step for convenience, but the cookies spread too thin and lost that chewy center I love. Thirty minutes in the fridge makes a big difference and isn’t too much of a time commitment.
For consistent results, use a cookie scoop for uniform sizes. Smaller cookies bake faster and crisp up nicely, while larger ones stay soft in the middle but might need extra baking time.
When baking, keep an eye on the edges — they should be deeply golden, almost lacy, but the centers should remain soft. This contrast is what makes these cookies truly irresistible.
Variations & Adaptations
- Nutty Twist: Add ½ cup chopped toasted pecans or walnuts for extra crunch and flavor.
- Salted Caramel Upgrade: Sprinkle a little flaky sea salt on top right after baking for a sweet-salty vibe.
- Vegan Version: Use dairy-free butter alternatives and flax eggs (1 tbsp ground flaxseed + 3 tbsp water per egg) to make these vegan-friendly.
- Flavored Chips: Swap semi-sweet chocolate chips for white chocolate, peanut butter chips, or butterscotch chips for a different flavor profile.
- Seasonal Flair: In fall, mix in a teaspoon of pumpkin spice or cinnamon for cozy warmth.
One time I tried using browned coconut oil instead of butter — it gave a subtle tropical note but lacked the same richness. Still tasty, but not quite the same magic.
Serving & Storage Suggestions
Serve these cookies slightly warm to enjoy melty chocolate pockets and soft centers. They’re perfect with a cold glass of milk, coffee, or even a scoop of vanilla ice cream for an indulgent dessert.
Leftover cookies keep well in an airtight container at room temperature for up to 4 days. For longer storage, freeze them for up to 3 months. To reheat, pop them in a 300°F (150°C) oven for 5-7 minutes to refresh that crispy edge.
Personally, I think the flavors deepen if you let the cookies rest a day — the brown butter’s nuttiness really settles in, making each bite even more satisfying.
Nutritional Information & Benefits
Each cookie (based on 24 per batch) contains approximately:
| Calories | 180 |
|---|---|
| Fat | 10g |
| Carbohydrates | 22g |
| Protein | 2g |
Brown butter adds more antioxidants compared to regular melted butter, thanks to the Maillard reaction during browning. The dark chocolate chips also provide small amounts of iron and magnesium.
Note that this recipe contains gluten, dairy, and eggs, so it’s not suitable for those with those allergies unless substitutions are made. The balance of sugars and fats makes this an occasional treat rather than an everyday snack.
Conclusion
This brown butter chocolate chip cookies recipe is one of those rare wins — simple to make but packed with flavor that feels anything but ordinary. The crispy edges and chewy centers bring out everything you want in a cookie, with that irresistible nutty depth from browned butter that keeps you coming back for more.
Don’t hesitate to tweak it a bit to match your taste — a pinch of salt here, a handful of nuts there. It’s a recipe that welcomes personalization while reliably delivering comfort and joy.
Honestly, this is my go-to when I want to impress without stress. I hope it becomes yours too — maybe even alongside a batch of soft frosted sugar cookies for variety or paired with a savory snack like bacon-wrapped jalapeño poppers for a fun party spread.
Give it a try, and if you do, I’d love to hear how your cookies turned out or any fun twists you tried!
FAQs About Brown Butter Chocolate Chip Cookies
What does browning butter do for the cookies?
Browned butter adds a rich, nutty, caramel-like flavor that regular melted butter can’t provide. It deepens the cookie’s taste and gives a more complex aroma.
Can I skip chilling the dough?
You can, but chilling helps prevent spreading and improves texture, giving you that perfect crispy edge and chewy center.
How do I make these cookies gluten-free?
Try substituting all-purpose flour with a 1:1 gluten-free baking flour blend. Be aware the texture might be slightly different but still delicious.
Why are my cookies too flat?
Common reasons include not chilling the dough, using too much butter, or oven temperature being too low. Chilling and a hot oven help cookies hold their shape.
Can I use chocolate chunks instead of chips?
Absolutely! Chocolate chunks melt differently and create pockets of gooey chocolate, which many people love.
Pin This Recipe!
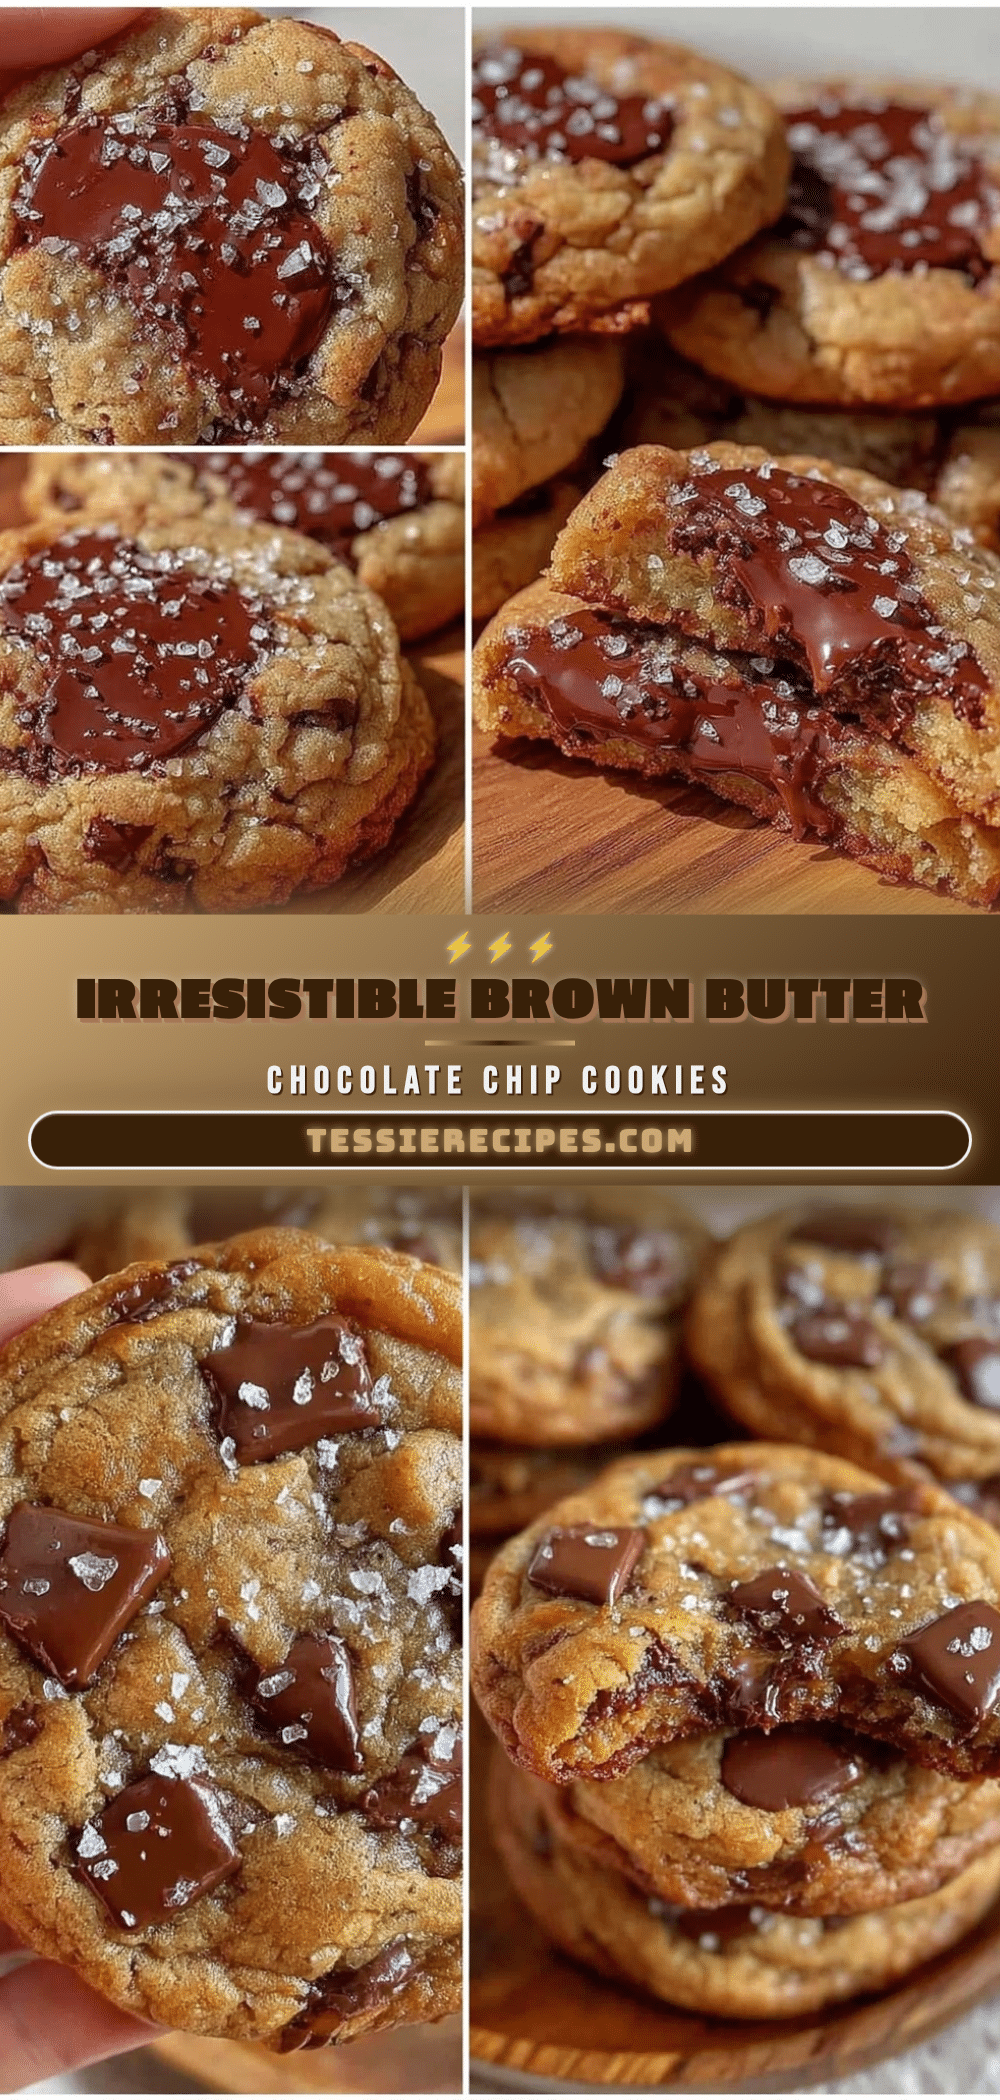
Brown Butter Chocolate Chip Cookies

These brown butter chocolate chip cookies feature perfectly crispy edges and chewy centers with a rich, nutty flavor from browned butter. Easy to make and irresistibly delicious, they are a crowd-pleaser for any occasion.
- Prep Time: 15 minutes
- Cook Time: 12 minutes
- Total Time: 42 minutes
- Yield: 24 cookies 1x
- Category: Dessert
- Cuisine: American
Ingredients
- 1 cup (227g) unsalted butter
- 3/4 cup (150g) granulated sugar
- 3/4 cup (165g, packed) brown sugar
- 2 large eggs, room temperature
- 1 tsp pure vanilla extract
- 2 1/2 cups (315g) all-purpose flour
- 1 tsp baking soda
- 1/2 tsp salt
- 2 cups (340g) semi-sweet chocolate chips
Instructions
- Brown the butter (about 8-10 minutes): Place 1 cup (227g) unsalted butter in a heavy-bottomed saucepan over medium heat. Stir constantly as it melts, then foams and begins to turn a golden brown with a nutty aroma. Once you see brown flecks and smell the toasty scent, remove from heat immediately to avoid burning.
- Mix sugars and wet ingredients (5 minutes): In a large bowl, combine 3/4 cup (150g) granulated sugar and 3/4 cup (165g) packed brown sugar. Pour in the browned butter (warm, not hot), and stir to combine. Add 2 large eggs (room temperature) and 1 tsp pure vanilla extract, mixing until smooth and glossy.
- Combine dry ingredients (3 minutes): In a separate bowl, whisk together 2 1/2 cups (315g) all-purpose flour, 1 tsp baking soda, and 1/2 tsp salt. Gradually add dry mixture to the wet, folding gently until no flour streaks remain. Avoid overmixing to keep cookies tender.
- Add chocolate chips (2 minutes): Fold in 2 cups (340g) semi-sweet chocolate chips evenly throughout the dough.
- Chill dough (optional but recommended, 30 minutes): Cover the bowl with plastic wrap and refrigerate the dough for at least 30 minutes to prevent spreading and enhance flavor.
- Preheat oven and prepare baking sheets: Set oven to 375°F (190°C). Line baking sheets with parchment paper or silicone mats.
- Scoop and shape cookies (10 minutes): Using a cookie scoop or spoon, drop heaping tablespoons of dough about 2 inches apart on the trays. Slightly flatten each ball with your fingers for more even baking.
- Bake (10-12 minutes): Bake in the preheated oven until edges are golden brown and crisp but centers still look a bit soft. Rotate pans halfway through for even color.
- Cool on racks (15 minutes): Transfer cookies to wire racks immediately after baking to cool completely. This keeps the edges crisp and the centers chewy.
Notes
Stir butter constantly while browning to avoid burning. Chilling dough helps prevent spreading and improves texture. Use a cookie scoop for uniform cookies. Rotate pans halfway through baking for even color. For gluten-free, substitute all-purpose flour with gluten-free baking flour blend. For vegan, use dairy-free butter and flax eggs.
Nutrition
- Serving Size: 1 cookie
- Calories: 180
- Fat: 10
- Carbohydrates: 22
- Protein: 2
Keywords: brown butter, chocolate chip cookies, crispy edges, chewy center, easy cookies, homemade cookies, dessert, baking



