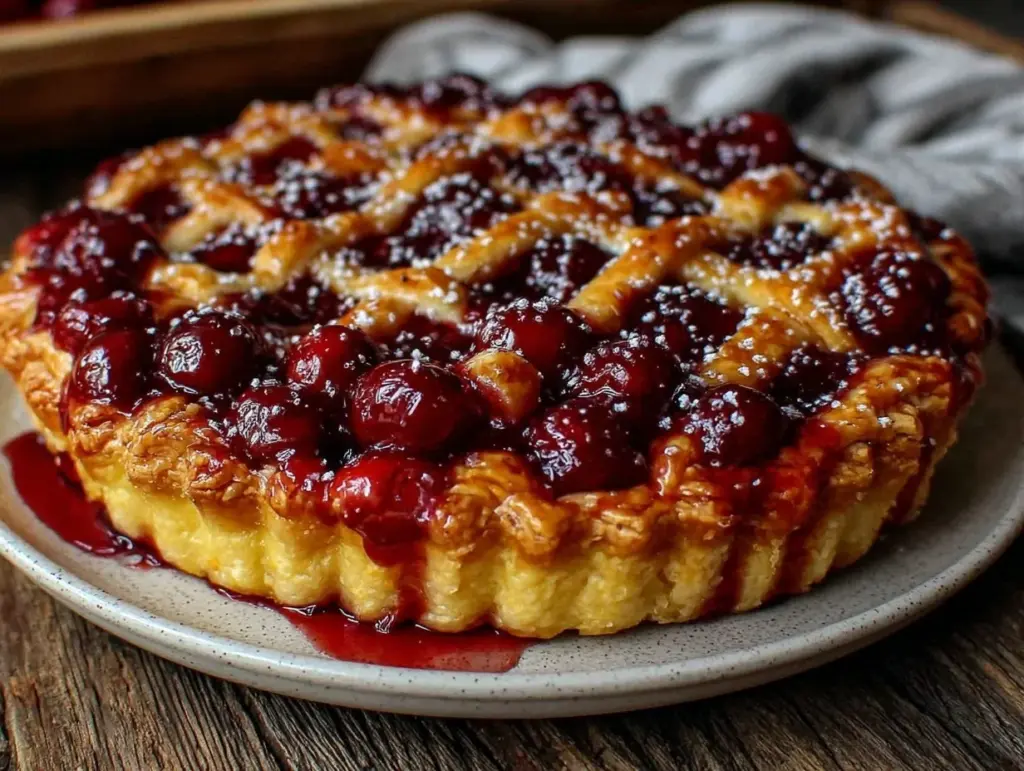
Let me tell you, the scent of sweet cherries mingling with buttery, flaky pastry wafting from my oven is enough to make anyone’s mouth water. The first time I baked this Classic George Washington Cherry Pie, it was a quiet Sunday afternoon, and I was instantly hooked—the kind of moment where you pause, take a deep breath, and just smile because you know you’re onto something truly special. This recipe isn’t just your everyday pie; it’s a nostalgic bite of history paired with that dangerously easy flaky lattice crust that looks as impressive as it tastes.
Years ago, when I was knee-high to a grasshopper, my grandma would tell me stories about George Washington’s love for cherries, and I always wondered if the pie was as good as the legend. Baking this pie felt like stepping back in time, making history come alive in the kitchen. Honestly, my family couldn’t stop sneaking pieces off the cooling rack (and I can’t really blame them). This pie has become a staple for family gatherings and gifting, and you’re going to want to bookmark this one for your next special occasion or even a sweet treat for your kids after school.
Perfect for potlucks, summer picnics, or brightening up your Pinterest cookie board with something a little old-fashioned but still utterly delicious, this cherry pie is pure, nostalgic comfort in every bite. I’ve tested this recipe multiple times—purely in the name of research, of course—and each time it delivers that melt-in-your-mouth crust and bright cherry filling that feels like a warm hug. You know what? If you love classic pies with a touch of elegance, this is the recipe you never knew you needed.
Why You’ll Love This Recipe
After many attempts and a little trial-and-error (you know how flaky pie crust can be!), this Classic George Washington Cherry Pie stands out for a handful of reasons:
- Quick & Easy: Comes together in under 90 minutes, perfect when you want something homemade without fussing for hours.
- Simple Ingredients: No fancy grocery trips needed; you probably already have everything in your kitchen pantry.
- Perfect for Every Occasion: Great for summer barbecues, holiday dinners, or cozy weekend baking sessions.
- Crowd-Pleaser: Kids and adults alike rave about the balance of tart cherry flavor and sweet, flaky crust.
- Unbelievably Delicious: The crust is buttery and flaky with that classic lattice look that’s both beautiful and inviting.
What sets this cherry pie apart? It’s the careful balance of fresh-tasting cherry filling seasoned just right with a hint of almond and cinnamon, plus that flaky lattice crust that’s rolled to the perfect thickness—not too thick, not too thin. Honestly, the trick is in the chilling and gentle handling of the dough, so it bakes up tender yet sturdy enough to hold all that juicy goodness. This isn’t just another cherry pie; it’s the best version you’ll find, taking a classic recipe and making it your own with a little love and patience.
It’s comfort food reimagined—fast enough for busy days but with the same soul-soothing satisfaction that makes you close your eyes after the first bite. Whether you’re impressing guests or just treating yourself, this pie is a total winner.
What Ingredients You Will Need
This recipe uses simple, wholesome ingredients to deliver bold flavor and satisfying texture without the fuss. Most are pantry staples, and you can tweak a few to suit your kitchen and taste.
- For the crust:
- 2 ½ cups (312g) all-purpose flour (I recommend King Arthur Flour for best texture)
- 1 cup (226g) unsalted butter, cold and cubed (adds richness and flakiness)
- 1 teaspoon salt
- 1 teaspoon granulated sugar (balances the salt)
- 6-8 tablespoons ice water (adjust as needed for dough consistency)
- For the cherry filling:
- 5 cups (about 700g) fresh or frozen tart cherries, pitted (frozen works great if fresh aren’t in season)
- 1 ½ cups (300g) granulated sugar
- ¼ cup (30g) cornstarch (for thickening)
- 1 tablespoon fresh lemon juice (brightens the cherries)
- 1 teaspoon almond extract (optional but highly recommended for that classic cherry flavor)
- ½ teaspoon ground cinnamon (adds subtle warmth)
- Pinch of salt
- For assembly:
- 1 egg, beaten (for egg wash, gives that golden crust)
- Coarse sugar for sprinkling (optional, adds pretty sparkle)
- 9-inch (23 cm) pie dish — glass or metal, whichever you prefer; glass lets you see the crust color better.
- Rolling pin — a smooth wooden or silicone one works best; if you don’t have one, a clean wine bottle can do the trick.
- Mixing bowls — large and medium-sized for dough and filling prep.
- Measuring cups and spoons — precise measurements make all the difference in baking!
- Pastry blender or two forks — helpful to cut butter into flour for flaky crust.
- Cooling rack — to let the pie rest and cool without sogginess.
- Sharp knife or pastry wheel — for cutting the lattice strips.
- Make the crust: In a large bowl, whisk together 2 ½ cups (312g) flour, 1 teaspoon salt, and 1 teaspoon sugar. Add 1 cup (226g) cold, cubed unsalted butter. Using a pastry blender or two forks, cut the butter into the flour until the mixture resembles coarse crumbs with pea-sized butter bits. (This is key for that flaky texture.)
- Add ice water: Gradually add 6-8 tablespoons ice water, one tablespoon at a time, mixing gently with a fork until the dough just comes together. Be careful not to overwork it. Divide dough into two discs, wrap in plastic, and chill for at least 1 hour. (Patience here pays off.)
- Prepare the cherry filling: In a medium bowl, combine 5 cups (700g) pitted tart cherries, 1 ½ cups (300g) sugar, ¼ cup (30g) cornstarch, 1 tablespoon lemon juice, 1 teaspoon almond extract, ½ teaspoon cinnamon, and a pinch of salt. Toss gently until cherries are evenly coated. Set aside while you roll out your dough.
- Roll out bottom crust: On a floured surface, roll one chilled dough disc into a 12-inch (30cm) circle. Carefully transfer it to your 9-inch (23 cm) pie dish, pressing gently to fit. Trim any excess dough hanging over the edge.
- Add filling: Pour the cherry filling into the crust, spreading evenly. (You’ll notice the filling looks thick and glossy—that’s the cornstarch working its magic.)
- Create lattice top: Roll out second dough disc into a 12-inch (30cm) circle. Cut into ½-inch (1.3 cm) strips using a sharp knife or pastry wheel. Lay half the strips horizontally over the filling, then weave the remaining strips vertically, lifting alternate strips to create a lattice pattern. Trim and crimp edges to seal.
- Egg wash and sugar: Brush the lattice crust with the beaten egg for that golden, shiny finish. Sprinkle with coarse sugar for sparkle and crunch (optional but highly recommended!).
- Bake: Place pie on the middle rack of a preheated 400°F (200°C) oven. Bake for 20 minutes, then reduce heat to 350°F (175°C) and bake for another 35-40 minutes until crust is golden and filling bubbles. (If edges brown too fast, cover them with foil.)
- Cool: Remove pie and let cool on a wire rack for at least 2 hours. This step is crucial so the filling sets properly and doesn’t run when sliced.
- Dietary: Make it gluten-free by swapping regular flour for a 1:1 gluten-free blend. Use coconut oil or vegan butter for dairy-free crust.
- Seasonal: In summer, swap cherries for fresh blueberries or mixed berries for a different but equally delicious version.
- Flavor twists: Add a splash of bourbon or brandy to the filling for grown-up depth. Or sprinkle a pinch of ground ginger for a subtle zing.
- Cooking methods: If you’re short on time, try baking in a convection oven at 375°F (190°C) for 30-35 minutes, but keep an eye on browning.
- Personal variation: Once, I added a handful of chopped toasted almonds under the lattice for a delightful crunch surprise—it was a hit!
If you want to make this gluten-free, swap the all-purpose flour with a 1:1 gluten-free baking flour blend. For a dairy-free crust, use chilled coconut oil or vegan butter in place of butter. Feel free to swap almond extract with vanilla extract if you’re not a fan of nuts. In summer, fresh cherries are a dream, but frozen cherries will save the day any time of year.
Equipment Needed
Personally, I like using a silicone rolling mat for easy cleanup and consistent dough thickness. For those on a budget, a sturdy wooden spoon can substitute for a pastry blender, but it takes a bit more elbow grease. Keep your butter cold and your equipment chilled for the flakiest results—trust me on this one!
Preparation Method
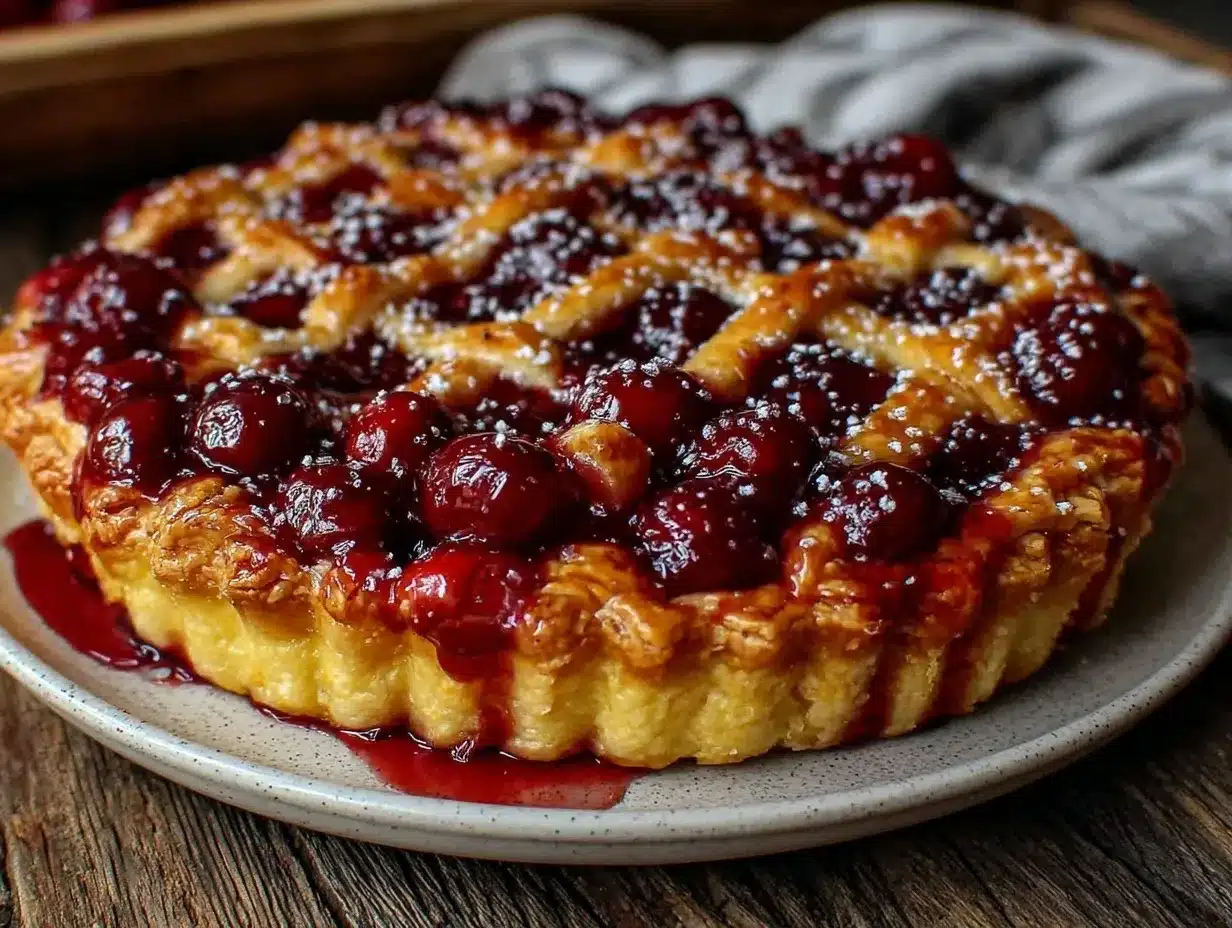
Pro tip: If your dough feels too sticky when rolling, chill it again briefly. When cutting lattice strips, keep your knife strokes clean for neat edges. And don’t rush the cooling—cutting too soon can lead to a messy slice.
Cooking Tips & Techniques
Pie baking can be tricky, but a few tips will save you from common pitfalls. First, keep everything cold—chilled butter and ice water are your best friends for flakiness. Overworking dough is a no-no; it’ll toughen up your crust. I’ve learned the hard way that patience during chilling is worth the wait.
When making the lattice crust, try to roll your dough evenly about 1/8 inch (3 mm) thick. Thicker strips can take longer to bake through and might look doughy, while too thin strips risk burning. Use a sharp knife or pastry cutter for clean edges. And remember, the lattice isn’t just pretty—it lets steam escape, so don’t skip it!
If your filling looks too runny, adding cornstarch helps thicken it beautifully without clouding the cherries. But don’t add too much; a tablespoon or two can turn filling gummy. Watch the baking time carefully; if crust edges brown too quickly, shield them with foil halfway through baking.
Multitasking tip: While the pie bakes, clean your workspace and prepare a cup of tea—you deserve a break! When it cools, use a serrated knife to slice gently and avoid squashing that perfect lattice.
Variations & Adaptations
Allergen note: This recipe contains gluten and dairy by default but can be adapted as above. For nut allergies, skip the almond extract or substitute with vanilla.
Serving & Storage Suggestions
This cherry pie is best served slightly warm or at room temperature. Honestly, the aroma alone makes it a showstopper. A scoop of vanilla ice cream or a dollop of whipped cream pairs beautifully and brings out the sweet-tart contrast.
Store leftover pie covered loosely with foil or plastic wrap in the refrigerator for up to 4 days. The flavors tend to deepen overnight, making your second slice even better. To reheat, warm slices gently in a 300°F (150°C) oven for 10-15 minutes or microwave briefly (though the crust won’t be as crisp).
If you want to freeze the pie, wrap it tightly in plastic wrap and foil, then freeze for up to 2 months. Thaw overnight in the fridge before reheating. Just a heads-up—freshly baked tastes best, but frozen is a handy backup for busy days.
Nutritional Information & Benefits
Per serving (1/8 of pie), this Classic George Washington Cherry Pie contains approximately:
| Calories | Fat | Carbohydrates | Protein |
|---|---|---|---|
| 350 kcal | 18g | 45g | 3g |
Cherries are rich in antioxidants and vitamin C, which help support your immune system. Using fresh or frozen tart cherries keeps the filling vibrant and full of natural goodness. The buttery crust, while indulgent, is made with real ingredients and no preservatives, making it a treat you can feel good about in moderation.
For those watching carbs, consider reducing sugar slightly or serving smaller slices. This pie is naturally gluten-full but can be adapted as mentioned. My personal take? This pie strikes a lovely balance between wholesome fruit and classic baking joy.
Conclusion
If you’re looking for a pie recipe that’s both timeless and approachable, this Classic George Washington Cherry Pie with Flaky Lattice Crust is a must-try. It’s got that perfect sweet-tart cherry filling wrapped in a buttery, flaky crust that feels like a warm hug from history itself. Feel free to customize ingredients or lattice patterns to suit your style—this recipe is as flexible as it is delicious.
I love this recipe because it brings back memories and creates new ones every time I bake it. It’s a little piece of Americana that tastes like home. Go ahead, give it a whirl, and please share your adaptations or favorite twists—I’d love to hear how you make it your own!
Now, grab your rolling pin, and let’s get baking!
FAQs About Classic George Washington Cherry Pie
Can I use frozen cherries for this pie?
Absolutely! Frozen tart cherries work really well—just thaw and drain excess juice before mixing to avoid a soggy crust.
How do I prevent the crust from getting soggy?
Chilling the dough before baking and using cornstarch in the filling both help keep the crust crisp. Also, letting the pie cool completely before slicing helps the filling set.
Can I make the pie ahead of time?
Yes! You can prepare the pie a day ahead and refrigerate it unbaked, then bake fresh when ready. Or bake it fully and reheat slices gently.
What’s the best way to store leftover pie?
Cover leftovers loosely and store in the fridge for up to 4 days. Reheat in the oven for a crisp crust.
How do I make a perfect lattice crust?
Roll dough evenly, cut strips about ½ inch wide, and weave them carefully over the filling. Use a sharp knife for clean cuts, and chill dough if it gets too soft while working.
Pin This Recipe!
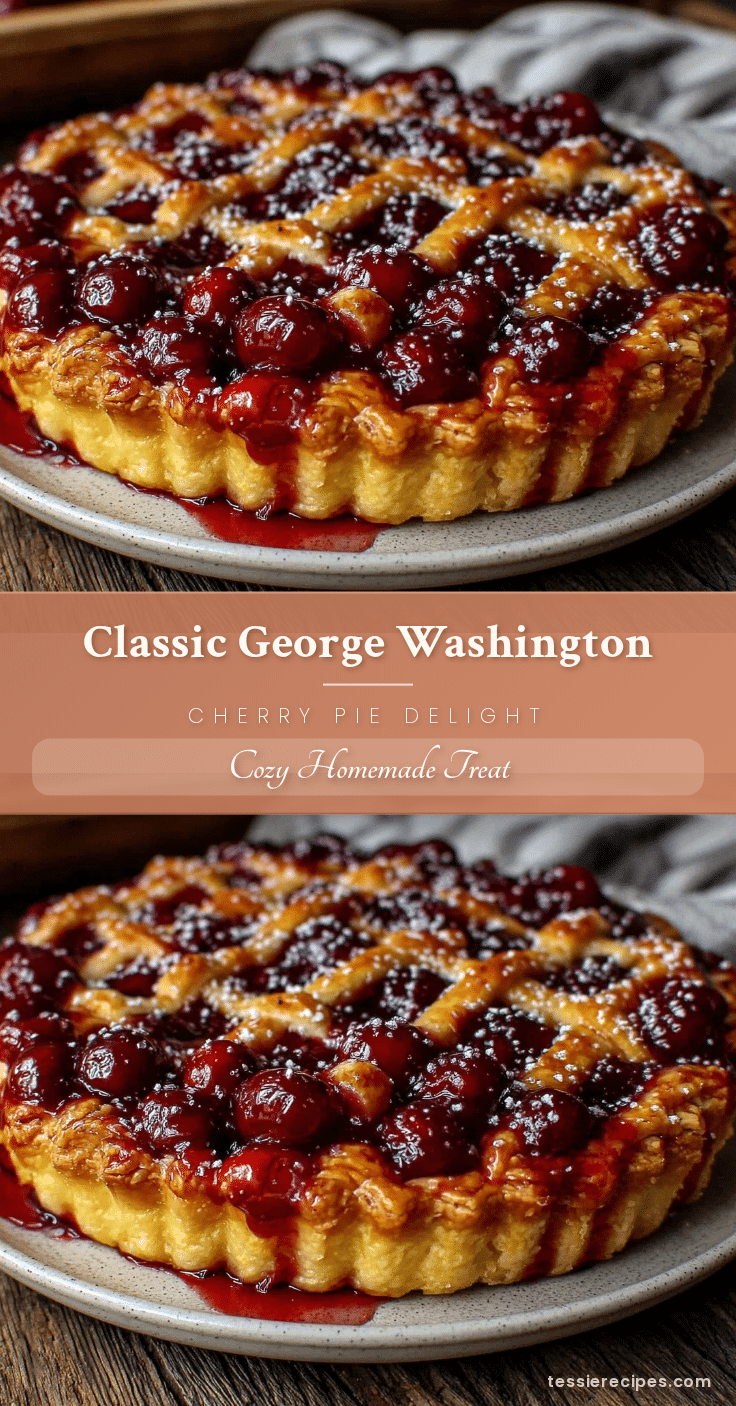
Classic George Washington Cherry Pie

A nostalgic cherry pie recipe featuring a sweet-tart cherry filling and a buttery, flaky lattice crust that’s perfect for any occasion.
- Prep Time: 20 minutes
- Cook Time: 55-60 minutes
- Total Time: 1 hour 15 minutes
- Yield: 8 servings 1x
- Category: Dessert
- Cuisine: American
Ingredients
- 2 ½ cups (312g) all-purpose flour
- 1 cup (226g) unsalted butter, cold and cubed
- 1 teaspoon salt
- 1 teaspoon granulated sugar
- 6–8 tablespoons ice water
- 5 cups (about 700g) fresh or frozen tart cherries, pitted
- 1 ½ cups (300g) granulated sugar
- ¼ cup (30g) cornstarch
- 1 tablespoon fresh lemon juice
- 1 teaspoon almond extract (optional)
- ½ teaspoon ground cinnamon
- Pinch of salt
- 1 egg, beaten (for egg wash)
- Coarse sugar for sprinkling (optional)
Instructions
- In a large bowl, whisk together flour, salt, and sugar. Add cold, cubed butter and cut into flour using a pastry blender or two forks until mixture resembles coarse crumbs with pea-sized butter bits.
- Gradually add ice water, one tablespoon at a time, mixing gently until dough just comes together. Divide dough into two discs, wrap in plastic, and chill for at least 1 hour.
- In a medium bowl, combine cherries, sugar, cornstarch, lemon juice, almond extract, cinnamon, and salt. Toss gently to coat evenly and set aside.
- Roll out one chilled dough disc on a floured surface into a 12-inch circle. Transfer to a 9-inch pie dish, pressing gently to fit and trim excess dough.
- Pour cherry filling evenly into the crust.
- Roll out second dough disc into a 12-inch circle and cut into ½-inch strips. Lay half the strips horizontally over the filling, then weave remaining strips vertically to create a lattice pattern. Trim and crimp edges to seal.
- Brush lattice crust with beaten egg and sprinkle with coarse sugar if desired.
- Bake pie on middle rack of preheated oven at 400°F for 20 minutes, then reduce heat to 350°F and bake for an additional 35-40 minutes until crust is golden and filling bubbles. Cover edges with foil if browning too fast.
- Remove pie and cool on a wire rack for at least 2 hours before slicing.
Notes
Keep butter and dough cold for flakiness. Chill dough for at least 1 hour before rolling. Use cornstarch to thicken filling and prevent soggy crust. Cool pie completely before slicing to allow filling to set. Cover crust edges with foil if browning too quickly.
Nutrition
- Serving Size: 1/8 of pie
- Calories: 350
- Fat: 18
- Carbohydrates: 45
- Protein: 3
Keywords: cherry pie, classic pie, George Washington cherry pie, lattice crust, flaky pie crust, tart cherry filling, homemade pie



