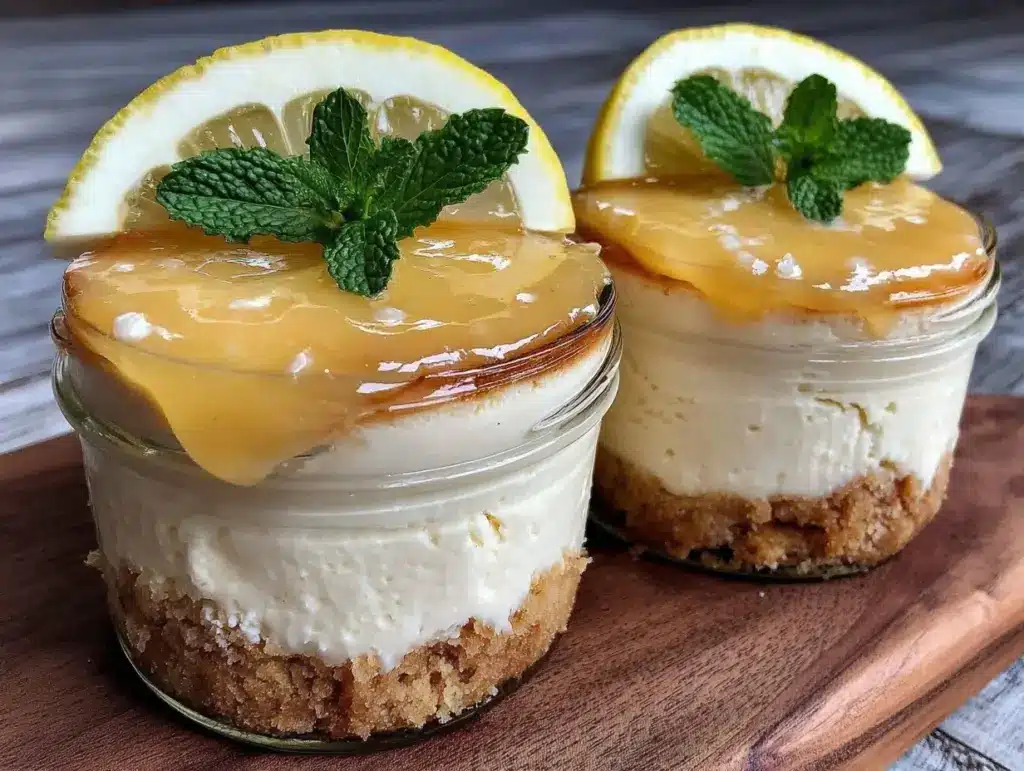
“You want me to make what? Mini lemon cheesecakes in mason jars? Sounds fancy,” my friend joked over the phone as I rattled off my plan for the weekend dessert. Honestly, I felt the same way at first. I mean, cheesecake seemed like one of those complicated, delicate desserts best left to professionals or fancy bakeries. But when I actually gave these creamy mini lemon cheesecakes in mason jars a shot, the skeptics in my circle (including myself) were quickly silenced.
It all started on a lazy Saturday afternoon when I needed a quick, no-fuss dessert that felt special but didn’t require me to haul out every dish in the kitchen. The idea of using mason jars came from a leftover batch of jars I had sitting in the cupboard, and lemon just felt like the perfect bright, fresh flavor to cut through the rich cream cheese base. I wasn’t expecting much, just a simple sweet to wrap up the weekend. But the combination of smooth, tangy filling and crumbly crust was unexpectedly addictive—so much so, I found myself making these little jars of sunshine again and again that week.
There’s something about these mini lemon cheesecakes that feels both cozy and celebratory at the same time. They’re easy enough to whip up when life’s hectic, yet they look charming enough to impress guests or a casual get-together. Plus, the mason jar presentation? Total game changer. It keeps things neat, portable, and perfect for sharing without fuss. So, if you’re curious about a dessert that’s creamy, zesty, and just a little bit fun, these little jars might just become your new go-to treat.
Why You’ll Love This Recipe
After testing this recipe several times (and tweaking a few details), I’ve got to say, these creamy mini lemon cheesecakes in mason jars check so many boxes for a dessert you can rely on:
- Quick & Easy: Ready in about 30 minutes prep time, plus chilling—perfect for last-minute plans or a sweet afternoon pick-me-up.
- Simple Ingredients: No exotic stuff here — just pantry staples and fresh lemon juice, so you don’t have to make a special trip.
- Perfect for Parties: Whether it’s a summer picnic or a casual brunch, these individual desserts are a hit and super easy to serve.
- Crowd-Pleaser: The balance of creamy, tangy, and sweet has won over picky eaters and cheesecake fans alike — even those who usually shy away from dessert.
- Unbelievably Delicious: The crust stays crisp under the smooth, luscious lemon filling, creating a delightful texture combo that’s honestly hard to put down.
This isn’t just another cheesecake recipe. The secret lies in blending the cream cheese until it’s ultra-smooth and folding in fresh lemon zest and juice for a bright punch that feels refreshing, not overpowering. Plus, baking the crust in the jars and chilling them overnight helps everything set perfectly without cracking or sogginess. I’ve made plenty of cheesecakes over the years, but this one sticks with me because it’s fuss-free and still looks like you tried hard. It’s the kind of dessert that makes you slow down for a moment, savor that first bite, and realize simple can be pretty darn wonderful.
What Ingredients You Will Need
This recipe uses simple, wholesome ingredients to deliver bold flavor and satisfying texture without the fuss. Most of these are pantry staples, and the fresh lemon adds that seasonal zest you’ll love. Here’s what you’ll want to gather before you start:
- For the crust:
- 1 cup graham cracker crumbs (about 100g) – I like using Honey Maid for a nice, sweet crunch
- 2 tablespoons granulated sugar
- 4 tablespoons unsalted butter, melted (about 56g) – adds richness and helps the crust hold
- For the filling:
- 16 ounces (450g) cream cheese, softened – make sure it’s really soft for that creamy texture
- 2/3 cup granulated sugar
- 2 large eggs, room temperature
- 1/4 cup sour cream (about 60ml) – this adds subtle tang and smoothness
- 2 tablespoons all-purpose flour – helps the filling set up nicely without cracking
- Juice and zest of 2 medium lemons – fresh is key for bright flavor
- 1 teaspoon pure vanilla extract
- For the topping (optional but recommended):
- Fresh berries, like blueberries or raspberries
- Whipped cream or a dusting of powdered sugar
If you want to swap for a gluten-free crust, almond flour or gluten-free cookie crumbs work great. And for a dairy-free version, try swapping the cream cheese and sour cream for coconut-based alternatives — just keep in mind it’ll change the flavor slightly. I’ve also experimented with adding a touch of lavender zest for a springtime twist.
Equipment Needed
For this recipe, you don’t need much beyond basic kitchen tools, which makes it even more inviting for home cooks:
- Mason jars or small glass jars (4 to 6 ounces / 120-180 ml size) – I use standard wide-mouth jars for easy filling and serving
- Mixing bowls – one large for the filling, another for the crust
- Hand mixer or stand mixer – essential for getting the cream cheese perfectly smooth
- Measuring cups and spoons – precise measurements make a difference here
- Rubber spatula – great for scraping every bit of batter into the jars
- Baking sheet or roasting pan – to hold the jars while baking
- Kettle or pot for hot water bath – optional but recommended to avoid cracks
If you don’t have a hand mixer, a sturdy whisk and some elbow grease will do, but it takes a bit longer. And if you don’t own mason jars, small ramekins or oven-safe glass cups can work too — just adjust the baking time accordingly. For cleaning, I keep a small brush handy to get inside the jars after use, making reuse super easy.
Preparation Method
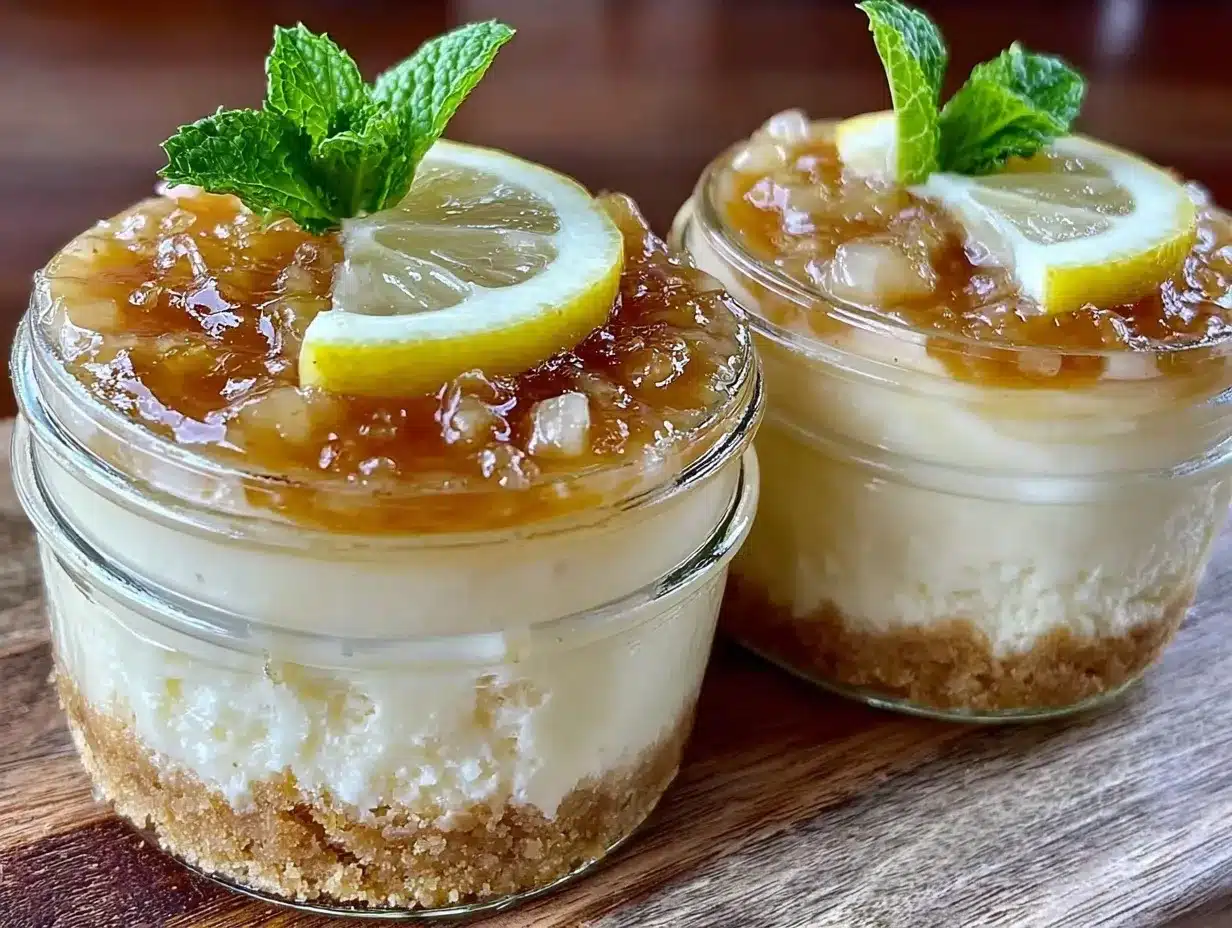
- Preheat your oven to 325°F (160°C). Place your mason jars on a baking sheet for stability during baking.
- Make the crust: In a bowl, mix together graham cracker crumbs, sugar, and melted butter until the mixture resembles wet sand. Divide the crust evenly among the jars, pressing firmly into the bottom (about 2 tablespoons per jar). Use the back of a spoon or a small glass to press down tightly. This step sets the foundation, so don’t skip the firm pressing.
- Bake the crust for 8 minutes. This helps it crisp up so it won’t get soggy once the filling is added. Remove from the oven and set aside to cool slightly.
- Prepare the filling: In a large bowl, beat the softened cream cheese with a hand or stand mixer on medium speed until smooth and creamy, about 2-3 minutes. Scrape down the sides to avoid lumps.
- Add sugar and beat again until well combined and slightly fluffy, about 1-2 minutes.
- Mix in eggs one at a time, beating gently after each addition to keep air bubbles minimal. This helps prevent cracks later.
- Add sour cream, flour, lemon zest, lemon juice, and vanilla extract. Beat on low speed just until combined. Overmixing here can make the filling dense.
- Pour the filling evenly into each jar, filling about 3/4 full. The filling will rise slightly during baking.
- Set up a water bath: Carefully pour hot water into the baking sheet until it reaches halfway up the sides of the jars. This gentle steam bath helps the cheesecakes bake evenly and avoids cracking.
- Bake for 25-30 minutes, or until the edges are set but the centers still jiggle slightly when you gently shake the pan. This jiggle means they’ll finish setting as they cool.
- Remove the jars from the water bath and cool to room temperature on a wire rack.
- Refrigerate at least 4 hours or overnight. This chilling step is crucial for that creamy, sliceable texture.
- Before serving, add fresh berries or whipped cream on top. You can also dust with powdered sugar for extra sweetness.
If you’re wondering about cracks, that water bath step really helps. And don’t overbake — the slight jiggle is your best sign. I’ve found that using room temperature ingredients and mixing carefully makes a big difference in texture, too. These cheesecakes keep beautifully in the fridge for up to 4 days, so they’re great for prepping ahead.
Cooking Tips & Techniques
A few tricks I picked up after a couple of cheesecake attempts might save you some hassle:
- Softened cream cheese is non-negotiable. If it’s too cold, lumps sneak into the batter. Leave it out at room temperature for at least an hour or zap it in short bursts in the microwave (10 seconds at a time).
- Don’t overmix the eggs. Adding them slowly and beating gently prevents too much air from getting in, which can cause cracks or a spongy texture.
- Use a water bath if you can. It creates a moist oven environment that stops the cheesecake from drying out and cracking.
- Press the crust firmly. A loosely packed crust can crumble when you dig in, so take a moment to press down tightly before baking.
- Patience with chilling is key. These cheesecakes taste best after a solid chill — trust me, the texture transforms and the flavors deepen.
- Test doneness by the jiggle. The center should wobble just a bit, like Jell-O, but not be liquidy.
I’ve learned the hard way to avoid rushing the chilling step, and I’ve definitely had my share of cracked tops before mastering the water bath method. Oh, and if you don’t have time for the water bath, adding a pan of hot water on a lower rack in the oven can help mimic the effect. Multitasking? You can prep the crusts the night before to save time, then just whip up the filling and bake when ready.
Variations & Adaptations
These mini lemon cheesecakes are pretty versatile, and I’ve experimented with a few twists that might inspire you:
- Berry Swirl: Drop a spoonful of raspberry or blueberry jam into the filling before baking and swirl gently for a pretty, fruity surprise inside.
- Herb Infusion: Add a teaspoon of finely chopped fresh basil or thyme to the crust or filling for a subtle herbal note that pairs wonderfully with lemon.
- Chocolate Crust: Swap the graham crackers for crushed chocolate cookies for a richer base that contrasts with the tart filling.
- Vegan Version: Use dairy-free cream cheese and substitute eggs with flax eggs (1 tablespoon ground flax + 3 tablespoons water per egg). The texture will be a bit different but still tasty.
- Gluten-Free: Almond flour or gluten-free cookie crumbs work well in place of graham crackers.
I once added a teaspoon of lavender zest to the filling — it gave a delicate floral undertone that was surprisingly delightful. Also, if you want to skip baking, there’s a no-bake lemon cheesecake in jars recipe out there, but baking helps with the texture and longevity. These little jars are perfect to customize depending on your mood or occasion.
Serving & Storage Suggestions
Serve these mini lemon cheesecakes chilled, straight from the fridge. The cool, creamy texture is the star here, and it’s best enjoyed without warming up. Garnish with fresh berries or a dollop of whipped cream for an extra touch of indulgence.
They’re perfect for picnics, potlucks, or as a sweet finish to a cozy dinner. I once brought these along to a summer barbecue, and they disappeared faster than the bacon-wrapped jalapeño poppers we served as appetizers — which says a lot!
Store leftovers tightly covered in the fridge for up to 4 days. If you want to freeze them, remove any toppings first and freeze for up to 2 months. Thaw overnight in the fridge before serving. The flavors actually mellow and develop nicely after a day or two, so making them a day ahead can be a smart move for entertaining.
Nutritional Information & Benefits
Each mini lemon cheesecake in a jar contains approximately:
| Calories | Fat | Carbohydrates | Protein |
|---|---|---|---|
| 290 kcal | 20g | 22g | 5g |
The cream cheese provides protein and calcium, while the lemon juice adds vitamin C and a refreshing, natural tang without extra sugar. Using fresh lemon zest brings antioxidants and bright flavor without artificial additives.
For those watching carbs, you can reduce sugar or swap the crust with almond flour to lower carbs. This recipe is gluten-free when using gluten-free crumbs and can be adapted for dairy-free eaters with the swaps mentioned earlier.
Personally, I appreciate that this dessert feels like a treat without overloading on processed ingredients — just real, familiar flavors that satisfy a sweet tooth without leaving me feeling weighed down.
Conclusion
These creamy mini lemon cheesecakes in mason jars have become one of those recipes I find myself making over and over. They’re simple enough to fit into a busy life but impressive enough to serve when company drops by unexpectedly. The balance of creamy texture and bright lemon flavor is just right — not too sweet, not too tart, but utterly satisfying.
Feel free to tweak the toppings, crust, or even add a swirl of your favorite fruit jam. That’s the joy of these little jars: they’re as flexible as they are delicious. I hope you find the same comfort and delight in making and sharing them as I do.
If you end up trying this recipe, I’d love to hear how yours turn out or what variations you experiment with. Sharing those kitchen adventures makes it even more fun!
FAQs
Can I make these cheesecakes ahead of time?
Absolutely! In fact, they taste better after chilling overnight. Just cover and refrigerate until ready to serve.
What size mason jars should I use?
The recipe works best with 4 to 6-ounce (120-180 ml) jars. Smaller jars might need less baking time, so watch closely.
Can I use frozen lemon juice instead of fresh?
Fresh lemon juice is best for bright flavor, but frozen juice can work in a pinch. Just make sure it’s 100% pure lemon juice with no additives.
How do I prevent cracks in the cheesecake?
Use a water bath during baking and avoid overmixing or overbaking. The slight jiggle when done is key to avoiding cracks.
What can I serve with these mini lemon cheesecakes?
Fresh berries, whipped cream, or a drizzle of honey complement them nicely. They also pair well with light teas or sparkling water for a refreshing dessert experience.
Pin This Recipe!
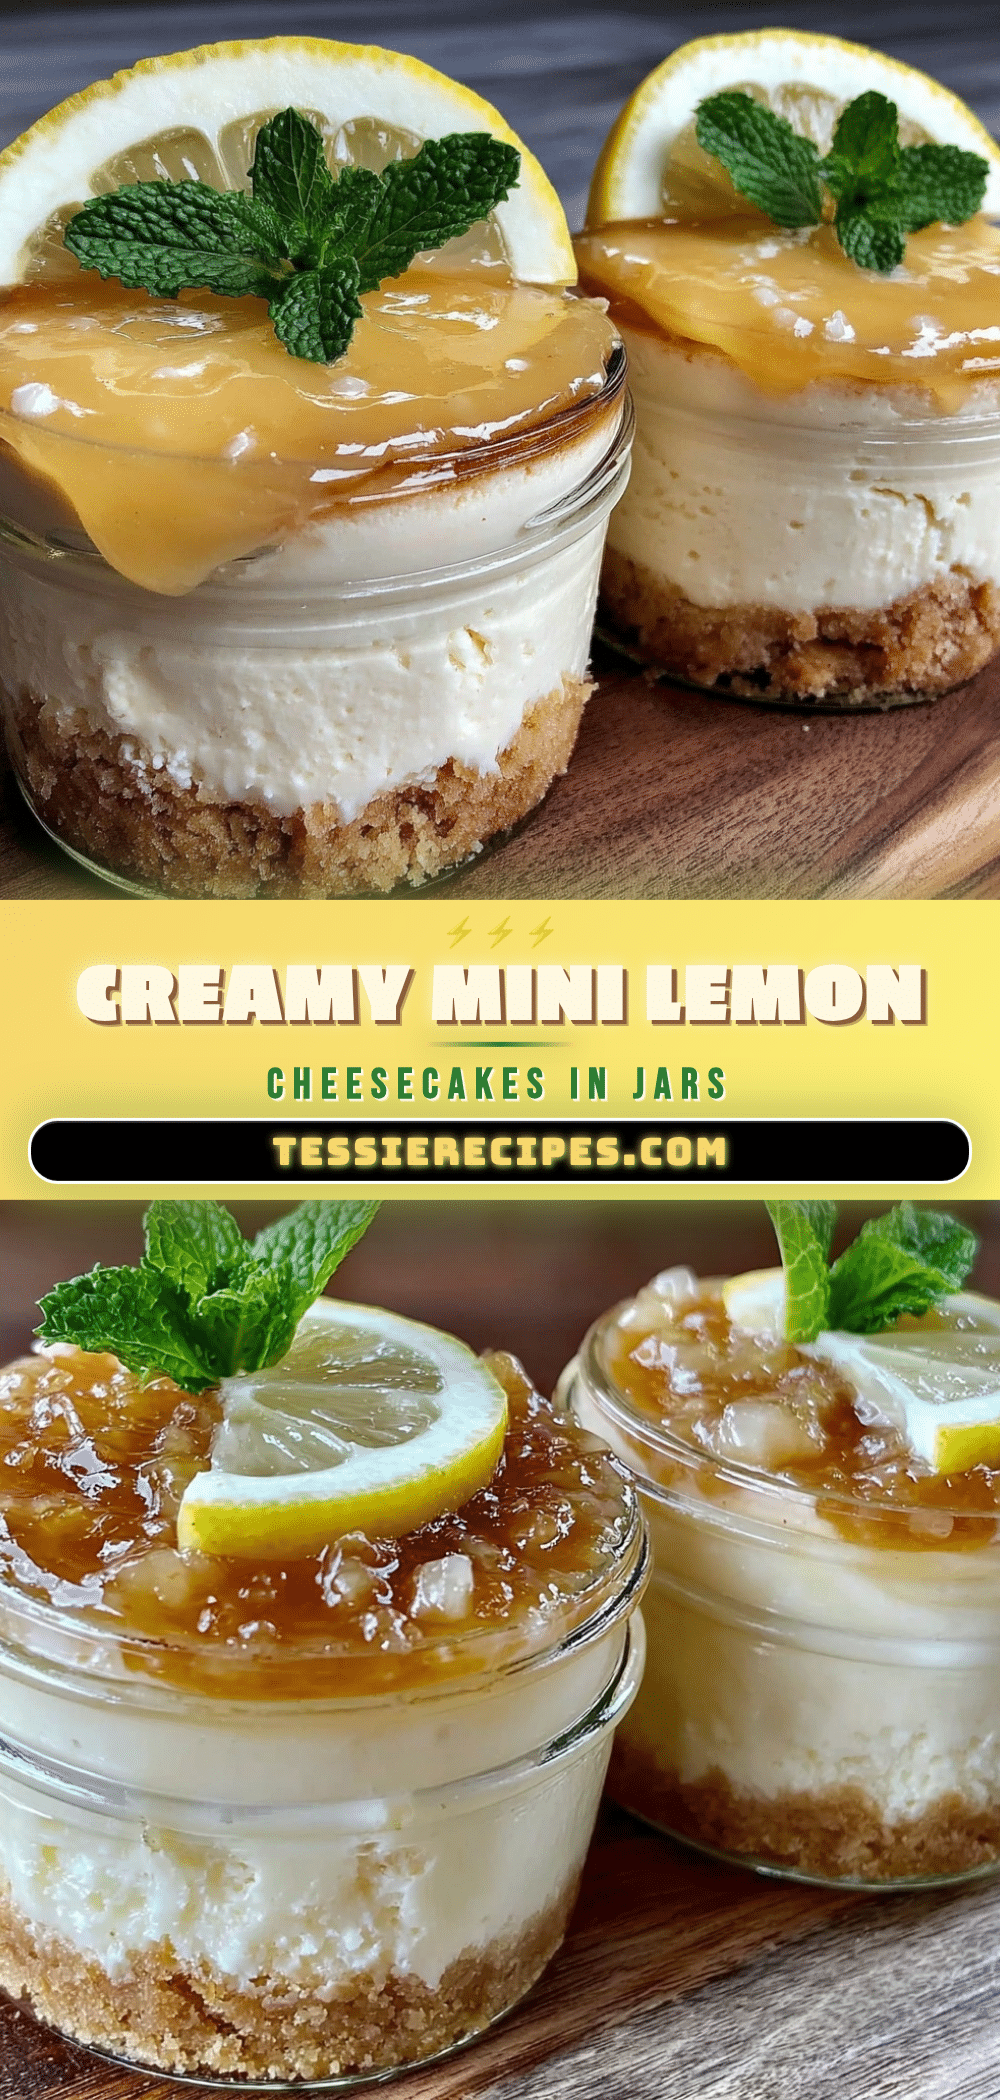
Creamy Mini Lemon Cheesecakes in Mason Jars

These creamy mini lemon cheesecakes in mason jars are a quick, easy, and crowd-pleasing dessert featuring a crisp graham cracker crust and a smooth, tangy lemon filling. Perfect for parties or casual get-togethers, they are charming, portable, and delicious.
- Prep Time: 30 minutes
- Cook Time: 30 minutes
- Total Time: 4 hours 60 minutes (including chilling)
- Yield: 6 servings 1x
- Category: Dessert
- Cuisine: American
Ingredients
- 1 cup graham cracker crumbs (about 100g)
- 2 tablespoons granulated sugar
- 4 tablespoons unsalted butter, melted (about 56g)
- 16 ounces (450g) cream cheese, softened
- 2/3 cup granulated sugar
- 2 large eggs, room temperature
- 1/4 cup sour cream (about 60ml)
- 2 tablespoons all-purpose flour
- Juice and zest of 2 medium lemons
- 1 teaspoon pure vanilla extract
- Fresh berries (optional, for topping)
- Whipped cream or powdered sugar (optional, for topping)
Instructions
- Preheat your oven to 325°F (160°C). Place your mason jars on a baking sheet for stability during baking.
- In a bowl, mix together graham cracker crumbs, sugar, and melted butter until the mixture resembles wet sand. Divide the crust evenly among the jars, pressing firmly into the bottom (about 2 tablespoons per jar).
- Bake the crust for 8 minutes. Remove from the oven and set aside to cool slightly.
- In a large bowl, beat the softened cream cheese with a hand or stand mixer on medium speed until smooth and creamy, about 2-3 minutes. Scrape down the sides to avoid lumps.
- Add sugar and beat again until well combined and slightly fluffy, about 1-2 minutes.
- Mix in eggs one at a time, beating gently after each addition to keep air bubbles minimal.
- Add sour cream, flour, lemon zest, lemon juice, and vanilla extract. Beat on low speed just until combined.
- Pour the filling evenly into each jar, filling about 3/4 full.
- Set up a water bath by carefully pouring hot water into the baking sheet until it reaches halfway up the sides of the jars.
- Bake for 25-30 minutes, or until the edges are set but the centers still jiggle slightly when you gently shake the pan.
- Remove the jars from the water bath and cool to room temperature on a wire rack.
- Refrigerate at least 4 hours or overnight.
- Before serving, add fresh berries or whipped cream on top, or dust with powdered sugar.
Notes
Use softened cream cheese for a smooth batter. Avoid overmixing eggs to prevent cracks. Use a water bath to keep cheesecakes moist and crack-free. Press crust firmly to avoid crumbling. Chill cheesecakes overnight for best texture. Smaller jars may require less baking time. Can substitute gluten-free crumbs or dairy-free alternatives as needed.
Nutrition
- Serving Size: 1 mini cheesecake in
- Calories: 290
- Fat: 20
- Carbohydrates: 22
- Protein: 5
Keywords: mini lemon cheesecakes, mason jar desserts, lemon cheesecake, easy cheesecake recipe, party desserts, creamy lemon dessert



