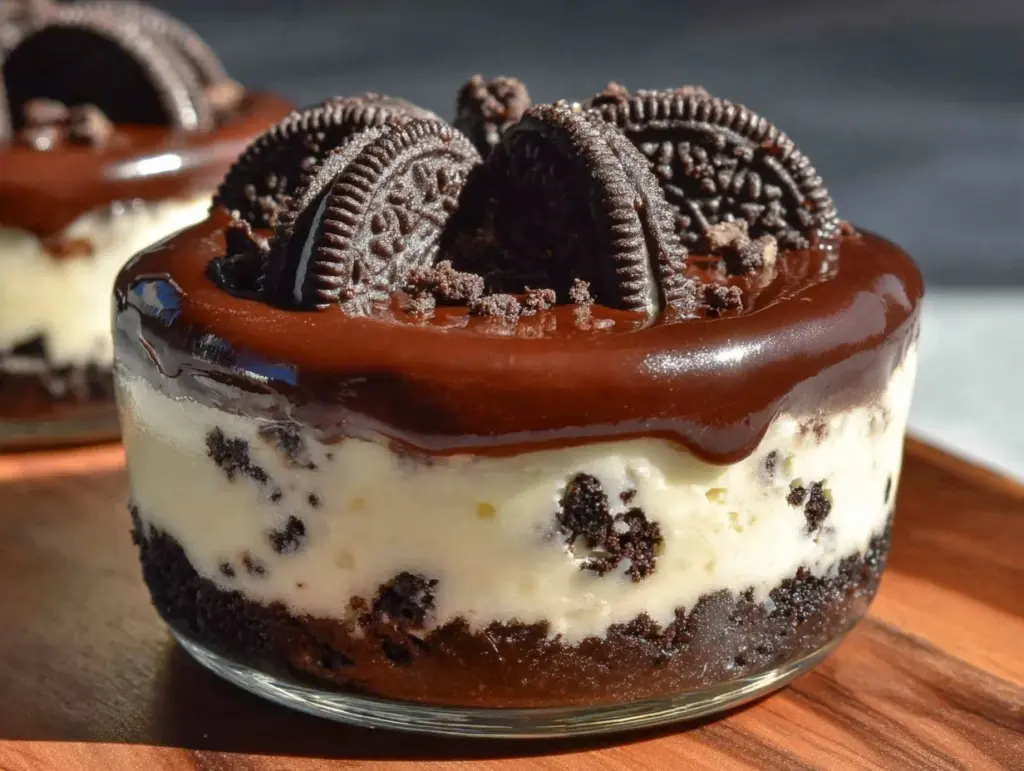
“You seriously have to try this Oreo cheesecake,” my friend Lisa texted me one rainy afternoon. Honestly, I was skeptical — no-bake desserts often feel like a shortcut that sacrifices flavor. But that day, with a thunderstorm humming outside and zero motivation to bake, I gave in. The whole thing came together in about five minutes, no oven fuss, and the creamy texture was something else.
That first bite was a quiet revelation — all the richness and comfort of cheesecake without the wait or heat. And the crushed Oreos? They added just the right punch of crunch and chocolatey goodness. Ever since that rainy afternoon, this creamy no-bake Oreo cheesecake delight has been my go-to when I want something sweet but easy. It’s the kind of dessert that feels like a little treat for yourself, but also impresses guests with zero stress.
What’s funny is how it started as a casual suggestion from a friend, but quickly became a staple in my kitchen. I’ve made it multiple times in a week before, tweaking it here and there (though honestly, the original is pretty spot-on). This recipe stuck because it’s dependable, indulgent, and just downright delicious — perfect for those moments when you want dessert now, not later.
So, if you’ve ever felt unsure about no-bake cheesecakes, this one might just change your mind. It’s creamy, Oreo-packed, and easy enough to whip up after a long day. Plus, it pairs beautifully with a cup of coffee or a cold glass of milk — giving you that cozy, satisfying dessert moment you didn’t know you needed.
Why You’ll Love This Creamy No-Bake Oreo Cheesecake Delight
After testing this recipe countless times — sometimes because I couldn’t resist, other times because friends insisted — I can say with confidence this is a keeper. The balance of creamy filling and Oreo crunch is just right. Here’s why it deserves a spot in your dessert repertoire:
- Quick & Easy: Ready in under 10 minutes, which is perfect for busy evenings or last-minute dessert emergencies.
- Simple Ingredients: No fancy stuff needed — just cream cheese, Oreos, butter, and some sugar. Chances are, you have these in your pantry or fridge already.
- Perfect for Any Occasion: Whether it’s a casual family dinner, a potluck, or a cozy weekend treat, this cheesecake fits right in.
- Crowd-Pleaser: Kids love the Oreo crunch, adults appreciate the creamy texture, and everyone asks for seconds.
- Unbelievably Delicious: The filling is silky smooth thanks to whipped cream folded in, and the crust has that buttery Oreo base that hits all the right notes.
- Distinctive Twist: I like to blend a few Oreos into the filling itself for an extra chocolate punch — it’s a little trick that makes this different from other no-bake cheesecakes you’ve tried.
This isn’t just another no-bake dessert. It’s that kind of recipe where you close your eyes and savor the creaminess balanced with cookie crunch. Honestly, it’s become my easy answer for when I want something indulgent but without the oven hassle. If you appreciate desserts like the triple chocolate mousse bars for their creamy texture but want a simpler method, this cheesecake will win you over too.
What Ingredients You Will Need
This recipe uses straightforward, pantry-friendly ingredients to deliver big flavor and creamy texture without any fuss. Here’s the lineup:
- For the Crust:
- 24 Oreo cookies (crushed; I prefer regular Oreos for that perfect balance of sweetness and cocoa)
- 6 tablespoons unsalted butter, melted (adds richness and helps the crust hold together)
- For the Filling:
- 16 ounces (450g) cream cheese, softened (use full-fat for best creaminess)
- 1 cup (120g) powdered sugar (for smooth sweetness)
- 1 teaspoon pure vanilla extract (enhances flavor depth)
- 1 cup (240ml) heavy whipping cream, cold (whipped to soft peaks for lightness)
- 6 Oreo cookies, finely crushed or chopped (folded into the filling for extra texture)
- Chocolate shavings or extra Oreo halves for garnish
- Substitution tip: Use dairy-free cream cheese and coconut cream if you want a vegan twist — it works surprisingly well!
- Mixing bowls (one large for the filling, one for whipping cream)
- Electric mixer or stand mixer (essential for whipping cream and smooth cream cheese blending)
- Food processor or rolling pin (for crushing Oreos finely; I find a rolling pin in a ziplock bag works well for a rustic crust)
- 9-inch (23cm) springform pan or a pie dish (springform pans make releasing the cheesecake easier)
- Spatula (for folding and spreading)
- Measuring cups and spoons
- Prepare the crust: Crush 24 Oreo cookies into fine crumbs using a food processor or by placing them in a ziplock bag and rolling with a rolling pin. Transfer crumbs to a bowl, then add 6 tablespoons melted unsalted butter and mix until combined. The mixture should feel like wet sand.
- Press crust into pan: Firmly press the Oreo crust mixture into the bottom of your 9-inch springform pan or pie dish, creating an even layer. Use the back of a spoon or a flat-bottomed glass. Chill in the fridge while preparing the filling (about 10 minutes).
- Make the filling base: In a large bowl, beat 16 ounces softened cream cheese until smooth and fluffy, about 2-3 minutes on medium speed. Add 1 cup powdered sugar and 1 teaspoon vanilla extract, continuing to beat until fully combined and creamy.
- Whip the cream: In a separate chilled bowl, whip 1 cup cold heavy cream to soft peaks. This means when you lift the whisk, peaks hold but the tips curl over slightly.
- Fold whipped cream: Gently fold the whipped cream into the cream cheese mixture using a spatula. Do this carefully to keep the filling light and airy—folding takes patience but it’s worth it.
- Add Oreo pieces: Fold in 6 finely crushed or chopped Oreo cookies into the filling for that extra texture and chocolate burst.
- Assemble cheesecake: Spoon the filling over the chilled crust and smooth the top with a spatula. Cover loosely with plastic wrap and refrigerate for at least 4 hours, preferably overnight, to let it set properly.
- Serve: Remove the cheesecake from the springform pan, garnish with extra Oreos or chocolate shavings if desired, slice, and enjoy!
- Softened Cream Cheese is Key: If your cream cheese is too cold, you’ll get lumps and a gritty texture. Let it sit at room temp for 30 minutes or microwave briefly to soften.
- Whip Cream Just Right: Whipping the heavy cream to soft peaks is crucial. Over-whip and you risk turning it into butter; under-whip and the filling won’t be light.
- Folding Technique: Fold, don’t stir the whipped cream into the cream cheese mixture. This keeps the filling airy and smooth.
- Crust Pressing: Don’t skip pressing the crust firmly into the pan — it helps keep the base intact when slicing.
- Chill Time: Patience is a virtue here — refrigerating for at least 4 hours lets the flavors meld and filling set. I’ve learned the hard way that less time means a softer, messier slice.
- Oreo Variations: Try mixing in some crushed Golden Oreos for a fun twist, or swirl in a little peanut butter for an indulgent surprise.
- Multitasking Tip: While the crust chills, whip your cream and prepare the filling — saves time and keeps things moving smoothly.
- Chocolate Lovers: Add a layer of melted dark chocolate over the crust before adding the filling for a double chocolate effect.
- Fruit Twist: Fold in fresh raspberries or strawberries into the filling for a fruity surprise that pairs wonderfully with the Oreo base.
- Gluten-Free: Use gluten-free sandwich cookies to make this dessert safe for gluten-sensitive eaters. The texture will be just as creamy and satisfying.
- Vegan Option: Swap cream cheese for vegan cream cheese, and heavy cream for whipped coconut cream. It’s a bit different but still very tasty.
- Mini Cheesecakes: Portion the crust and filling into individual ramekins or muffin tins for easy-to-serve single servings — perfect for parties or meal prep.
Optional:
For best results, choose cream cheese brands like Philadelphia which tend to deliver that silky texture. And don’t skimp on quality Oreos — they’re the star here. If you want a gluten-free version, Oreo-style gluten-free cookies are an easy swap.
Equipment Needed
If you don’t have an electric mixer, whisking by hand is possible but arm workout alert! I’ve used both a handheld mixer and a stand mixer; the stand mixer saves time and gives the creamiest results. For budget-friendly options, a simple hand mixer like the Hamilton Beach works fine and won’t break the bank.
Preparation Method
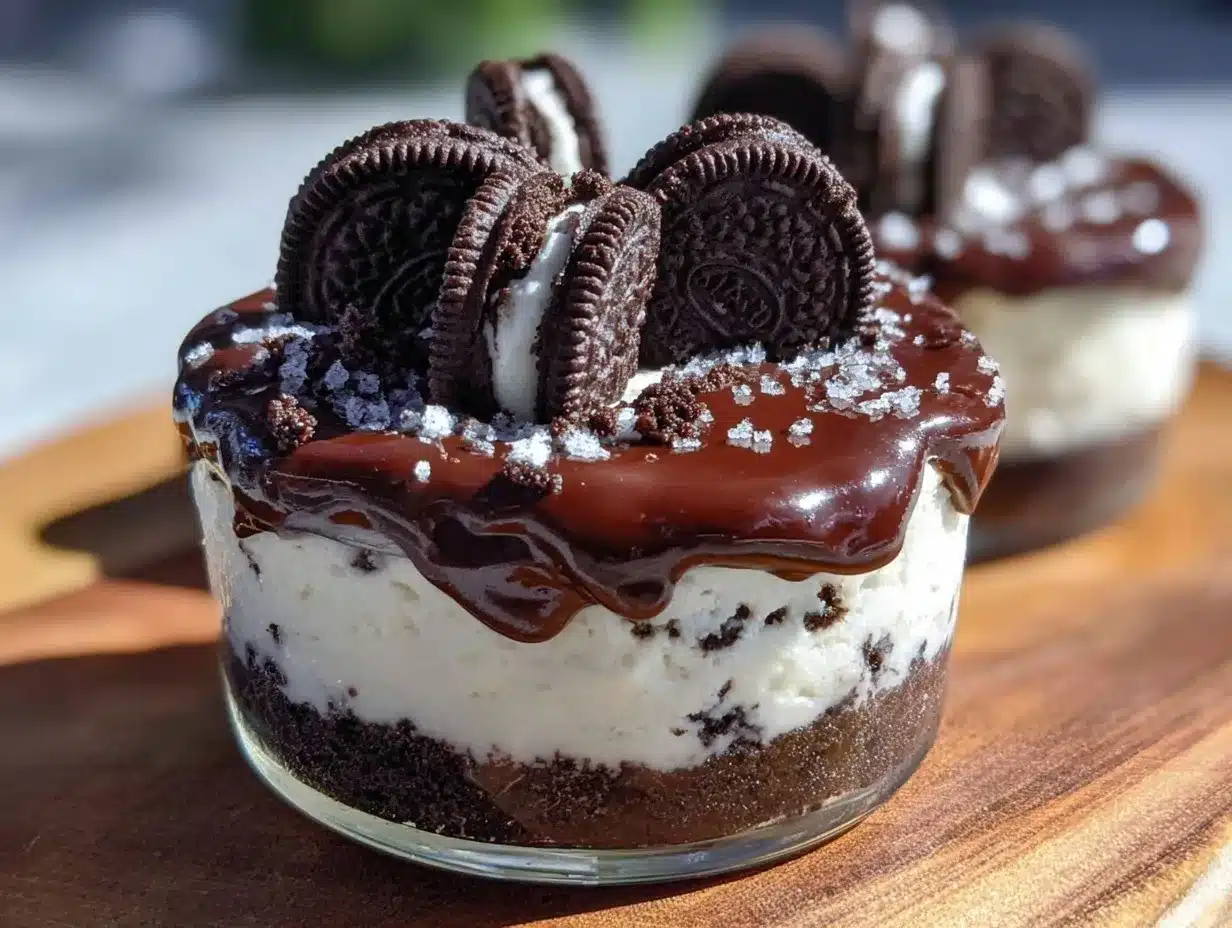
Note: If your cream cheese isn’t fully softened, you might get lumps — try microwaving it in 10-second bursts if needed. Also, don’t over-whip the cream or it can turn grainy. Look for that perfect soft peak stage.
This simple process is forgiving but following these cues helps you nail creamy texture every time. It’s a dessert that feels fancy but comes together like a breeze.
Cooking Tips & Techniques
From my many attempts, here’s what I’ve learned about making the perfect no-bake Oreo cheesecake:
Variations & Adaptations
This recipe is a flexible canvas for all sorts of delicious twists and dietary needs:
One personal variation I adore is folding in some crunchy toffee bits along with the Oreos — adds a subtle caramel crunch that’s addictive. Also, if you want to turn this into a layered dessert, try alternating layers of Oreo crust and filling in a trifle dish.
Serving & Storage Suggestions
This cheesecake is best served chilled, straight from the fridge, when it’s cool and firm. You can slice it into wedges or scoop into bowls for a casual approach. Garnish with extra Oreo halves or a drizzle of chocolate sauce for eye appeal.
Pairing it with a strong cup of coffee or a simple cold glass of milk balances the sweetness perfectly. For a fun twist, serve alongside a scoop of vanilla ice cream or fresh berries.
Store leftovers covered in the refrigerator for up to 4 days. It keeps surprisingly well, and the flavors develop more depth over time. If you want to freeze it, wrap tightly and freeze for up to 2 months. Thaw in the fridge overnight before serving.
Reheating isn’t recommended — this cheesecake shines cold and creamy. But if you want a softer texture, let it sit at room temperature for 10-15 minutes before serving.
Nutritional Information & Benefits
Here’s a rough estimate per serving (based on 8 slices):
| Calories | 420 |
|---|---|
| Fat | 30g |
| Carbohydrates | 35g |
| Protein | 6g |
| Sugar | 25g |
This dessert is a rich treat, thanks to the cream cheese and Oreos, so it’s best enjoyed in moderation. The cream cheese provides calcium and protein, while the heavy cream adds fat that helps with satiety. For those watching carbs, you might consider a low-carb cookie substitute or reducing sugar slightly.
Keep in mind this recipe contains dairy and gluten (from Oreos), so it’s not suitable for those with allergies without substitutions. Despite the indulgence, it’s a relatively straightforward ingredient list without preservatives or additives, which I appreciate.
Conclusion
This creamy no-bake Oreo cheesecake delight has become my shortcut to dessert happiness. It’s simple enough for weeknights yet special enough for guests. The balance of creamy filling and chocolate cookie crunch is just right — not too sweet, not too heavy.
The best part? You can tweak it to your taste, whether that’s adding fruit, making it vegan, or turning it into individual servings. I love having this recipe in my back pocket for those moments when I want a quick, delicious dessert that feels like a warm hug.
If you give it a try, I’d love to hear how you make it your own — leave a comment or share your favorite variation. Sweet treats like this are meant to be shared, after all!
FAQs About Creamy No-Bake Oreo Cheesecake Delight
Can I use a different cookie instead of Oreos for the crust?
Absolutely! Chocolate wafer cookies or even graham crackers work well. Just crush them finely and mix with melted butter the same way.
How long does it take for the cheesecake to set properly?
At least 4 hours in the fridge is ideal, but overnight chilling gives the best texture and flavor.
Can I make this dessert ahead of time for a party?
Yes! It’s perfect for making a day ahead. Just cover and refrigerate until serving.
Is it possible to freeze this cheesecake?
You can freeze it tightly wrapped for up to 2 months. Thaw it overnight in the fridge before serving to maintain texture.
What if I don’t have a springform pan?
No worries — a regular pie dish or any round baking dish will work. Just be gentle when slicing to keep the crust intact.
Pin This Recipe!
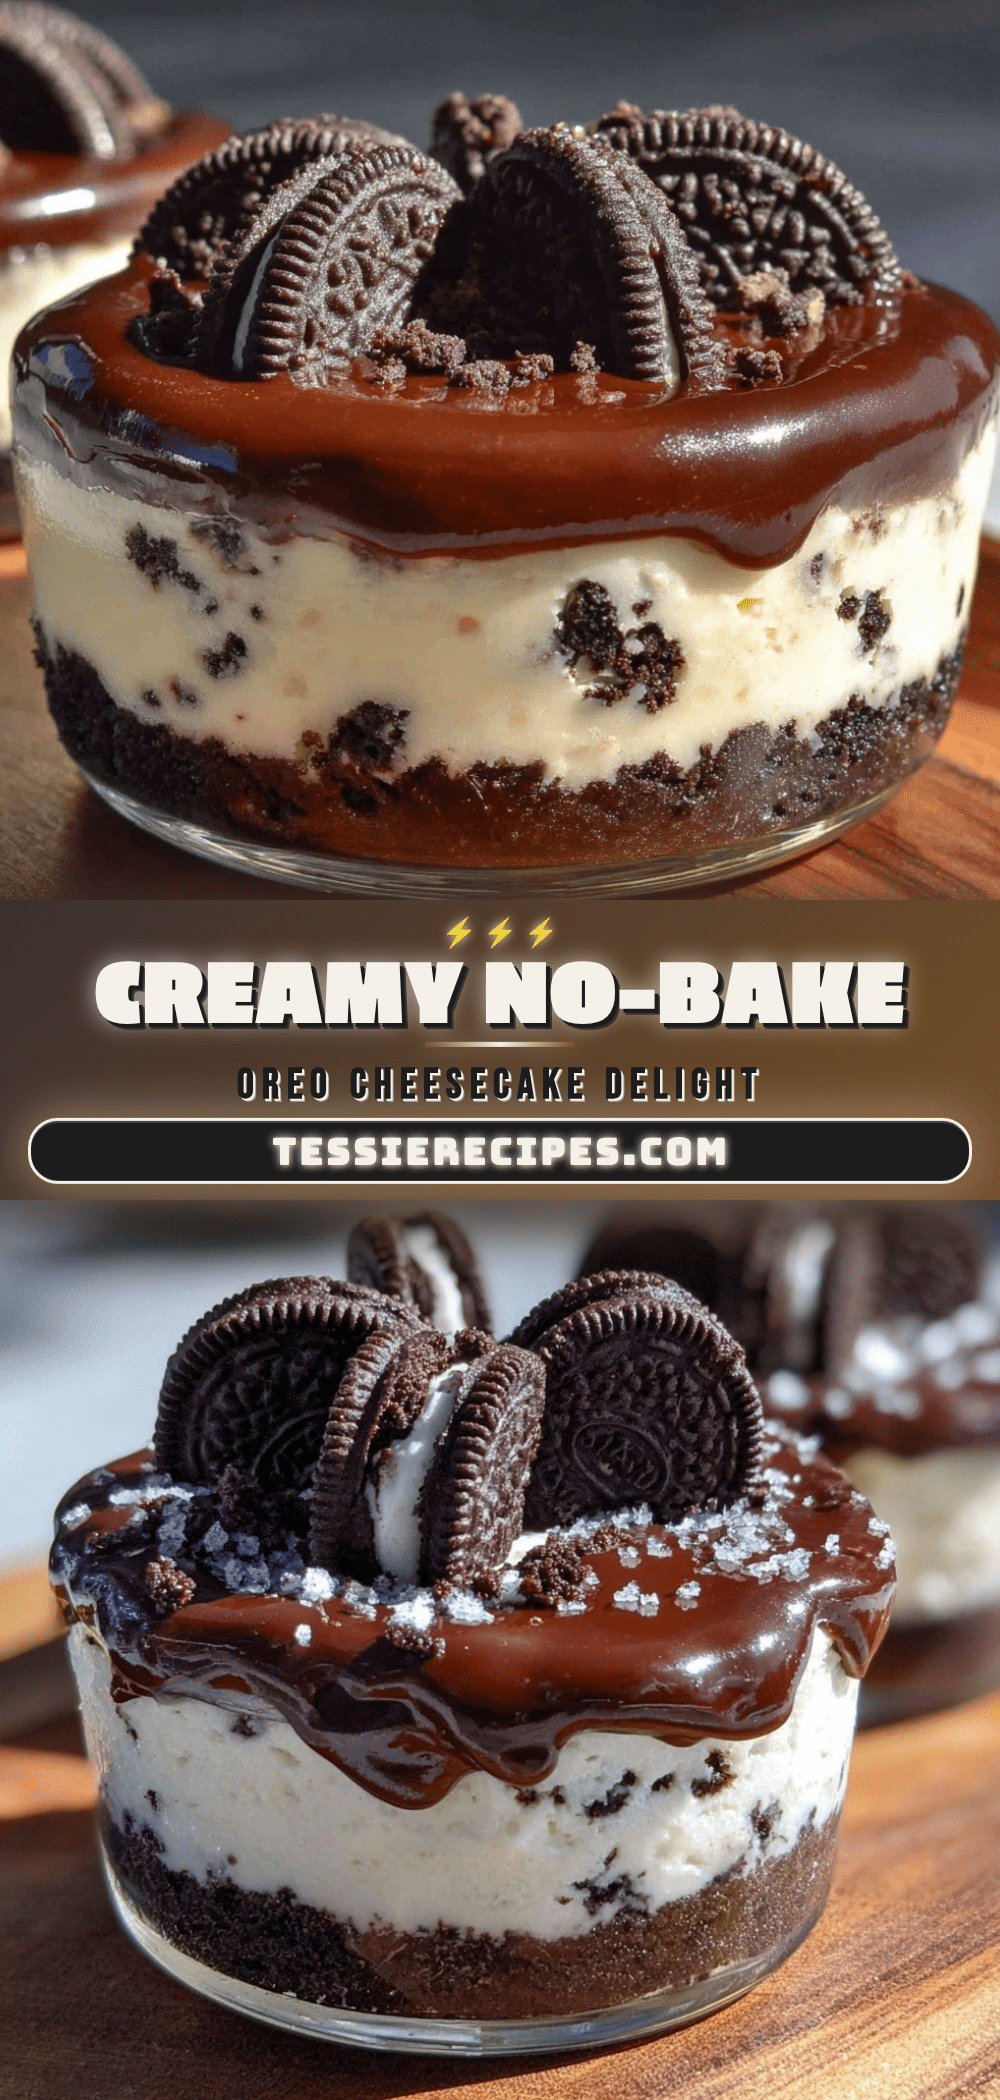
Creamy No-Bake Oreo Cheesecake Delight

A quick and easy no-bake Oreo cheesecake with a creamy filling and crunchy Oreo crust, perfect for an indulgent dessert without the oven.
- Prep Time: 10 minutes
- Cook Time: 0 minutes
- Total Time: 4 hours 10 minutes
- Yield: 8 servings 1x
- Category: Dessert
- Cuisine: American
Ingredients
- 24 Oreo cookies (crushed)
- 6 tablespoons unsalted butter, melted
- 16 ounces (450g) cream cheese, softened
- 1 cup (120g) powdered sugar
- 1 teaspoon pure vanilla extract
- 1 cup (240ml) heavy whipping cream, cold
- 6 Oreo cookies, finely crushed or chopped
- Optional: Chocolate shavings or extra Oreo halves for garnish
Instructions
- Crush 24 Oreo cookies into fine crumbs using a food processor or rolling pin in a ziplock bag.
- Mix Oreo crumbs with 6 tablespoons melted unsalted butter until combined and the mixture feels like wet sand.
- Press the crust mixture firmly into the bottom of a 9-inch springform pan or pie dish to form an even layer. Chill in the fridge for about 10 minutes.
- In a large bowl, beat 16 ounces softened cream cheese until smooth and fluffy (2-3 minutes on medium speed).
- Add 1 cup powdered sugar and 1 teaspoon vanilla extract to the cream cheese and beat until fully combined and creamy.
- In a separate chilled bowl, whip 1 cup cold heavy cream to soft peaks.
- Gently fold the whipped cream into the cream cheese mixture to keep it light and airy.
- Fold in 6 finely crushed or chopped Oreo cookies into the filling.
- Spoon the filling over the chilled crust and smooth the top with a spatula.
- Cover loosely with plastic wrap and refrigerate for at least 4 hours, preferably overnight, to set.
- Remove from the pan, garnish with extra Oreos or chocolate shavings if desired, slice, and serve.
Notes
Use softened cream cheese to avoid lumps. Whip cream to soft peaks to keep filling light. Fold whipped cream gently into cream cheese mixture. Chill cheesecake at least 4 hours or overnight for best texture. For vegan version, substitute dairy-free cream cheese and coconut cream. Gluten-free option available using gluten-free sandwich cookies.
Nutrition
- Serving Size: 1 slice (1/8 of chee
- Calories: 420
- Sugar: 25
- Fat: 30
- Carbohydrates: 35
- Protein: 6
Keywords: no-bake cheesecake, Oreo cheesecake, easy dessert, quick dessert, creamy cheesecake, Oreo dessert, no-bake dessert



