Introduction
“You’re not making pudding from scratch, right?” That was my roommate’s skeptical text after I mentioned whipping up some old-fashioned chocolate pudding one evening. Honestly, I get it—instant packets are so easy, and who has time to stand over the stove stirring? But that night, in my tiny kitchen, with a few simple ingredients and a whisk that’s seen better days, I found myself stirring a pot of velvety chocolate pudding that felt like a warm hug. The smell alone was enough to make me pause and breathe in deeply, memories of childhood desserts flooding back.
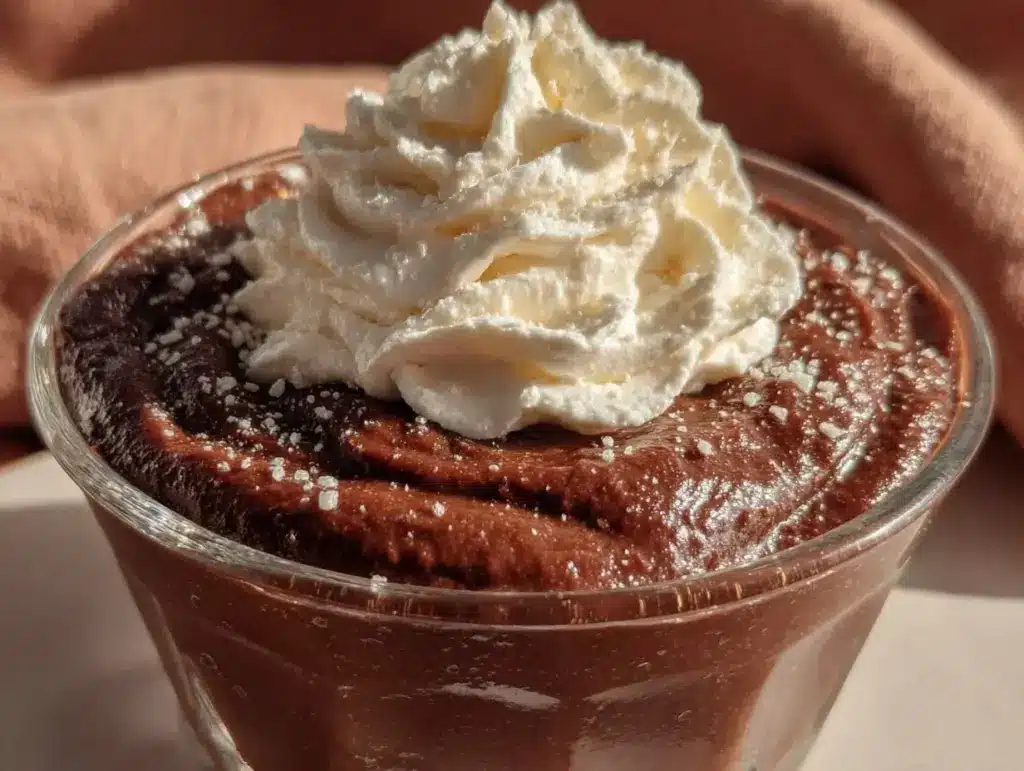
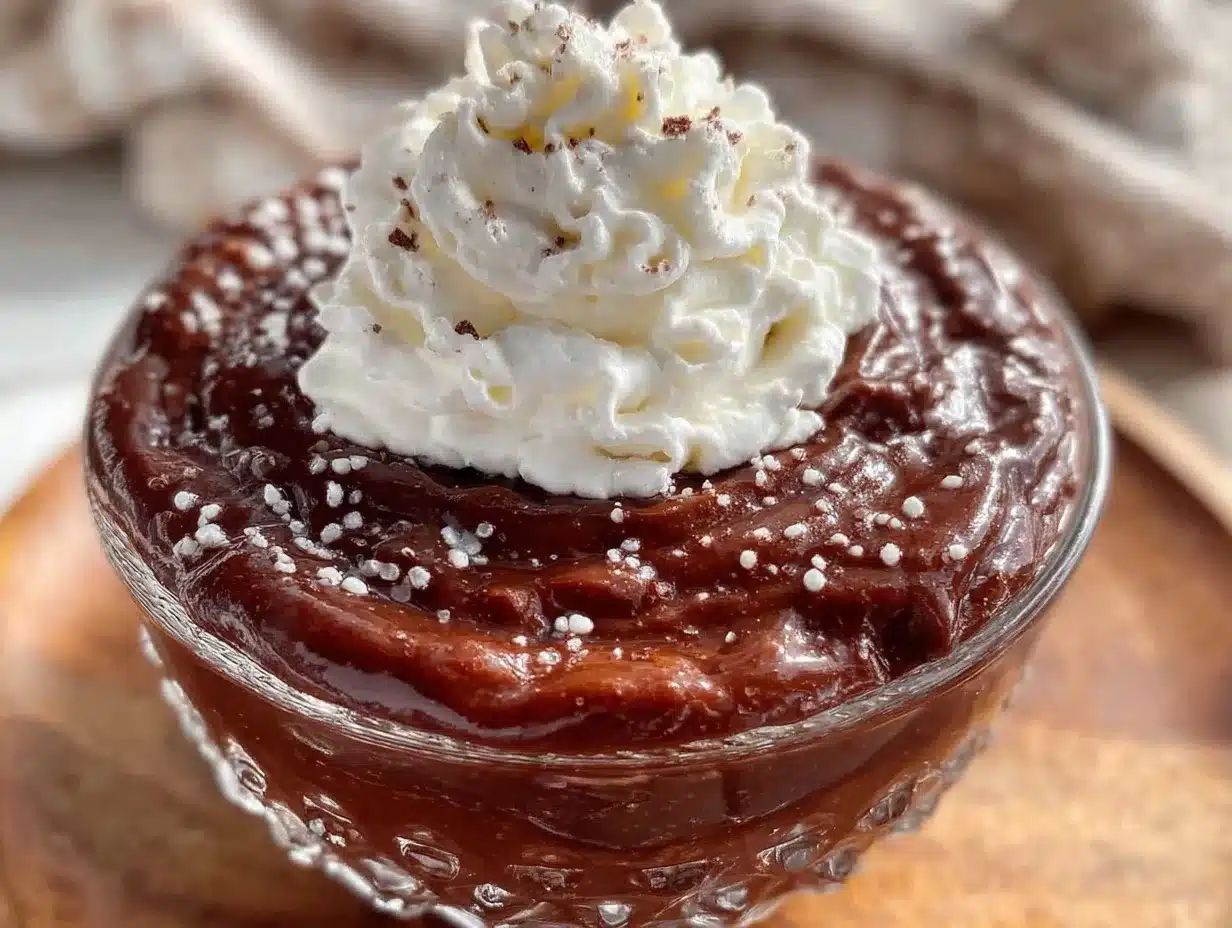
This recipe wasn’t just a nostalgic moment; it became my go-to comfort after long days when I needed something soothing but not complicated. The whipped cream topping? That’s the cherry on top—light, airy, and perfectly balancing the rich pudding underneath. It’s funny how a humble dessert like creamy old-fashioned chocolate pudding with whipped cream can turn an ordinary night into something memorable. I kept making it over and over, tweaking it just a little here and there until it felt just right.
What stuck with me is how this pudding, simple as it seems, offers that kind of creamy indulgence without fuss. No weird additives or mystery powders, just honest ingredients coming together in a way that’s both familiar and a quiet little joy. If you’re anything like me, sometimes a dessert that feels like a secret cozy corner is exactly what you need.
Why You’ll Love This Recipe
This creamy old-fashioned chocolate pudding recipe has been tested repeatedly in my kitchen, and it’s safe to say it hits all the right notes every time. Not only does it bring back memories, but it also impresses with its smooth texture and deep chocolate flavor that you just don’t get from boxed mixes.
- Quick & Easy: Ready in about 20 minutes from start to finish, making it ideal for busy weeknights or unexpected dessert cravings.
- Simple Ingredients: Uses common pantry staples like cocoa powder, sugar, and milk—no specialty items needed.
- Perfect for Any Occasion: Whether it’s a cozy night in, a casual dinner, or even a potluck, it fits right in.
- Crowd-Pleaser: Kids and adults alike keep coming back for seconds, especially once that whipped cream is added.
- Unbelievably Delicious: The pudding’s creamy texture and rich chocolate flavor make each spoonful feel like a special treat.
What really sets this pudding apart is the old-fashioned technique of slowly cooking the pudding on the stovetop, which gives it a silkiness you just can’t get from instant mixes. Plus, whipping your own cream topping means you control the sweetness and fluffiness, making it exactly how you like it. It’s not just dessert; it’s a little moment of calm and indulgence, perfect for turning a simple evening into something a bit more special.
What Ingredients You Will Need
This recipe uses simple, wholesome ingredients to deliver bold flavor and satisfying texture without the fuss. Most are pantry staples, and you probably already have them on hand.
- Granulated sugar – about ¾ cup (150g) for just the right sweetness, not overpowering.
- Unsweetened cocoa powder – ⅓ cup (35g), preferably Dutch-processed for a smoother, less bitter taste. I like brands like Valrhona or Ghirardelli for their rich flavor.
- Cornstarch – ¼ cup (30g) to give the pudding that classic thick, creamy consistency.
- Salt – a pinch, to balance and enhance the chocolate flavor.
- Whole milk – 3 cups (720ml), but you can swap for 2% or even almond milk for a lighter or dairy-free option.
- Unsalted butter – 2 tablespoons (28g), adds richness and a glossy finish.
- Vanilla extract – 1 teaspoon for warmth and depth.
For the whipped cream topping:
- Heavy whipping cream – 1 cup (240ml), chilled for best whipping results.
- Powdered sugar – 2 tablespoons (16g), to lightly sweeten.
- Vanilla extract – ½ teaspoon to complement the pudding.
If you want to add a little extra something, a sprinkle of cinnamon or a dash of espresso powder in the pudding can make the chocolate flavor pop even more.
Equipment Needed
For this creamy old-fashioned chocolate pudding with whipped cream, you won’t need anything fancy—just the basics:
- Medium-sized saucepan: A good non-stick one helps prevent the pudding from sticking and burning.
- Whisk: Essential for stirring the pudding constantly. A balloon whisk works best to keep everything smooth and lump-free.
- Mixing bowls: One for mixing dry ingredients and another chill bowl for whipping cream.
- Measuring cups and spoons: Accuracy matters here for that perfect texture.
- Rubber spatula: Handy for scraping every bit of pudding from the pot into your serving dishes.
- Electric mixer or hand whisk: To whip the cream topping to fluffy perfection.
If you don’t have an electric mixer, don’t sweat it—whipping cream by hand takes a bit longer, but the satisfaction is worth it. I’ve tried this recipe with both a stainless steel saucepan and my trusty ceramic one, and both work well. Just keep an eye on the heat!
Preparation Method
- Mix dry ingredients: In your medium saucepan, whisk together ¾ cup (150g) granulated sugar, ⅓ cup (35g) unsweetened cocoa powder, ¼ cup (30g) cornstarch, and a pinch of salt. Make sure there are no lumps; this base is key to smooth pudding.
- Add milk slowly: Gradually pour in 3 cups (720ml) whole milk, whisking constantly as you go to combine everything evenly. This prevents lumps from forming early on.
- Cook over medium heat: Place the saucepan over medium heat and keep whisking constantly. It usually takes about 8–10 minutes for the mixture to thicken—be patient and don’t stop stirring, or you risk burning or clumps forming.
- Look for thickening: You’ll notice the pudding start to bubble and thicken to a consistency where it coats the back of a spoon. That’s your cue to remove it from heat.
- Add butter and vanilla: Stir in 2 tablespoons (28g) unsalted butter and 1 teaspoon vanilla extract until melted and fully incorporated. This step makes the pudding shiny and smooth.
- Cool the pudding: Pour the pudding into individual serving dishes or a large bowl. To prevent a skin from forming, press a piece of plastic wrap directly onto the surface. Let it cool to room temperature, then refrigerate for at least 2 hours to set.
- Whip the cream: While pudding chills, beat 1 cup (240ml) heavy whipping cream with 2 tablespoons (16g) powdered sugar and ½ teaspoon vanilla extract until soft peaks form. Be careful not to overwhip or you’ll end up with butter!
- Serve: Spoon or pipe the whipped cream generously on top of the chilled pudding. For a little extra fun, sprinkle with shaved chocolate or a pinch of cocoa powder.
Pro tip: If lumps sneak in, you can pass the warm pudding through a fine mesh sieve before cooling. Also, stirring constantly while cooking is not optional here—trust me, I learned that the hard way.
Cooking Tips & Techniques
Getting that perfectly creamy old-fashioned chocolate pudding is all about patience and attention.
- Constant stirring: Stirring nonstop while cooking prevents lumps and scorching. A whisk is your best friend here.
- Heat control: Medium heat is ideal. Too hot, and the pudding can curdle or scorch; too low, and it takes forever to thicken.
- Ingredient temperature: Using room temperature milk helps the pudding thicken more evenly.
- Don’t skip the butter: It’s the secret to that silky mouthfeel and glossy finish—trust me, it’s worth it.
- Chill time: Be patient letting the pudding cool and set in the fridge; it thickens and firms up beautifully.
- Whipping cream tips: Chill your bowl and beaters before whipping. Start slow and increase speed to avoid splatters. Stop once soft peaks form for the best texture.
One time, I rushed the cooling step and ended up with a pudding that was more like a warm sauce—tasty but not quite pudding. Lesson learned: the fridge is your friend. Also, I once accidentally used baking cocoa instead of unsweetened cocoa, and the bitterness was too much. So double-check your cocoa type!
Variations & Adaptations
This recipe is a great base for tweaks and personal touches, so don’t hesitate to experiment:
- Vegan version: Swap whole milk for unsweetened almond or oat milk, and use coconut cream for the whipped topping. Cornstarch thickens just as well with plant milk.
- Spiced chocolate pudding: Add a pinch of cinnamon, nutmeg, or even a dash of chili powder to the dry ingredients for a warming twist.
- Mocha pudding: Stir in 1 teaspoon instant espresso powder with the cocoa for a coffee-chocolate combo that’s irresistible.
- Fruit topping: Instead of whipped cream, top with fresh raspberries or sliced strawberries for a bright contrast.
- Personal favorite: I like to fold in finely chopped toasted pecans into the pudding before chilling for a bit of crunch and nuttiness.
You can also serve the pudding warm for a cozy treat or layer it with crushed cookies or graham crackers for a quick chocolate parfait. For a thinner pudding, reduce cornstarch slightly; for extra thick, add a little more.
Serving & Storage Suggestions
This pudding shines best chilled, so plan to make it a few hours ahead or even the day before. Serve it in small glass bowls or vintage dessert dishes for that old-fashioned vibe.
Garnishing with whipped cream is non-negotiable in my book—its lightness balances the rich chocolate perfectly. If you want to get fancy, a dusting of cocoa powder or a few chocolate shavings add a nice touch.
Store leftovers covered in the fridge for up to 3 days. The pudding thickens and flavors mellow as it rests, making it even better the next day. If the whipped cream loses some volume, just give it a quick whisk before serving again.
Reheating pudding isn’t ideal—it can separate—so I recommend enjoying it cold. However, if you do want to warm it slightly, do so gently in a microwave-safe bowl with short bursts and stir often.
For a fun twist, this pudding pairs wonderfully with a crisp cookie or a tart fruit salad. It’s also a comforting finish after hearty meals like the slow cooker creamy chicken taco soup, balancing spices with sweet creaminess.
Nutritional Information & Benefits
Each serving of this creamy old-fashioned chocolate pudding with whipped cream roughly contains:
| Calories | 250-300 |
|---|---|
| Fat | 12g (mostly from butter and cream) |
| Carbohydrates | 35g (from sugar and milk) |
| Protein | 5g (milk-based) |
| Fiber | 2g (from cocoa powder) |
This dessert offers antioxidants thanks to the cocoa powder, and by making it from scratch you avoid preservatives and additives often found in instant mixes. The recipe is gluten-free as long as you ensure your cocoa powder and other ingredients are certified gluten-free. For a lower-sugar version, reduce the sugar slightly or substitute a natural sweetener like maple syrup.
From a wellness perspective, I find this pudding a satisfying treat that feels indulgent but not overwhelming—perfect when you want a bit of comfort without overdoing it.
Conclusion
This creamy old-fashioned chocolate pudding with whipped cream is one of those recipes that feels like a quiet celebration. It’s simple, honest, and made with ingredients you trust. I love how it brings a little comfort and nostalgia without any fuss, making it perfect for both busy weeknights and slow Sunday afternoons.
Feel free to make it your own—adjust the sweetness, try the variations, add your favorite toppings. It’s a recipe that invites you to get cozy and enjoy something sweet in a straightforward, satisfying way.
When you try it, I’d love to hear how it turns out or what little twists you add. There’s something about sharing these small indulgences that makes them feel even better—so don’t be shy with your comments or recipe adaptations. Here’s to many creamy, chocolatey moments ahead!
Frequently Asked Questions (FAQs)
Can I use skim or plant-based milk instead of whole milk?
Yes! Skim milk will work but the pudding may be less rich. For plant-based options, unsweetened almond or oat milk works well; just watch the texture as some brands are thinner.
How do I prevent a skin from forming on the pudding?
Press plastic wrap directly onto the surface of the pudding while it’s cooling. This barrier stops the skin from forming and keeps the texture smooth.
Can I make the pudding ahead of time?
Absolutely! It actually tastes better after chilling for a few hours or overnight. Just add the whipped cream topping right before serving.
What’s the best cocoa powder to use?
For smooth flavor, Dutch-processed cocoa powder is ideal. Natural cocoa works too but has a more acidic, sharper taste. Brands like Ghirardelli or Valrhona deliver consistent quality.
How can I store leftover pudding?
Store in an airtight container in the refrigerator for up to 3 days. The pudding will thicken over time; whisk gently before serving if needed.
PrintCreamy Old-Fashioned Chocolate Pudding Recipe with Easy Whipped Cream Topping

A nostalgic, creamy chocolate pudding made from scratch with simple pantry ingredients, topped with light and airy homemade whipped cream. Perfect for a comforting dessert that feels like a warm hug.
- Prep Time: 10 minutes
- Cook Time: 10 minutes
- Total Time: 20 minutes plus 2 hours chilling
- Yield: 4 servings 1x
- Category: Dessert
- Cuisine: American
Ingredients
- ¾ cup (150g) granulated sugar
- ⅓ cup (35g) unsweetened cocoa powder (preferably Dutch-processed)
- ¼ cup (30g) cornstarch
- Pinch of salt
- 3 cups (720ml) whole milk (can substitute 2% or almond milk)
- 2 tablespoons (28g) unsalted butter
- 1 teaspoon vanilla extract
- For whipped cream topping:
- 1 cup (240ml) heavy whipping cream, chilled
- 2 tablespoons (16g) powdered sugar
- ½ teaspoon vanilla extract
Instructions
- In a medium saucepan, whisk together granulated sugar, unsweetened cocoa powder, cornstarch, and a pinch of salt until smooth and lump-free.
- Gradually pour in whole milk while whisking constantly to combine evenly and prevent lumps.
- Place saucepan over medium heat and whisk constantly for 8–10 minutes until the mixture thickens and bubbles, coating the back of a spoon.
- Remove from heat and stir in unsalted butter and vanilla extract until melted and fully incorporated.
- Pour pudding into serving dishes and press plastic wrap directly onto the surface to prevent skin formation. Let cool to room temperature, then refrigerate for at least 2 hours to set.
- While pudding chills, beat heavy whipping cream with powdered sugar and vanilla extract until soft peaks form, being careful not to overwhip.
- Serve pudding chilled topped generously with whipped cream. Optionally, garnish with shaved chocolate or a dusting of cocoa powder.
Notes
Constant stirring is essential to prevent lumps and burning. Use medium heat for best results. Press plastic wrap on pudding surface while cooling to avoid skin formation. Chill pudding for at least 2 hours for proper setting. Whip cream until soft peaks form to avoid turning it into butter. For vegan version, substitute milk with almond or oat milk and use coconut cream for topping.
Nutrition
- Serving Size: About 1/2 cup puddin
- Calories: 275
- Sugar: 30
- Sodium: 100
- Fat: 12
- Saturated Fat: 7
- Carbohydrates: 35
- Fiber: 2
- Protein: 5
Keywords: chocolate pudding, old-fashioned pudding, homemade pudding, whipped cream topping, easy dessert, creamy chocolate dessert



