
It was one of those evenings where the day just refused to slow down—emails piling up, the kids asking for snacks, and the fridge looking pretty sad. Honestly, I wanted something that felt like a warm hug but didn’t involve pulling out a dozen ingredients or waiting forever. That’s when the idea for this crispy cheesy garlic bread pull-apart came together, almost by accident. I had a loaf of crusty bread that was on its last day of glory, some cheese that needed to be used, and garlic—because, well, garlic always makes things better.
I wasn’t expecting much at first, just a quick fix to calm the chaos. But as it baked, the smell alone was like a little miracle—golden, bubbling cheese mingling with toasted garlic and butter, crisping up the edges perfectly. When I finally tore into it, the combination of crunchy crust and melty, gooey center was nothing short of magic. It’s the kind of snack that turns an ordinary night into something a bit more special, without any fuss.
Since that night, this recipe has become my go-to comfort food whenever I need a little reset. It’s easy, forgiving, and always hits the spot. If you’re craving that perfect balance of crispy, cheesy, and garlicky goodness, this crispy cheesy garlic bread pull-apart might just become your new favorite too.
Why You’ll Love This Recipe
- Quick & Easy: Comes together in under 30 minutes, perfect for those busy evenings or unexpected guests.
- Simple Ingredients: Uses pantry staples and common fridge items, so no last-minute grocery runs.
- Perfect for Any Occasion: Ideal for movie nights, casual get-togethers, or as a cozy snack on chilly days.
- Crowd-Pleaser: Always gets rave reviews from kids and adults alike—melts away any snack-time grumpiness.
- Unbelievably Delicious: The crispy edges combined with gooey cheese and aromatic garlic make it seriously addictive.
- What Makes This Recipe Different: Instead of the usual slice-and-bake, this pull-apart method locks in moisture and flavor while creating irresistible crispy pockets. Plus, blending softened butter with fresh garlic and herbs adds a layer of richness that’s hard to beat.
- Comfort Food That Feels Homemade: It’s that rare treat that’s both indulgent and straightforward, giving you the soul-soothing satisfaction without complicated steps.
What Ingredients You Will Need
This recipe uses simple, wholesome ingredients to deliver bold flavor and satisfying texture without the fuss. Most of these are kitchen staples, and substitutions are easy if you need to tweak it.
- Loaf of bread: One large crusty loaf, like a sourdough boule or Italian bread (day-old works best for texture).
- Unsalted butter: About 1/2 cup (115g), softened (adds richness and helps the garlic meld smoothly).
- Garlic cloves: Four to five, finely minced or pressed (fresh garlic is essential here for that punch).
- Shredded cheese: 2 cups (about 200g) of a melty cheese blend—mozzarella works great, or use a combo of mozzarella and cheddar for extra flavor.
- Fresh parsley: 2 tablespoons, finely chopped (optional, for freshness and color).
- Salt and pepper: To taste (just a pinch of salt to balance the butter and cheese).
- Italian seasoning or dried herbs: 1 teaspoon (adds a subtle herbal note, but optional if you prefer a pure garlic-cheese hit).
- Parmesan cheese: 1/4 cup (25g), grated (for sprinkling on top, adds a crunchy, savory finish).
Pro tip: I usually reach for Kerrygold butter for its creamy texture, and for cheese, a good-quality shredded mozzarella like BelGioioso makes a noticeable difference. If you want to make it dairy-free, swap butter for a plant-based spread and use vegan cheese alternatives.
Equipment Needed
- Baking dish or cast iron skillet (about 9-inch round or similar size) to hold the loaf while baking.
- Sharp serrated knife for cutting the bread deeply without squashing it.
- Mixing bowl to combine the garlic butter mixture.
- Spoon or spatula for spreading the butter evenly into the bread.
- Optional: Parchment paper to line the baking dish for easier cleanup.
I usually use my trusty cast iron skillet—it crisps the bread beautifully and keeps it warm for serving. If you don’t have one, any oven-safe dish works fine. And if you’re budget-conscious, a simple glass baking dish is just as effective.
Preparation Method
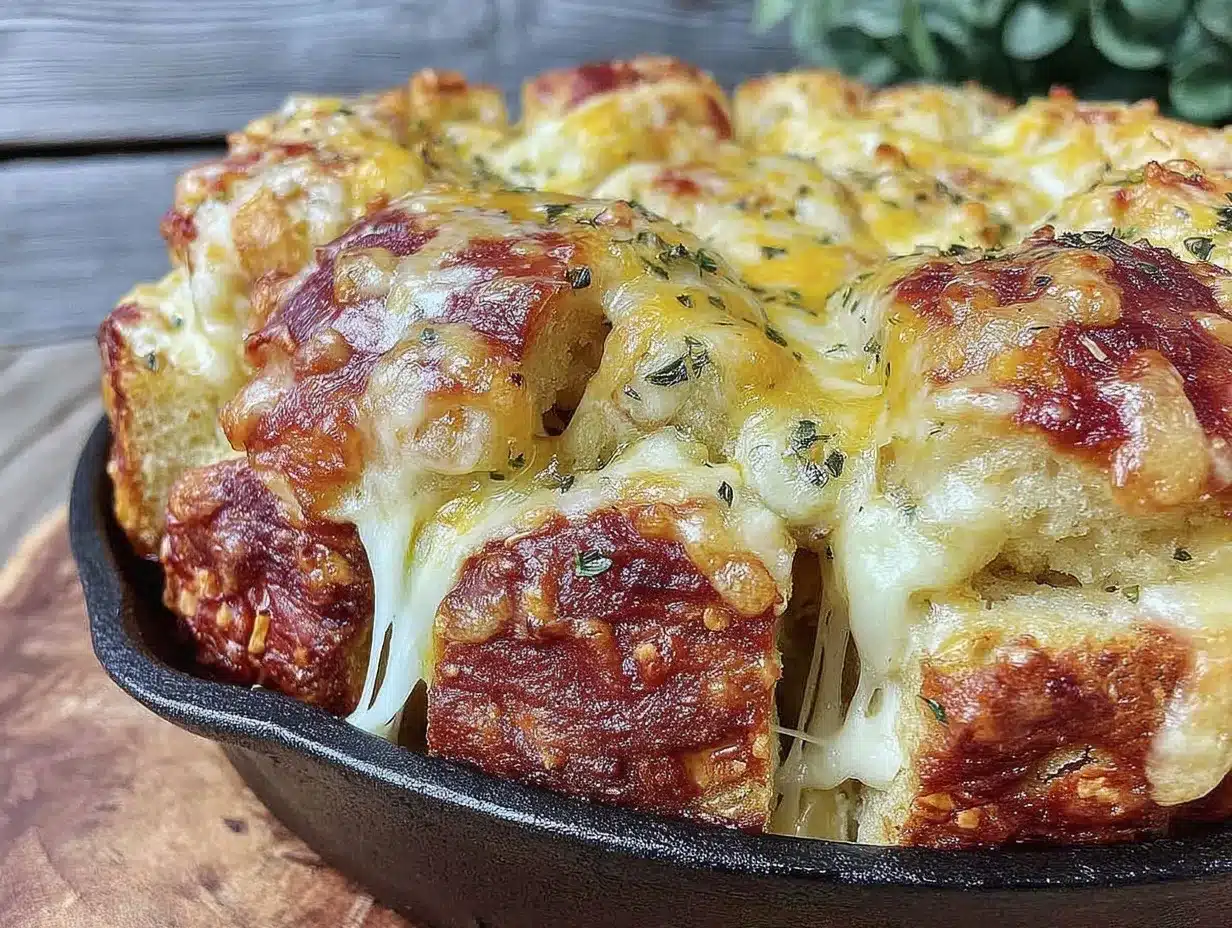
- Prep the bread: Preheat your oven to 350°F (175°C). Using a sharp serrated knife, cut the loaf into a grid pattern—make vertical and horizontal cuts about 1 to 1 1/2 inches apart, slicing deep but not all the way through (leave the bottom intact). This creates the pull-apart effect. This step takes about 5 minutes.
- Make the garlic butter: In a bowl, combine the softened butter, minced garlic, Italian seasoning, salt, pepper, and chopped parsley. Mix well until smooth and fragrant. This will take about 3-4 minutes. The butter should be soft enough to spread but not melted.
- Stuff the bread: Carefully open the cuts in the bread and use a small spoon or butter knife to spread the garlic butter mixture inside every cut. Be generous but gentle, making sure the butter reaches all the nooks. This step is a little fiddly but worth it—it takes about 10 minutes.
- Add the cheese: Stuff shredded cheese into the cuts as well, layering it with the butter. Don’t be shy—this is where the gooey magic happens. Make sure cheese fills most of the spaces but avoid overstuffing to keep the bread from becoming too soggy.
- Top and bake: Sprinkle the grated Parmesan cheese over the top of the loaf for a crispy finish. Place the bread in your baking dish or cast iron skillet, and loosely cover with foil to prevent burning the top too quickly. Bake for 15 minutes covered, then remove foil and bake for another 10-15 minutes until the cheese is bubbly and the edges are golden brown and crispy.
- Final touches: Remove from oven and let it cool for a few minutes before serving. The bread should pull apart easily into cheesy, crispy chunks. This resting time helps the cheese settle so it doesn’t all ooze out at once.
Tip: If the bread seems a little dry, brushing a tiny bit of extra melted butter on top before baking adds a lovely shine and extra crisp. Also, keep an eye on that last phase of baking—the cheese can go from perfectly melty to burnt in a flash.
Cooking Tips & Techniques
Getting this crispy cheesy garlic bread pull-apart just right takes a bit of attention to detail. Here’s what I’ve learned after making it more times than I can count:
- Use day-old bread: Fresh bread can get too soggy when loaded with butter and cheese. Slightly stale bread holds its shape and crisps up better.
- Don’t cut all the way through: Leaving the bottom intact keeps the loaf together and ensures the pull-apart effect works perfectly.
- Distribute butter and cheese evenly: It’s tempting to pile it in one spot, but spreading it out makes every bite flavorful.
- Control the oven temperature: Too hot and the garlic can burn, making it bitter. 350°F (175°C) is just right for melting cheese and crisping bread without scorching.
- Cover with foil initially: This traps steam and melts the cheese thoroughly. Removing the foil later lets the crust crisp up. Skipping this can leave cheese undercooked or bread too dry.
- Let it rest: A few minutes out of the oven helps the cheese thicken so it doesn’t drip everywhere.
I remember once rushing the process and not covering the bread during baking—the garlic ended up a bit too toasted and sharp for my taste. Since then, I never skip the foil step. Also, slicing the bread evenly is key to a good presentation and even cooking.
Variations & Adaptations
- Spicy kick: Add red pepper flakes or finely chopped jalapeños to the garlic butter for a subtle heat that wakes up the flavors.
- Herb swap: Try fresh rosemary or basil instead of parsley for a different herbal aroma.
- Cheese options: Experiment with sharp cheddar, Gruyère, or even feta for a tangier twist. Mixing cheeses can create complex flavor layers.
- Gluten-free version: Use a gluten-free bread loaf and double-check that your seasoning and cheese are gluten-free.
- Vegan adaptation: Use vegan butter and dairy-free cheese alternatives. Add nutritional yeast for a cheesy flavor boost.
- Stuffed version: Add cooked bacon bits or caramelized onions between the layers for extra indulgence.
Once, I tried a version with sun-dried tomatoes and fresh basil mixed into the butter—it was a delightful surprise, adding a bright, tangy note to the rich bread. Feel free to play around based on what you love or have on hand.
Serving & Storage Suggestions
This cheesy garlic bread is best served warm, straight from the oven, while the cheese is melty and the crust is crisp. It’s perfect alongside a fresh green salad or a bowl of tomato soup for a cozy meal.
If you’re serving it as a snack or appetizer, arrange the pull-apart chunks on a rustic wooden board with some olives and sliced cured meats for a simple but impressive spread.
To store leftovers, wrap the bread tightly in foil or plastic wrap and keep it in the refrigerator for up to 3 days. When ready to eat, reheat in a 350°F (175°C) oven for about 10 minutes to revive the crispiness and melt the cheese again.
Avoid microwaving if you can—the texture gets rubbery. And honestly, this bread tastes even better the next day as the flavors meld together.
Nutritional Information & Benefits
Each serving of this crispy cheesy garlic bread pull-apart contains approximately:
| Calories | 320 kcal |
|---|---|
| Fat | 18g (mostly from butter and cheese) |
| Carbohydrates | 28g |
| Protein | 10g (from cheese) |
| Sodium | 450mg |
The key ingredients—garlic and parsley—offer some health perks: garlic is known for its immune-supporting properties, while parsley adds a fresh dose of vitamins A and C. The bread provides energy-boosting carbs, and the cheese is a good source of calcium and protein.
If you need to watch carbs or fat, you can adjust quantities or substitute with low-fat cheese and whole-grain bread for added fiber. Just keep in mind, some of the crispy, indulgent charm comes from those rich ingredients.
Conclusion
If you’re after a snack that’s simple to prepare but feels like a little celebration, this crispy cheesy garlic bread pull-apart fits the bill perfectly. It’s got that wonderful balance of crunch and melty softness that’s hard to resist, and the garlic butter layer brings all the flavors together in a way that’s comforting but never boring.
Feel free to tweak the herbs, cheeses, or add-ins to make it your own. It’s the kind of recipe that invites creativity without demanding perfection, which is exactly why I keep coming back to it.
Give it a try on your next busy evening or casual get-together—you might just find it becomes your go-to comfort snack too. And hey, if you do make it, I’d love to hear how you customized it or what your favorite cheese combo was!
FAQs
Can I use any type of bread for this recipe?
While crusty bread like sourdough or Italian works best for texture, you can experiment with other types. Just avoid very soft sandwich breads as they may become too mushy.
How do I store leftover cheesy garlic bread?
Wrap leftovers tightly and refrigerate for up to 3 days. Reheat in the oven at 350°F (175°C) for about 10 minutes to restore crispiness.
Is it possible to make this recipe dairy-free?
Yes! Use vegan butter and dairy-free cheese alternatives. Nutritional yeast can boost the cheesy flavor.
Can I prepare this ahead of time?
You can prep the bread with butter and cheese, then cover and refrigerate for a few hours before baking. Just add a few extra minutes to the baking time.
What’s the best way to get the bread extra crispy?
Make sure to cover with foil during the first part of baking to melt the cheese, then uncover to let the crust brown and crisp up. Using a cast iron skillet also helps achieve that perfect crunch.
Pin This Recipe!
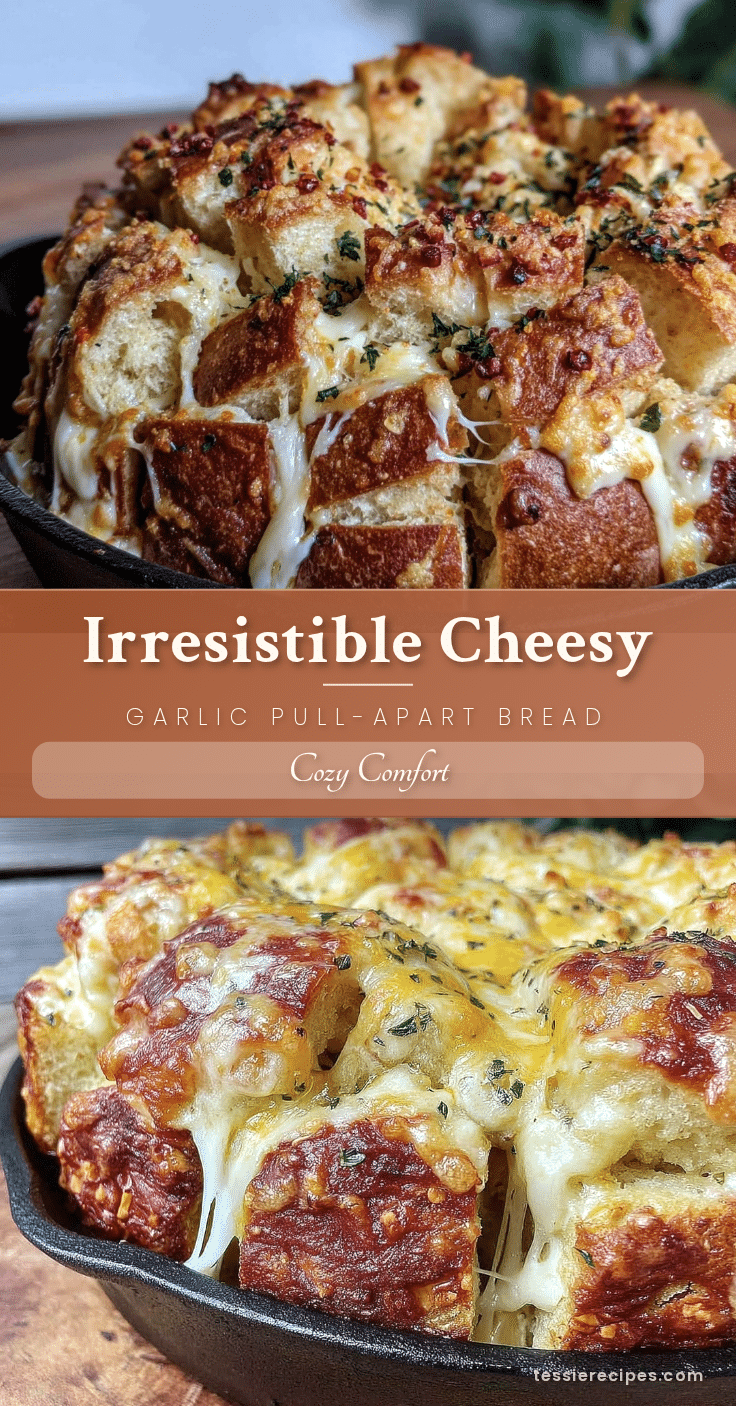
Crispy Cheesy Garlic Bread Pull-Apart

A quick and easy comfort snack featuring a crusty loaf stuffed with garlic butter and melty cheese, baked to golden perfection with crispy edges and gooey center.
- Prep Time: 15 minutes
- Cook Time: 30 minutes
- Total Time: 45 minutes
- Yield: 6 servings 1x
- Category: Snack
- Cuisine: American
Ingredients
- 1 large crusty loaf of bread (sourdough boule or Italian bread, day-old preferred)
- 1/2 cup (115g) unsalted butter, softened
- 4 to 5 garlic cloves, finely minced or pressed
- 2 cups (about 200g) shredded cheese blend (mozzarella or mozzarella and cheddar mix)
- 2 tablespoons fresh parsley, finely chopped (optional)
- Salt and pepper to taste
- 1 teaspoon Italian seasoning or dried herbs (optional)
- 1/4 cup (25g) grated Parmesan cheese for topping
Instructions
- Preheat oven to 350°F (175°C). Using a sharp serrated knife, cut the loaf into a grid pattern with vertical and horizontal cuts about 1 to 1 1/2 inches apart, slicing deep but not all the way through to keep the bottom intact.
- In a mixing bowl, combine softened butter, minced garlic, Italian seasoning, salt, pepper, and chopped parsley. Mix until smooth and fragrant.
- Carefully open the cuts in the bread and spread the garlic butter mixture inside every cut using a spoon or butter knife.
- Stuff shredded cheese into the cuts, layering it with the butter, filling most spaces but avoiding overstuffing.
- Sprinkle grated Parmesan cheese over the top of the loaf. Place the bread in a baking dish or cast iron skillet and loosely cover with foil.
- Bake covered for 15 minutes, then remove foil and bake for another 10-15 minutes until cheese is bubbly and edges are golden and crispy.
- Remove from oven and let cool for a few minutes before serving to allow cheese to settle.
Notes
Use day-old bread for better texture. Do not cut all the way through the loaf to maintain structure. Cover with foil during the first baking phase to melt cheese and prevent burning, then uncover to crisp edges. Let bread rest after baking to prevent cheese from oozing out. For extra crispiness, brush melted butter on top before baking. Avoid microwaving leftovers to maintain texture.
Nutrition
- Serving Size: 1/6 of the loaf
- Calories: 320
- Sodium: 450
- Fat: 18
- Carbohydrates: 28
- Protein: 10
Keywords: garlic bread, cheesy bread, pull-apart bread, comfort food, easy snack, garlic butter bread



