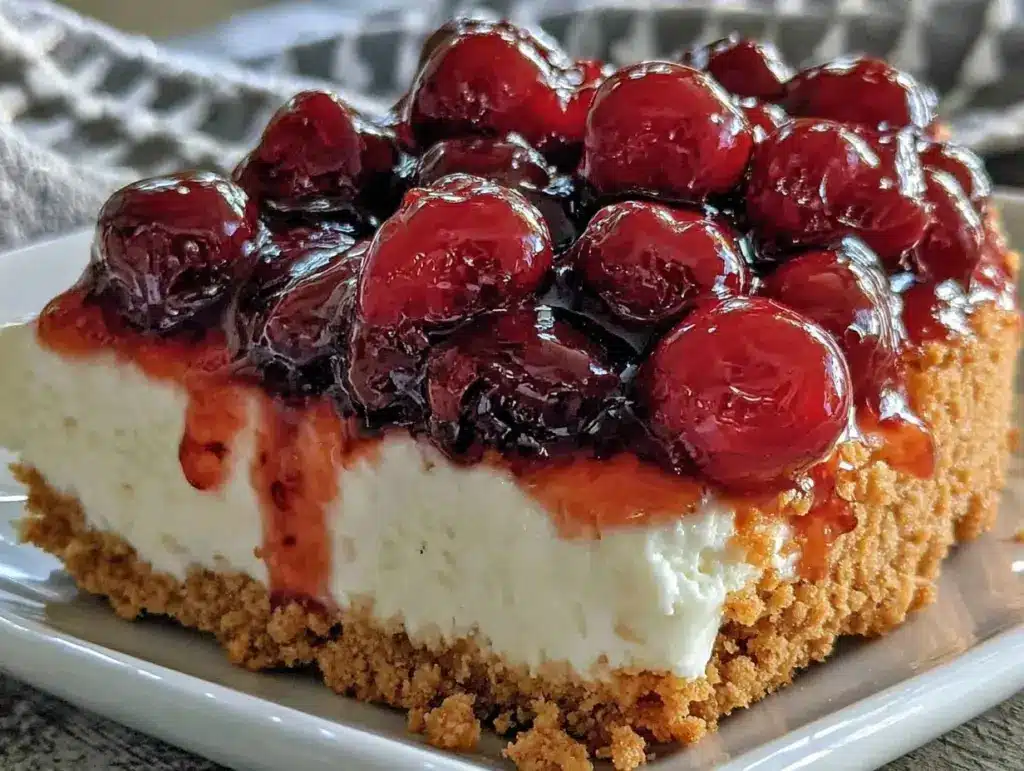
“Wait, you made this without turning on the oven?” my friend asked, eyeing the glossy cherry topping with a mix of curiosity and disbelief. Honestly, I was skeptical myself the first time I whipped up this easy creamy no-bake cherry cheesecake. It started on a sweltering afternoon when the last thing I wanted was to heat up the kitchen. I rummaged through the fridge and pantry, half-expecting a flop, but somehow this no-bake cheesecake came together with little fuss and a whole lot of creamy, fruity goodness. The texture was surprisingly smooth, the crust held firm without baking, and the cherries on top gave it that perfect summer punch. Since then, I found myself going back to this recipe more than once a week — sometimes for a quiet night in, other times for an impromptu treat when guests dropped by unexpectedly. It’s the kind of dessert that feels effortless but leaves you wondering how something so simple could taste so indulgent. And believe me, it stuck around in my recipe box because it’s just that reliable and crowd-pleasing.
This no-bake cherry cheesecake has a way of turning an ordinary day into something worth savoring, without the stress of complicated steps or long waits. There’s a quiet satisfaction in serving this slice of creamy comfort that’s both familiar and a little special — perfect for summer’s warmth when you want dessert, not extra heat. Plus, it’s a recipe I trust to impress without the usual hassle, and that’s honestly priceless.
Why You’ll Love This Recipe
I’ve made my fair share of cheesecakes, and this easy creamy no-bake cherry cheesecake stands out because it’s as fuss-free as it is delicious. Here’s why I keep coming back to it:
- Quick & Easy: Ready in under 30 minutes, no oven required — ideal for those hot summer days or last-minute dessert needs.
- Simple Ingredients: Most of what you need are pantry staples or fridge basics; no hunting for rare items.
- Perfect for Summer Gatherings: Light, refreshing, and visually stunning — a great pick for barbecues, potlucks, or casual get-togethers.
- Crowd-Pleaser: Both kids and adults tend to devour it, and it rarely lasts past the first serving.
- Unbelievably Delicious: The creamy filling pairs beautifully with the tart cherry topping, creating a balance that feels indulgent yet fresh.
What makes this recipe different? It’s the silky smooth texture achieved by gently folding in whipped cream, which keeps the cheesecake light and airy. Plus, I use a graham cracker crust that sets firmly without baking — a game changer when you want dessert fast. This is not just another no-bake cheesecake; it’s a reliable, foolproof version that’s flexible for customization. Honestly, the first bite makes you close your eyes because it hits that perfect note of creamy, sweet, and slightly tangy. It’s comfort food without the heaviness, and that’s why it’s become a summer staple in my kitchen.
What Ingredients You Will Need
This recipe calls for straightforward, wholesome ingredients that come together to deliver bold flavor and a creamy, satisfying texture without any fuss. Most are pantry essentials, so you can probably make this cheesecake without a special trip to the store.
- For the Crust:
- Graham cracker crumbs – about 1 ½ cups (150g), finely crushed (I prefer the honey-flavored kind for a subtle sweetness)
- Unsalted butter, melted – 6 tablespoons (85g) (adds richness and helps the crust set)
- Granulated sugar – 2 tablespoons (25g) (balances the buttery crust)
- For the Filling:
- Cream cheese – 16 ounces (450g), softened (use full-fat for best creaminess)
- Powdered sugar – ¾ cup (90g), sifted (to avoid lumps)
- Vanilla extract – 1 teaspoon (pure vanilla is worth the splurge here)
- Heavy whipping cream – 1 cup (240ml), cold (whip it fresh for best volume)
- For the Cherry Topping:
- Cherry pie filling – 1 can (about 21 ounces or 595g) (I’ve found the store-bought kind works perfectly; for fresh cherries, cook down with a little sugar and lemon juice)
Substitution Tips:
- For a gluten-free crust, swap graham crackers for gluten-free biscuits or almond flour.
- If you prefer dairy-free, try coconut cream whipped instead of heavy cream and vegan cream cheese alternatives.
- Using fresh cherries during summer adds a lovely homemade touch, but canned cherry pie filling keeps it simple year-round.
Equipment Needed
- Mixing bowls – a couple of medium-sized ones for batter and whipped cream
- Electric mixer or stand mixer – essential for whipping cream and smoothing cream cheese
- Measuring cups and spoons – for precise ingredient amounts
- Springform pan – 9-inch (23cm) size is perfect for easy removal
- Rubber spatula – for folding and scraping the bowl efficiently
No stand mixer? No problem. A handheld electric mixer works just as well and can be found for under $30 if you need a budget-friendly option. When mixing the crust, a simple fork or spoon suffices. Just make sure to chill the cheesecake in the fridge — patience here rewards you with a perfect set. If you’re new to springform pans, remember to place a baking sheet underneath when chilling to catch any leaks (I learned that the hard way!).
Preparation Method
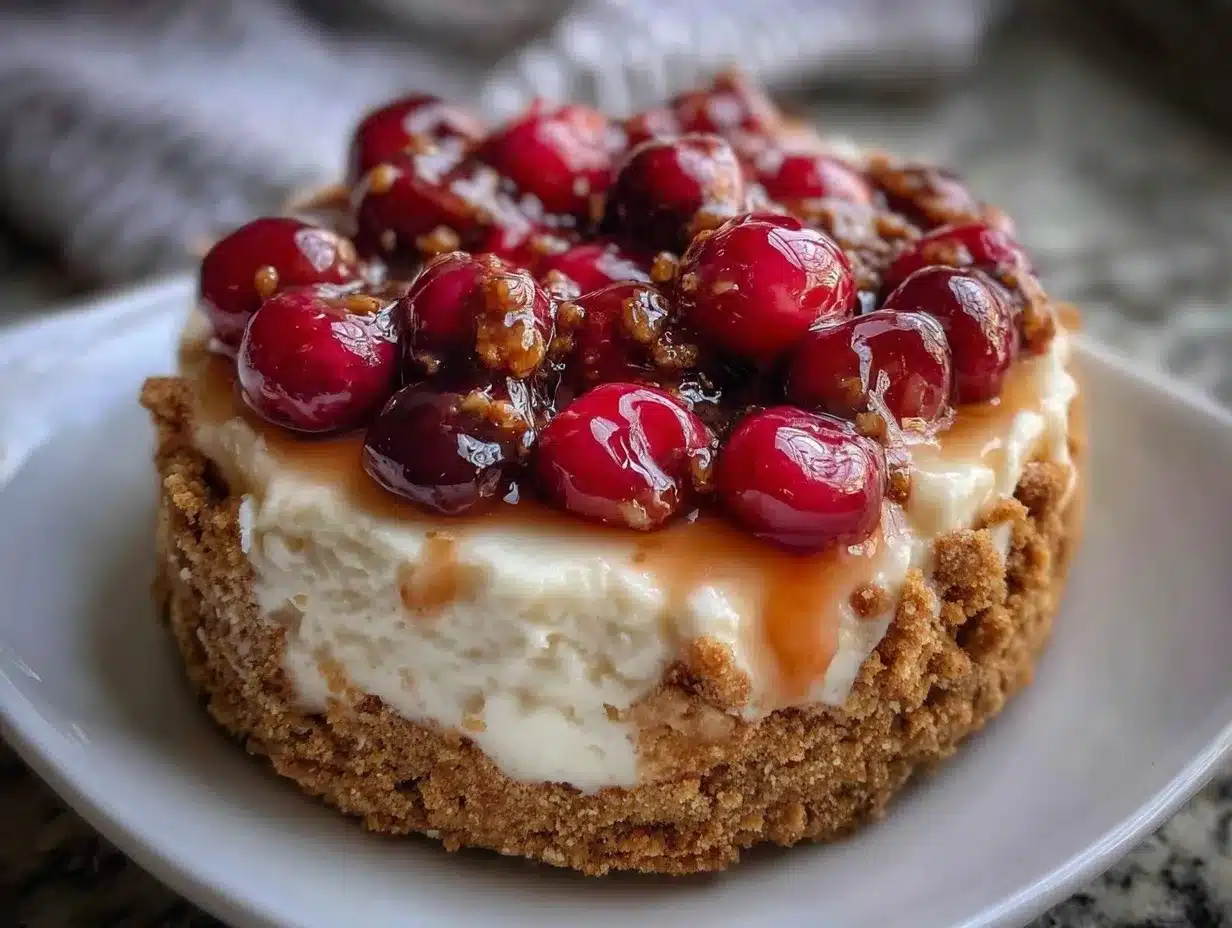
- Prepare the crust: In a medium bowl, combine 1 ½ cups (150g) graham cracker crumbs, 6 tablespoons (85g) melted unsalted butter, and 2 tablespoons (25g) granulated sugar. Stir until all crumbs are moistened and the mixture resembles wet sand.
- Press crust into pan: Transfer the mixture into a 9-inch (23cm) springform pan. Using the back of a spoon or your fingers, press firmly and evenly into the bottom (and about ½ inch up the sides if you like). Chill in the fridge while you make the filling—this helps it set nicely.
- Make the filling: In a large bowl, beat 16 ounces (450g) softened cream cheese with ¾ cup (90g) powdered sugar and 1 teaspoon vanilla extract until smooth and creamy. This takes about 3–4 minutes on medium speed. Scrape down the sides to avoid lumps.
- Whip the cream: In a separate chilled bowl, whip 1 cup (240ml) cold heavy cream until stiff peaks form. This usually takes 4–5 minutes with an electric mixer.
- Combine cream and cream cheese: Gently fold the whipped cream into the cream cheese mixture with a rubber spatula. Take your time—folding preserves the airy texture, creating that signature creamy cheesecake feel.
- Assemble the cheesecake: Pour the filling over the chilled crust, smoothing the top with the spatula. Return the pan to the fridge and chill for at least 4 hours, preferably overnight, so it can firm up properly.
- Add the cherry topping: Just before serving, spoon about 1 cup (240g) of cherry pie filling evenly over the cheesecake. For a little sparkle, I sometimes swirl the cherries gently with the filling.
Pro tip: If your cream cheese isn’t fully softened, the filling can get lumpy. To avoid this, leave it out at room temperature for about an hour before starting or microwave in short bursts (10 seconds max) to soften without melting. Also, don’t rush the chilling step. You might be tempted to dig in early, but the cheesecake firms up beautifully when given enough time.
Cooking Tips & Techniques
Making a no-bake cheesecake might sound simple, but a few subtle techniques make all the difference in texture and flavor.
- Whipping the cream properly: Chill your mixing bowl and beaters beforehand—it really helps the cream whip faster and hold its shape better.
- Folding technique: When combining the whipped cream and cream cheese, fold gently with a spatula instead of stirring vigorously. This keeps the filling light and fluffy, not dense.
- Crust pressing: Don’t skimp on pressing the crust firmly. A loose crust leads to crumble when slicing.
- Chilling patience: I’ve learned the hard way that less than 4 hours chilling results in a filling that’s too soft to slice cleanly. Overnight is ideal.
- Using good-quality cream cheese: It’s tempting to grab low-fat versions, but they often lead to a runnier texture. Full-fat cream cheese gives you that rich, creamy mouthfeel.
Once, I tried to speed things up by skipping the chilling step—big mistake. The cheesecake melted into a mess on the first cut, so trust me, patience pays off. Also, if you like a sweeter cheesecake, adjust the powdered sugar to taste, but remember the cherry topping adds a nice tart contrast.
Variations & Adaptations
This no-bake cherry cheesecake is a great base to tweak depending on your mood or dietary needs.
- Berry Bliss: Swap cherry pie filling for a mixed berry compote or fresh strawberries for a brighter, summery twist.
- Chocolate Swirl: Fold in ¼ cup (25g) melted semi-sweet chocolate into the filling before chilling for a subtle chocolate flavor that pairs wonderfully with cherries.
- Gluten-Free Option: Use almond flour mixed with a bit of coconut oil and sugar for the crust instead of graham crackers.
- Dairy-Free Adaptation: Replace cream cheese with a plant-based cream cheese and use coconut cream whipped as a substitute for heavy cream. The texture will be slightly different but still creamy and delightful.
- Personal Twist: I once added a teaspoon of almond extract to the filling for a subtle nutty note that worked beautifully with the cherry topping.
For a fun change of pace, try layering the filling in individual glasses or mason jars for portable desserts. You can also experiment with different toppings like fresh peaches or mangoes when cherries aren’t in season. My triple chocolate mousse bars have a similar no-bake vibe if you want to switch gears to something chocolaty.
Serving & Storage Suggestions
This cheesecake is best served chilled, straight from the fridge. The creamy filling holds up beautifully when sliced with a sharp knife dipped in hot water (wipe dry before slicing). For presentation, spoon extra cherry topping on each slice and maybe a sprig of fresh mint or a dusting of powdered sugar for that extra touch.
Pair it with a cup of coffee for a late afternoon treat or a glass of sparkling water with lemon for something light and refreshing. It also makes a lovely finish to summer dinners or festive occasions.
To store, cover the cheesecake tightly with plastic wrap or use an airtight container. It keeps well in the fridge for up to 4 days. You can freeze it for up to a month — just thaw overnight in the fridge before serving. Keep in mind that the cherry topping may become a bit watery after freezing, so it’s best to add fresh topping after thawing.
The flavors actually deepen a bit after a day or two, so if you can wait, it’s worth making ahead. This makes it perfect for preparing in advance when hosting. If you’re interested in other make-ahead creamy desserts, my no-bake peppermint cheesecake bites are a fun holiday treat.
Nutritional Information & Benefits
This cheesecake is a treat that balances indulgence with some nutritional perks. Per serving (based on 12 slices), here’s an approximate breakdown:
| Calories | 320 kcal |
|---|---|
| Fat | 22g (mostly from cream cheese and butter) |
| Carbohydrates | 28g (includes sugars from crust and cherry topping) |
| Protein | 5g |
Cream cheese provides a good source of calcium and protein, while the cherries add antioxidants and a touch of vitamin C. This dessert is gluten-free if you choose the right crust ingredients, and it can be adapted for low-sugar or dairy-free diets as needed. While it’s not an everyday snack, it fits nicely into a balanced lifestyle, offering a satisfying sweet finish without complicated ingredients.
Conclusion
This easy creamy no-bake cherry cheesecake is one of those recipes that feels like a secret weapon for sweet cravings—simple to make, irresistibly creamy, and perfectly suited for warm days when the oven is the last thing you want to turn on. I love that it’s forgiving to make and flexible enough to customize, so you can make it your own every time. Whether you’re serving it for a casual family treat or an unexpected guest, it’s a recipe that reliably delivers smiles and second helpings.
Give it a try, tweak it to your taste, and let me know how it turns out! Your version might just become your new favorite summer dessert too.
Frequently Asked Questions
Can I make this no-bake cherry cheesecake ahead of time?
Yes! It actually tastes better after chilling overnight, giving the flavors time to meld and the filling to set firmly.
What can I use instead of cherry pie filling?
Fresh or frozen cherries cooked with a bit of sugar and lemon juice make a great homemade topping. Alternatively, mixed berries or other fruit preserves work well.
Is it possible to make this recipe gluten-free?
Absolutely. Swap the graham cracker crust for gluten-free cookies or almond flour combined with a bit of butter and sugar.
How do I store leftover cheesecake?
Keep it covered tightly in the fridge for up to 4 days. You can also freeze it for up to a month; thaw overnight before serving.
Can I use low-fat cream cheese or milk instead of heavy cream?
For best results, full-fat cream cheese and heavy cream give the creamiest texture. Low-fat versions tend to make the filling less stable and more watery.
Pin This Recipe!
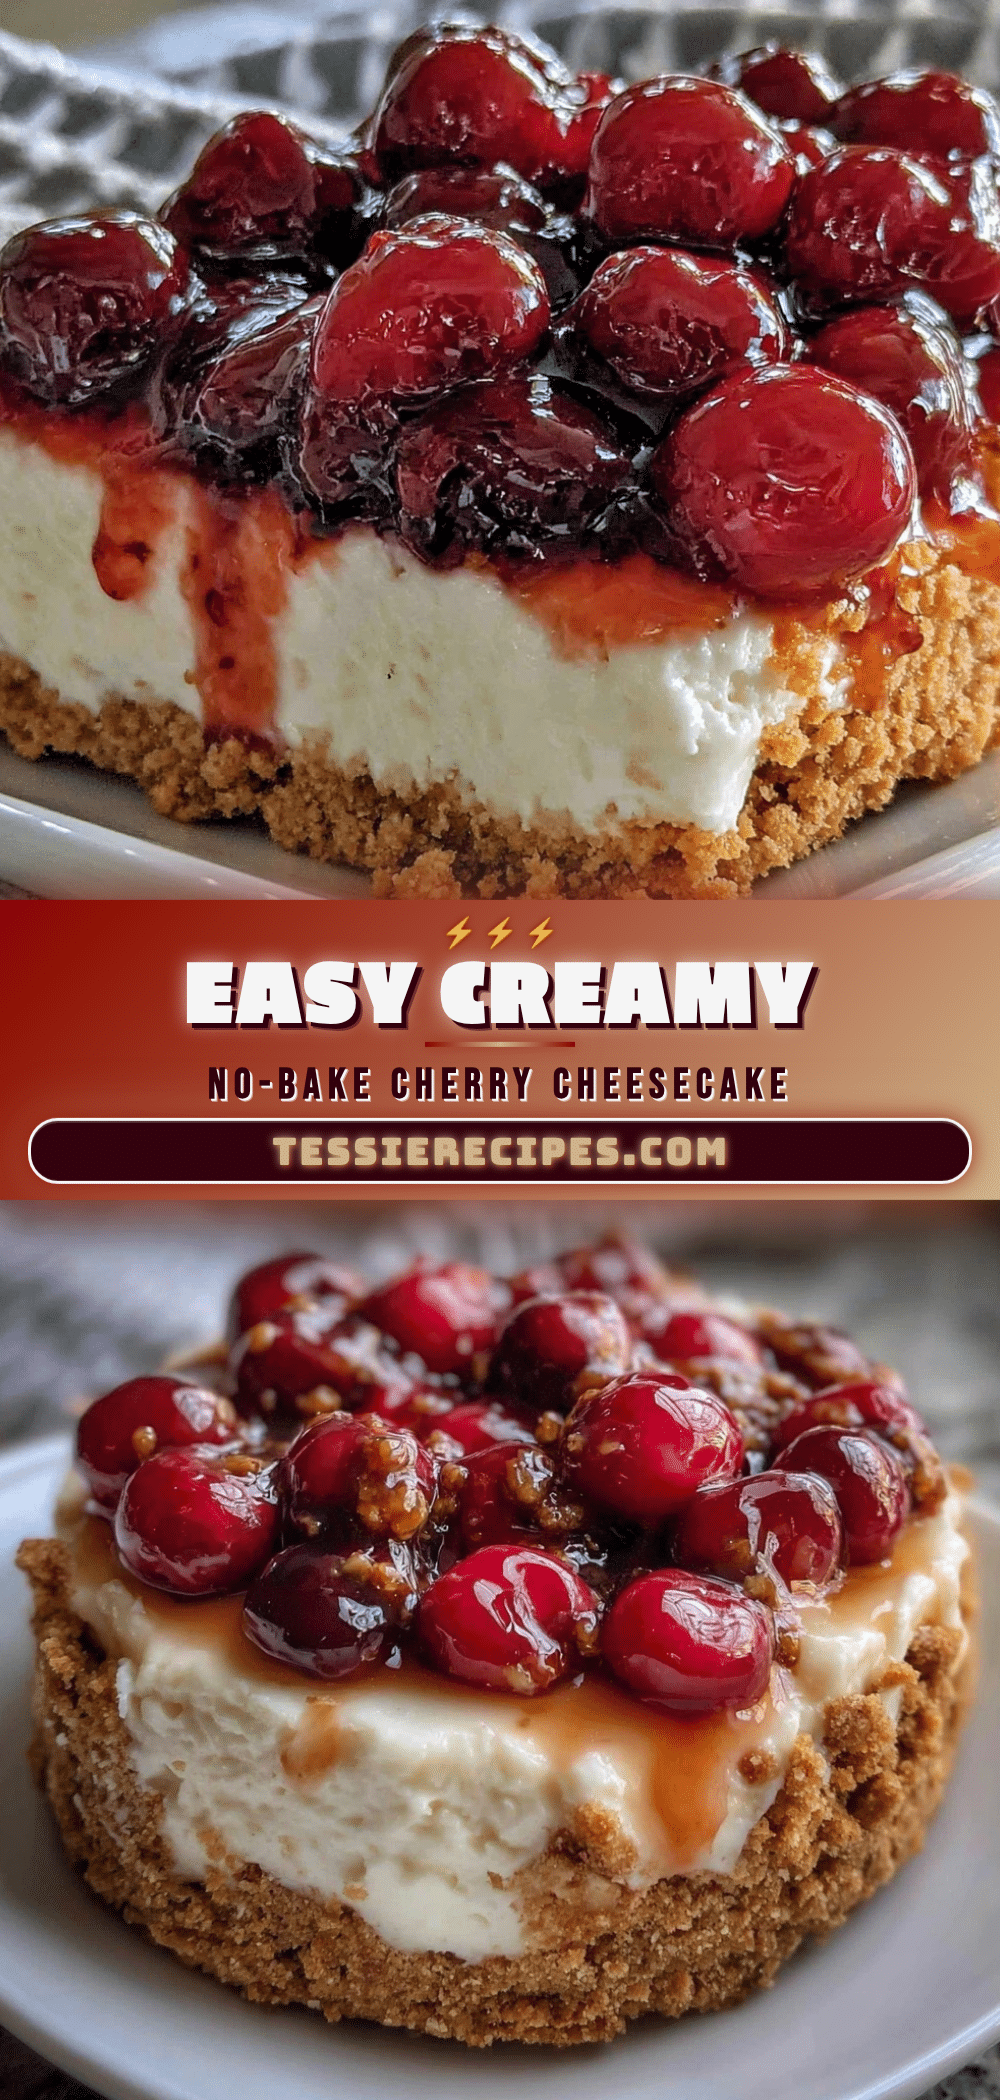
Easy Creamy No-Bake Cherry Cheesecake

A quick and easy no-bake cherry cheesecake with a creamy filling and a firm graham cracker crust, perfect for summer desserts without heating up the kitchen.
- Prep Time: 15 minutes
- Cook Time: 0 minutes
- Total Time: 4 hours 15 minutes
- Yield: 12 servings 1x
- Category: Dessert
- Cuisine: American
Ingredients
- 1 ½ cups (150g) graham cracker crumbs (honey-flavored preferred)
- 6 tablespoons (85g) unsalted butter, melted
- 2 tablespoons (25g) granulated sugar
- 16 ounces (450g) cream cheese, softened (full-fat recommended)
- ¾ cup (90g) powdered sugar, sifted
- 1 teaspoon vanilla extract
- 1 cup (240ml) heavy whipping cream, cold
- 1 can (about 21 ounces or 595g) cherry pie filling
Instructions
- Prepare the crust: In a medium bowl, combine graham cracker crumbs, melted unsalted butter, and granulated sugar. Stir until all crumbs are moistened and the mixture resembles wet sand.
- Press crust into pan: Transfer the mixture into a 9-inch (23cm) springform pan. Press firmly and evenly into the bottom and about ½ inch up the sides. Chill in the fridge while making the filling.
- Make the filling: In a large bowl, beat softened cream cheese with powdered sugar and vanilla extract until smooth and creamy, about 3–4 minutes on medium speed. Scrape down the sides to avoid lumps.
- Whip the cream: In a separate chilled bowl, whip cold heavy cream until stiff peaks form, about 4–5 minutes with an electric mixer.
- Combine cream and cream cheese: Gently fold the whipped cream into the cream cheese mixture with a rubber spatula to preserve the airy texture.
- Assemble the cheesecake: Pour the filling over the chilled crust, smoothing the top. Return the pan to the fridge and chill for at least 4 hours, preferably overnight.
- Add the cherry topping: Just before serving, spoon about 1 cup (240g) of cherry pie filling evenly over the cheesecake.
Notes
Chill the mixing bowl and beaters before whipping cream for better volume. Fold whipped cream gently into cream cheese mixture to keep it light and airy. Press crust firmly to avoid crumbling. Chill cheesecake at least 4 hours or overnight for best slicing. Use full-fat cream cheese and heavy cream for best texture. Soften cream cheese properly to avoid lumps.
Nutrition
- Serving Size: 1 slice (1/12th of c
- Calories: 320
- Fat: 22
- Carbohydrates: 28
- Protein: 5
Keywords: no-bake cheesecake, cherry cheesecake, summer dessert, easy cheesecake, creamy cheesecake, no oven dessert



