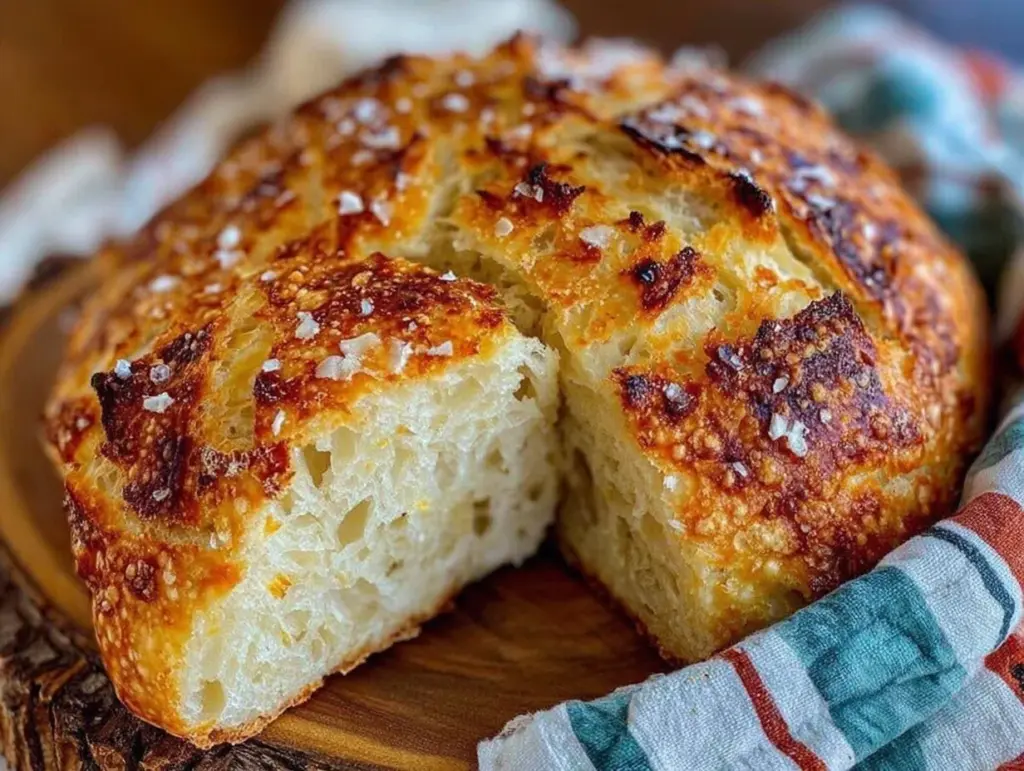
Let me tell you, the scent of freshly baked bread wafting from my kitchen is enough to make anyone’s mouth water. The moment that golden, crackling crust emerges from the Dutch oven is pure magic—warm, inviting, and downright comforting. The first time I baked this easy no-knead Dutch oven bread, I was instantly hooked. It was one of those rare kitchen moments where you pause, take a deep breath, and just smile because you know you’re onto something truly special.
Years ago, when I was knee-high to a grasshopper, my grandma would bake bread every Sunday. The smell would drift through the house, wrapping us all in a cozy, homey hug. This recipe reminds me of those days but with a modern twist—you don’t need to slave over dough or fuss with fancy machines. Honestly, it’s dangerously easy and delivers pure, nostalgic comfort with half the effort.
My family couldn’t stop sneaking slices off the cooling rack (and I can’t really blame them). Whether it’s a sweet treat for breakfast, a quick snack, or the star of your dinner table, this no-knead Dutch oven bread with crispy crust is sure to brighten up your Pinterest cookie board—or, well, bread board in this case!
I’ve tested this recipe more times than I can count (in the name of research, of course), and it’s become a staple for family gatherings, gifting, and those cozy weekend mornings. If you’re looking for a bread recipe that’s both effortless and endlessly satisfying, you’re going to want to bookmark this one.
Why You’ll Love This Recipe
This easy no-knead Dutch oven bread recipe isn’t just another loaf—it’s the one that makes you close your eyes after the first bite. Here’s why it’s a keeper:
- Quick & Easy: Comes together in under 12 hours with most of that time hands-off—perfect for busy days or last-minute cravings.
- Simple Ingredients: No fancy grocery trips needed; you likely already have everything in your pantry.
- Perfect for Any Occasion: Great for brunch, cozy dinners, or impressing guests with minimal effort.
- Crowd-Pleaser: Always gets rave reviews from kids and adults alike thanks to its irresistibly crispy crust and soft, chewy interior.
- Unbelievably Delicious: The combination of a crackling exterior with a tender crumb is next-level comfort food.
What really sets this recipe apart is the no-knead technique paired with the Dutch oven’s magic. The cast iron pot traps steam, creating that perfect crispy crust—something most other homemade breads struggle to achieve without fancy equipment or skill. Plus, it’s forgiving, so even if you’re a bread newbie, you’ll feel like a pro.
This recipe isn’t just good—it’s the kind of bread that turns simple ingredients into something that feels like a warm hug. It’s perfect for impressing guests without stress or transforming an ordinary meal into a memorable one.
What Ingredients You Will Need
This recipe uses simple, wholesome ingredients to deliver bold flavor and satisfying texture without the fuss. Most are pantry staples, and substitutions are easy if needed.
- All-purpose flour: 3 cups (360 grams) – I recommend King Arthur Flour for best texture and consistency.
- Instant yeast: 1/4 teaspoon – small amount for slow fermentation, but you can swap active dry yeast if needed (use 1/2 tsp and proof first).
- Salt: 1 1/4 teaspoons – brings out flavor and balances sweetness.
- Warm water: 1 1/2 cups (355 ml), about 100°F (38°C) – warm, not hot, to encourage yeast activity.
Optional add-ins (if you want to experiment):
- Whole wheat flour: Swap up to 1 cup for a nuttier flavor and heartier crumb.
- Herbs or garlic powder: Add 1-2 teaspoons for extra flavor.
- Seeds or oats: Sprinkle on top before baking for a rustic touch.
All in all, this recipe keeps things straightforward and accessible. You can find quality yeast and flour at any grocery store, and the simplicity means you don’t have to stress about specialty ingredients.
Equipment Needed
- Dutch oven: A heavy 4-6 quart cast iron or enameled pot with a lid is ideal. I personally love using my Le Creuset, but a Lodge cast iron works just as well—and it’s budget-friendly.
- Mixing bowl: Large enough to hold the dough as it rises.
- Wooden spoon or rubber spatula: For mixing the dough.
- Kitchen scale (optional but recommended): For precise measurements, especially the flour.
- Kitchen towel or plastic wrap: To cover the dough during rising.
If you don’t have a Dutch oven, you can use any heavy oven-safe pot with a lid, but the cast iron helps with heat retention for that crispy crust. I keep my Dutch oven seasoned and well-oiled, which makes cleaning a breeze and keeps the crust from sticking.
Preparation Method
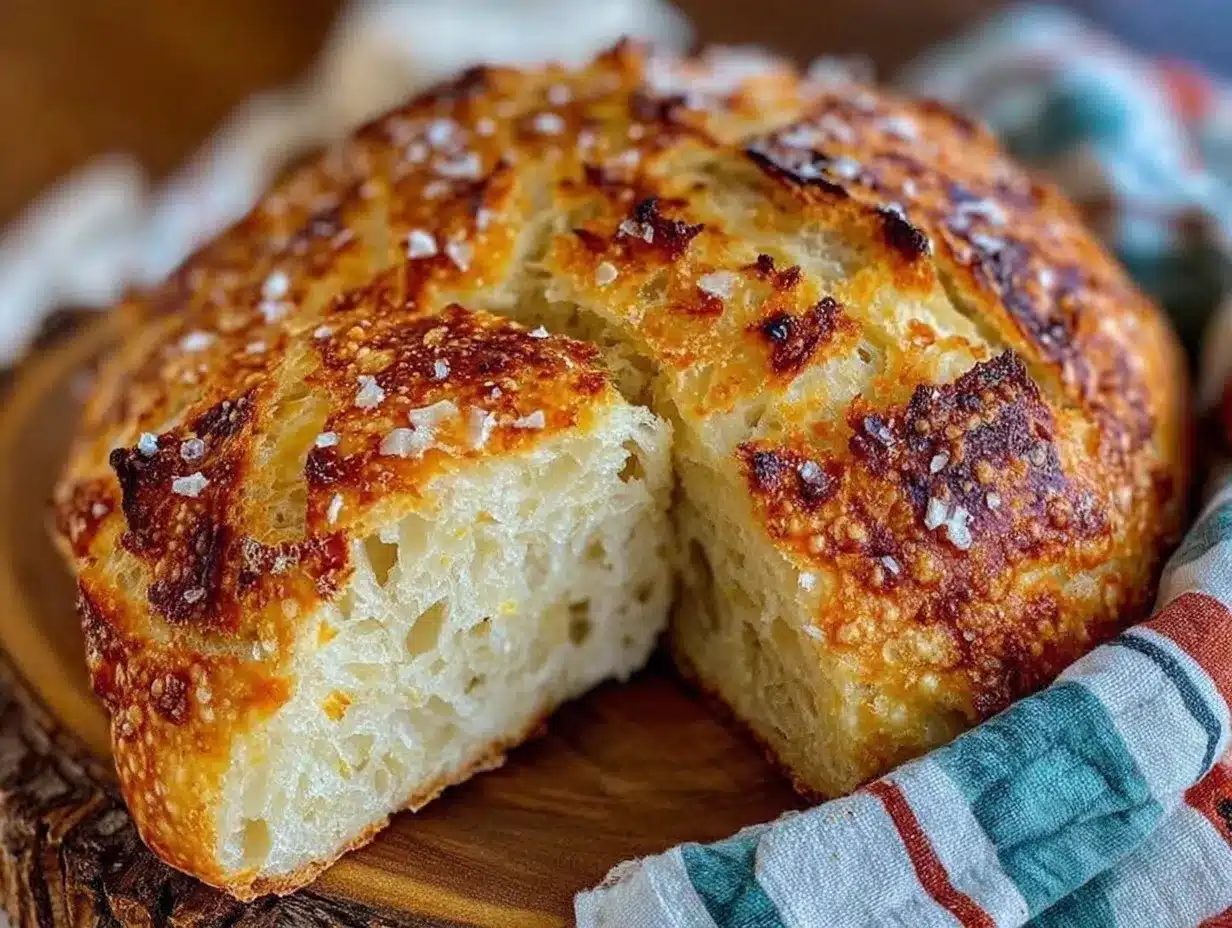
- Mix the dough: In a large bowl, whisk together 3 cups (360g) all-purpose flour, 1/4 tsp instant yeast, and 1 1/4 tsp salt. Pour in 1 1/2 cups (355 ml) warm water (about 100°F / 38°C). Use a wooden spoon or spatula to stir until a shaggy, sticky dough forms. This should take about 2-3 minutes. Don’t worry if it looks rough and uneven—that’s perfect.
- First rise: Cover the bowl tightly with plastic wrap or a damp kitchen towel. Let the dough rest at room temperature for 12-18 hours. During this time, it will bubble and double in size. The slow fermentation develops flavor—honestly, this is the secret to the bread’s amazing taste. The dough will feel loose and sticky; that’s exactly what you want.
- Preheat your oven: About 30 minutes before baking, place your empty Dutch oven (with the lid) into your oven and preheat to 450°F (232°C). This step is key for that crispy crust—don’t skip it.
- Shape the dough: Once the dough has risen and is bubbly, lightly flour a clean surface. Gently scrape the dough out onto it. Fold it over onto itself a couple of times to shape it into a round loaf. No kneading needed! Cover it with a towel and let it rest for 30 minutes while the oven heats.
- Bake the bread: Carefully remove the hot Dutch oven from the oven. Using floured hands or a spatula, transfer the dough into the pot (seam side down). Cover with the lid and bake for 30 minutes.
- Uncover and finish baking: After 30 minutes, remove the lid and bake for another 15-20 minutes, until the crust is deep golden brown and crackly. The bread should sound hollow when tapped.
- Cool before slicing: Transfer the bread to a wire rack and let it cool for at least 1 hour. This resting time allows the crumb to set properly. I know it’s tempting, but slicing too soon can make the texture gummy.
Pro tip: If you find the crust browns too fast, reduce the oven temperature by 25°F (about 15°C) during the uncovered baking phase. Also, a little sprinkle of water on the dough before baking creates more steam and crunch.
Cooking Tips & Techniques
Here are some tricks I’ve picked up after baking this bread dozens of times:
- Don’t skimp on the rise time. The long fermentation is what makes this bread taste like it took hours of work (but honestly, it didn’t).
- Use instant yeast. It’s faster activating and blends directly with flour—no proofing needed—which keeps the process simple.
- Keep the dough sticky. It’s supposed to be tacky; adding too much flour will make your bread dense.
- Preheat your Dutch oven well. This is crucial for that bakery-style crust. I usually set a timer so I don’t forget.
- Leave the lid on for the first 30 minutes. The trapped steam lets the crust develop without drying out.
- Cool completely before slicing. I can’t stress this enough—the crumb firms up and the texture improves.
I once tried rushing the rise and ended up with a dense loaf that was sad and chewy—not the mood for bread! Patience really pays off here. Also, multitasking during the rise is great—maybe prep your salad or set the table while the dough does its thing.
Variations & Adaptations
This easy no-knead Dutch oven bread is super flexible, so you can tweak it to match your taste or dietary needs.
- Gluten-Free Version: Swap all-purpose flour for a gluten-free blend that includes xanthan gum. Be aware the texture will be different—denser but still delicious.
- Whole Wheat Twist: Replace 1 cup of all-purpose flour with whole wheat flour for a nuttier flavor and added fiber.
- Herb and Garlic Bread: Mix in 1-2 teaspoons garlic powder and 1 tablespoon chopped fresh rosemary or thyme for a fragrant loaf.
- Using a Baking Stone: If you don’t have a Dutch oven, bake your shaped dough on a preheated pizza stone with a pan of water below for steam.
- Seeded Crust: Brush the dough with water and sprinkle sesame, poppy, or sunflower seeds before baking for extra crunch and flavor.
One time, I tried adding olives and sun-dried tomatoes—turned out to be a hit at a potluck. Honestly, this recipe is your blank canvas; you can’t really go wrong.
Serving & Storage Suggestions
This bread is best served slightly warm or at room temperature. Slice it thick for sandwiches, or tear it up for dipping in olive oil or soup. I love pairing it with creamy cheeses or a homemade tomato sauce.
To store, wrap the cooled loaf in a clean kitchen towel or paper bag and keep at room temperature for up to 2 days. For longer storage, slice the bread and freeze in airtight bags for up to 3 months. When ready to eat, toast slices straight from the freezer or warm them in the oven at 350°F (175°C) for 10 minutes.
Reheating gently helps revive that crispy crust. Over time, the flavor deepens and the texture softens, so freshly baked is always best—but honestly, it’s still wonderful leftover.
Nutritional Information & Benefits
Each slice (about 1/12th of the loaf) contains approximately 150 calories, 1.5g fat, 30g carbohydrates, 3g protein, and 2g fiber. This bread is free from added sugars and dairy, making it a wholesome choice.
Using simple ingredients like flour, water, yeast, and salt means you’re avoiding preservatives and additives found in many store-bought breads. Whole wheat variations add extra fiber and nutrients like magnesium and B vitamins.
This recipe is naturally vegan and can be made gluten-free with suitable flour blends. Just note that gluten-free bread tends to be denser and less crusty.
From a wellness perspective, this bread offers a satisfying source of energy and pairs well with nutrient-dense toppings for balanced meals.
Conclusion
If you’re after a bread recipe that’s as easy as it is delicious, this easy no-knead Dutch oven bread with crispy crust is your new best friend. It’s perfect for bakers of all skill levels who want that bakery-quality crust without the fuss. Feel free to customize with your favorite herbs, seeds, or flours to make it your own.
Honestly, I love this recipe because it brings back that warm, cozy feeling of homemade bread without tying me to the kitchen for hours. It’s a little slice of comfort that fits right into busy lives.
Give it a try, and don’t forget to share your results or any tweaks in the comments—I’m always curious what you come up with! Happy baking, and may your kitchen always smell like fresh bread.
Frequently Asked Questions
Can I make this bread without a Dutch oven?
Yes! Use a heavy baking dish or a cast iron skillet with a lid, or bake on a preheated pizza stone with a pan of water underneath to create steam. The crust might not be as crispy, but it will still be tasty.
How long can I store the bread at room temperature?
Wrapped in a kitchen towel or paper bag, the bread stays fresh for about 2 days at room temperature. For longer storage, slice and freeze it.
Do I have to knead the dough?
Nope! That’s the beauty of this recipe. The long rise and wet dough create gluten structure naturally, so kneading isn’t necessary.
Can I use whole wheat flour only?
You can, but 100% whole wheat tends to make the bread denser and heavier. I recommend substituting up to 1 cup for a balanced texture and flavor.
Why is my crust not crispy?
Make sure your Dutch oven is fully preheated and that you bake with the lid on for the first 30 minutes to trap steam. Also, avoid opening the oven door too often during baking.
Pin This Recipe!
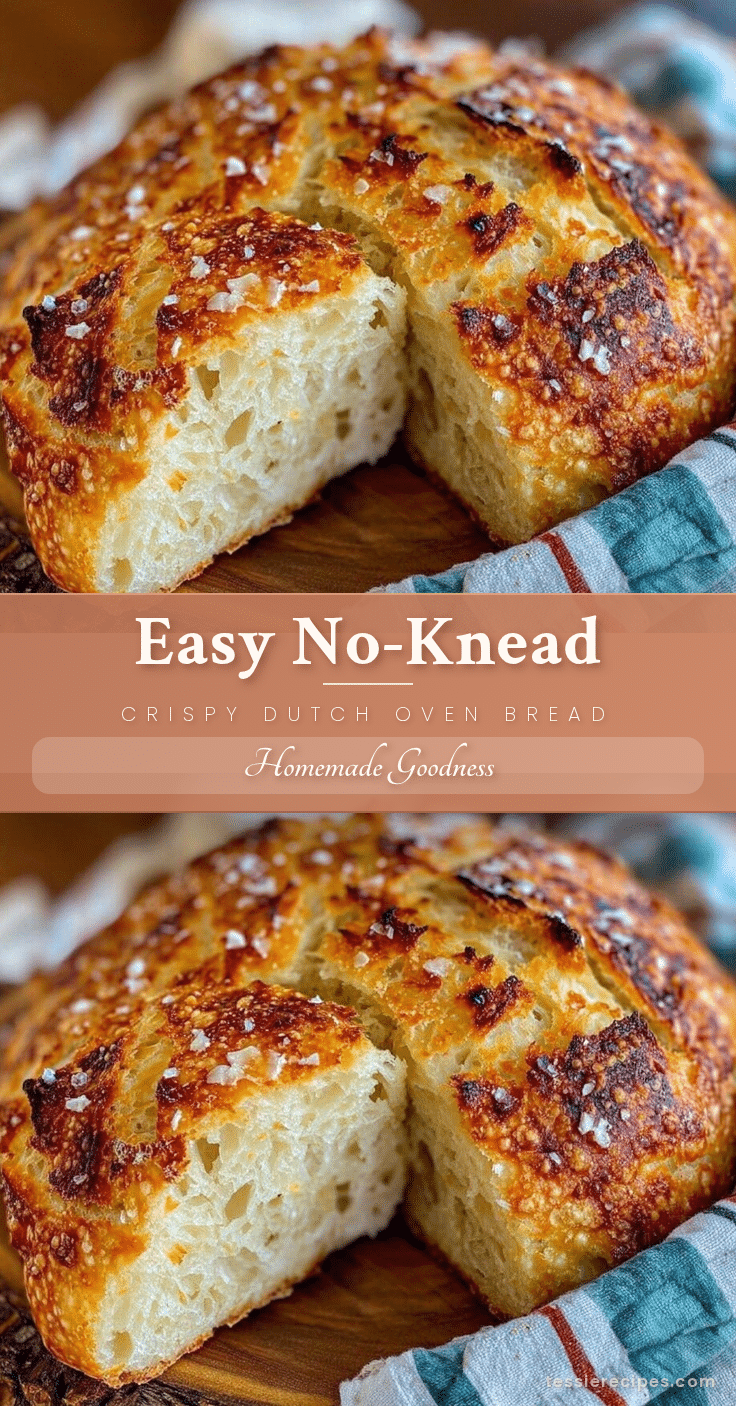
Easy No-Knead Dutch Oven Bread Recipe for Perfect Crispy Crust

This easy no-knead Dutch oven bread recipe delivers a perfect crispy crust and soft, chewy interior with minimal effort and simple ingredients. Ideal for busy days, it requires no kneading and uses a slow fermentation for rich flavor.
- Prep Time: 15 minutes
- Cook Time: 45 minutes
- Total Time: 12 hours 1 hour
- Yield: 12 servings 1x
- Category: Bread
- Cuisine: American
Ingredients
- 3 cups (360 grams) all-purpose flour
- 1/4 teaspoon instant yeast
- 1 1/4 teaspoons salt
- 1 1/2 cups (355 ml) warm water (about 100°F / 38°C)
- Optional: up to 1 cup whole wheat flour (to substitute for all-purpose flour)
- Optional: 1-2 teaspoons herbs or garlic powder
- Optional: seeds or oats for sprinkling on top
Instructions
- In a large bowl, whisk together 3 cups all-purpose flour, 1/4 teaspoon instant yeast, and 1 1/4 teaspoons salt.
- Pour in 1 1/2 cups warm water (about 100°F / 38°C) and stir with a wooden spoon or spatula until a shaggy, sticky dough forms (about 2-3 minutes).
- Cover the bowl tightly with plastic wrap or a damp kitchen towel and let the dough rest at room temperature for 12-18 hours until bubbly and doubled in size.
- About 30 minutes before baking, preheat your oven to 450°F (232°C) with the empty Dutch oven and lid inside.
- Lightly flour a clean surface and gently scrape the dough out onto it. Fold the dough over onto itself a couple of times to shape into a round loaf.
- Cover the shaped dough with a towel and let it rest for 30 minutes while the oven heats.
- Carefully remove the hot Dutch oven from the oven. Transfer the dough into the pot seam side down using floured hands or a spatula.
- Cover with the lid and bake for 30 minutes.
- Remove the lid and bake for another 15-20 minutes until the crust is deep golden brown and crackly.
- Transfer the bread to a wire rack and cool for at least 1 hour before slicing.
Notes
Do not rush the rise time; the long fermentation develops flavor and texture. Keep the dough sticky and avoid adding too much flour. Preheat the Dutch oven well for a crispy crust. Leave the lid on for the first 30 minutes of baking to trap steam. Cool bread completely before slicing to avoid gummy texture. If crust browns too fast, reduce oven temperature by 25°F during uncovered baking. Sprinkling water on dough before baking can increase crust crunch.
Nutrition
- Serving Size: 1 slice (1/12th of l
- Calories: 150
- Sodium: 300
- Fat: 1.5
- Carbohydrates: 30
- Fiber: 2
- Protein: 3
Keywords: no-knead bread, Dutch oven bread, easy bread recipe, crispy crust bread, homemade bread, simple bread recipe



