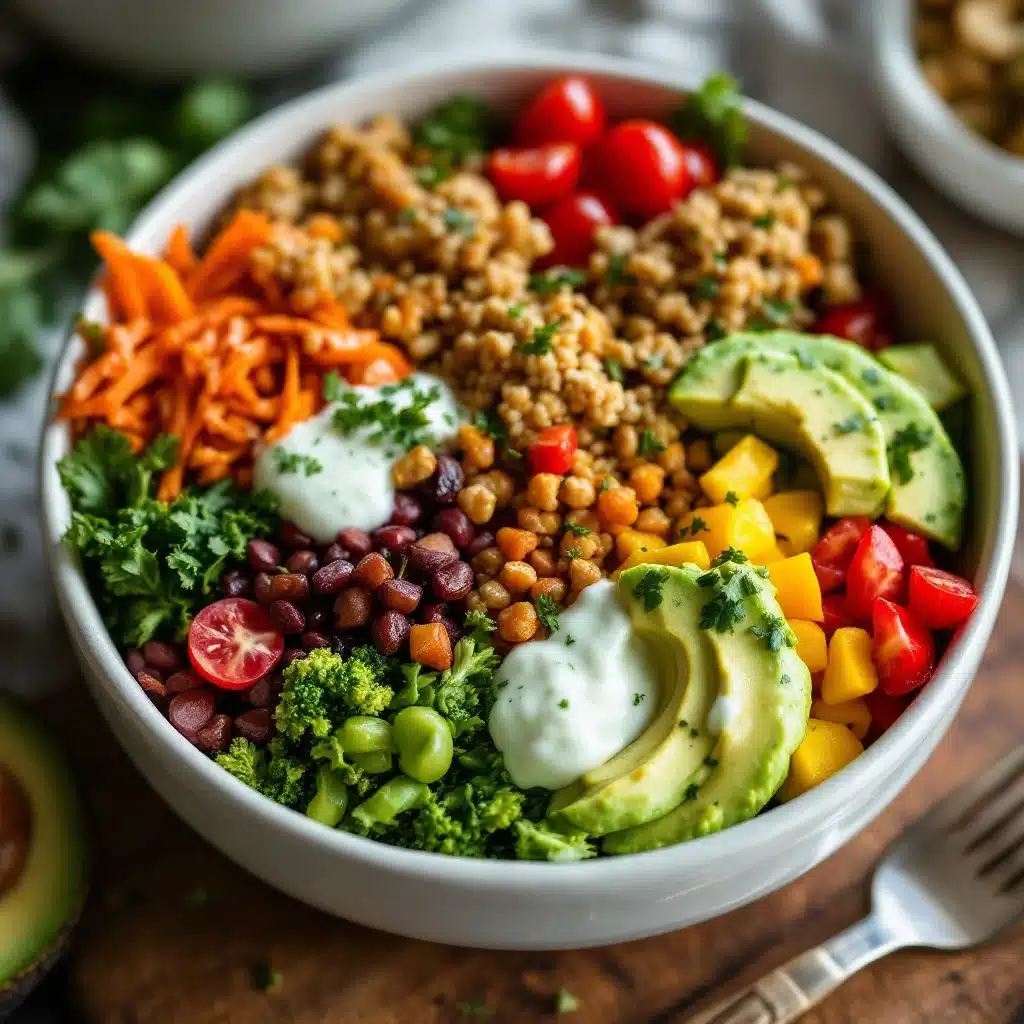
I packed my kids the saddest lunch for three straight years before I finally figured out what they actually wanted to eat. Not the bento boxes full of carefully arranged stars and hearts I saw on Pinterest. Not the homemade Lunchables with turkey rolled into perfect spirals. They wanted color. They wanted crunch. They wanted to feel like they were eating something fun, not something I was trying to trick them into liking. The Easy Rainbow Veggie Bento Box came out of that honest failure. It started as a desperate Tuesday morning experiment with leftover bell peppers, a container of hummus, and a bag of snap peas that was about to go soft. I threw it together in five minutes, didn’t even cut the carrots into cute shapes, and braced for complaints. My oldest ate every single thing and asked for the same thing the next day. I honestly wasn’t sure what to do with that. This lunch isn’t about being a perfect parent or a meal prep influencer. It’s about putting together something that actually gets eaten, that actually fills you up, and that makes you feel good about what you’re eating. No tricks, no complicated techniques, just a pile of colorful vegetables that somehow makes lunch feel like a treat.
Why You’ll Love This Recipe
This Easy Rainbow Veggie Bento Box isn’t just another lunch idea. It’s the lunch solution I wish I had years ago. Here’s why it works so well:
- Comes Together in Under 10 Minutes: No cooking required. No waiting for things to cool down. Just chop, arrange, and go. Perfect for those mornings when you’re running late or those evenings when you need to prep lunch for the next day quickly.
- Simple Ingredients You Already Know: Everything in this bento box is a standard vegetable you can find at any grocery store. No hunting for specialty items or expensive superfoods. Just fresh, colorful produce that tastes great on its own.
- Perfect for Meal Prep: This lunch keeps beautifully in the fridge for up to four days. Make a few on Sunday and grab one each morning. It’s the kind of lunch that actually stays good, not the kind that turns into a sad, soggy mess by Wednesday.
- Crowd-Pleaser for All Ages: I’ve packed these for my kids, for myself, for my husband, and for friends who needed a quick lunch. Every single person loved it. Something about the rainbow colors makes vegetables feel more approachable, even for picky eaters.
- Unbelievably Satisfying: You know how some vegetable lunches leave you hungry an hour later? Not this one. Between the protein-packed dips, the crunchy vegetables, and the fun of eating a bunch of different things, you actually feel full and happy after this meal.
What makes this bento box different from every other lunch idea out there is the balance. It’s not just raw vegetables thrown into a container. It’s a carefully thought-out combination of textures, flavors, and colors that work together. The creamy dip against the crunchy vegetables. The sweet cherry tomatoes against the earthy snap peas. The bright colors that make you smile before you even take a bite. This isn’t just another version of a vegetable lunch. It’s the version that actually works.
What Ingredients You Will Need
This recipe uses simple, fresh ingredients that come together to create a lunch that’s as beautiful as it is delicious. You don’t need anything fancy, just good produce and a couple of pantry staples for the dip.
For the Rainbow Vegetables
- Red Bell Pepper: One large red bell pepper, sliced into strips. The sweetness of red bell pepper is unmatched. It’s fully ripe and has that lovely, almost candy-like flavor that pairs beautifully with savory dips.
- Orange Carrots: Two medium carrots, peeled and cut into sticks or rounds. Carrots add that essential crunch and natural sweetness. I prefer using whole carrots over baby carrots because they have better flavor and texture.
- Yellow Bell Pepper: One large yellow bell pepper, sliced into strips. Yellow peppers are slightly milder than green ones and add that bright, sunny color to the box.
- Green Snap Peas: One cup of fresh snap peas, trimmed. These are my favorite part of the bento box. They’re crisp, juicy, and have a subtle sweetness that works with any dip.
- Purple Cabbage: One cup of shredded purple cabbage. This adds that gorgeous purple hue and a lovely crunch. Plus, it’s packed with antioxidants and looks stunning against the other colors.
- Cherry Tomatoes: One cup of cherry or grape tomatoes, halved. These bring the red element and a burst of juicy sweetness that balances out the crunchier vegetables.
For the Dip
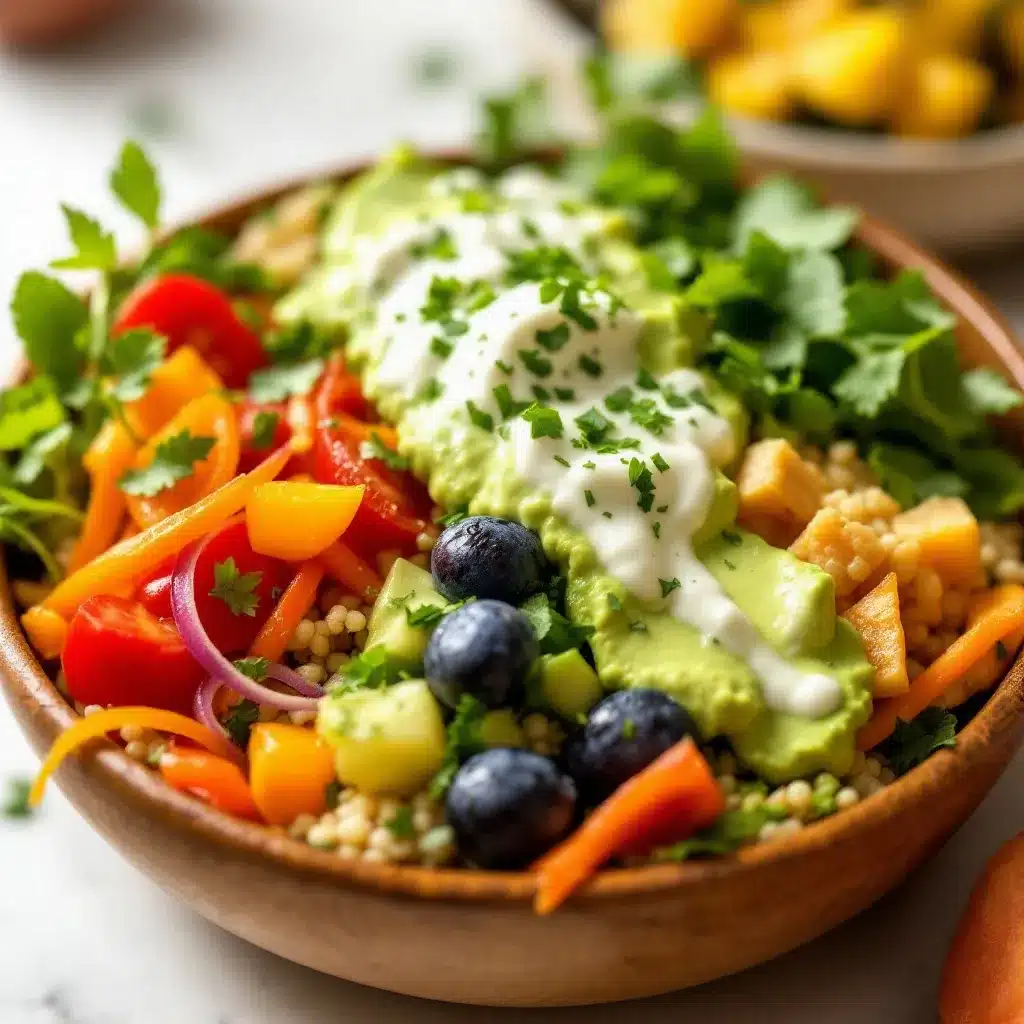
- Plain Greek Yogurt: One cup of plain Greek yogurt. I prefer full-fat for creaminess, but any type works. Greek yogurt adds protein and a tangy base for the dip.
- Lemon Juice: Two tablespoons of fresh lemon juice. Fresh is non-negotiable here. Bottled lemon juice has a flat, metallic taste that ruins the dip.
- Garlic Powder: One teaspoon of garlic powder. It adds savory depth without the sharpness of fresh garlic.
- Dried Dill: One teaspoon of dried dill. This herb adds a fresh, slightly grassy flavor that pairs perfectly with vegetables.
- Salt and Black Pepper: To taste. Simple seasonings that let the vegetables shine.
Optional Add-Ins
- Hummus: Store-bought or homemade hummus is a great alternative to the yogurt dip. I recommend a brand like Cedar’s or Sabra for consistent quality.
- Fresh Herbs: Chopped fresh parsley, chives, or mint can be stirred into the dip for extra freshness.
- Seeds: A sprinkle of sesame seeds or pumpkin seeds adds extra crunch and nutrition.
Equipment Needed
You don’t need much to put this bento box together. Here’s what you’ll need:
- Bento Box or Lunch Container: A divided container works best to keep the vegetables separate and prevent sogginess. I use a simple three-compartment bento box I found online for under $15. If you don’t have a bento box, any lunch container with separate sections or even small silicone cups inside a regular container will work.
- Sharp Knife: A good chef’s knife makes cutting vegetables quick and safe. Dull knives are more dangerous than sharp ones because they slip. Keep your knife sharpened and you’ll thank me later.
- Cutting Board: Any cutting board works, but I prefer a large wooden one because it’s gentle on knives and looks nice while you’re prepping.
- Vegetable Peeler: For peeling carrots. A standard Y-peeler is my favorite because it’s comfortable to hold and works quickly.
- Small Bowl: For mixing the dip. Any small bowl works.
- Measuring Spoons: For measuring the dip ingredients. Eyeballing works too, but measuring spoons give you consistent results.
- Colander: For washing the vegetables. A simple colander or salad spinner works fine.
If you don’t have a bento box, don’t worry. I’ve packed these in regular meal prep containers, in mason jars, and even on a plate with small ramekins for the dip. The key is keeping the dip separate from the vegetables so nothing gets soggy.
Preparation Method
Making the Easy Rainbow Veggie Bento Box is straightforward, but a few small details make a big difference. Follow these steps and you’ll have a beautiful, delicious lunch ready in minutes.
- Wash all the vegetables thoroughly. Run each vegetable under cool water and scrub gently with your hands or a vegetable brush. Pat them dry with a clean kitchen towel or paper towels. This is important because excess moisture makes the vegetables soggy and dilutes the dip. Take an extra minute to dry them well.
- Prepare the red bell pepper. Cut off the top and bottom of the pepper, then slice down one side to open it flat. Remove the white ribs and seeds. Slice the pepper into thin strips, about a quarter-inch wide. You should get about a cup of strips from one large pepper. The strips should be uniform so they look neat in the box and are easy to pick up.
- Prepare the yellow bell pepper. Repeat the same process as the red pepper. Slice into similar-sized strips. Keep them separate from the red strips for now so you can arrange them by color later.
- Prepare the carrots. Peel the carrots with a vegetable peeler. Cut off the tops and bottoms. Slice the carrots into sticks about three inches long and a quarter-inch thick. If you prefer rounds, slice them into coins about a quarter-inch thick. Both work well, but sticks are more fun for dipping.
- Prepare the snap peas. Rinse the snap peas and pat them dry. Snap off the tough stem end and pull the string down the side if it’s tough. Most fresh snap peas don’t have a tough string, but it’s worth checking. Leave them whole.
- Prepare the purple cabbage. Cut a small wedge of cabbage, about a quarter of a small head. Slice it as thinly as possible with your knife or use a mandoline if you have one. You want thin shreds, not thick chunks. About one cup of shredded cabbage is plenty.
- Prepare the cherry tomatoes. Rinse the tomatoes and pat them dry. Cut each tomato in half lengthwise. If you’re using larger cherry tomatoes, cut them into quarters. Halved tomatoes are easier to eat and look prettier in the box.
- Make the dip. In a small bowl, combine the Greek yogurt, lemon juice, garlic powder, dried dill, and a pinch of salt and black pepper. Stir until smooth and well combined. Taste it and adjust the seasoning. You might want more lemon juice for tanginess or more salt to bring out the flavors. Cover and refrigerate until you’re ready to pack the box.
- Assemble the bento box. Start by placing the dip in the largest compartment or in a small container within the box. Arrange the vegetables by color in the remaining compartments. I like to create a rainbow effect: red bell pepper strips in one corner, orange carrot sticks next to them, yellow bell pepper strips, green snap peas, purple cabbage, and cherry tomatoes. The visual appeal is half the fun of this lunch.
- Pack it up. If you’re making this for later, cover the bento box and refrigerate. The dip can be made up to three days in advance. The vegetables can be prepped and stored separately for up to four days. Just don’t cut the tomatoes too far in advance because they release moisture and can make everything soggy.
A few notes from experience: If you’re packing this for a child, cut the vegetables into smaller, bite-sized pieces. My kids prefer the carrots cut into thin rounds and the bell peppers into smaller strips. Also, if you’re using hummus instead of the yogurt dip, add a splash of lemon juice and a pinch of salt to brighten it up. Store-bought hummus can sometimes taste flat, and a little fresh acid fixes that right up.
Cooking Tips & Techniques
I’ve made this bento box dozens of times, and I’ve learned a few things the hard way. Here are my best tips for getting it right every time.
Dry your vegetables thoroughly. This is the most important tip I can give you. Wet vegetables make everything soggy. After washing, lay the vegetables on a clean kitchen towel and pat them dry. If you’re in a hurry, use a salad spinner for the snap peas and cabbage. Trust me, soggy vegetables are the fastest way to ruin a perfectly good lunch.
Cut vegetables to similar sizes. Uniformity matters more than you think. When all the pieces are roughly the same size, the bento box looks professional and appetizing. It also makes eating easier because you can grab a piece of each vegetable in one bite. Take the extra thirty seconds to make your cuts consistent.
Layer the dip at the bottom of the container. If you’re using a container without separate compartments, put the dip at the bottom and arrange the vegetables on top. This prevents the dip from getting contaminated by the vegetables and keeps everything fresh. It also looks beautiful when you open the container and see a rainbow of vegetables sitting on a bed of creamy dip.
Don’t overpack the box. A bento box that’s stuffed to the brim looks messy and makes it hard to eat without spilling. Leave a little space between the vegetables so they don’t touch each other too much. This also helps prevent the colors from bleeding into each other, especially the purple cabbage.
Use the right dip consistency. If your dip is too thin, it will run and make everything wet. If it’s too thick, it won’t coat the vegetables properly. The ideal consistency is like thick ranch dressing. If your yogurt dip is too thin, add a little more yogurt or a pinch of cornstarch. If it’s too thick, add a splash of milk or water.
Prep in batches. I learned this after a week of chopping vegetables every morning. Spend thirty minutes on Sunday prepping all the vegetables for the week. Store each vegetable in a separate container in the fridge. Then each morning, just grab a handful of each and pack your box. It takes less than two minutes.
One mistake I made early on was cutting the vegetables too far in advance. Bell peppers and carrots hold up well for four or five days, but snap peas and tomatoes start to lose their texture after two days. Cut the hardy vegetables ahead of time, but cut the delicate ones the night before or the morning you plan to eat them.
Variations & Adaptations
This bento box is endlessly customizable. Here are some of my favorite variations:
Protein-Packed Version: Add grilled chicken strips, hard-boiled eggs, or edamame to the box. The vegetables stay the same, but the extra protein makes it a more substantial meal. I love adding a hard-boiled egg cut into wedges and arranged in the center of the box. It looks beautiful and adds staying power.
Seasonal Swap: In summer, swap the snap peas for cucumber slices and add fresh corn kernels. In fall, use roasted butternut squash cubes and sliced apples. In winter, add roasted beet wedges and shaved Brussels sprouts. The rainbow concept works with any colorful vegetable you have on hand.
Dip Variations: Instead of the yogurt dill dip, try these options: classic hummus, baba ganoush, guacamole, ranch dressing, or a simple tahini-lemon sauce. Each dip changes the flavor profile of the entire box. My personal favorite is a spicy chipotle hummus for a kick of heat.
Kid-Friendly Version: Cut the vegetables into fun shapes using cookie cutters. Use a small star or flower cutter for the bell peppers and carrots. Add a small container of their favorite dip or dressing. My kids go crazy for this version, and it makes them excited to eat their vegetables.
Low-Carb Version: This bento box is naturally low in carbs, but if you want to reduce carbs further, skip the carrots and add more bell peppers, cucumber, and zucchini. The dip is already low-carb, so you’re good there.
I once made a Mediterranean-inspired version with cucumber, tomato, red onion, and feta cheese, served with a lemon-oregano yogurt dip. It was so good I made it for a week straight. Don’t be afraid to experiment with different flavor combinations.
Serving & Storage Suggestions
This bento box is best served cold, straight from the refrigerator. The vegetables are at their crispiest and most refreshing when they’re chilled. If you’re packing it for lunch, keep it refrigerated until you’re ready to eat.
Serving Temperature: Cold. The vegetables should be crisp and the dip should be cool and creamy. If you’re serving it at a party or picnic, keep it on ice to maintain the temperature.
Complementary Dishes: This bento box pairs beautifully with a slow cooker vegetable soup for a cozy lunch combo. It also works well alongside a spicy avocado chicken wrap for a more filling meal. For a fun snack spread, serve it with bacon-wrapped jalapeño poppers for a game day or party platter.
Beverage Pairings: A cold glass of iced green tea, sparkling water with lemon, or a simple fruit-infused water complements the fresh vegetables perfectly.
Storage Instructions: Store the assembled bento box in the refrigerator for up to three days. Keep the dip in a separate container if possible to prevent sogginess. If you’ve already added the dip, eat it within 24 hours. The vegetables will stay crisp for about two to three days. After that, they start to lose their crunch.
Freezing: I don’t recommend freezing this bento box. The vegetables will become mushy and watery when thawed. If you want to prep ahead, freeze the dip in small portions and prep the vegetables fresh.
Reheating: This is a cold lunch, so no reheating is needed. If you’ve added protein like grilled chicken, you can eat it cold or warm it separately.
Flavor Development: The dip actually gets better after a day in the fridge. The flavors meld together and become more cohesive. The vegetables stay fresh and crisp for the first two days. After that, they start to soften slightly, which some people actually prefer.
Nutritional Information & Benefits
This bento box is packed with nutrients and is naturally low in calories and high in fiber. Here’s a rough estimate for one serving (about two cups of vegetables with two tablespoons of dip):
Estimated Nutritional Values:
- Calories: 150-200
- Protein: 8-10 grams
- Carbohydrates: 20-25 grams
- Fiber: 6-8 grams
- Fat: 5-7 grams
- Sugar: 10-12 grams (natural from vegetables)
Health Benefits:
- Red Bell Pepper: Rich in vitamin C, which supports immune health and collagen production. One red bell pepper has more vitamin C than an orange.
- Carrots: Packed with beta-carotene, which your body converts to vitamin A for healthy vision and skin.
- Snap Peas: Good source of vitamin K, which supports bone health, and vitamin C for immune function.
- Purple Cabbage: Contains anthocyanins, powerful antioxidants that reduce inflammation and support heart health.
- Cherry Tomatoes: Rich in lycopene, an antioxidant linked to reduced risk of chronic diseases.
- Greek Yogurt: Provides probiotics for gut health and protein for satiety and muscle repair.
Dietary Considerations: This recipe is naturally gluten-free, vegetarian, and low-carb. It can be made vegan by using a plant-based yogurt or hummus for the dip. It’s also nut-free and egg-free, making it suitable for many allergy-friendly diets. If you’re watching your sodium, go easy on the salt in the dip and choose low-sodium hummus if using store-bought.
Allergens: The dip contains dairy (Greek yogurt). If you’re dairy-free, use a plant-based yogurt or hummus instead. The vegetables themselves are free of common allergens.
I love that this lunch makes me feel good about what I’m eating without feeling like a chore. It’s a simple way to get a variety of nutrients in one meal, and it actually tastes great.
Conclusion
This Easy Rainbow Veggie Bento Box has become a staple in my kitchen for good reason. It’s fast, it’s beautiful, and it actually gets eaten. No more sad lunches that end up in the trash. No more guilt about not eating enough vegetables. Just a simple, colorful meal that makes you feel good.
I encourage you to make this your own. Swap in your favorite vegetables. Try different dips. Add protein if you want. The beauty of this recipe is its flexibility. It works for busy weekdays, for meal prep, for kids, for adults, for anyone who wants a lunch that’s as delicious as it is nutritious.
If you make this bento box, I’d love to hear about it. Leave a comment below and tell me what vegetables you used, what dip you chose, and how it turned out. Your feedback helps me create better recipes and helps other readers find inspiration for their own lunches.
Here’s to colorful lunches that make every day a little brighter. Happy prepping!
Frequently Asked Questions
Can I make this bento box ahead of time?
Absolutely! You can prep the vegetables and dip up to three days in advance. Store the vegetables in separate containers in the fridge and assemble the bento box the night before or the morning you plan to eat it. Just don’t cut the tomatoes more than a day ahead because they release moisture and can make everything soggy.
What if I don’t have a bento box?
No problem at all. Use any lunch container with separate sections, or use small silicone cups or ramekins inside a regular container to keep the dip and vegetables separate. Mason jars work great too—just layer the dip at the bottom and the vegetables on top.
Can I use frozen vegetables?
I don’t recommend frozen vegetables for this recipe. They release too much moisture when thawed and will make the bento box soggy. Fresh vegetables are best for texture and flavor. If you’re in a pinch, you can use frozen snap peas that have been thawed and patted very dry, but fresh is always better.
How do I keep the vegetables from getting soggy?
The key is drying the vegetables thoroughly after washing. Use a salad spinner or pat them dry with a clean kitchen towel. Also, keep the dip separate from the vegetables until you’re ready to eat. If you’re packing the box ahead of time, use a container with separate compartments or put the dip in a small container within the box.
Is this bento box suitable for kids?
Yes! My kids love this lunch. Just cut the vegetables into smaller, bite-sized pieces and use fun shapes if you want. You can also add a small treat like a few crackers or a piece of fruit to make it more appealing. The rainbow colors make it fun and approachable for children.
Pin This Recipe!
Easy Rainbow Veggie Bento Box: Best Healthy Lunch Idea

A quick, no-cook lunch featuring colorful fresh vegetables and a creamy Greek yogurt dill dip. Perfect for meal prep, kids, and anyone who wants a satisfying, nutritious meal in under 10 minutes.
- Prep Time: 10 minutes
- Cook Time: 0 minutes
- Total Time: 10 minutes
- Yield: 4 servings 1x
- Category: Lunch
- Cuisine: American
Ingredients
- 1 large red bell pepper, sliced into strips
- 2 medium carrots, peeled and cut into sticks or rounds
- 1 large yellow bell pepper, sliced into strips
- 1 cup fresh snap peas, trimmed
- 1 cup shredded purple cabbage
- 1 cup cherry or grape tomatoes, halved
- 1 cup plain Greek yogurt (full-fat preferred)
- 2 tablespoons fresh lemon juice
- 1 teaspoon garlic powder
- 1 teaspoon dried dill
- Salt and black pepper to taste
- Optional: hummus, fresh herbs (parsley, chives, mint), sesame seeds or pumpkin seeds
Instructions
- Wash all vegetables thoroughly under cool water and pat dry with a clean towel or paper towels.
- Prepare the red bell pepper: cut off top and bottom, slice open to remove ribs and seeds, then slice into thin strips (about 1/4-inch wide).
- Prepare the yellow bell pepper using the same method as the red pepper.
- Peel carrots, cut off tops and bottoms, then slice into sticks about 3 inches long and 1/4-inch thick, or into rounds.
- Rinse snap peas, pat dry, and snap off the tough stem end; remove string if tough.
- Slice a small wedge of purple cabbage (about 1/4 of a small head) as thinly as possible into shreds.
- Rinse cherry tomatoes, pat dry, and cut each in half lengthwise (or quarters if large).
- Make the dip: in a small bowl, combine Greek yogurt, lemon juice, garlic powder, dried dill, and a pinch of salt and pepper. Stir until smooth. Taste and adjust seasoning. Cover and refrigerate.
- Assemble the bento box: place dip in the largest compartment or a small container. Arrange vegetables by color in remaining compartments (e.g., red pepper strips, orange carrot sticks, yellow pepper strips, green snap peas, purple cabbage, cherry tomatoes).
- Cover and refrigerate if not serving immediately. Dip can be made up to 3 days ahead; vegetables can be prepped and stored separately for up to 4 days. Cut tomatoes no more than 1 day ahead to avoid sogginess.
Notes
Dry vegetables thoroughly to prevent sogginess. Cut vegetables to similar sizes for even eating and presentation. For kids, cut into smaller bite-sized pieces. The dip can be made vegan by using plant-based yogurt or hummus. Store assembled box in fridge for up to 3 days; keep dip separate if possible.
Nutrition
- Serving Size: 1 bento box (about 2
- Calories: 150200
- Sugar: 1012
- Sodium: 200300
- Fat: 57
- Saturated Fat: 23
- Carbohydrates: 2025
- Fiber: 68
- Protein: 810
Keywords: rainbow veggie bento box, healthy lunch idea, no-cook lunch, meal prep, vegetarian lunch, kid-friendly lunch, colorful vegetables, Greek yogurt dip



