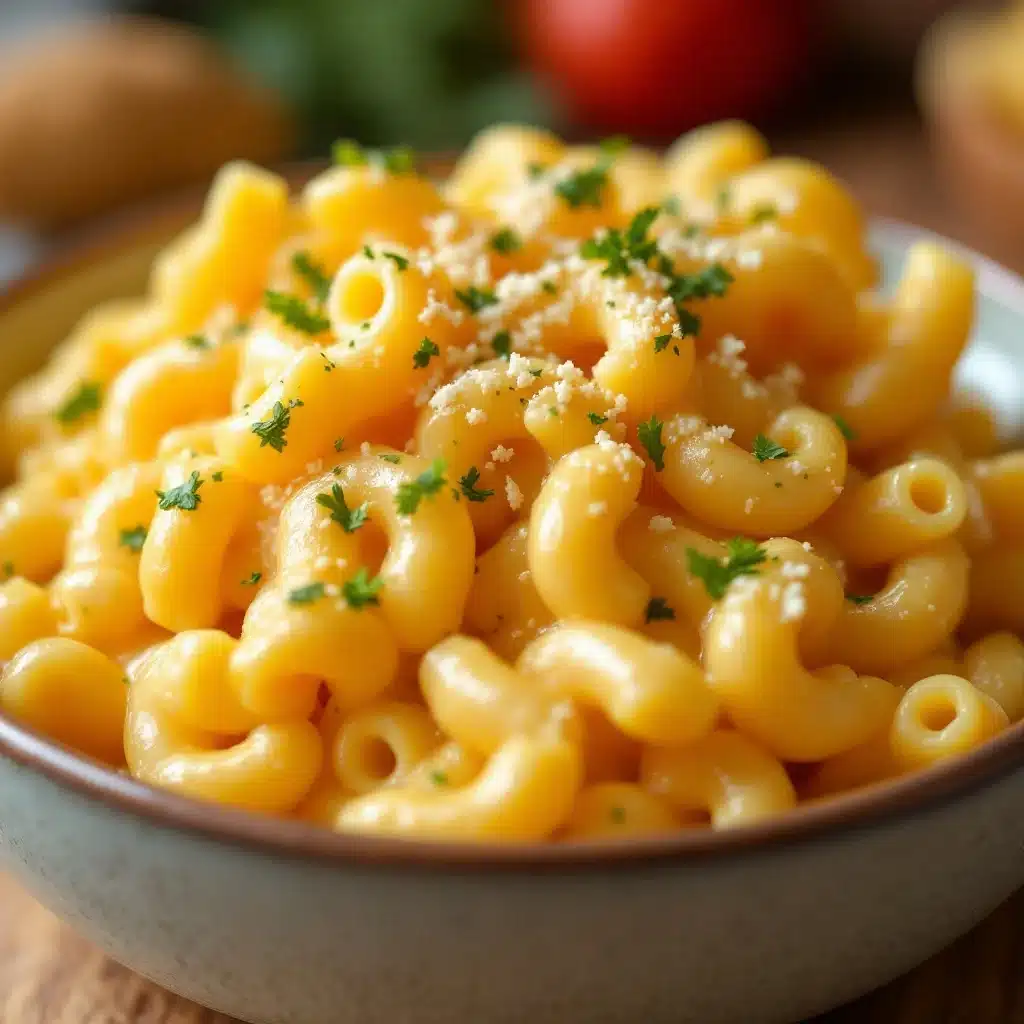
“Mom, can you make mac and cheese that doesn’t get cold by lunch?” My seven-year-old asked this on a Tuesday morning while I was packing his lunchbox. I paused mid-sandwich-making and realized he was right. That sad, lukewarm pasta he’d been coming home with was not cutting it anymore. So I went on a mission. I tested thermoses, tweaked cheese ratios, and fussed over pasta shapes until I landed on this Easy Thermos Mac and Cheese for School Lunch.
This recipe came from a very real place of desperation, honestly. The kind where you want your kid to eat something warm and comforting at school, not just a sandwich that’s been squished by a water bottle. I needed something that would stay creamy, not turn into a gluey mess, and most importantly, something they’d actually finish. After a few fails (and one very cheesy thermos disaster), this version just clicked. The pasta holds its shape, the sauce stays velvety, and the whole thing stays hot until the lunch bell rings.
It is the kind of recipe that makes you feel like a lunch-packing superhero. And the best part? It uses simple ingredients you probably already have. No fancy cheese blends, no complicated steps. Just good, honest mac and cheese that travels well. It is the same comfort you get from a bowl at home, packed with love and a little bit of science.
Why You’ll Love This Recipe
This isn’t just another mac and cheese recipe. It is the one that solved a real problem in my kitchen. Here is why it works so well for school lunches:
- Stays Hot for Hours: The key is preheating the thermos. This simple step keeps the pasta warm and the cheese sauce perfectly melted until lunchtime.
- No Soggy Noodles: We use slightly undercooked pasta so it can finish cooking in the hot thermos without turning mushy. Genius, right?
- Simple Ingredients: You need butter, milk, cheese, and pasta. That is it. No heavy cream or processed cheese blocks required.
- Kid-Approved: My kids devour this. Their friends ask for the recipe. It is a crowd-pleaser that even picky eaters love.
- Budget-Friendly: This recipe costs pennies per serving compared to store-bought lunch kits. Your wallet will thank you.
- Customizable: Add broccoli, chicken, or bacon for extra flavor. The base recipe is a perfect blank canvas.
What makes this different from other thermos recipes? It is the technique. I tested every variable—pasta type, cheese blend, sauce thickness—until I found the perfect balance. This recipe is not just good; it is the kind that makes your kid smile when they open their lunchbox. It is comfort food that travels, and honestly, that is a superpower.
What Ingredients You Will Need
This recipe uses simple, everyday ingredients to create a creamy, cheesy sauce that holds up beautifully in a thermos. Nothing fancy here, just smart choices.
- Elbow Macaroni (2 cups, about 200g): Classic choice. The small shape fits perfectly in a thermos and holds the sauce well. I prefer Barilla or De Cecco for consistent texture.
- Unsalted Butter (2 tablespoons, 28g): The base of our roux. It adds richness and helps thicken the sauce. Use salted butter if that’s all you have, just skip the added salt later.
- All-Purpose Flour (2 tablespoons, 16g): This thickens the cheese sauce so it clings to the pasta without being gluey. A critical ingredient for thermos success.
- Whole Milk (2 cups, 480ml): Full-fat milk gives the creamiest result. It withstands the thermos heat better than skim or 2% milk. Do not substitute with plant-based milk; the sauce may separate.
- Sharp Cheddar Cheese (2 cups, 200g, shredded): The star of the show. Sharp cheddar melts beautifully and has strong flavor. Shred it yourself from a block for best results; pre-shredded cheese has anti-caking agents that can make the sauce grainy.
- Salt (1/2 teaspoon): Enhances all the flavors. Add more to taste if needed.
- Garlic Powder (1/4 teaspoon): Optional but highly recommended. It adds a subtle savory note without being overpowering for kids.
- Pinch of Paprika (optional): A little color and a mild smoky flavor. My kids don’t even notice it.
Substitution Tips: For a gluten-free version, use gluten-free pasta and a 1:1 gluten-free flour blend for the roux. If you want extra protein, stir in 1 cup of shredded cooked chicken or a handful of steamed broccoli florets. For a sharper flavor, mix cheddar with a bit of Gruyere or Monterey Jack.
Equipment Needed
You do not need a professional kitchen to pull this off. Here is what you will need:
- Large Pot: For boiling the pasta. A 4-quart pot works perfectly.
- Medium Saucepan: For making the cheese sauce. A non-stick pan helps with cleanup.
- Whisk: Essential for a smooth roux and lump-free sauce. A silicone whisk is my favorite.
- Measuring Cups and Spoons: Precision matters for the roux ratio. Trust me on this.
- Cutting Board and Knife: For shredding cheese if you are using a block.
- Thermos: A good quality food thermos is key. Look for one with a wide mouth for easy eating. I use a Thermos brand 10-ounce container. It keeps food hot for 5-6 hours.
- Boiling Water: For preheating the thermos. This step is non-negotiable.
Budget-Friendly Tip: You can often find good thermoses at thrift stores or discount stores. Just make sure the seal is intact and the lid screws on tightly. A cheap thermos that loses heat will ruin your lunch.
Preparation Method
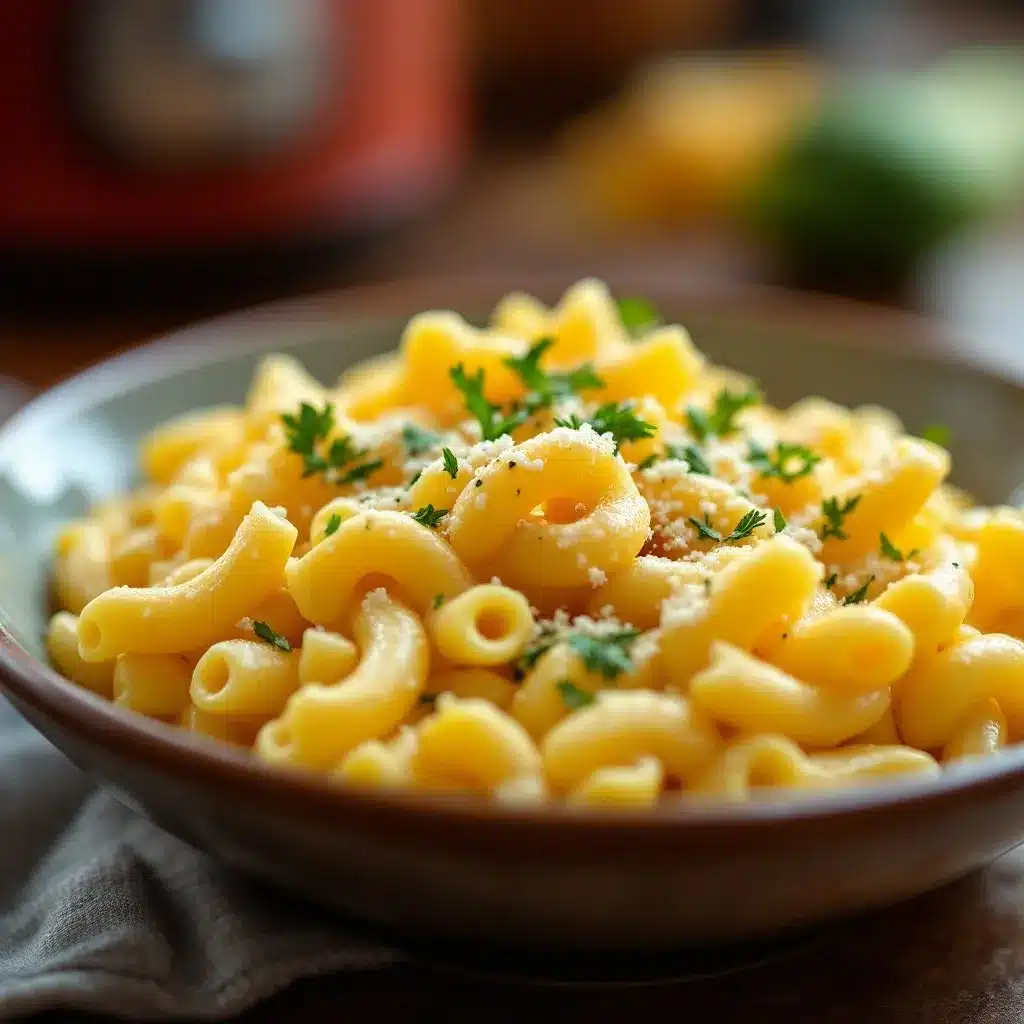
Follow these steps carefully. The order matters for thermos success.
- Preheat the Thermos: Fill your thermos with boiling water. Close the lid and let it sit while you cook. This step is the secret to hot lunch. The hot thermos keeps the mac and cheese warm for hours.
- Cook the Pasta: Bring a large pot of salted water to a rolling boil. Add the elbow macaroni and cook for 1-2 minutes less than the package directions. For al dente, that is usually about 6-7 minutes. You want the pasta slightly firm because it will continue to cook in the thermos. Drain the pasta and set it aside. Do not rinse it.
- Make the Roux: In a medium saucepan, melt the butter over medium heat. Once it is bubbly, whisk in the flour. Keep whisking for about 1 minute until the mixture is smooth and smells slightly nutty. This cooks out the raw flour taste.
- Add the Milk: Slowly pour in the milk while whisking constantly. Keep whisking until the mixture thickens, about 3-4 minutes. It should coat the back of a spoon. If you stop whisking, lumps will form. Do not walk away.
- Season the Sauce: Add the salt, garlic powder, and paprika if using. Whisk to combine. Taste the sauce at this point. It should be well-seasoned because the cheese will add salt too.
- Add the Cheese: Reduce the heat to low. Add the shredded cheddar cheese one handful at a time, stirring until each addition is completely melted before adding more. This prevents a grainy sauce. The sauce will be thick and creamy.
- Combine Pasta and Sauce: Pour the drained pasta into the saucepan with the cheese sauce. Stir gently until every piece of macaroni is coated. The sauce will seem a little loose, but that is perfect. It will thicken as it sits in the thermos.
- Fill the Thermos: Empty the hot water from your thermos. Use a towel to dry the inside quickly. Spoon the mac and cheese directly into the hot thermos. Pack it tightly to minimize air gaps, which helps retain heat. Close the lid immediately.
- Keep It Warm: The thermos will keep the mac and cheese hot for about 4-5 hours. For best results, pack it right before your child leaves for school. Do not open it until lunchtime.
Sensory Cue: When you open the thermos at lunchtime, you should see steam rising. The pasta should be tender but not mushy, and the sauce should be creamy, not separated. If it is dry, you may have cooked the pasta too long or used too little milk.
Cooking Tips & Techniques
I learned these tricks the hard way. Here is what I wish I knew from the start.
Do Not Overcook the Pasta: This is the number one mistake. Overcooked pasta turns into paste in the thermos. Cook it al dente or even a minute less. It will finish cooking from the residual heat. Trust the process.
Use Room Temperature Milk: Cold milk can shock the roux and cause lumps. Let your milk sit out for 10 minutes before you start. Or microwave it for 30 seconds. It makes a big difference in the sauce texture.
Shred Your Own Cheese: I know it is tempting to buy the bagged shreds. But they have starch coatings that prevent smooth melting. A block of sharp cheddar takes 2 minutes to shred and gives you a silky sauce every time. It is worth the extra effort.
Preheat the Thermos Properly: This is not optional. A cold thermos will suck the heat right out of your mac and cheese. Fill it with boiling water for at least 5 minutes. While you are making the sauce, the thermos is getting ready. It is a simple step that guarantees success.
Pack It Tight: Air is the enemy of heat retention. When you fill the thermos, press the mac and cheese down gently with a spoon to eliminate air pockets. A full thermos stays hot longer than a half-empty one.
My Biggest Fail: The first time I tried this, I used pre-shredded cheese and overcooked the pasta. The sauce was grainy, the noodles were mush, and my kid came home hungry. I learned my lesson. Now I follow these rules every time, and it works perfectly.
Variations & Adaptations
This base recipe is a springboard for creativity. Here are some ways to change it up.
- Broccoli Cheddar Mac: Steam 1 cup of small broccoli florets until tender. Stir them into the mac and cheese before packing. It adds color, nutrients, and a little crunch. My kids call it “tree mac.”
- Protein-Packed Version: Stir in 1 cup of shredded rotisserie chicken or cooked ground beef. It turns lunch into a complete meal. Leftover honey mustard grilled chicken thighs work beautifully here.
- Bacon Lover’s Mac: Cook 4 slices of bacon until crispy, crumble them, and stir into the finished mac and cheese. The smoky, salty flavor is incredible. It reminds me of a loaded bacon cheeseburger soup in pasta form.
- Spicy Kick: Add 1/4 teaspoon of cayenne pepper or a dash of hot sauce to the cheese sauce. Great for older kids or adults packing lunch for themselves.
- Gluten-Free Option: Use gluten-free elbow pasta and a 1:1 gluten-free flour blend. The technique is the same. Just check the pasta cooking time on the package.
- Dairy-Free Version: Use vegan butter, unsweetened oat milk, and a good quality vegan cheddar shred. The sauce may be slightly thinner, but it still works in a thermos.
Personal Favorite: I love adding a handful of frozen peas and some diced ham. It is like a deconstructed ham and cheese pasta. The peas add a pop of sweetness that balances the sharp cheddar. My kids fight over the last spoonful.
Serving & Storage Suggestions
This recipe is designed for packed lunches, but it works for other occasions too.
Serving Temperature: Serve hot from the thermos. The magic is opening the lid and seeing steam rise. If you are eating at home, serve immediately after mixing. The sauce will be perfectly creamy.
Presentation: For school lunch, pack the thermos with a spoon and a napkin. Add a side of apple slices or baby carrots for a balanced meal. A small container of ranch dressing for dipping is always a hit.
Storage: This mac and cheese is best eaten fresh. If you have leftovers, transfer them to an airtight container and refrigerate for up to 3 days. Do not leave it in the thermos. The thermos will keep it warm for hours, but it will eventually cool and could become a food safety risk.
Reheating: To reheat, add a splash of milk to the cold mac and cheese. Microwave in 30-second intervals, stirring between each, until hot. The extra milk helps restore the creamy texture. You can also reheat it in a saucepan over medium-low heat, stirring constantly.
Freezing: You can freeze the mac and cheese for up to 2 months. Let it cool completely, then transfer to a freezer-safe container. Thaw in the refrigerator overnight before reheating. The texture may be slightly different after freezing, but it is still delicious.
Flavor Development: Honestly, the flavors meld together even more after a day in the fridge. The mac and cheese tastes even better the next day. Just add a little milk when reheating to bring back the creaminess.
Nutritional Information & Benefits
Here is the estimated nutritional breakdown per serving (based on 4 servings):
| Nutrient | Amount per Serving |
|---|---|
| Calories | 420 |
| Total Fat | 22g |
| Saturated Fat | 13g |
| Cholesterol | 65mg |
| Sodium | 580mg |
| Total Carbohydrates | 38g |
| Dietary Fiber | 2g |
| Sugars | 6g |
| Protein | 18g |
| Calcium | 350mg |
Health Benefits: This mac and cheese provides a good source of calcium from the milk and cheese, which supports strong bones and teeth. The protein from the dairy and pasta helps keep kids full and focused through the afternoon. Adding vegetables like broccoli or peas boosts the fiber and vitamin content. For a lighter option, use reduced-fat cheese and 2% milk. This recipe is also a great way to sneak in extra protein for picky eaters.
Dietary Considerations: This recipe contains dairy and gluten. It can be made gluten-free or dairy-free with simple substitutions. It is not suitable for a vegan diet unless all dairy ingredients are replaced with plant-based alternatives. Always check labels for potential allergens.
Conclusion
This Easy Thermos Mac and Cheese for School Lunch is more than just a recipe. It is a solution to a daily struggle. It is the warm, comforting lunch that makes your kid feel cared for, even when you are not there. The creamy cheese sauce, the perfectly tender pasta, the way it stays hot until the bell rings — it is all by design. And it works.
I love this recipe because it takes the stress out of packing lunch. No more worrying about cold food or sad sandwiches. Just a thermos full of happiness. You can customize it with your family’s favorite add-ins, or keep it classic. Either way, it is a winner.
I would love to hear how it turns out for you! Did your kids love it? Did you try a fun variation? Drop a comment below and share your experience. And if you are looking for more cozy meal ideas, check out this slow cooker creamy chicken taco soup for another lunchbox-friendly option. Happy cooking, friends!
Frequently Asked Questions
Can I use a different type of pasta?
Absolutely! Small pasta shapes like shells, rotini, or ditalini work great. Just make sure they are small enough to fit on a spoon. Avoid large shapes like lasagna noodles or penne, as they do not pack as well in a thermos.
How long will the mac and cheese stay hot in the thermos?
With proper preheating, a good quality thermos will keep the mac and cheese hot for 4-5 hours. For best results, pack it right before your child leaves for school. The fuller the thermos, the longer it stays hot.
Can I make this recipe ahead of time?
Yes, you can make the mac and cheese the night before. Let it cool completely, then refrigerate in an airtight container. In the morning, reheat it with a splash of milk, then pack it into a preheated thermos. It works perfectly.
Why did my cheese sauce turn out grainy?
Grainy cheese sauce usually happens from overheating or using pre-shredded cheese. Always shred your own cheese from a block. And add the cheese over low heat, stirring until just melted. High heat can cause the proteins to separate.
Can I use this recipe for adult lunches too?
Definitely! This recipe is perfect for anyone who wants a hot, satisfying lunch on the go. Add some spices, hot sauce, or mix in leftover creamy jalapeño popper chicken chili for an adult twist. It is comfort food for all ages.
Pin This Recipe!
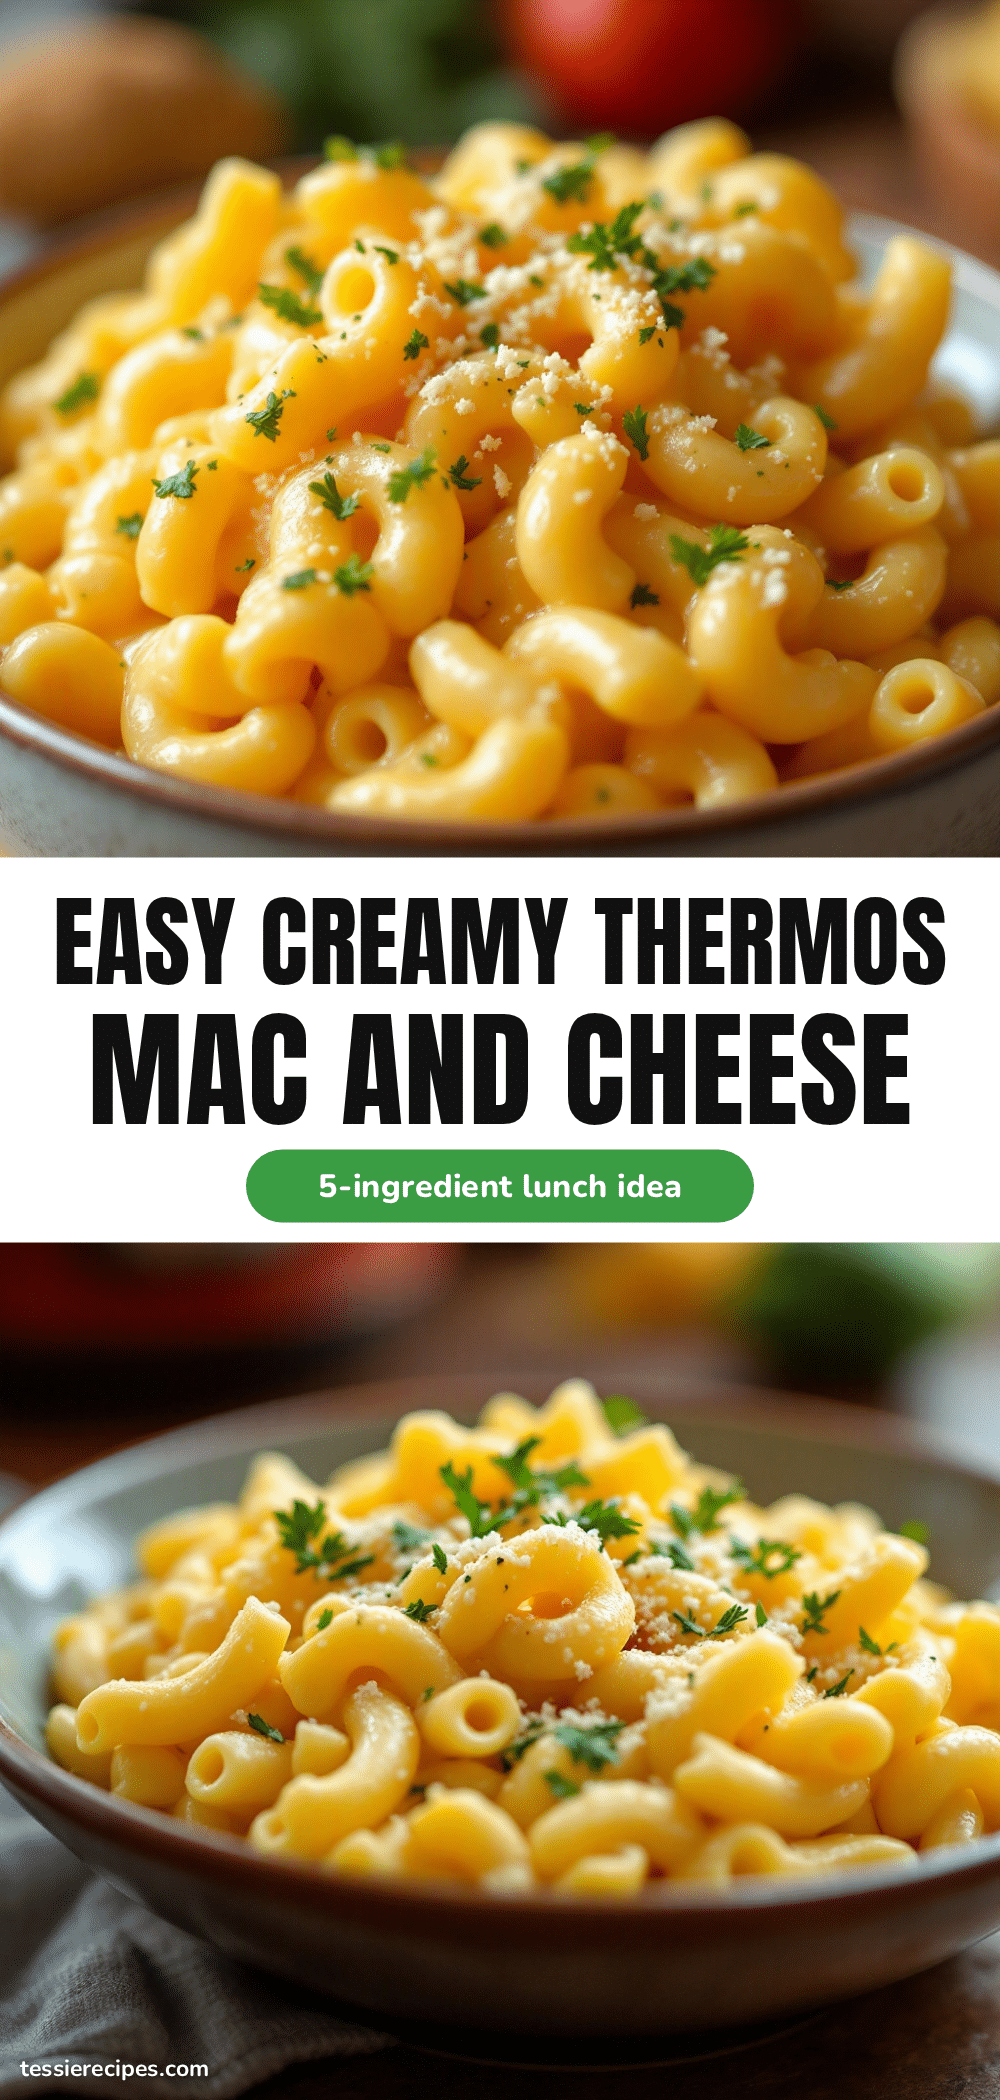
Easy Thermos Mac and Cheese: Best School Lunch Idea

This creamy, kid-approved mac and cheese stays hot in a thermos for hours, making it the perfect school lunch solution. With simple ingredients and a foolproof technique, it’s a budget-friendly, customizable meal that solves the problem of cold lunchtime pasta.
- Prep Time: 10 minutes
- Cook Time: 15 minutes
- Total Time: 25 minutes
- Yield: 4 servings 1x
- Category: Main Course
- Cuisine: American
Ingredients
- 2 cups (about 200g) elbow macaroni
- 2 tablespoons (28g) unsalted butter
- 2 tablespoons (16g) all-purpose flour
- 2 cups (480ml) whole milk
- 2 cups (200g) shredded sharp cheddar cheese
- 1/2 teaspoon salt
- 1/4 teaspoon garlic powder (optional)
- Pinch of paprika (optional)
Instructions
- Preheat the thermos: Fill your thermos with boiling water, close the lid, and let it sit while you cook.
- Cook the pasta: Bring a large pot of salted water to a rolling boil. Add the elbow macaroni and cook for 1-2 minutes less than package directions (about 6-7 minutes for al dente). Drain and set aside. Do not rinse.
- Make the roux: In a medium saucepan, melt the butter over medium heat. Whisk in the flour and cook for about 1 minute until smooth and slightly nutty.
- Add the milk: Slowly pour in the milk while whisking constantly. Continue whisking until the mixture thickens, about 3-4 minutes, until it coats the back of a spoon.
- Season the sauce: Add the salt, garlic powder, and paprika (if using). Whisk to combine. Taste and adjust seasoning.
- Add the cheese: Reduce heat to low. Add the shredded cheddar cheese one handful at a time, stirring until each addition is completely melted before adding more.
- Combine pasta and sauce: Pour the drained pasta into the saucepan with the cheese sauce. Stir gently until every piece is coated. The sauce will seem a little loose.
- Fill the thermos: Empty the hot water from the thermos. Use a towel to dry the inside quickly. Spoon the mac and cheese directly into the hot thermos, packing it tightly to minimize air gaps. Close the lid immediately.
- Keep it warm: The thermos will keep the mac and cheese hot for about 4-5 hours. For best results, pack it right before leaving for school. Do not open until lunchtime.
Notes
Do not overcook the pasta; it will continue cooking in the thermos. Use room temperature milk to prevent lumps. Shred your own cheese from a block for a smooth sauce. Preheat the thermos with boiling water for at least 5 minutes. Pack the thermos tightly to retain heat. For best results, pack right before leaving for school.
Nutrition
- Serving Size: 1 serving (about 1 c
- Calories: 420
- Sugar: 6
- Sodium: 580
- Fat: 22
- Saturated Fat: 13
- Carbohydrates: 38
- Fiber: 2
- Protein: 18
Keywords: thermos mac and cheese, school lunch, easy mac and cheese, kid-friendly, hot lunch, creamy mac and cheese, thermos recipe



