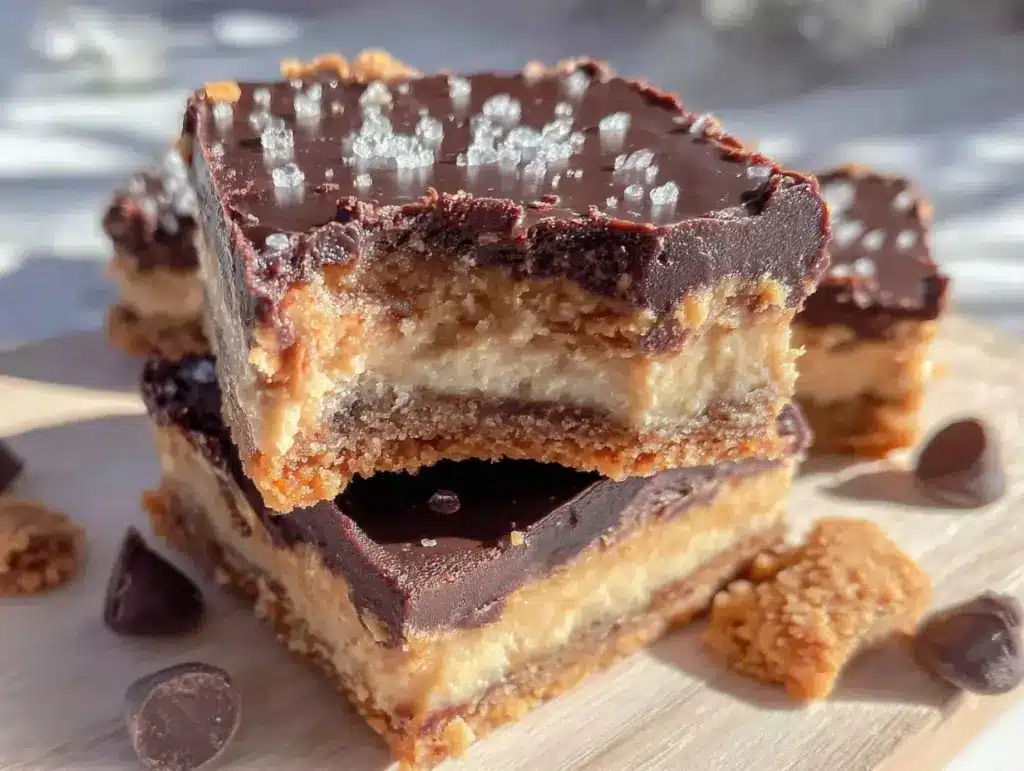
The first bite of these Homemade Peanut Butter Sandwich Bars will have you hooked—they’re creamy, nutty, and just the right amount of sweet. I remember creating this recipe on a rainy afternoon when the kids were begging for a treat that wasn’t store-bought. It’s the ultimate comfort snack that’s easy to whip up and packed with nostalgic flavor. If you love the classic peanut butter and jelly combo, you’re going to adore this layered, portable version. Bonus? No oven required!
These bars are perfect for busy mornings, post-workout snacks, or a little indulgence with your coffee. And honestly, they’re so simple that even the kids can help make them. Whether you’re a peanut butter lover or just looking for a creative treat to keep the family happy, this recipe is a must-try. Let’s get started!
Why You’ll Love These Peanut Butter Sandwich Bars
- Easy to Make: No baking required, and minimal effort goes into creating these delicious bars.
- Perfectly Balanced Flavors: A heavenly mix of sweet and salty with that nostalgic peanut butter and jelly taste.
- Versatile: Great for breakfast, snacks, or dessert, and easy to customize for dietary needs.
- Kid-Friendly: A treat that kids love and can help make.
- Wholesome Ingredients: Made with pantry staples—no additives or mystery ingredients.
- Impressive Yet Simple: These bars look like something from a bakery but are incredibly easy to make at home.
What makes these bars stand out is the way the peanut butter layer melts into the cookie base with every bite. Plus, the glossy jam layer adds a burst of fruity goodness that’s just irresistible. They’re also freezer-friendly, so you can always have them on hand for when cravings strike. These bars are comfort food with a creative twist—trust me, you won’t be able to stop at just one!
What Ingredients You Will Need
This recipe uses simple, wholesome ingredients to create the perfect balance of flavors and textures. Chances are, you already have most of these items in your kitchen!
- For the Cookie Base:
- 1 cup (240g) all-purpose flour
- 1/2 cup (100g) brown sugar (packed)
- 1/2 cup (120g) unsalted butter, melted
- 1/4 tsp salt
- 1/2 tsp vanilla extract
- For the Peanut Butter Layer:
- 1 cup (240g) creamy peanut butter
- 2 tbsp (30ml) honey or maple syrup (adds a touch of sweetness)
- 1/4 cup (60ml) coconut oil, melted
- Pinch of salt
- For the Jelly Layer:
- 1/2 cup (120g) fruit jam of your choice (strawberry, raspberry, or grape)
- 1 tbsp (15ml) water (to thin the jam slightly)
If you’re looking to make this recipe gluten-free, simply swap the all-purpose flour with almond flour. You can also use almond butter or sunflower seed butter for a peanut-free alternative. The fruit jam is flexible—use whatever flavor you love or have on hand!
Equipment Needed
- Mixing bowls (small and medium)
- 9×9-inch baking dish (or any small square pan)
- Rubber spatula (for spreading layers evenly)
- Measuring cups and spoons
- Parchment paper (makes cleanup a breeze)
If you don’t have a square pan, you can use a round cake pan or even a loaf pan. Just keep an eye on the layers to make sure they’re evenly spread. For cutting clean squares, I recommend using a sharp knife and wiping it between cuts.
How to Make Homemade Peanut Butter Sandwich Bars
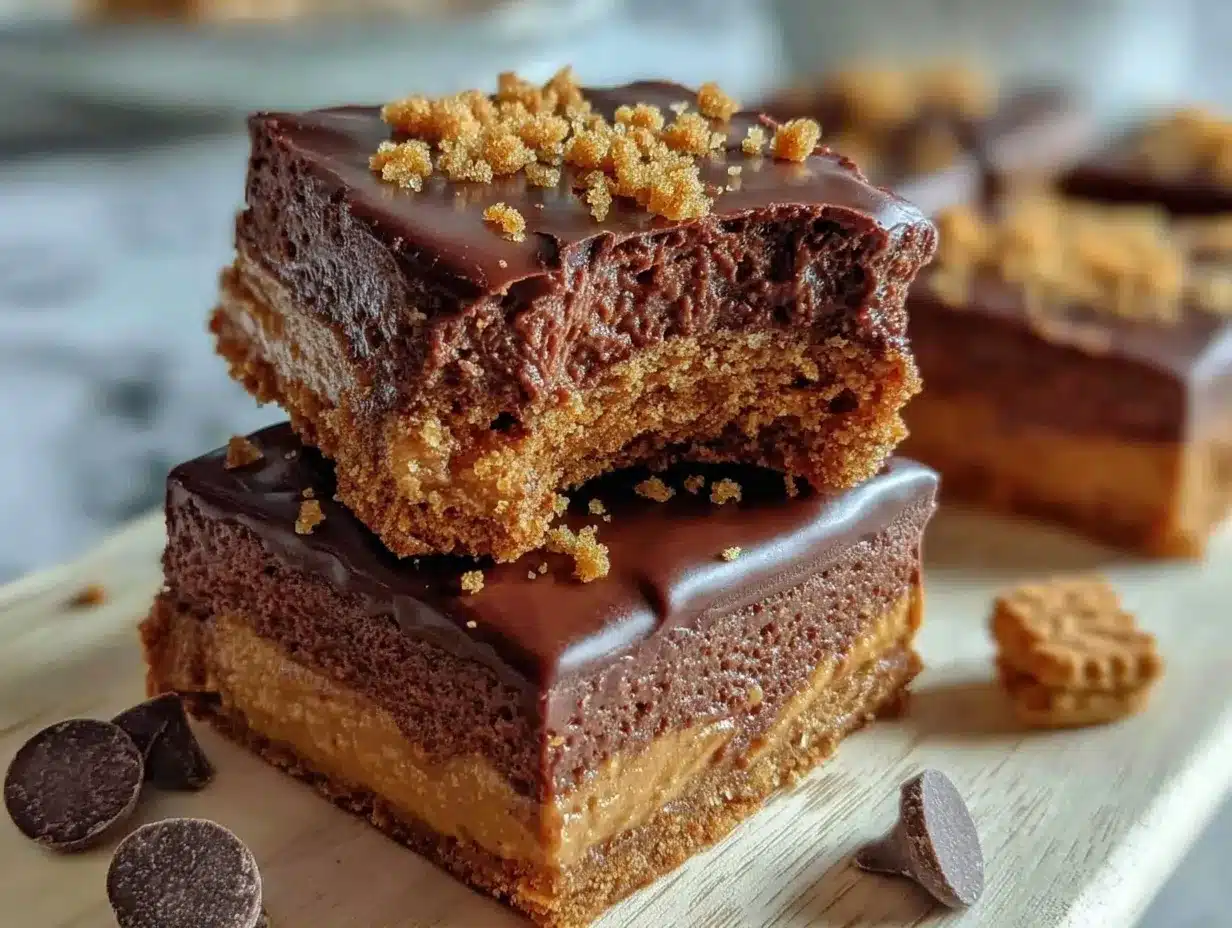
- Prepare the Base: Line your baking dish with parchment paper for easy removal. In a mixing bowl, combine the melted butter, brown sugar, vanilla extract, salt, and flour. Stir until the mixture forms a crumbly dough. Press the dough evenly into the prepared pan. Chill in the fridge for 20 minutes.
- Make the Peanut Butter Layer: In a small bowl, mix the peanut butter, melted coconut oil, honey, and a pinch of salt until smooth. Pour the mixture over the chilled cookie base and spread evenly using a rubber spatula. Place the dish back in the fridge for another 30 minutes to set.
- Prepare the Jelly Layer: In a microwave-safe bowl, combine the jam and water. Microwave for 15-20 seconds, then stir until it’s smooth and slightly runny. Pour the jam over the peanut butter layer and spread evenly. Chill again for 1 hour or until fully set.
- Cut and Serve: Once chilled, lift the bars out of the pan using the parchment paper. Use a sharp knife to cut into squares. Serve immediately or store for later.
Pro tip: If you notice the peanut butter layer isn’t setting properly, add an extra tablespoon of coconut oil to help firm it up. Also, make sure each layer is completely chilled before adding the next.
Cooking Tips & Techniques
- Chill Between Layers: Each layer needs time to set before adding the next. This ensures clean, well-defined layers and prevents mixing.
- Use Room Temperature Ingredients: Especially for the peanut butter layer, as it helps create a smoother texture.
- Don’t Overdo the Jam: A thin layer of jelly works best to keep the bars balanced and not overly sweet.
- Troubleshooting Texture: If your base feels dry, add an extra tablespoon of melted butter. If the peanut butter layer is too runny, chill it longer before adding the jam.
- Use Parchment Paper: This makes it so much easier to lift the bars out of the pan without any mess.
These tips will help you achieve picture-perfect bars every time. Trust me, I’ve learned these tricks the hard way after a few kitchen mishaps!
Variations & Adaptations
- Gluten-Free Option: Substitute the all-purpose flour with almond or oat flour for a gluten-free base.
- Nut-Free Version: Use sunflower seed butter instead of peanut butter for an allergy-friendly alternative.
- Flavor Twists: Swap the jam for Nutella or caramel sauce for a completely different vibe.
- Seasonal Adaptation: Use fresh fruit puree instead of jam in summer for a vibrant, homemade touch.
My personal favorite variation? Adding a sprinkle of sea salt on top for a salty-sweet combo that’s truly addictive!
Serving & Storage Suggestions
These bars are best served chilled for maximum flavor and texture. Pair them with a hot cup of coffee or a glass of cold milk—pure bliss! For a party, arrange them on a platter with fresh berries for a pop of color.
To store, place the bars in an airtight container with parchment paper between layers to prevent sticking. They’ll keep well in the fridge for up to 5 days or in the freezer for up to a month. To reheat, simply let them thaw at room temperature for 10-15 minutes.
Nutritional Information & Benefits
Each bar is packed with protein from the peanut butter, making it a great post-workout snack. They’re also free from preservatives and artificial flavors, so you can enjoy a wholesome treat. Here’s an approximate breakdown per serving:
- Calories: 250
- Protein: 5g
- Fat: 14g
- Carbohydrates: 24g
- Fiber: 2g
- Sugar: 10g
For a lower-carb version, use sugar-free jam and almond flour. Just be mindful of the coconut oil, as it’s calorie-dense.
Conclusion
These Homemade Peanut Butter Sandwich Bars are a treat you’ll want to make again and again. They’re easy, delicious, and customizable—perfect for busy days or special occasions. I love how they bring back childhood memories with every bite, but with a modern twist that fits a healthy lifestyle.
Give this recipe a try and let me know what you think in the comments below! Did you add your own spin? Share your creations—I’d love to see them! Don’t forget to pin this recipe for later and share it with friends who love peanut butter as much as you do.
Here’s to sweet, nutty goodness—enjoy every bite!
FAQs
Can I use crunchy peanut butter instead of creamy?
Absolutely! Crunchy peanut butter adds a delightful texture to the bars. If you’re a fan of a little crunch, go for it!
What type of jam works best?
Any jam you love works well! Strawberry, raspberry, and grape are classic options, but feel free to get creative with flavors like apricot or cherry.
How do I make this recipe vegan?
To make it vegan, replace the butter with vegan margarine, honey with maple syrup, and ensure your jam is free from animal-based ingredients.
Can I freeze these bars?
Yes! Wrap them individually or layer them in a container with parchment paper. They’ll keep in the freezer for up to a month.
What’s the best way to cut clean squares?
Chill the bars thoroughly before cutting. Use a sharp knife and wipe it clean between cuts for neat edges.
Pin This Recipe!
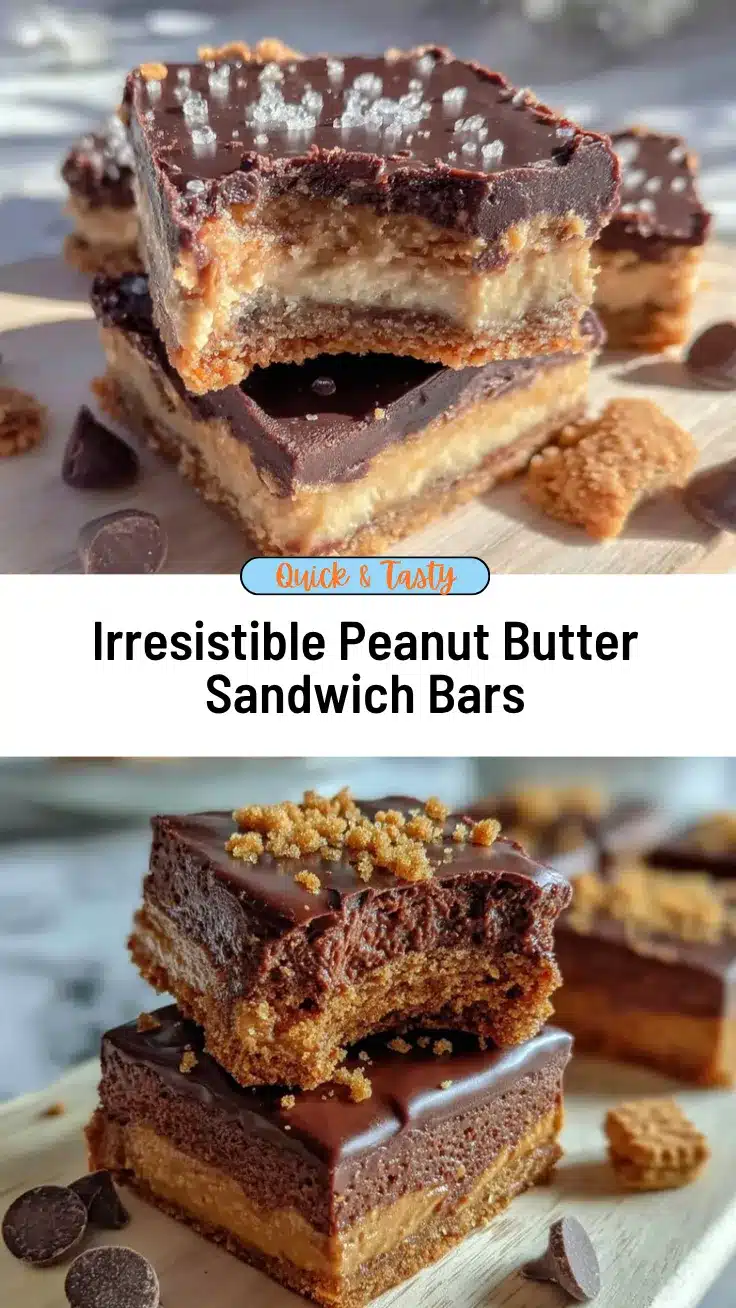
Homemade Peanut Butter Sandwich Bars

These creamy, nutty, and sweet bars are a no-bake treat that combines the nostalgic flavors of peanut butter and jelly in a portable, layered snack.
- Prep Time: 20 minutes
- Cook Time: 1 hour 50 minutes (chilling time)
- Total Time: 2 hours 10 minutes
- Yield: 16 bars 1x
- Category: Dessert
- Cuisine: American
Ingredients
- 1 cup (240g) all-purpose flour
- 1/2 cup (100g) brown sugar (packed)
- 1/2 cup (120g) unsalted butter, melted
- 1/4 tsp salt
- 1/2 tsp vanilla extract
- 1 cup (240g) creamy peanut butter
- 2 tbsp (30ml) honey or maple syrup
- 1/4 cup (60ml) coconut oil, melted
- Pinch of salt
- 1/2 cup (120g) fruit jam of your choice (strawberry, raspberry, or grape)
- 1 tbsp (15ml) water
Instructions
- Line your baking dish with parchment paper for easy removal. In a mixing bowl, combine the melted butter, brown sugar, vanilla extract, salt, and flour. Stir until the mixture forms a crumbly dough. Press the dough evenly into the prepared pan. Chill in the fridge for 20 minutes.
- In a small bowl, mix the peanut butter, melted coconut oil, honey, and a pinch of salt until smooth. Pour the mixture over the chilled cookie base and spread evenly using a rubber spatula. Place the dish back in the fridge for another 30 minutes to set.
- In a microwave-safe bowl, combine the jam and water. Microwave for 15-20 seconds, then stir until it’s smooth and slightly runny. Pour the jam over the peanut butter layer and spread evenly. Chill again for 1 hour or until fully set.
- Once chilled, lift the bars out of the pan using the parchment paper. Use a sharp knife to cut into squares. Serve immediately or store for later.
Notes
[‘Chill each layer thoroughly before adding the next to ensure clean, well-defined layers.’, ‘Use room temperature ingredients for smoother textures.’, ‘A thin layer of jelly works best to keep the bars balanced and not overly sweet.’, ‘If the base feels dry, add an extra tablespoon of melted butter.’, ‘If the peanut butter layer is too runny, chill it longer before adding the jam.’]
Nutrition
- Serving Size: 1 bar
- Calories: 250
- Sugar: 10
- Fat: 14
- Carbohydrates: 24
- Fiber: 2
- Protein: 5
Keywords: peanut butter, jelly, no-bake, dessert, snack, easy recipe, kid-friendly, gluten-free option



