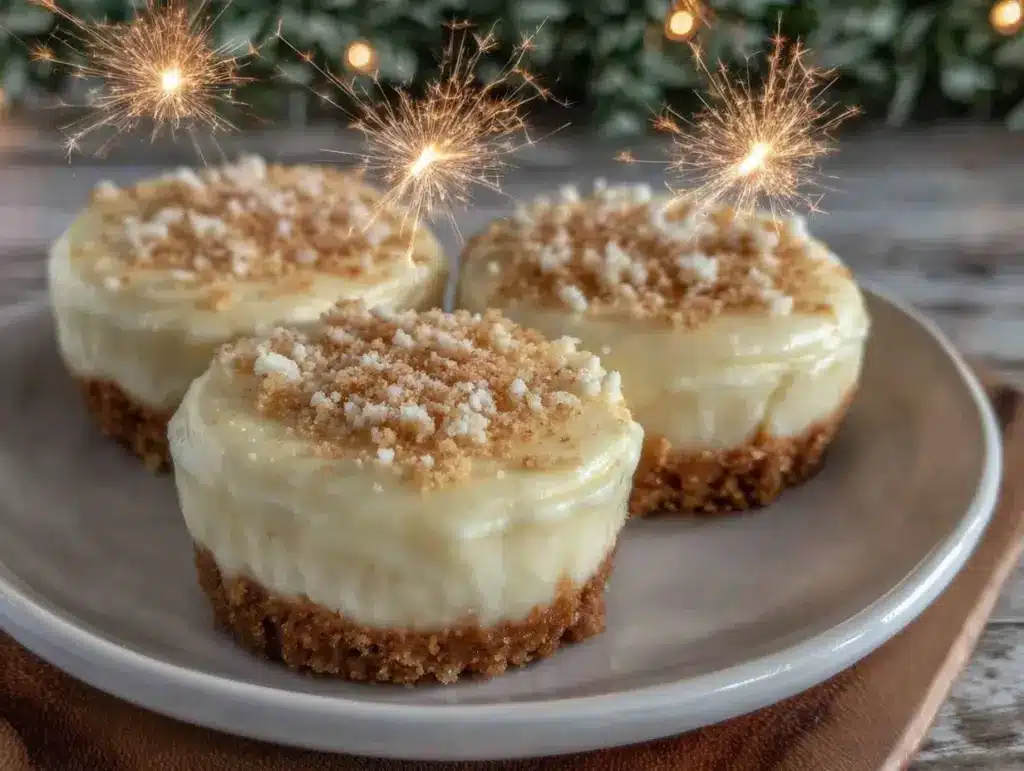
The moment you bite into one of these irresistible mini cheesecakes with sparkling flair, your taste buds throw a little party. Honestly, I remember the first time I whipped up this recipe—it was for a last-minute gathering, and I barely had time to prep, but the result? Pure magic. These mini cheesecakes are like tiny bursts of creamy, tangy joy with a hint of sparkle that makes them feel extra special.
What I love most about this recipe is how approachable it is. You don’t need to be a pastry chef or have a kitchen full of fancy gadgets. The ingredients are simple, but the flavors come together in a way that feels indulgent without being over the top. Plus, there’s something about their dainty size that makes them perfect for parties, gifting, or just treating yourself without guilt.
After testing this recipe dozens of times (yes, I’m serious—quality control is key!), I can confidently say it’s one of my go-to desserts. Whether you’re a cheesecake fanatic or just someone who appreciates a dessert with a little sparkle, these mini cheesecakes are guaranteed to impress. I’ve even served them at family brunches and holiday celebrations, and they always disappear fast. So, if you’re ready to wow your guests or simply crave a sweet treat, let’s get started on creating these delightful little desserts!
Why You’ll Love This Recipe
- Quick & Easy: Comes together in about 45 minutes, plus chilling time—perfect for busy days or last-minute cravings.
- Simple Ingredients: No fancy or hard-to-find items. You likely have everything already in your pantry and fridge.
- Perfect for Any Occasion: Whether it’s a birthday, bridal shower, or casual get-together, these mini cheesecakes fit right in.
- Crowd-Pleaser: Kids, adults, picky eaters—you name it, everyone loves them.
- Unbelievably Delicious: Creamy, smooth, with a crisp crust and a sparkling twist that takes them to the next level.
What makes this recipe stand out? It’s all about the sparkling flair—adding a little fizz or sparkle (think a splash of sparkling water or a sparkling sugar topping) that gives these cheesecakes a unique texture and freshness. Plus, the crust is buttery and crisp without being heavy, balancing the richness perfectly. I’ve tried many mini cheesecake recipes before, but this one hits the sweet spot of flavor and texture every single time.
And let’s be honest, there’s something so satisfying about a dessert you can pop in one bite but savor like a whole experience. These mini cheesecakes aren’t just tasty—they’re a little celebration in dessert form.
What Ingredients You Will Need
This recipe uses simple, wholesome ingredients to deliver a creamy texture and a sparkling finish without any fuss. Most are pantry staples, and you can easily find them at any grocery store.
- For the Crust:
- 1 cup (100g) graham cracker crumbs (or digestive biscuits, crushed finely)
- 3 tablespoons (45g) unsalted butter, melted (adds richness and helps bind)
- 2 tablespoons (25g) granulated sugar (balances the buttery crust)
- For the Cheesecake Filling:
- 16 oz (450g) cream cheese, softened (I recommend Philadelphia for the best texture)
- 1/2 cup (100g) granulated sugar
- 2 large eggs, room temperature
- 1 teaspoon vanilla extract (pure vanilla is best for flavor depth)
- 1/4 cup (60ml) sour cream (for creaminess and a slight tang)
- 1 tablespoon (15ml) sparkling water or club soda (gives that subtle sparkling flair)
- For the Topping (Optional but Recommended):
- Powdered sugar for dusting
- Fresh berries (strawberries, blueberries, or raspberries)
- Edible glitter or sparkling sugar crystals (adds visual sparkle)
If you want to switch things up, you can substitute the graham crackers for gluten-free cookies or use coconut oil in place of butter for a dairy-free crust. For a dairy-free cheesecake, swap cream cheese and sour cream with plant-based alternatives, but keep in mind the texture might shift a bit.
Equipment Needed
- Mini muffin pan (12-cup size) – essential for shaping these bite-sized cheesecakes
- Paper or silicone mini cupcake liners – prevents sticking and makes serving easier
- Mixing bowls – one large for the filling, one for the crust
- Electric mixer or stand mixer – makes whipping the filling smooth and creamy
- Measuring cups and spoons – for precise ingredient amounts
- Spatula – for scraping down the bowl and folding ingredients gently
- Cooling rack – to cool cheesecakes evenly after baking
If you don’t have a mini muffin pan, you can try using silicone molds or even small ramekins, but baking times may vary slightly. I’ve found that silicone liners make cleanup a breeze, and they’re reusable, which is a nice eco-friendly touch. My electric mixer has saved me countless times by making the filling perfectly smooth without lumps—though you can also hand-mix if you’re patient.
Detailed Preparation Method
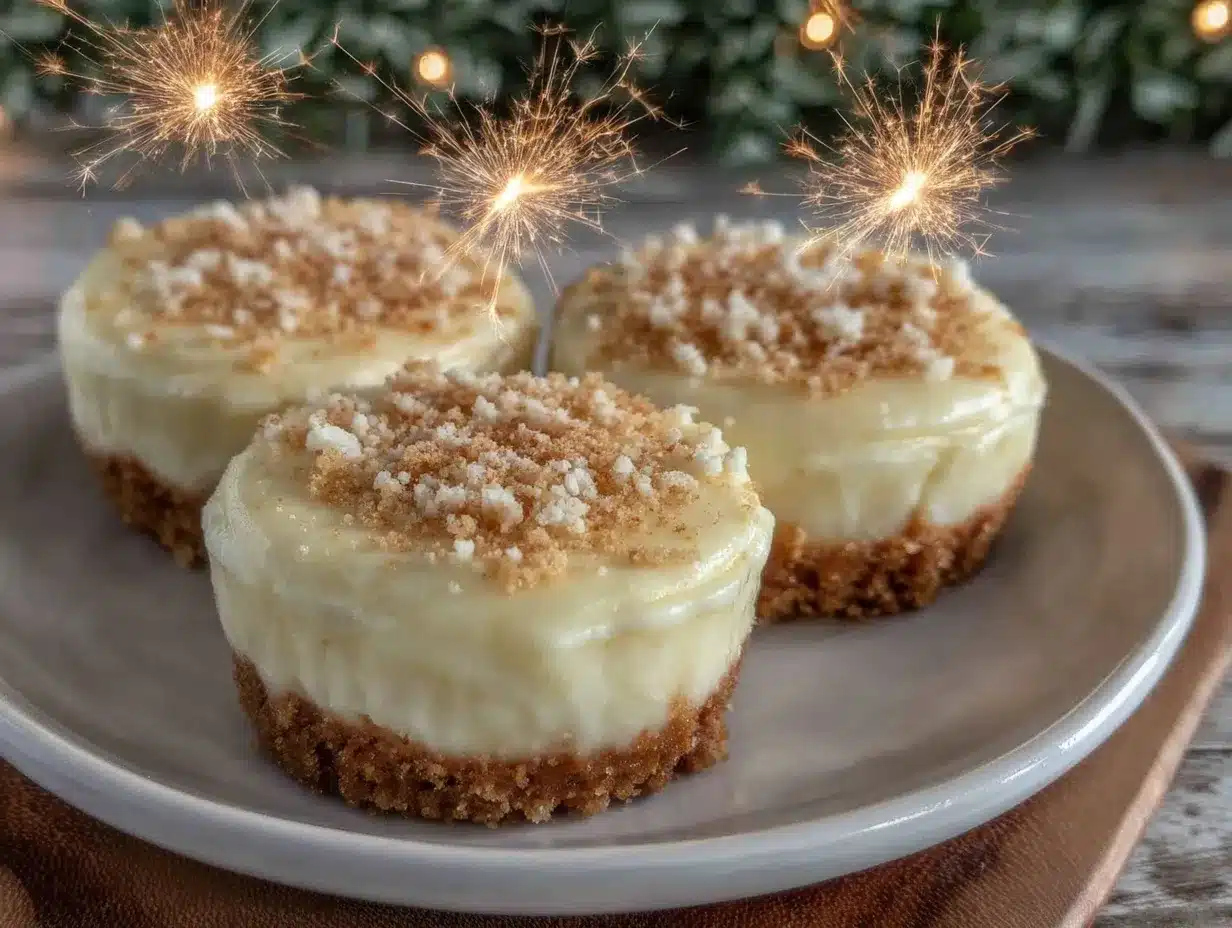
- Prep the crust: Preheat your oven to 325°F (160°C). Line your mini muffin pan with paper liners to prevent sticking. In a medium bowl, combine 1 cup (100g) graham cracker crumbs, 3 tablespoons (45g) melted butter, and 2 tablespoons (25g) granulated sugar. Mix until the crumbs are evenly moistened.
- Form the crust bases: Spoon about 1 tablespoon of the crumb mixture into each muffin cup. Press down firmly with the back of a spoon or your fingers to create a compact, even crust layer. This step is key to avoid crumbly bases later. Bake for 8 minutes until set and golden. Remove from oven and let cool while you prepare the filling.
- Make the filling: In a large bowl, beat 16 oz (450g) softened cream cheese with 1/2 cup (100g) granulated sugar using an electric mixer at medium speed until smooth and creamy, about 2 minutes. Scrape down the sides with a spatula to avoid lumps.
- Add eggs and flavor: Add 2 eggs, one at a time, beating on low speed just until combined after each addition. Mix in 1 teaspoon vanilla extract and 1/4 cup (60ml) sour cream. Finally, gently fold in 1 tablespoon (15ml) sparkling water or club soda to add that subtle sparkling flair. The batter should be smooth and slightly airy.
- Fill the crusts: Spoon the cream cheese filling over the cooled crusts, filling each cup almost to the top but leaving a tiny gap to prevent overflow during baking. A small cookie scoop or tablespoon works well for even portions.
- Bake the cheesecakes: Bake at 325°F (160°C) for 18-22 minutes. The centers should be slightly jiggly but not runny—like a gentle wobble when you shake the pan. Avoid overbaking, or the texture will turn rubbery. If you notice cracking, reduce the baking time by a few minutes next time.
- Cool and chill: Allow the cheesecakes to cool completely in the pan on a cooling rack (about 30 minutes). Then, transfer to the fridge and chill for at least 3 hours or overnight to set fully and develop flavor.
- Serve with flair: Before serving, dust the cheesecakes with powdered sugar and top with fresh berries and a sprinkle of edible glitter or sparkling sugar crystals for that extra wow factor. Serve chilled for the best texture and flavor.
If you notice your crust is too soft after baking, try pressing the crumbs more firmly next time or adding a pinch more sugar to help caramelize the crust. Also, using room temperature ingredients ensures a smooth, lump-free filling every time.
Cooking Tips & Techniques
One trick I learned early on is to never overmix the batter once you add the eggs. Mixing too vigorously can incorporate too much air, causing cracks or a grainy texture. Keeping the speed low after adding eggs helps maintain that velvety smoothness.
Another tip: using room temperature cream cheese and eggs prevents lumps and helps the filling whip up easily. If you’re pressed for time, microwave the cream cheese for 10-15 seconds to soften it—but don’t let it get hot!
When pressing the crust, use firm, even pressure to avoid crumbly bottoms. I sometimes use the bottom of a small glass to get an even layer that holds together well after baking.
Timing is everything here. Set a kitchen timer during baking and start checking at 18 minutes. The slight jiggle in the center is your cue to take them out—the residual heat will finish the job. Overbaking dries out the filling, which nobody wants!
Finally, chilling overnight isn’t just for convenience—it lets the flavors meld and texture firm up beautifully. I’ve found that cheesecakes taste better the next day, so plan ahead if you can.
Variations & Adaptations
- Flavor Twists: Add a tablespoon of lemon zest or a splash of almond extract to the filling for a citrusy or nutty twist.
- Chocolate Lovers: Mix in mini chocolate chips or swirl melted dark chocolate into the batter before baking.
- Seasonal Berries: Swap fresh berries for seasonal fruits like sliced peaches or figs for summer or fall vibes.
- Dairy-Free Version: Use vegan cream cheese and coconut yogurt in place of cream cheese and sour cream. Use coconut oil for the crust instead of butter.
- Crust Alternatives: Use crushed pretzels or gingersnap cookies for a salty or spiced crust variation.
Personally, I once tried adding a teaspoon of espresso powder to the batter, and it gave the cheesecakes a subtle mocha flavor that was surprisingly addictive. Feel free to experiment and make this recipe your own!
Serving & Storage Suggestions
Serve these mini cheesecakes chilled for the creamiest texture. They look stunning on a pretty dessert platter garnished with fresh berries and a dusting of powdered sugar or a delicate drizzle of fruit coulis.
Pair them with a cup of strong coffee, sparkling wine, or a fruity herbal tea for a delightful contrast. They also make charming party favors when wrapped in clear cellophane with a ribbon.
Store leftover cheesecakes in an airtight container in the refrigerator for up to 4 days. For longer storage, freeze them individually on a baking sheet, then transfer to a freezer-safe container for up to 2 months. Thaw overnight in the fridge before serving.
Reheat is generally not recommended as it alters the texture, but if you must, let them come to room temperature briefly and enjoy them slightly soft rather than warm.
Over time, the flavors deepen, so if you can resist, let them sit a day before serving. The texture remains just as delightful, but the taste becomes richer and more harmonious.
Nutritional Information & Benefits
Each mini cheesecake (makes about 12) contains approximately 200 calories, 14g fat, 12g carbs, and 4g protein. Using real cream cheese and butter means you’re getting a good dose of calcium and vitamin A, too.
The sparkling water adds a refreshing lightness without any extra calories or sugars, which is a nice touch for those watching their intake. If you swap in a gluten-free crust or dairy-free options, this recipe can fit various dietary needs.
Of course, these are treats, but they can fit into a balanced diet. I enjoy them as a reward after a busy day or as a special weekend indulgence.
For those with allergies, this recipe contains dairy and eggs, so consider alternatives if needed. I’ve had friends successfully swap in vegan substitutes with decent results.
Conclusion
If you’re looking for a dessert that impresses with minimal effort, these irresistible mini cheesecakes with sparkling flair are your new best friend. They’re creamy, flavorful, and just the right size to satisfy your sweet tooth without going overboard.
Feel free to play with the flavors and toppings to match your mood or occasion. I love how versatile and forgiving this recipe is—it’s truly a keeper in my kitchen. Plus, the sparkling twist adds a little something special that makes every bite feel celebratory.
Give these mini cheesecakes a try, and don’t forget to share your thoughts or any fun variations you come up with. I’m always excited to hear how you make this recipe your own! Happy baking and enjoy every delicious bite.
FAQs
Can I make these mini cheesecakes ahead of time?
Absolutely! They taste even better after chilling overnight. Just store them covered in the fridge until ready to serve.
What can I use instead of graham cracker crumbs?
You can substitute with crushed digestive biscuits, vanilla wafers, or even pretzels for a salty kick.
How do I prevent cracks in my cheesecakes?
Don’t overmix the batter, bake at a moderate temperature, and avoid overbaking. Also, let them cool slowly in the pan before refrigerating.
Can I freeze these mini cheesecakes?
Yes! Freeze individually on a baking sheet, then transfer to a container. Thaw in the fridge before serving for best texture.
What gives these cheesecakes their sparkling flair?
The addition of sparkling water or club soda in the filling adds a subtle lightness and slight fizz that makes these mini cheesecakes unique and refreshing.
Pin This Recipe!
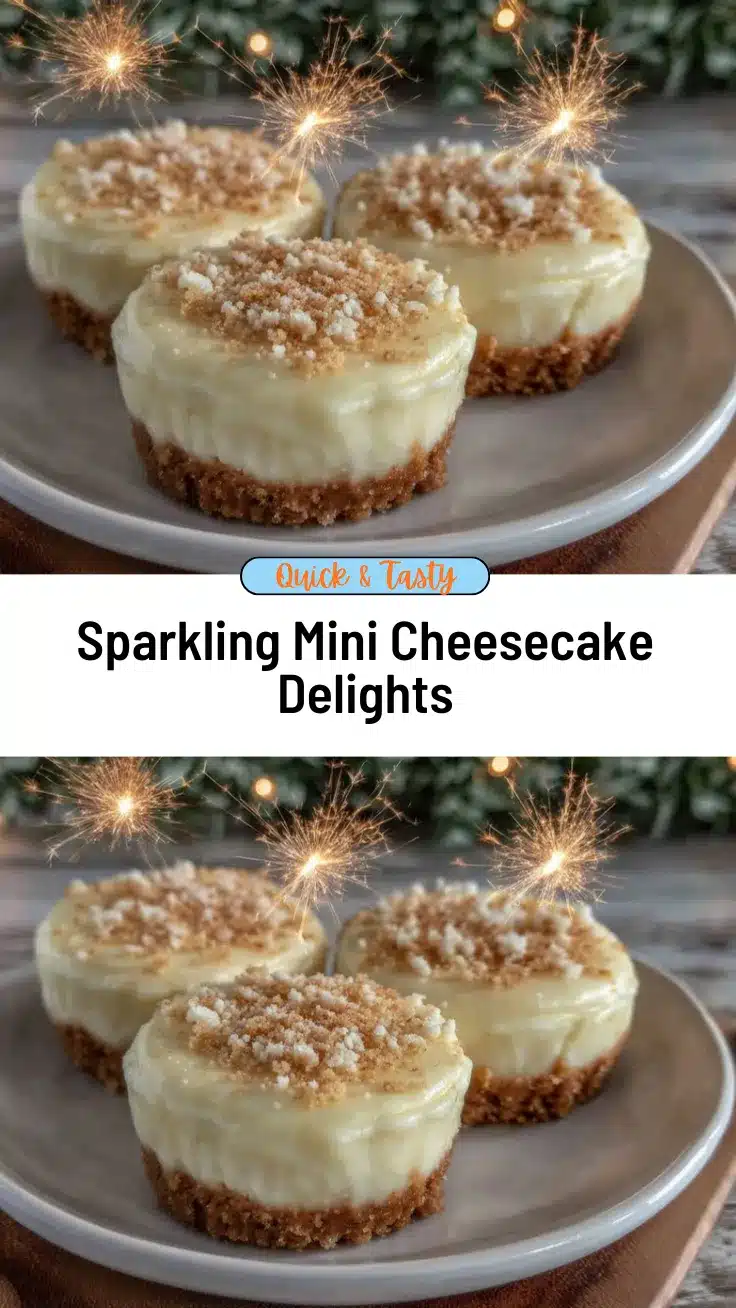
Irresistible Mini Cheesecakes Recipe Easy Sparkling Flair Dessert

These mini cheesecakes are creamy, tangy, and feature a unique sparkling flair that makes them perfect for parties or special occasions. They are quick and easy to make with simple ingredients and a buttery, crisp crust.
- Prep Time: 15 minutes
- Cook Time: 30 minutes
- Total Time: 3 hours 45 minutes
- Yield: 12 mini cheesecakes 1x
- Category: Dessert
- Cuisine: American
Ingredients
- 1 cup (100g) graham cracker crumbs or digestive biscuits, crushed finely
- 3 tablespoons (45g) unsalted butter, melted
- 2 tablespoons (25g) granulated sugar
- 16 oz (450g) cream cheese, softened
- 1/2 cup (100g) granulated sugar
- 2 large eggs, room temperature
- 1 teaspoon vanilla extract
- 1/4 cup (60ml) sour cream
- 1 tablespoon (15ml) sparkling water or club soda
- Powdered sugar for dusting (optional)
- Fresh berries (strawberries, blueberries, or raspberries) for topping (optional)
- Edible glitter or sparkling sugar crystals for topping (optional)
Instructions
- Preheat oven to 325°F (160°C). Line a 12-cup mini muffin pan with paper liners.
- In a medium bowl, combine graham cracker crumbs, melted butter, and granulated sugar. Mix until evenly moistened.
- Spoon about 1 tablespoon of crumb mixture into each muffin cup and press firmly to form a compact crust.
- Bake crusts for 8 minutes until set and golden. Remove and let cool.
- In a large bowl, beat softened cream cheese with granulated sugar using an electric mixer at medium speed until smooth and creamy, about 2 minutes. Scrape down sides.
- Add eggs one at a time, beating on low speed just until combined after each addition.
- Mix in vanilla extract and sour cream. Gently fold in sparkling water or club soda until batter is smooth and slightly airy.
- Spoon filling over cooled crusts, filling each cup almost to the top but leaving a small gap.
- Bake at 325°F (160°C) for 18-22 minutes until centers are slightly jiggly but not runny.
- Cool cheesecakes in pan on a cooling rack for about 30 minutes, then chill in refrigerator for at least 3 hours or overnight.
- Before serving, dust with powdered sugar and top with fresh berries and edible glitter or sparkling sugar crystals if desired. Serve chilled.
Notes
Do not overmix the batter after adding eggs to avoid cracks. Use room temperature cream cheese and eggs for smooth filling. Press crust firmly to avoid crumbly bases. Start checking cheesecakes at 18 minutes to avoid overbaking. Chilling overnight improves flavor and texture. For dairy-free or gluten-free versions, substitute ingredients accordingly.
Nutrition
- Serving Size: 1 mini cheesecake
- Calories: 200
- Fat: 14
- Carbohydrates: 12
- Protein: 4
Keywords: mini cheesecakes, sparkling flair, easy dessert, party dessert, creamy cheesecake, bite-sized dessert



