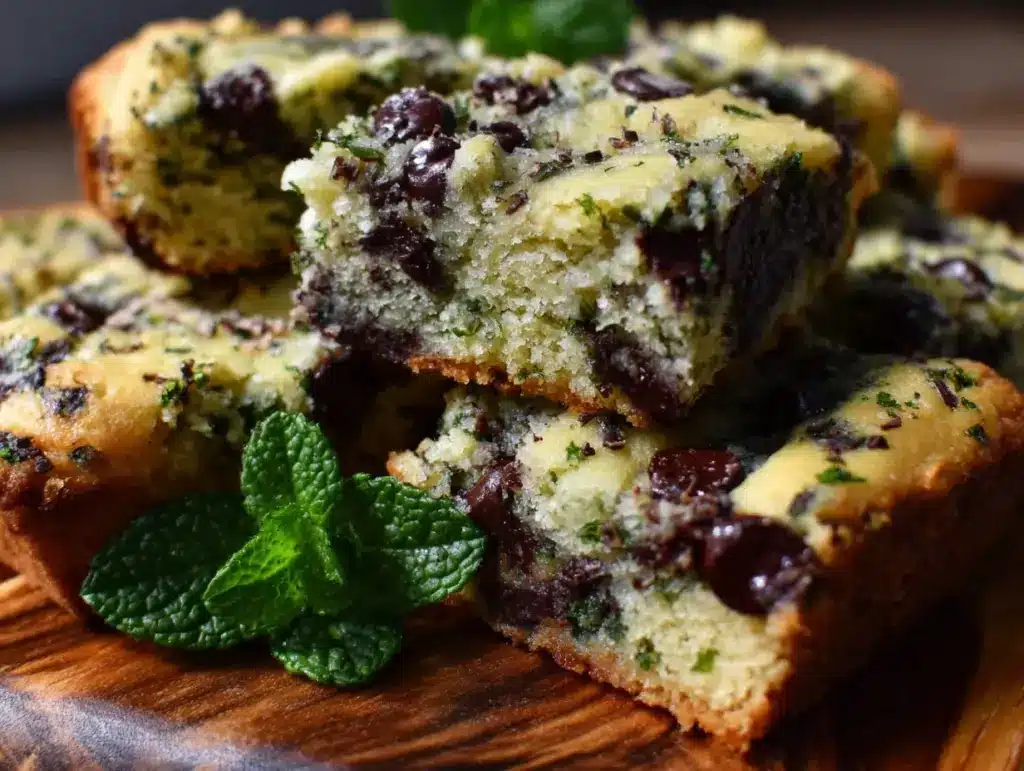
The smell of mint and chocolate mingling in the air always gets me excited, but when I bake these St. Patrick’s Lucky Mint Chip Cookie Bars, it’s like a little celebration in my kitchen. I first whipped up this recipe a couple of years ago for a St. Patrick’s Day party, and honestly, they vanished faster than I could say “shamrock shake.” There’s something about the cool, refreshing mint chips paired with a rich, buttery cookie base that just hits the spot, especially around the holiday when green treats are everywhere.
I’ve made these cookie bars a dozen times since then, tweaking the mix just a bit to get the texture right – chewy edges, soft middle, and that perfect minty kick. Plus, they’re so easy to pull together, which is a win for me because I’m not always in the mood for complicated baking. Whether you’re hosting a festive get-together or just want a fun treat to brighten your day, these Lucky Mint Chip Cookie Bars are a total crowd-pleaser. You’ll notice they’re packed with flavor but still light enough that you can sneak a second piece without feeling too guilty.
If you’re someone who loves the combo of mint and chocolate but wants something a little different than the usual cookies, this recipe is right up your alley. It’s a sweet, satisfying way to celebrate St. Patrick’s Day or any time you feel like indulging in some festive fun. Trust me, once you make these, you’ll be adding them to your baking rotation all year round!
Why You’ll Love This Recipe
- Quick & Easy: These cookie bars come together in just about 30 minutes, perfect for last-minute celebrations or spontaneous cravings.
- Simple Ingredients: No need for fancy or hard-to-find items — most are pantry staples you probably already have on hand.
- Perfect for St. Patrick’s Day: The mint chips add that festive green touch, making these bars a fun addition to any holiday spread.
- Crowd-Pleaser: Kids and adults alike rave about the balance of sweet and minty flavors, making it a guaranteed hit.
- Unbelievably Delicious: The chewy texture combined with the cool mint chips gives you that classic combo with a cookie bar twist.
What makes these Lucky Mint Chip Cookie Bars stand out? Honestly, it’s the way the mint chips melt just enough to create little pockets of refreshing flavor without overpowering the buttery cookie base. Plus, I use a touch of vanilla and a pinch of salt to bring all the flavors together — it’s subtle but makes a big difference. I also like to press a few extra mint chips on top before baking to get that pretty, festive look and a bit of crunch.
These bars aren’t just about taste — they bring a little bit of joy to your day. Whether you’re sharing them with friends or sneaking a bite while no one’s watching, they make every moment feel a bit luckier.
What Ingredients You Will Need
This recipe uses simple, wholesome ingredients that deliver bold flavor and satisfying texture without any fuss. Most of these you’ll find in your pantry or fridge, and the mint chips add that festive green pop that makes these bars perfect for celebrations.
- All-purpose flour (2 ½ cups / 315 grams) – the base for our cookie bars, providing structure and chewiness.
- Baking soda (1 teaspoon) – helps the bars rise just enough for softness without spreading too thin.
- Salt (½ teaspoon) – balances the sweetness and enhances flavor.
- Unsalted butter (1 cup / 227 grams), softened – adds richness and moisture; I prefer using European-style butter for creamier texture.
- Granulated sugar (¾ cup / 150 grams) – for sweetness and a slight crispness on the edges.
- Brown sugar (¾ cup / 165 grams), packed – brings moisture and a subtle caramel note.
- Large eggs (2), room temperature – bind everything together and add tenderness.
- Pure vanilla extract (2 teaspoons) – for that warm, inviting aroma.
- Mint chips (1 ½ cups / 270 grams) – the star ingredient! I recommend Nestle Toll House Mint Chips if you can find them, but any good-quality mint chocolate chips work.
- Optional: green food coloring (a few drops) – if you want a more vibrant green tint to the dough for extra festive flair.
Looking for substitutions? You can swap all-purpose flour for a gluten-free blend if needed, and dairy-free butter alternatives work well too (though the texture might shift slightly). If you can’t find mint chips, chopped mint chocolate bars or even Andes mints chopped up can be a fun alternative. Just be sure to keep the pieces small for even melting.
Equipment Needed
- 9×13-inch baking pan: This size works best for cookie bars, giving them that perfect thickness and easy slicing.
- Mixing bowls: One large for dry ingredients and another for wet ingredients.
- Electric mixer or sturdy whisk: An electric hand mixer makes creaming butter and sugars effortless, but a whisk works if you don’t have one.
- Spatula: For folding in the mint chips and scraping down the bowl.
- Measuring cups and spoons: Accuracy is key, especially for baking!
- Cooling rack: Helps the cookie bars cool evenly and prevents sogginess.
If you don’t have a 9×13 pan, an 11×7 inch pan will do, but your bars will be thicker and may need a slightly longer bake time. I’ve tried baking these bars in silicone pans too; they release nicely but might brown a bit faster, so keep an eye on them. For budget-friendly options, any basic baking pan works just fine — no need to splurge on fancy gear here.
Detailed Preparation Method
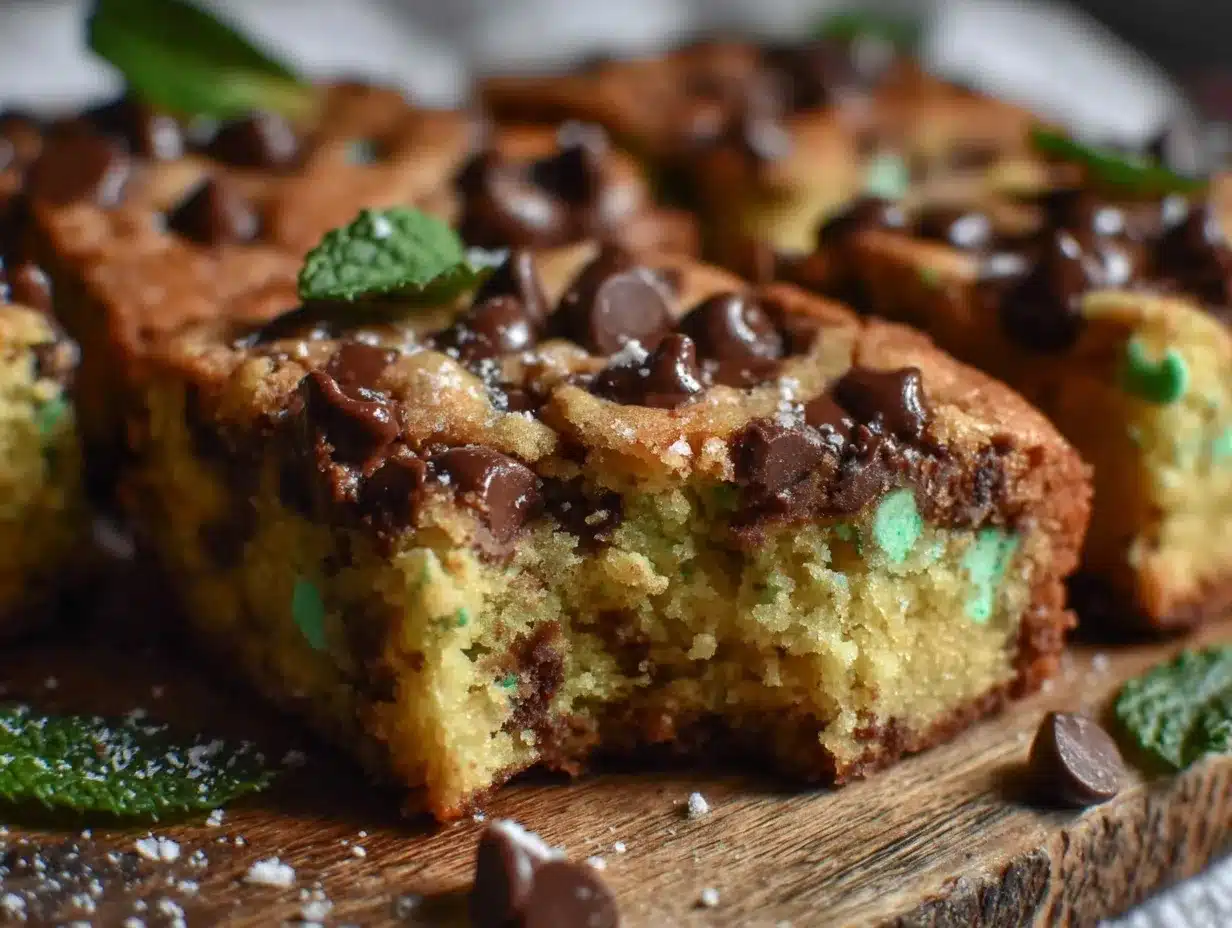
- Preheat your oven to 350°F (175°C). Grease your 9×13-inch pan or line it with parchment paper for easy removal. This step is crucial to avoid any sticking later.
- Mix the dry ingredients. In a large bowl, whisk together 2 ½ cups (315 g) all-purpose flour, 1 teaspoon baking soda, and ½ teaspoon salt. Set aside. This ensures even distribution and prevents clumping.
- Cream the butter and sugars. In another bowl, beat 1 cup (227 g) softened unsalted butter with ¾ cup (150 g) granulated sugar and ¾ cup (165 g) packed brown sugar until light and fluffy—about 3-4 minutes using an electric mixer. This step traps air, giving your bars a tender crumb.
- Add eggs and vanilla. Beat in 2 large eggs, one at a time, then stir in 2 teaspoons pure vanilla extract. The mixture should look smooth and glossy.
- Optional: add green food coloring. If you want that festive green hue, add a few drops now and mix until evenly colored. Don’t go overboard; a subtle tint looks best.
- Combine wet and dry ingredients. Gradually add the dry flour mixture to the wet, mixing just until combined. Overmixing can make your cookie bars tough, so stop as soon as everything is incorporated.
- Fold in the mint chips. Gently fold in 1 ½ cups (270 g) of mint chips, distributing them evenly through the dough.
- Transfer dough to the pan. Scrape the dough into your prepared baking pan, spreading it evenly with a spatula. Press a few extra mint chips on top for that pretty, festive look and a bit of crunch.
- Bake for 25-30 minutes. The edges should be lightly golden, and the center set but still soft (a toothpick inserted should come out with a few moist crumbs, not wet batter). Ovens vary, so start checking at 25 minutes.
- Cool completely on a wire rack. This ensures the bars firm up and slice cleanly. If you try to cut them too soon, you might get crumbs instead of neat squares.
- Slice and serve. Use a sharp knife for clean cuts. I like to chill the bars for 20 minutes before slicing if I want extra-firm bars for easier handling.
If your bars seem too soft after cooling, a quick 5-minute pop back into a warm oven can help firm them up without drying them out. Also, if your dough feels too sticky to spread, refrigerate it for 15 minutes before pressing it into the pan.
Cooking Tips & Techniques
One trick I’ve learned is to soften the butter just right—not too melty or cold—to get the perfect creaming texture with the sugars. If the butter’s too warm, the dough becomes greasy; too cold, and you won’t get that fluffy base. Room temperature is key.
When mixing the dry and wet ingredients, don’t overdo it. Overmixing develops gluten, making your cookie bars tough instead of tender. A few streaks of flour left before folding in mint chips is fine.
Keep an eye on your oven’s hot spots. I’ve had batches burn quickly on one side, so rotating the pan halfway through baking helps keep everything even. Also, if your mint chips start browning too much, cover the pan loosely with foil for the last 5 minutes.
For clean slicing, I recommend letting the bars cool completely or chilling them briefly. Using a sharp knife dipped in hot water (wiped dry before slicing) helps you get smooth edges without dragging crumbs.
Lastly, don’t be shy about pressing extra mint chips on top before baking. It makes the bars look festive and adds texture. Trust me, those little minty pockets on top are the real winners!
Variations & Adaptations
- Gluten-Free Option: Swap out all-purpose flour for a 1:1 gluten-free baking blend. You might need to add an extra egg white or a tablespoon of milk to keep the texture moist.
- Vegan Version: Use dairy-free butter and flax eggs (1 tablespoon flaxseed meal + 3 tablespoons water per egg) instead of regular eggs. Use vegan mint chips or chopped dairy-free mint chocolate.
- Double Chocolate Mint: Add ½ cup (85 g) cocoa powder to the dry ingredients for a chocolate cookie base, boosting the mint-chocolate combo.
- Seasonal Twist: In spring or summer, swap mint chips for chopped fresh strawberries and white chocolate chips for a fruity, festive bar.
- Personal Favorite: I once sprinkled crushed peppermint candies on top before baking for extra crunch and a punch of minty freshness — highly recommended for peppermint lovers!
Serving & Storage Suggestions
These cookie bars are best served at room temperature, letting the mint chips soften just enough to melt in your mouth. If you like a bit of contrast, try them slightly warmed with a scoop of vanilla ice cream on the side — honestly, it’s a little slice of heaven.
For parties, cut them into bite-sized squares and arrange them on a festive tray with some fresh mint leaves or shamrock-shaped sprinkles for that extra St. Patrick’s Day charm. They pair wonderfully with a cup of hot tea or minty hot chocolate for a cozy treat.
Store leftover bars in an airtight container at room temperature for up to 3 days. For longer storage, wrap them tightly and freeze for up to 2 months. Thaw overnight in the fridge and bring to room temperature before serving. Flavors actually deepen a bit after resting, so if you can wait, it’s worth it!
Reheating gently in the microwave (10-15 seconds) revives that soft, chewy texture, making them taste fresh out of the oven again.
Nutritional Information & Benefits
Each serving of these cookie bars (based on 24 bars) contains approximately:
| Calories | 180 kcal |
|---|---|
| Fat | 9 g |
| Carbohydrates | 23 g |
| Sugar | 14 g |
| Protein | 2 g |
The butter provides healthy fats and a rich flavor, while the mint chips add a refreshing twist that can help satisfy sweet cravings with fewer bites. Using real vanilla extract and quality ingredients means no artificial nasties here — something I always aim for in my recipes.
For those mindful of allergens, this recipe contains gluten, dairy, and eggs but can be adapted with substitutions as noted. Mint is known for aiding digestion and freshening breath — a small bonus when enjoying these treats!
Conclusion
These Irresistible St. Patrick’s Lucky Mint Chip Cookie Bars are a no-fail way to bring a little magic to your baking routine. They’re simple, quick, and packed with flavor, making them perfect for celebrations or whenever you need a minty chocolate pick-me-up. I love how they combine that nostalgic cookie vibe with a fresh twist — and I hope they become a favorite in your kitchen too.
Feel free to tweak the recipe to match your taste — add nuts, swap chips, or sneak in some green food coloring if you’re feeling festive. And hey, don’t forget to share your baking adventures with me! Drop a comment below or share your own lucky cookie bar moments.
Happy baking and may the luck of the Irish be with you every time you bite into these bars!
FAQs About Lucky Mint Chip Cookie Bars
Can I use regular chocolate chips instead of mint chips?
Yes, but you’ll lose that signature minty flavor. You can add a drop of peppermint extract to the dough to mimic the mint taste if needed.
How do I store these cookie bars to keep them chewy?
Store them in an airtight container at room temperature for up to 3 days. Avoid refrigeration unless you want a firmer texture.
Can I freeze the cookie bars?
Absolutely! Wrap them well and freeze for up to 2 months. Thaw overnight in the fridge before serving.
What if my cookie bars are too soft after baking?
If they seem underdone, pop them back in the oven for 3-5 more minutes. Letting them cool completely also helps firm them up.
Can I make these bars vegan or gluten-free?
Yes! Use dairy-free butter, flax eggs, and a gluten-free flour blend. Also, pick vegan-friendly mint chips or substitute with chopped dairy-free chocolate and peppermint.
Pin This Recipe!

Irresistible St. Patrick’s Lucky Mint Chip Cookie Bars

These cookie bars combine the refreshing flavor of mint chips with a rich, buttery cookie base, perfect for St. Patrick’s Day celebrations or any festive occasion. They feature chewy edges, a soft middle, and a festive green touch.
- Prep Time: 15 minutes
- Cook Time: 25-30 minutes
- Total Time: 40-45 minutes
- Yield: 24 bars 1x
- Category: Dessert
- Cuisine: American
Ingredients
- 2 ½ cups (315 grams) all-purpose flour
- 1 teaspoon baking soda
- ½ teaspoon salt
- 1 cup (227 grams) unsalted butter, softened
- ¾ cup (150 grams) granulated sugar
- ¾ cup (165 grams) packed brown sugar
- 2 large eggs, room temperature
- 2 teaspoons pure vanilla extract
- 1 ½ cups (270 grams) mint chips
- Optional: a few drops green food coloring
Instructions
- Preheat your oven to 350°F (175°C). Grease a 9×13-inch pan or line it with parchment paper.
- In a large bowl, whisk together the flour, baking soda, and salt. Set aside.
- In another bowl, beat the softened butter with granulated sugar and brown sugar until light and fluffy, about 3-4 minutes.
- Beat in the eggs one at a time, then stir in the vanilla extract.
- If using, add a few drops of green food coloring and mix until evenly colored.
- Gradually add the dry ingredients to the wet ingredients, mixing just until combined.
- Fold in the mint chips gently.
- Scrape the dough into the prepared pan and spread evenly. Press a few extra mint chips on top for decoration.
- Bake for 25-30 minutes until edges are lightly golden and the center is set but still soft (a toothpick should come out with a few moist crumbs).
- Cool completely on a wire rack before slicing. Chill for 20 minutes if firmer bars are desired.
- Slice and serve.
Notes
If dough is too sticky, refrigerate for 15 minutes before pressing into pan. Rotate pan halfway through baking to avoid hot spots. Cover with foil if mint chips brown too quickly. For clean slicing, chill bars and use a sharp knife dipped in hot water. Bars can be reheated briefly to restore softness.
Nutrition
- Serving Size: 1 bar (based on 24 b
- Calories: 180
- Sugar: 14
- Fat: 9
- Carbohydrates: 23
- Protein: 2
Keywords: mint chip cookie bars, St. Patrick’s Day dessert, mint chocolate bars, easy cookie bars, festive cookie bars



