
“Hey, can you make the cake for the graduation party tomorrow?” That text popped up late on a Friday evening, right when I was wondering what on earth to cook for the weekend. Honestly, I wasn’t in the mood for anything complicated, but the thought of a big, festive cake kept nudging at me. I figured, why not whip up a sheet cake? It’s roomy, perfect for a crowd, and I could play around with some colorful buttercream borders to give it that graduation flair. I wasn’t sure if my piping skills would hold up under pressure—after all, I’m not exactly a professional decorator—but I was pleasantly surprised by how the simple recipe turned into the centerpiece of the party.
The cake itself is moist, tender, and just sweet enough, while the buttercream borders add a cheerful pop of color that feels both celebratory and homemade. I remember the moment when the proud graduate’s eyes lit up—there’s something about a cake that’s both personal and visually inviting that just hits differently. This “Perfect Grad Sheet Cake with Custom Color Buttercream Borders” became my go-to for any celebratory event, and I find myself making it more often than I expected. The best part? It’s forgiving enough that even if your piping isn’t perfect, it still looks and tastes fantastic.
After mastering this recipe, I even started experimenting with colors and border designs, making each cake unique and festive. It’s a quiet little tradition now—whipping up this cake whenever there’s a reason to celebrate. The way the flavors come together, and the fun of customizing the borders, make it feel just right for marking milestones big and small.
Why You’ll Love This Recipe
Having tested this recipe multiple times, I can say with confidence that it’s a winner for both novice and seasoned home bakers. Here’s why it’s become a staple in my recipe box:
- Quick & Easy: The cake mixes up in about 15 minutes, and the baking time is just under 30 minutes, perfect for last-minute celebrations.
- Simple Ingredients: You probably already have everything you need in your pantry—no special trips required.
- Perfect for Graduations & Celebrations: Whether it’s a graduation party, birthday, or casual get-together, this sheet cake fits right in.
- Crowd-Pleaser: It’s a classic vanilla cake with a buttery texture; kids and adults alike tend to ask for seconds.
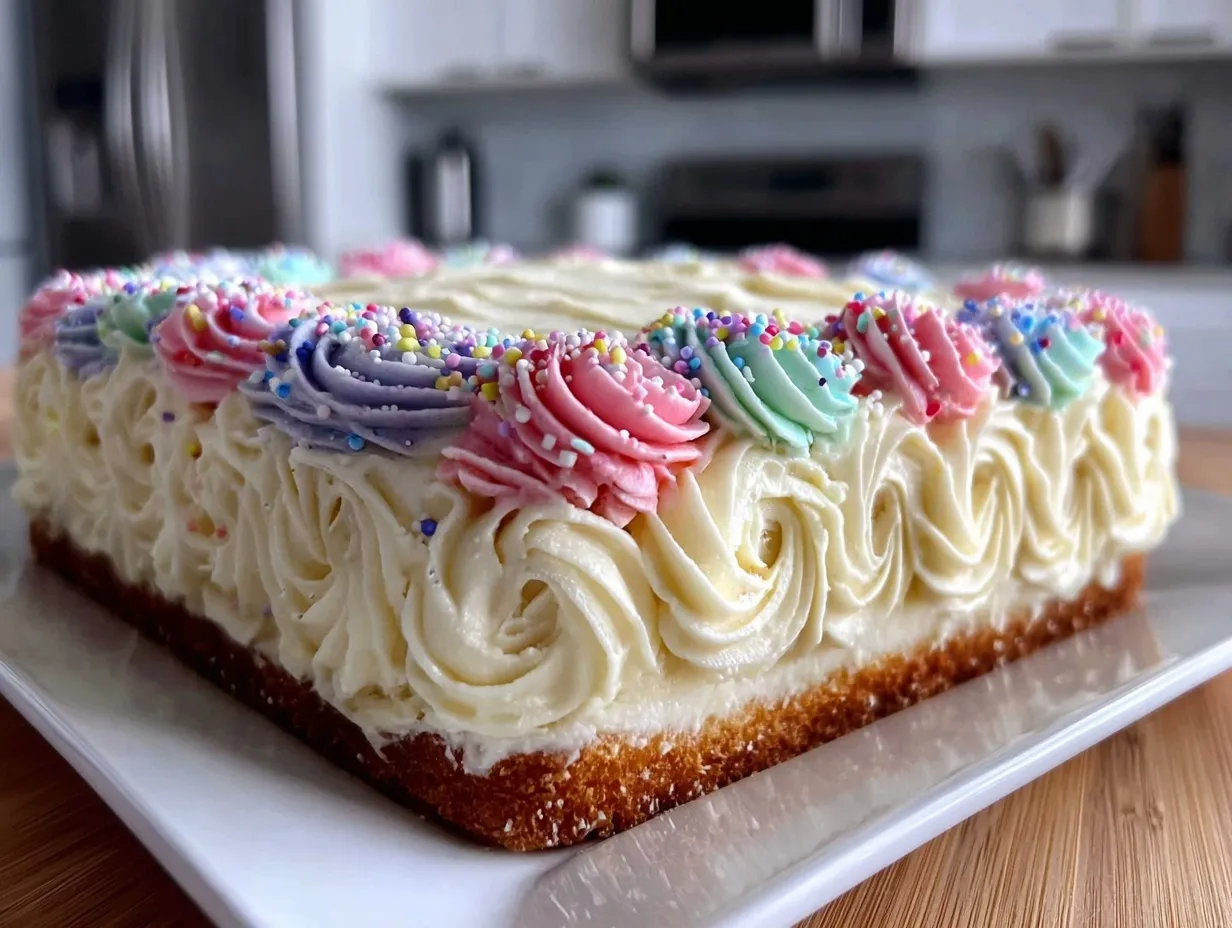
- Customizable Buttercream Borders: The easy-to-tint buttercream lets you match any school colors or party theme effortlessly.
This isn’t just another basic sheet cake recipe. I’ve honed the balance of moisture and crumb to keep the cake tender but sturdy enough to hold up under a thick layer of buttercream. Plus, the buttercream isn’t overly sweet—it’s just right for piping crisp, colorful borders that add a festive touch without overwhelming the palate. Honestly, it’s the kind of cake that makes you close your eyes and smile after the first bite. It’s both comfort food and celebration in one.
And if you ever need a savory snack to go alongside, you might enjoy whipping up some loaded cream cheese stuffed mushrooms with bacon—they’re always a hit at parties and complement the sweetness perfectly.
What Ingredients You Will Need
This recipe relies on straightforward ingredients that come together to deliver a moist, flavorful cake and smooth, colorful buttercream. Most are pantry staples or easily found at any grocery store.
- For the Cake:
- All-purpose flour (2 ½ cups / 320g): The base of the cake’s structure.
- Baking powder (2 ½ tsp): Helps the cake rise just right.
- Baking soda (½ tsp): For extra lift and crumb texture.
- Salt (½ tsp): Balances the sweetness.
- Unsalted butter (1 cup / 227g), softened: Adds richness and moisture.
- Granulated sugar (2 cups / 400g): For sweetness and tenderness.
- Large eggs (4), room temperature: Binds everything together.
- Pure vanilla extract (2 tsp): The secret to deep vanilla flavor.
- Buttermilk (1 cup / 240ml), room temperature: Keeps the crumb tender and adds subtle tang.
- Whole milk (½ cup / 120ml), room temperature: Adds moisture and lightness.
- For the Buttercream:
- Unsalted butter (1 cup / 227g), softened: The creamy base for piping.
- Powdered sugar (4 cups / 480g), sifted: Sweetens and thickens the frosting.
- Pure vanilla extract (1 ½ tsp): For aroma and flavor depth.
- Heavy cream or milk (2-4 tbsp / 30-60ml): Adjusts frosting consistency.
- Gel food coloring (as needed): For vibrant, long-lasting custom colors (I prefer AmeriColor gels for intense shades).
Pro tip: If you want a dairy-free version, substitute the butter with a plant-based spread and use almond or oat milk instead of whole milk and buttermilk. For the buttermilk substitute, stir 1 tbsp of lemon juice or white vinegar into 1 cup of milk and let it sit for 5 minutes.
When picking your butter, I recommend a high-quality unsalted brand like Kerrygold for the best flavor and creaminess. For the buttercream, using gel food coloring is a game-changer—it won’t thin out your frosting like liquid colors can.
Equipment Needed
- 9×13-inch (23×33 cm) sheet cake pan: The classic size for sheet cakes—perfect for feeding a crowd.
- Stand mixer or hand mixer: Essential for creaming butter and whisking batter smoothly.
- Mixing bowls (medium and large): For combining dry and wet ingredients separately.
- Rubber spatula: For scraping down the sides of the bowl—makes a difference in even mixing.
- Measuring cups and spoons: Accurate measurements are key for baking success.
- Offset spatula or butter knife: To spread the buttercream evenly before piping borders.
- Piping bags and piping tips (round and star tips recommended): For creating clean and colorful buttercream borders. I like using a Wilton 1M star tip for classic borders.
- Wire cooling rack: To let the cake cool completely before frosting—don’t skip this step!
If you don’t have a stand mixer, a good quality hand mixer works just fine, though it might take a little extra elbow grease. For budget-friendly piping bags, reusable silicone ones are great and eco-friendly compared to disposable. Also, washing your piping tips right after use helps keep them in good shape—nothing worse than clogged tips before the big decorating moment!
Preparation Method
- Preheat your oven to 350°F (175°C). Lightly grease your 9×13-inch sheet cake pan with butter or non-stick spray, then dust with flour to prevent sticking. This step saves you from a cake that clings to the pan’s edges.
- Mix the dry ingredients. In a medium bowl, whisk together 2 ½ cups all-purpose flour, 2 ½ teaspoons baking powder, ½ teaspoon baking soda, and ½ teaspoon salt. Set aside.
- Cream the butter and sugar. In a large bowl, use your stand or hand mixer to beat 1 cup softened unsalted butter with 2 cups granulated sugar on medium speed until pale and fluffy (about 3-5 minutes). This is where that tender crumb magic starts.
- Add eggs and vanilla. Beat in 4 large eggs, one at a time, mixing well after each addition. Then stir in 2 teaspoons pure vanilla extract. The batter should be smooth and slightly thick.
- Alternate adding dry ingredients and liquids. Add one-third of the dry mix, then half of the buttermilk (1 cup), and a quarter cup of whole milk (½ cup total) in stages, mixing gently after each addition. Repeat until all ingredients are combined, but don’t overmix—it can toughen the cake.
- Pour batter into the prepared pan. Spread evenly with a spatula, smoothing the top to ensure even baking.
- Bake for 28-32 minutes. Check doneness by inserting a toothpick into the center—it should come out clean or with just a few moist crumbs. Avoid opening the oven too often; the temperature drop can mess with rising.
- Cool the cake completely on a wire rack. This usually takes about an hour. Buttercream melts if the cake is still warm, so patience here is key.
- Prepare the buttercream. Beat 1 cup softened unsalted butter until creamy. Gradually add 4 cups sifted powdered sugar, beating on low speed to avoid sugar clouds. Add 1 ½ teaspoons vanilla and 2-4 tablespoons heavy cream or milk, adjusting for desired consistency. The frosting should be spreadable but firm enough to hold shape when piped.
- Tint your buttercream. Divide frosting into small bowls and mix in gel food coloring to achieve your custom colors. I usually start with a small amount and add more until I get the shade I want—remember, it deepens as it sits.
- Frost the cake. Use an offset spatula to spread a smooth layer of plain buttercream over the cooled cake. Don’t worry about perfection here—it’s just the base for your borders.
- Pipe the borders. Fit piping bags with your chosen tips and fill with colored buttercream. Pipe borders along the edges with steady pressure, creating swirls, rosettes, or shells. The colorful borders bring the cake to life and can match any school colors or party theme.
When piping, rest your elbow on the table for better control, and don’t rush. If your first attempt isn’t perfect, scrape off and try again—the buttercream is forgiving if you work quickly.
Cooking Tips & Techniques
From my experience, a few little tricks make all the difference:
- Room temperature ingredients: Make sure your eggs, butter, milk, and buttermilk are all at room temp. This helps everything blend smoothly and results in a tender crumb.
- Don’t overmix: Once you add the flour, mix just enough to combine. Overmixing activates gluten and can make the cake tough.
- Use gel food coloring: Liquid dyes thin your buttercream and can make it runny. Gel colors keep the frosting thick and vibrant.
- Chill the cake if needed: If your kitchen is warm, pop the frosted cake in the fridge for 15 minutes to firm up the buttercream before piping.
- Practice piping on parchment: Before decorating the cake, try your border designs on parchment paper. It helps build confidence and control.
- Keep the buttercream covered: Buttercream dries out quickly. When not piping, cover bowls and bags with plastic wrap to keep it fresh.
Once, I tried rushing the cooling process by frosting the cake while it was still warm—let’s just say the buttercream melted and slid right off. Lesson learned the hard way! Also, multitasking by prepping the buttercream while the cake bakes saves time and keeps momentum going. Piping borders can feel intimidating, but steady hands and a bit of patience make it manageable.
Variations & Adaptations
This recipe is flexible—here are some ways to switch it up:
- Flavor twists: Add lemon zest and swap vanilla extract for lemon extract in the cake for a fresh citrus vibe. Or fold in ½ cup mini chocolate chips for a fun surprise.
- Dietary options: Use gluten-free all-purpose flour blend to make the cake gluten-free. For vegan adaptation, substitute eggs with flax eggs (1 tbsp ground flaxseed + 3 tbsp water per egg) and use dairy-free butter and milk alternatives.
- Buttercream alternatives: Try cream cheese frosting in place of buttercream for tangy richness, or make a chocolate buttercream by adding ½ cup unsweetened cocoa powder.
- Decorating methods: Skip piping and spread colorful buttercream in blocks or ombré patterns for a more rustic, modern look.
I once tried a pastel ombré border for a spring graduation, blending soft pinks and blues—it was a hit and surprisingly easy to do by gradually adding more white frosting to colored batches.
Serving & Storage Suggestions
This sheet cake is best served at room temperature, allowing the buttercream to be nice and soft. Cut it into generous squares and serve with fresh berries or a glass of cold milk for a classic pairing. If you want to keep the party flowing, offer some savory bites like the spicy avocado chicken wraps for a perfectly crunchy contrast.
Store leftover cake in an airtight container in the fridge for up to 4 days. Before serving, let it sit at room temperature for about 30 minutes to soften the buttercream again. The flavors meld and mellow after a day, making it even more delicious.
For longer storage, you can freeze the unfrosted cake layers wrapped tightly in plastic wrap and foil for up to 3 months. Thaw overnight in the fridge, then bring to room temperature before frosting. Buttercream doesn’t freeze well, so it’s best to frost fresh.
Nutritional Information & Benefits
Per serving (based on 12 servings): approximately 450 calories, 20g fat, 60g carbohydrates, 3g protein.
This cake is a treat, rich in flavor and texture thanks to the butter and eggs. Using buttermilk adds a slight tang and tender crumb, while the vanilla extract enhances aroma without added sugars. For those mindful of allergens, this recipe contains gluten, dairy, and eggs.
From a wellness perspective, celebrating with a homemade cake feels rewarding, especially when made from scratch with simple ingredients. Moderation is key, and this cake is a perfect way to enjoy special moments without overdoing it.
Conclusion
This Perfect Grad Sheet Cake with Custom Color Buttercream Borders has become my go-to for celebrations big and small because it’s straightforward yet special. It’s forgiving enough for anyone to make, but the results look polished and festive—like you spent hours on the decoration. Plus, the flavor and texture keep everyone coming back for more.
I love how easy it is to customize the buttercream colors to suit any occasion, making it feel personal and thoughtful. Whether you’re baking for a milestone or just because, this cake fits the bill beautifully.
Give it a try, tweak the colors or flavors to your liking, and don’t be afraid to make it your own. I’d love to hear how your cake turns out—share your photos or tips in the comments below. Here’s to sweet celebrations with this reliably delicious recipe!
FAQs
Can I make this cake a day ahead?
Yes, you can bake the cake a day before and store it wrapped tightly at room temperature. Frost it the next day for the best texture and flavor.
What if I don’t have buttermilk?
Simply mix 1 tablespoon of lemon juice or white vinegar into 1 cup of milk and let it sit for 5 minutes. This homemade buttermilk substitute works great in the recipe.
How do I prevent my buttercream from being too runny?
Use gel food coloring instead of liquid. Also, chill your buttercream briefly if your kitchen is warm, and add powdered sugar gradually to reach the right consistency.
Can I use this recipe to make cupcakes?
Absolutely! Bake the batter in lined cupcake tins for 18-22 minutes, then frost with the same buttercream and decorate as desired.
What piping tips are best for the buttercream borders?
A Wilton 1M star tip is classic and easy to use, but round tips or shell tips also work well depending on the border style you want.
Pin This Recipe!
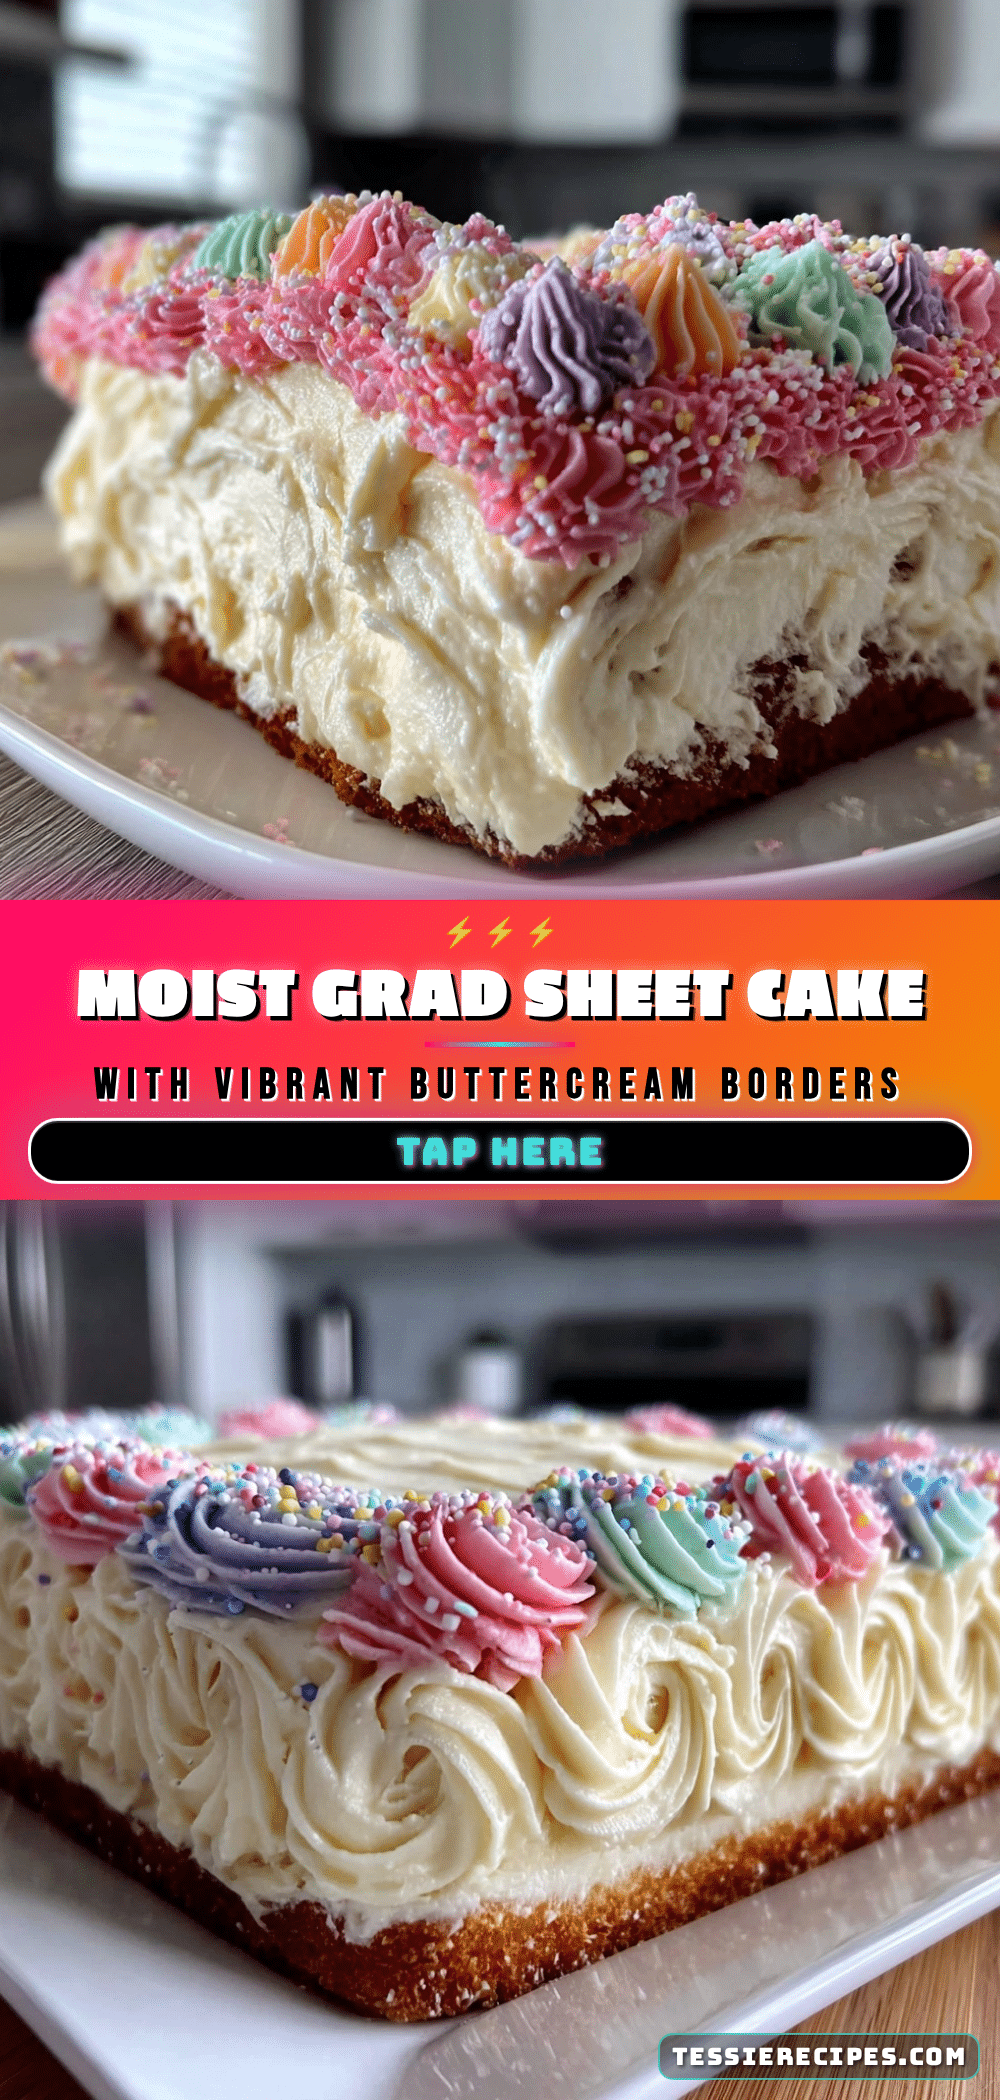
Perfect Grad Sheet Cake Recipe with Easy Custom Color Buttercream Borders

A moist and tender vanilla sheet cake perfect for graduations and celebrations, topped with customizable colorful buttercream borders that are easy to pipe and forgiving for beginners.
- Prep Time: 15 minutes
- Cook Time: 30 minutes
- Total Time: 45 minutes
- Yield: 12 servings 1x
- Category: Dessert
- Cuisine: American
Ingredients
- 2 ½ cups all-purpose flour (320g)
- 2 ½ teaspoons baking powder
- ½ teaspoon baking soda
- ½ teaspoon salt
- 1 cup unsalted butter (227g), softened
- 2 cups granulated sugar (400g)
- 4 large eggs, room temperature
- 2 teaspoons pure vanilla extract
- 1 cup buttermilk (240ml), room temperature
- ½ cup whole milk (120ml), room temperature
- For the Buttercream:
- 1 cup unsalted butter (227g), softened
- 4 cups powdered sugar (480g), sifted
- 1 ½ teaspoons pure vanilla extract
- 2–4 tablespoons heavy cream or milk (30-60ml)
- Gel food coloring as needed
Instructions
- Preheat your oven to 350°F (175°C). Lightly grease a 9×13-inch sheet cake pan with butter or non-stick spray, then dust with flour.
- In a medium bowl, whisk together the flour, baking powder, baking soda, and salt. Set aside.
- In a large bowl, beat the softened butter and granulated sugar on medium speed until pale and fluffy, about 3-5 minutes.
- Beat in the eggs one at a time, mixing well after each addition. Stir in the vanilla extract.
- Add the dry ingredients in thirds alternately with the buttermilk and whole milk in stages, mixing gently after each addition. Do not overmix.
- Pour the batter into the prepared pan and spread evenly with a spatula.
- Bake for 28-32 minutes or until a toothpick inserted in the center comes out clean or with a few moist crumbs.
- Cool the cake completely on a wire rack, about 1 hour.
- For the buttercream, beat the softened butter until creamy. Gradually add powdered sugar on low speed to avoid clouds.
- Add vanilla extract and heavy cream or milk, adjusting for desired consistency.
- Divide the buttercream into bowls and tint with gel food coloring as desired.
- Spread a smooth layer of plain buttercream over the cooled cake using an offset spatula.
- Fill piping bags fitted with tips (such as Wilton 1M star tip) with colored buttercream and pipe borders along the edges.
- Rest your elbow on the table for better control and pipe steady borders. If needed, scrape off and try again quickly.
Notes
Use room temperature ingredients for best results. Do not overmix the batter to avoid toughness. Use gel food coloring to keep buttercream thick and vibrant. Chill the cake if kitchen is warm before piping. Practice piping on parchment paper to build confidence. Cover buttercream when not piping to prevent drying.
Nutrition
- Serving Size: 1 slice (1/12th of c
- Calories: 450
- Fat: 20
- Carbohydrates: 60
- Protein: 3
Keywords: sheet cake, graduation cake, buttercream borders, vanilla cake, easy cake recipe, celebration cake, colorful frosting



