
“Wait, do you have any dessert ready for Easter?” my friend texted me two hours before the family gathering. Honestly, I was knee-deep in prepping savory dishes and hadn’t even glanced at dessert ideas. I rarely plan sweets last minute, but something about that lemony tang paired with creamy cheesecake just clicked in my head. I pulled out cream cheese and a few pantry staples, and moments later, these Perfect Lemon Cream Cheese Easter Egg No-Bake Cheesecake Tarts were born. No oven required, minimal fuss, but packed with enough flavor to make everyone ask for seconds.
The memory of that frantic but rewarding afternoon still makes me smile. These little tarts, shaped like Easter eggs, brought a bright, fresh note to the table amid all the rich, savory dishes—like those cream cheese stuffed mushrooms with bacon that everyone devoured earlier. What started as a rushed idea turned into a new family favorite, and honestly, it’s become my go-to for spring gatherings. The balance of zesty lemon and smooth cream cheese, all nestled in a buttery crust, feels like a small celebration in every bite.
What I love most is how these tarts never feel like a compromise, even when time is short. They’re sweet but not too sweet, fresh but indulgent, and festive without being over the top. If you’re anything like me—a bit rushed but wanting to impress without stress—these no-bake delights might just become your new secret weapon.
Why You’ll Love This Recipe
After whipping up these Perfect Lemon Cream Cheese Easter Egg No-Bake Cheesecake Tarts multiple times (seriously, I’ve made them three weekends in a row), I can say they have a special place in my recipe box. Here’s why they stand out:
- Quick & Easy: Ready in under 30 minutes, with no baking involved—perfect for last-minute Easter plans or any springtime celebration.
- Simple Ingredients: Uses pantry staples and fresh lemons; no complicated or exotic items needed.
- Perfect for Easter and Spring: The Easter egg shape and bright lemon flavor make these tarts a festive centerpiece that’s both visually appealing and delicious.
- Crowd-Pleaser: Kids love the creamy texture, while adults appreciate the fresh citrus zing—always a hit across the generations.
- Unbelievably Delicious: The cream cheese filling is silky smooth, with just the right balance of sweetness and tartness, all on a crisp, buttery crust.
What makes this recipe different? It’s the little trick of folding whipped cream into the lemon cream cheese mixture for that airy, light texture which feels indulgent without being heavy. Plus, shaping the tarts into Easter eggs adds a playful twist that’s fun to make and serve. Honestly, this recipe rewrote my expectations of no-bake desserts—comfort food with a springtime soul.
Whether you’re aiming to impress guests without the stress or simply want a fresh, sweet treat to brighten your day, these tarts deliver. They’re like a little lemony hug in tart form, and once you try them, you’ll understand why they’ve become my go-to for festive occasions.
What Ingredients You Will Need
This recipe uses simple, wholesome ingredients to deliver bold flavor and a satisfying texture without any fuss. Most are pantry staples, with fresh lemon juice and zest adding that special zing. Here’s what you’ll need:
- For the crust:
- Graham cracker crumbs (about 1 ½ cups / 150g) – I recommend Honey Maid or a similar brand for a perfect balance of sweetness and crunch.
- Unsalted butter, melted (6 tablespoons / 85g) – adds richness and helps the crust hold together.
- Granulated sugar (2 tablespoons / 25g) – balances the tartness of the filling.
- For the lemon cream cheese filling:
- Cream cheese, softened (8 oz / 225g) – full-fat for best creaminess; I prefer Philadelphia brand.
- Powdered sugar (¾ cup / 90g) – for smooth sweetness without graininess.
- Fresh lemon juice (3 tablespoons / 45ml) – freshly squeezed is key for vibrant flavor.
- Lemon zest (1 teaspoon) – adds fragrant citrus notes.
- Heavy whipping cream (1 cup / 240ml) – cold, to whip into soft peaks (use dairy-free coconut cream if needed).
- Vanilla extract (1 teaspoon) – rounds out the flavor beautifully.
- For decoration (optional):
- Colored sprinkles or edible glitter – for a festive Easter touch.
- Mini chocolate chips or small candies – to mimic Easter egg speckles.
Substitution tips: Use almond flour instead of graham cracker crumbs for a gluten-free crust, or swap cream cheese with mascarpone for a richer, silkier filling. If you want a less sweet version, reduce the powdered sugar by ¼ cup (30g). In summer, fresh berries make a fantastic topping, adding natural sweetness and color.
Equipment Needed
- Mixing bowls – a medium one for the crust and a larger one for the filling works best.
- Electric mixer or hand mixer – essential for whipping the cream and smoothing the cream cheese mixture.
- Measuring cups and spoons – for precise ingredient amounts.
- Spoon or small offset spatula – great for spreading the filling evenly in the tart shells.
- Easter egg-shaped silicone molds or tart pans – silicone molds make unmolding easier, but mini tart pans work just fine.
- Rubber spatula – handy for folding whipped cream into the cream cheese without deflating it.
- Optional: Zester or microplane – for zesting lemons finely.
If you don’t have an electric mixer, a sturdy whisk and some elbow grease will also do the trick, but the texture might be less airy. Silicone molds are my favorite for easy release, but if you only have metal tart pans, just grease them well or line with parchment paper. For budget-friendly options, measuring spoons and cups from any kitchen store or online work perfectly.
Preparation Method
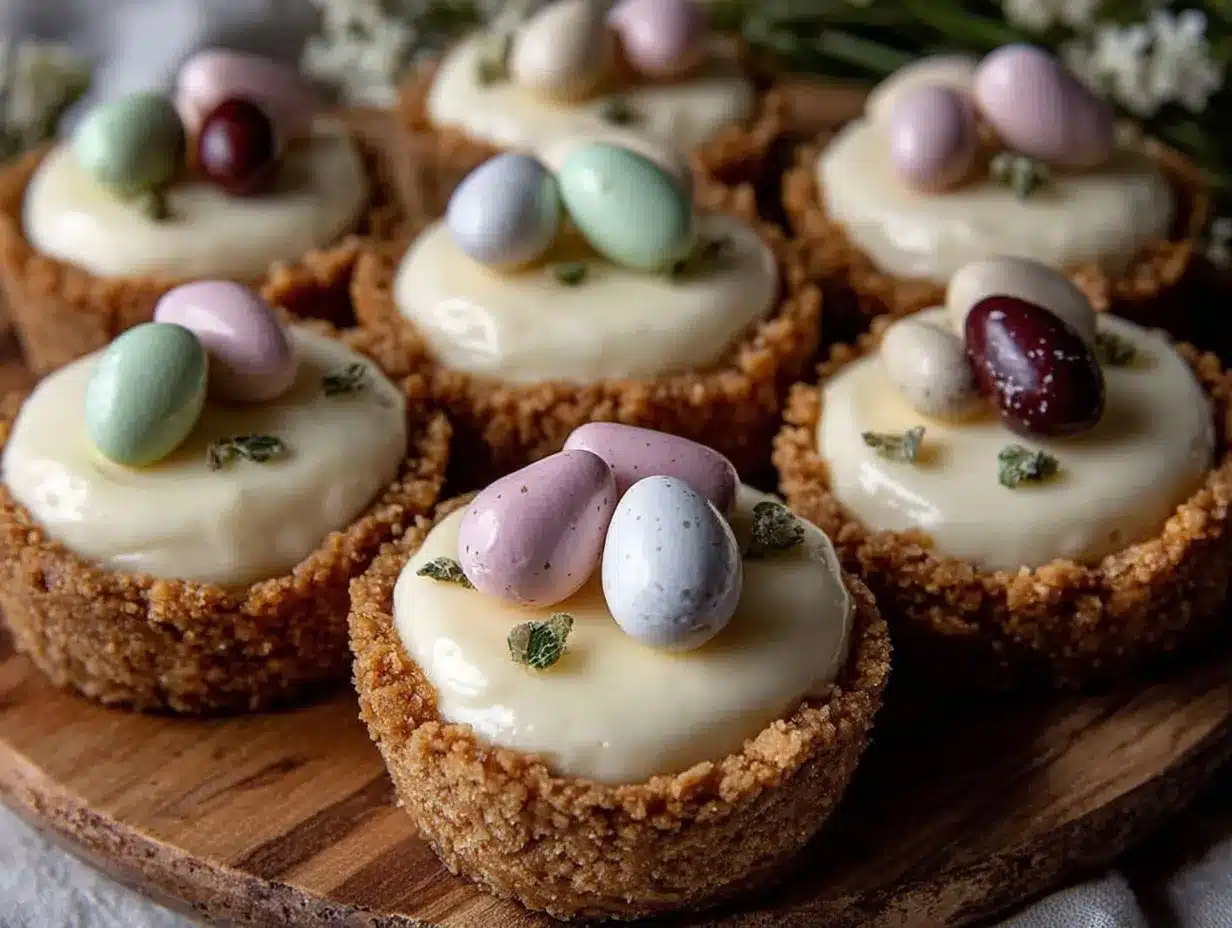
- Prepare the crust: In a medium bowl, combine 1 ½ cups (150g) graham cracker crumbs, 6 tablespoons (85g) melted unsalted butter, and 2 tablespoons (25g) granulated sugar. Mix until the crumbs are evenly coated and feel like wet sand. This should take about 2-3 minutes. Pro tip: Press the mixture firmly into the bottom and slightly up the sides of your Easter egg molds or tart pans for a sturdy base.
- Chill the crust: Place the crust-lined molds in the fridge for at least 15 minutes to set while you prepare the filling. This prevents the crust from crumbling when you add the filling.
- Make the lemon cream cheese filling: In a large bowl, beat 8 oz (225g) softened cream cheese with ¾ cup (90g) powdered sugar until smooth and creamy (about 3-4 minutes). Make sure there are no lumps.
- Add lemon and vanilla: Mix in 3 tablespoons (45ml) fresh lemon juice, 1 teaspoon lemon zest, and 1 teaspoon vanilla extract. The mixture will start smelling wonderfully fresh and tangy.
- Whip the cream: In a separate chilled bowl, whip 1 cup (240ml) cold heavy cream to soft peaks. This usually takes about 3-5 minutes with an electric mixer on medium-high speed. Be careful not to overwhip; the cream should be light and fluffy but still hold shape.
- Fold cream into cream cheese mixture: Gently fold the whipped cream into the lemon cream cheese mixture in batches, preserving as much air as possible. This step is what makes the filling so light and creamy. Expect the mixture to double in volume.
- Assemble the tarts: Spoon or pipe the filling into the chilled crusts, smoothing the tops with a spatula. Fill just to the top, about ¼ inch (6 mm) from the edge.
- Chill to set: Refrigerate the assembled tarts for at least 2 hours, or until firm. This resting time lets the flavors meld beautifully and the filling set to a perfect texture.
- Decorate and serve: Before serving, add your favorite Easter-themed decorations like sprinkles, edible glitter, or tiny chocolate chips to mimic little Easter egg speckles.
Troubleshooting tip: If the filling feels too loose, a quick whisk or additional chilling usually helps. Avoid overmixing when folding to keep the airy texture intact. Also, if your cream cheese isn’t softened enough, lumps can form, so patience here makes all the difference.
Overall prep and chilling take about 3 hours, but the active hands-on time is under 30 minutes. I like to multitask by prepping savory dishes like my spicy avocado chicken wraps while the tarts chill, making the whole meal flow seamlessly.
Cooking Tips & Techniques
Getting these no-bake cheesecake tarts just right isn’t rocket science, but a few tips can save you some headaches:
- Softening cream cheese: Let it sit at room temperature for at least 30 minutes before mixing. If you’re in a hurry, cut it into cubes and microwave in 10-second bursts. Cold cream cheese will make lumps.
- Whipping cream perfectly: Chill your bowl and beaters beforehand. This helps the cream whip faster and hold its shape better. Stop whipping at soft peaks to avoid turning it into butter.
- Folding technique: Use a gentle hand and a rubber spatula to fold the whipped cream into the cream cheese mixture. Think of it like folding a souffle batter—slow and steady keeps it airy.
- Pressing the crust: Firmly press the graham cracker crust into molds to avoid crumbling when serving. I use the bottom of a small glass for even pressure.
- Chilling time: Don’t rush the chill! The longer the tarts sit, the more the flavors meld and the filling firms up. Overnight chilling is ideal if you can plan ahead.
- Serving tips: Bring the tarts out about 15 minutes before serving so they soften just enough for a creamy bite without melting.
One time, I forgot to chill the crust before adding the filling—let’s just say the filling didn’t set properly and got messy. Lesson learned: patience is key, and it’s worth the wait.
Variations & Adaptations
Want to mix it up? These tarts are flexible and forgiving:
- Dairy-Free Version: Use dairy-free cream cheese and coconut cream whipped to soft peaks. The lemon still shines through and the texture stays lovely.
- Berry Twist: Fold in fresh raspberries or blueberries into the filling or top with a berry compote for a colorful variation that pairs beautifully with lemon.
- Chocolate Swirl: Add melted dark chocolate ribbons folded gently into the filling for a rich, indulgent touch that contrasts the citrus brightness.
- Crust Alternatives: Swap graham crackers for crushed pretzels for a sweet-salty crust or use gluten-free cookies for a gluten-free option.
- Mini Cheesecake Bites: Use mini muffin tins lined with cupcake liners instead of molds for bite-sized treats that are perfect for parties or kids’ lunches.
Personally, I once tried a combo of lemon and lavender extract in the filling for a floral note. It was unexpected but surprisingly refreshing! If you’re curious about no-bake cheesecakes that bring chocolate into the mix, my triple chocolate mousse bars might be right up your alley.
Serving & Storage Suggestions
These lemon cream cheese Easter egg tarts are best served chilled, straight from the fridge. The cool temperature keeps the filling firm and refreshing. For presentation, arrange the tarts on a pastel-colored platter or nestle them in faux grass for a festive spring vibe.
Pair them with a light cup of tea or sparkling lemonade to complement the citrus notes. If you’re serving alongside savory dishes like the bacon-wrapped jalapeño poppers, the tarts offer a perfect sweet balance.
To store, cover the tarts tightly with plastic wrap or keep them in an airtight container in the refrigerator for up to 3 days. Avoid freezing, as the texture can change and become watery upon thawing. When reheating (if you want them a bit softer), let them sit at room temperature for 15-20 minutes—no microwave needed.
Interestingly, the lemon flavor deepens and mellows slightly after a day, making leftovers even better than fresh (if there are any!).
Nutritional Information & Benefits
Each tart contains approximately 250-300 calories, with balanced protein and fat from the cream cheese and butter crust. The fresh lemon juice provides a small dose of vitamin C, which adds a bright note of wellness to this treat.
This recipe can be modified to be gluten-free and dairy-free, making it accessible to many dietary needs. The moderate sugar content means it’s a treat you can enjoy without guilt, especially compared to heavier baked desserts.
From a wellness perspective, the lemon adds a refreshing burst that feels cleansing and light, especially welcomed after a hearty holiday meal. Plus, the creamy texture satisfies sweet cravings without being overly rich or dense.
Conclusion
These Perfect Lemon Cream Cheese Easter Egg No-Bake Cheesecake Tarts really are a gem when you want a fresh, festive dessert that doesn’t demand hours in the kitchen. They offer a delicate balance of creamy and tangy, with just enough sweetness to delight every palate.
Feel free to experiment with toppings or crusts to make them your own. I love how they bring a little sunshine to any Easter table, and honestly, they’ve made me rethink no-bake desserts altogether.
If you try them, drop a comment sharing your favorite variation or how they turned out—you know I love hearing about your kitchen adventures! Here’s to sweet, simple celebrations with a bright lemon twist.
Frequently Asked Questions
Can I make these tarts ahead of time?
Yes! These tarts actually taste better after chilling overnight, which helps the flavors meld and the filling set perfectly.
What if I don’t have graham crackers for the crust?
You can substitute with crushed digestive biscuits, vanilla wafers, or even finely crushed pretzels for a sweet-salty twist.
Can I use store-bought whipped cream instead of whipping my own?
While it’s possible, freshly whipped cream mixes better and gives the filling a lighter, creamier texture that store-bought varieties usually can’t match.
How do I prevent the crust from becoming soggy?
Press the crust firmly into the molds and chill it well before adding the filling. This step helps the butter solidify and creates a barrier to keep the crust crisp.
Can I freeze these no-bake cheesecake tarts?
Freezing isn’t recommended as it can affect the texture of the filling, making it watery or grainy once thawed. It’s best to enjoy them fresh within a few days.
Pin This Recipe!
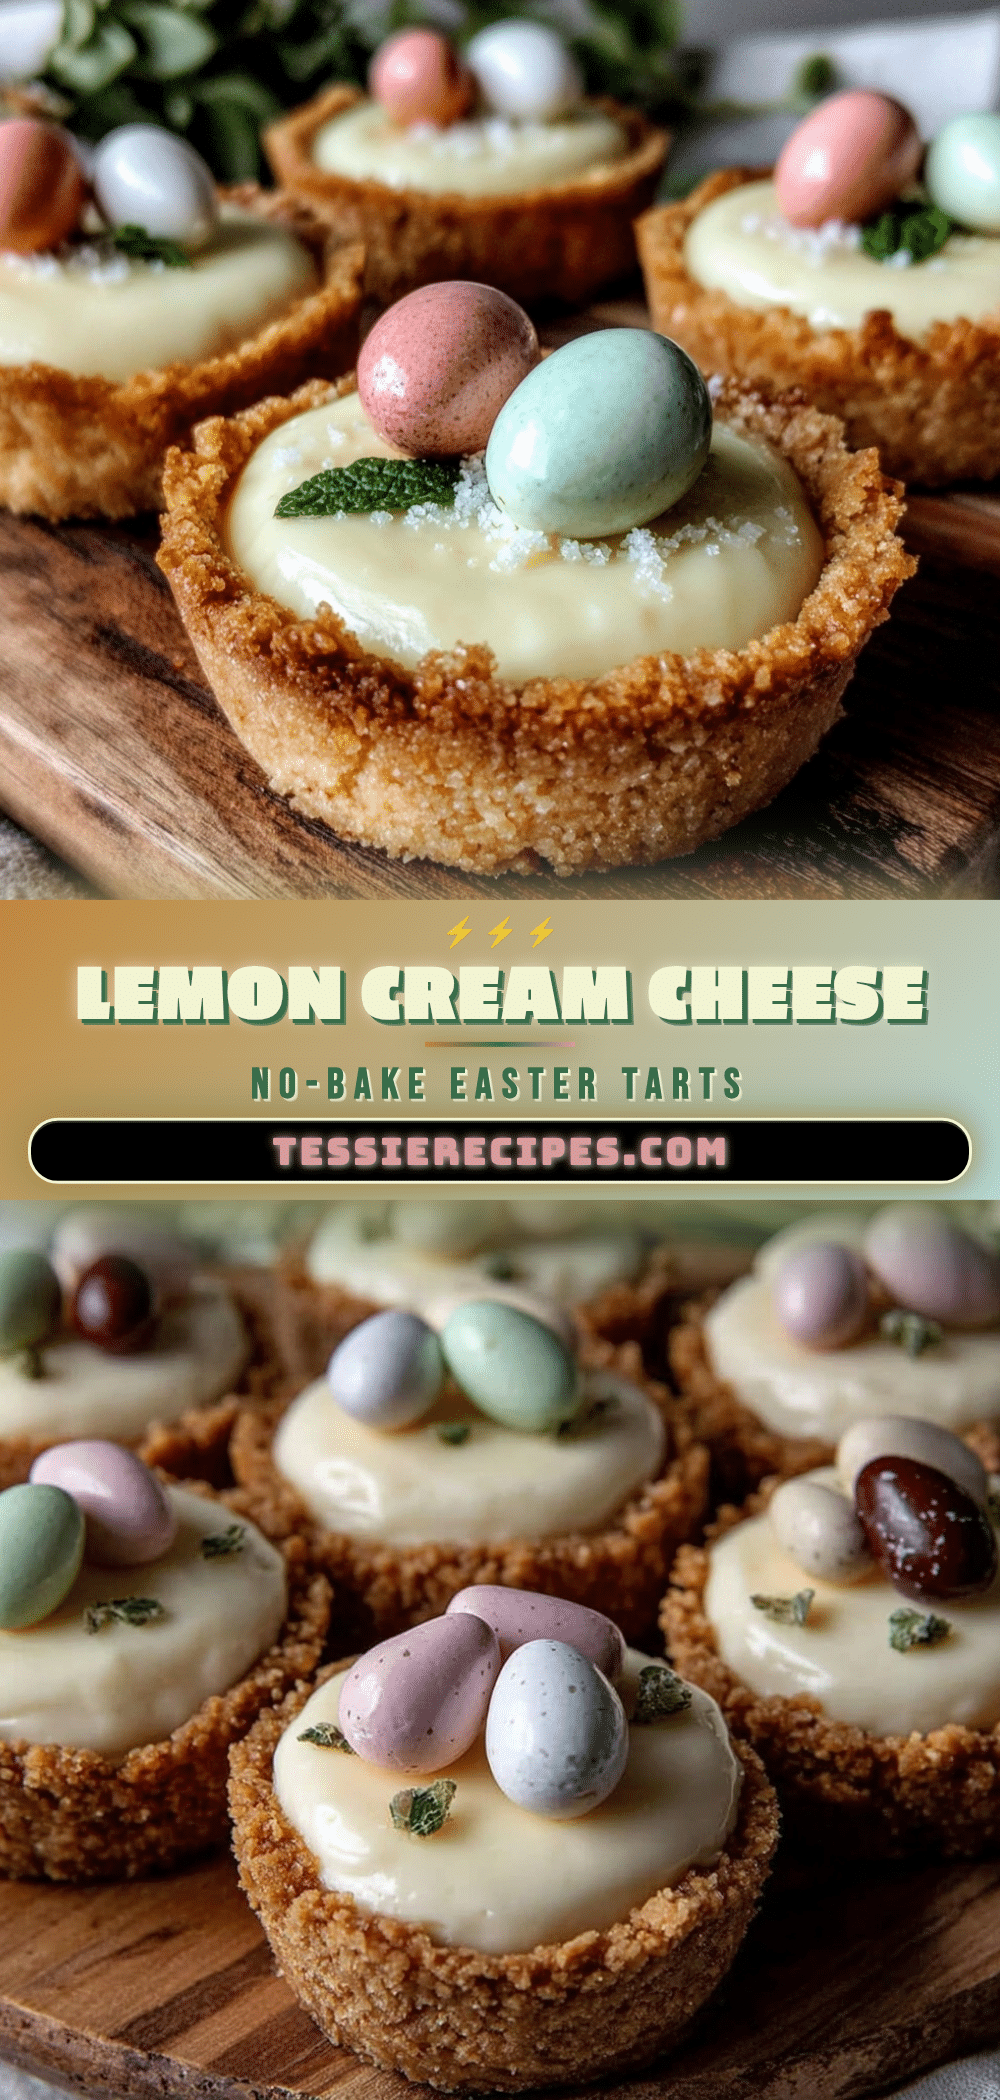
Perfect Lemon Cream Cheese Easter Egg Tarts Easy No-Bake Recipe

These no-bake lemon cream cheese Easter egg tarts are quick and easy to make, featuring a buttery graham cracker crust and a light, airy lemon cream cheese filling. Perfect for festive spring gatherings and last-minute dessert needs.
- Prep Time: 15 minutes
- Cook Time: 0 minutes
- Total Time: 2 hours 15 minutes
- Yield: 8 servings 1x
- Category: Dessert
- Cuisine: American
Ingredients
- 1 ½ cups (150g) graham cracker crumbs
- 6 tablespoons (85g) unsalted butter, melted
- 2 tablespoons (25g) granulated sugar
- 8 oz (225g) cream cheese, softened
- ¾ cup (90g) powdered sugar
- 3 tablespoons (45ml) fresh lemon juice
- 1 teaspoon lemon zest
- 1 cup (240ml) heavy whipping cream, cold
- 1 teaspoon vanilla extract
- Optional decorations: colored sprinkles or edible glitter, mini chocolate chips or small candies
Instructions
- Prepare the crust: In a medium bowl, combine graham cracker crumbs, melted butter, and granulated sugar. Mix until crumbs are evenly coated and feel like wet sand. Press firmly into the bottom and slightly up the sides of Easter egg molds or tart pans.
- Chill the crust: Place crust-lined molds in the refrigerator for at least 15 minutes to set.
- Make the lemon cream cheese filling: In a large bowl, beat softened cream cheese with powdered sugar until smooth and creamy.
- Add lemon juice, lemon zest, and vanilla extract to the cream cheese mixture and mix well.
- Whip the heavy cream in a separate chilled bowl to soft peaks.
- Gently fold the whipped cream into the lemon cream cheese mixture in batches, preserving airiness.
- Assemble the tarts: Spoon or pipe the filling into the chilled crusts, smoothing the tops and filling to about ¼ inch from the edge.
- Chill to set: Refrigerate the assembled tarts for at least 2 hours or until firm.
- Decorate and serve: Add optional Easter-themed decorations before serving.
Notes
Let cream cheese soften at room temperature for at least 30 minutes to avoid lumps. Chill bowl and beaters before whipping cream. Fold whipped cream gently to keep filling airy. Press crust firmly to avoid crumbling. Chill tarts overnight for best flavor and texture. Bring tarts to room temperature 15 minutes before serving for a creamy bite. Avoid freezing as it affects texture.
Nutrition
- Serving Size: 1 tart
- Calories: 275
- Sugar: 15
- Sodium: 150
- Fat: 18
- Saturated Fat: 10
- Carbohydrates: 22
- Fiber: 0.5
- Protein: 4
Keywords: lemon tart, no-bake cheesecake, Easter dessert, cream cheese tart, spring dessert, easy no-bake, lemon cream cheese, holiday dessert



