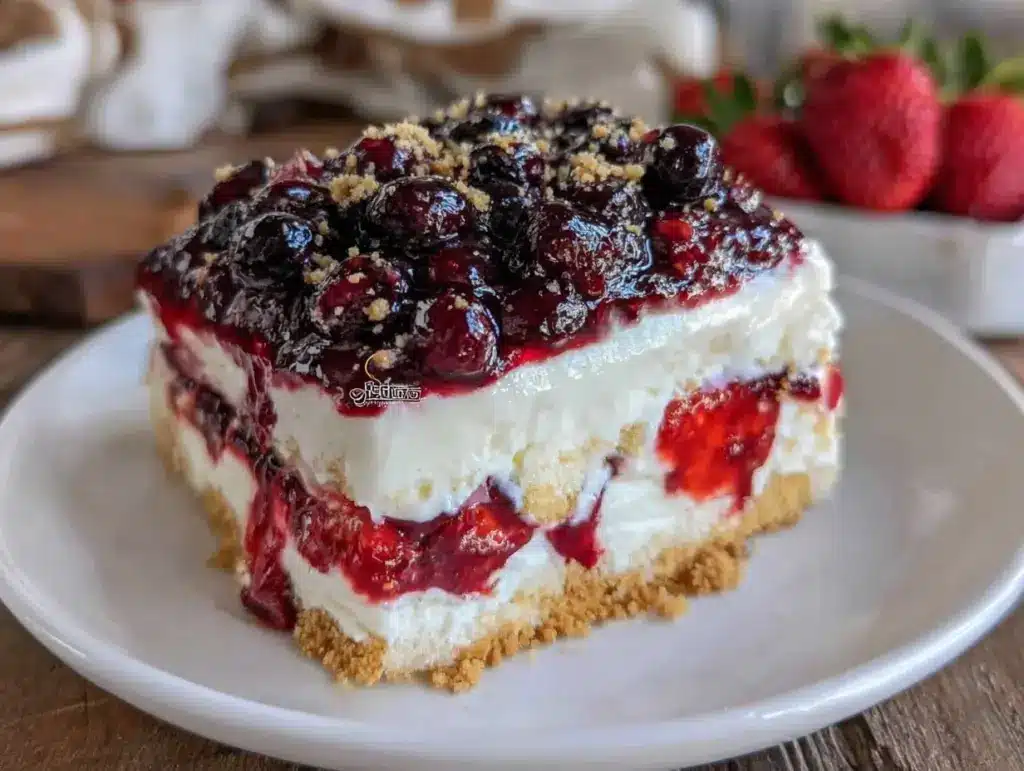
“You’re not seriously making that for the picnic, are you?” my cousin teased me over the phone, skepticism dripping from her voice. I had just described my plan for a red, white, and blue layered cheesecake icebox cake, a dessert that looked like it belonged at a 4th of July parade but was honestly born out of a lazy summer afternoon where I didn’t want to slave over the oven. I was honestly half expecting her to hang up, but instead, she asked for the recipe.
That first time, I threw this together almost on a whim. No baking, no complicated steps—just layering creamy cheesecake, fresh berries, and fluffy whipped cream between crisp cookies. It was supposed to be a quick fix for a last-minute get-together. But the way the colors popped and the flavors melded into something both cool and indulgent surprised even me.
Since then, I’ve found myself making the Perfect Red White and Blue Layered Cheesecake Icebox Cake every summer, sometimes twice a week if I’m honest. It’s become my go-to when I want something festive but fuss-free. The real magic? It’s the kind of dessert that makes people stop mid-conversation and ask for seconds, all while feeling light enough that you don’t regret it the next day.
There’s something quietly satisfying about stacking these layers and watching the cake chill into its perfect form, especially when the kitchen smells faintly of cream cheese and fresh berries. It feels like a small celebration, no matter the occasion. That’s why this recipe has stuck around in my repertoire—because it delivers that simple joy, every single time.
Why You’ll Love This Recipe
Honestly, making this red white and blue layered cheesecake icebox cake feels like a mini victory against those complicated desserts you find online. Here’s why it’s so special:
- Quick & Easy: You can have this dessert ready to chill in under 30 minutes—perfect for those last-minute plans or when the oven feels like the enemy on a hot day.
- Simple Ingredients: No need for specialty items. Most are pantry staples or fresh produce you can easily grab at the market.
- Perfect for Patriotic Celebrations: Whether it’s the 4th of July, Memorial Day, or just a summer barbecue, this cake’s colors and flavors scream festive but never over the top.
- Crowd-Pleaser: I’ve served this at family picnics and neighborhood parties, and it’s always a hit with both adults and kids—no one can resist those creamy layers and bursts of fresh berry sweetness.
- Unbelievably Delicious: The creamy cheesecake layer balanced with fluffy whipped cream and juicy berries is pure comfort food, but it never feels heavy or overwhelming.
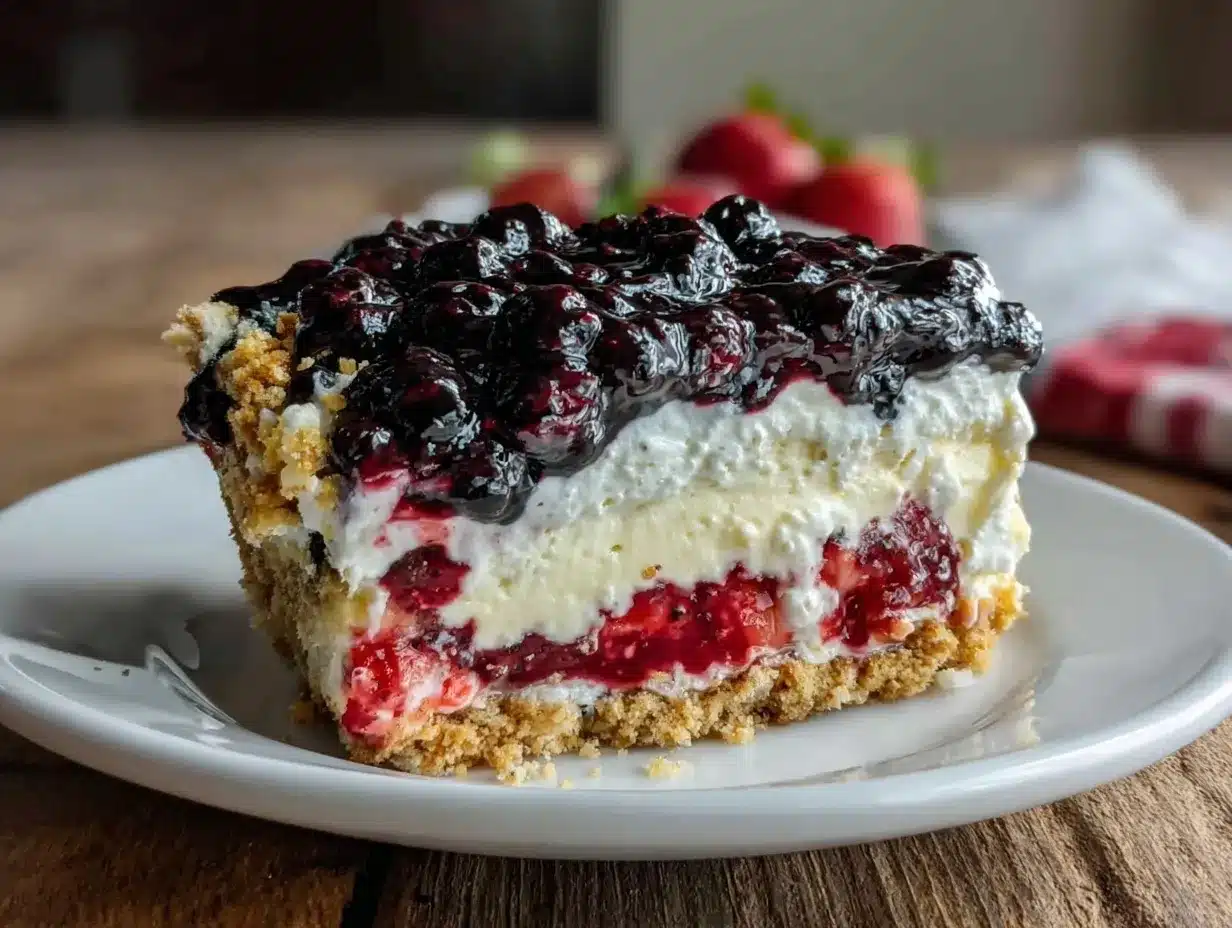
What truly sets this recipe apart is the layering technique. Instead of a dense cheesecake, the icebox cake’s layers meld together after chilling, creating a texture that’s part creamy, part crisp, and all delicious. Plus, the use of fresh blueberries and strawberries gives it a brightness that cuts through the richness.
For a little twist, I sometimes swap out the classic graham crackers for a buttery shortbread cookie—makes it feel a bit more special, like those shortbread cookies that melt in your mouth. It’s a dessert that’s easy to make, but people always think you spent hours fussing over it.
What Ingredients You Will Need
This recipe uses simple, wholesome ingredients to deliver bold flavor and satisfying texture without the fuss. Most of these are pantry staples or fresh items you can find at any grocery store.
- For the Cheesecake Layer:
- 8 oz (225 g) cream cheese, softened (I recommend Philadelphia for a smooth texture)
- 1 cup (240 ml) heavy whipping cream, cold
- ½ cup (60 g) powdered sugar
- 1 tsp vanilla extract
- For the Layers:
- 1 package (about 14 oz / 400 g) graham crackers or buttery shortbread cookies (for crunch and structure)
- 1 cup (150 g) fresh strawberries, sliced (in summer, swap in fresh raspberries for a tart twist)
- 1 cup (150 g) fresh blueberries (washed and patted dry)
- For Garnish (Optional):
- Extra whipped cream for topping
- Whole berries to decorate
- Fresh mint leaves (adds a lovely pop of freshness)
Substitutions: You can replace the heavy cream with coconut cream for a dairy-free option, and use gluten-free cookies to make it gluten-free. Using firm, full-fat cream cheese helps the layers hold up without getting runny—trust me, the texture changes if you go low-fat here.
Equipment Needed
- 9×9 inch (23×23 cm) square baking pan or any similarly sized dish with straight sides
- Mixing bowls (at least two: one for the cream cheese and one for whipping cream)
- Electric mixer or stand mixer (a hand whisk can work but takes more elbow grease!)
- Rubber spatula for folding and scraping the bowl
- Measuring cups and spoons
- Knife and cutting board for slicing berries
If you don’t have an electric mixer, a sturdy whisk and some patience will do, but the texture might not be quite as fluffy. Using a glass or metal pan helps the cake chill evenly, but any freezer-safe dish will work just fine. I’ve found that a silicone spatula makes folding the cream cheese mixture easier without deflating it too much.
Preparation Method
- Prepare the Cheesecake Filling (10 minutes): In a large mixing bowl, beat the softened cream cheese with powdered sugar and vanilla extract using an electric mixer until smooth and creamy. This should take about 3-4 minutes. Make sure the cream cheese is at room temperature to avoid lumps.
- Whip the Cream (5-7 minutes): In a separate bowl, whip the cold heavy cream until stiff peaks form. This means when you lift the whisk, the peaks hold their shape without drooping.
- Fold the Cream into the Cream Cheese (3 minutes): Gently fold the whipped cream into the cream cheese mixture using a rubber spatula. Do this carefully to keep the mixture light and airy. The texture should be smooth and fluffy, almost like a mousse.
- Layer the Icebox Cake (10 minutes): Start by spreading a thin layer of the cheesecake filling on the bottom of your pan. Then, arrange a layer of graham crackers (or cookies) to cover the filling completely. Add a layer of sliced strawberries evenly over the crackers, followed by another layer of filling. Repeat the layers: cookies, blueberries, filling, until you reach the top of your dish. Finish with a final layer of filling.
- Chill the Cake (at least 4 hours, preferably overnight): Cover the pan with plastic wrap and refrigerate. This chilling step is crucial—it allows the cookies to absorb moisture from the filling and soften into cake-like layers while the flavors meld.
- Garnish and Serve: Just before serving, top the cake with extra whipped cream, whole berries, and fresh mint leaves for that extra festive look.
Pro tip: If your cookies seem too soft after chilling, let the cake sit at room temperature for 10 minutes before serving. It helps balance the texture for that perfect bite.
Cooking Tips & Techniques
There’s something about a no-bake icebox cake that feels deceptively simple, but a few tips make all the difference:
- Softened Cream Cheese is Key: Don’t rush this step. If the cream cheese isn’t soft enough, your filling will have lumps that are tough to smooth out.
- Whip Cream Properly: Underwhipped cream won’t hold the light texture, overwhipped cream turns grainy. Listen for the subtle “stiff peaks” cue—it’s your best indicator.
- Fold Gently: When combining whipped cream with cream cheese, fold slowly with a spatula to keep the airiness intact. It’s tempting to stir vigorously, but that deflates the mixture.
- Cookie Choice Matters: Graham crackers are classic, but I’ve found that shortbread cookies add a buttery richness. Avoid overly sweet or flavored cookies that clash with the cheesecake taste.
- Layer Evenly: Try to keep layers uniform. Uneven layering can cause the cake to slide or look messy when sliced.
- Chill Time: This isn’t a dessert to rush. The chilling time lets the magic happen—don’t skip it, or the texture will suffer.
I once tried speeding up the chilling by slicing early—big mistake. The layers were too soft and fell apart. After that, I always wait the full 4 hours at least. Also, if you’re pressed for time, you can prepare this a day ahead, which makes it perfect for easy entertaining.
Variations & Adaptations
The beauty of this Perfect Red White and Blue Layered Cheesecake Icebox Cake is how easy it is to tweak:
- Dietary Swap: For a dairy-free version, swap cream cheese and heavy cream with vegan cream cheese and coconut cream. Use gluten-free cookies, and you’re good to go!
- Seasonal Fruits: Out of berries? Try peaches and cherries in summer or pomegranate seeds in winter for a similar festive color pop.
- Flavor Boost: Add a tablespoon of lemon zest to the cheesecake filling for a bright, zesty note that cuts through the richness.
- Chocolate Twist: For a fun change, layer thin chocolate cookie wafers instead of graham crackers and add mini chocolate chips in the filling.
- Personal Touch: I once made this for a friend who loves a little spice, so I sprinkled crushed candied ginger between layers—surprisingly delicious!
For different occasions, this icebox cake serves as a canvas. For example, during winter holidays, I’ve adapted the base with peppermint extract and swapped the berries for cranberries, reminiscent of my no-bake peppermint cheesecake bites.
Serving & Storage Suggestions
Serve this layered cheesecake icebox cake chilled for the best texture and flavor. Slice it carefully with a sharp knife dipped in hot water—a neat trick to get clean slices without smudging the layers.
Presentation-wise, the vibrant red, white, and blue layers make it a natural centerpiece. Pair it with a refreshing iced tea or a light sparkling wine for backyard barbecues or holiday brunches.
Store leftovers covered in the refrigerator for up to 3 days. The flavors actually deepen over time, so it tastes even better the next day! If you want to freeze it, do so before adding fresh berries on top; freeze wrapped tightly for up to a month. Thaw in the fridge overnight before serving.
To reheat, honestly, this dessert is best cold, but letting it sit out for 10-15 minutes before serving brings out the flavors nicely without melting the cream.
Nutritional Information & Benefits
A typical serving (about 1/9th of the cake) contains approximately:
| Calories | 320 kcal |
|---|---|
| Fat | 22 g |
| Carbohydrates | 25 g |
| Protein | 5 g |
This recipe offers a good source of calcium from the cream cheese and heavy cream, plus antioxidants and vitamin C from the fresh berries. Using fresh fruit adds fiber and natural sweetness, reducing the need for extra sugar. For those watching carbs, swapping in almond flour cookies or reducing sugar can help make it lighter.
While indulgent, this dessert balances creamy richness with fresh fruit, making it a more mindful choice compared to heavier baked cheesecakes. It’s a treat that feels special but doesn’t weigh you down, fitting well into a balanced summer diet.
Conclusion
So, if you’re looking for a dessert that’s as easy as it is impressive, the Perfect Red White and Blue Layered Cheesecake Icebox Cake fits the bill beautifully. It’s the kind of recipe that invites you to experiment and make it your own, whether by swapping fruits, changing cookies, or adding your favorite zest.
For me, this cake is more than just a patriotic dessert—it’s a reminder that delicious treats don’t have to be complicated. It’s a recipe I keep coming back to, whether for a casual summer afternoon or a special holiday. If you give it a try, I’d love to hear how you make it your own.
And if you enjoy this, you might appreciate the creamy indulgence of triple chocolate mousse bars or the comforting ease of slow cooker creamy chicken taco soup for your next gathering.
FAQs
Can I make this cheesecake icebox cake ahead of time?
Absolutely! In fact, chilling it overnight enhances the flavors and softens the cookies perfectly. Just cover it tightly and keep it refrigerated.
What can I use if I don’t have graham crackers?
Shortbread cookies, digestive biscuits, or even vanilla wafer cookies work great. Just choose a cookie that isn’t overly sweet or flavored to balance the cheesecake layers.
Is this recipe gluten-free?
It can be! Use gluten-free cookies in place of the graham crackers, and all other ingredients are naturally gluten-free.
How do I get clean slices when serving?
Dip your knife in hot water and wipe it clean between slices. This helps cut through the creamy layers without dragging or smudging.
Can I use frozen berries instead of fresh?
Fresh berries work best for texture and flavor, but if you use frozen, thaw and drain them well to avoid excess moisture making the cake soggy.
Pin This Recipe!
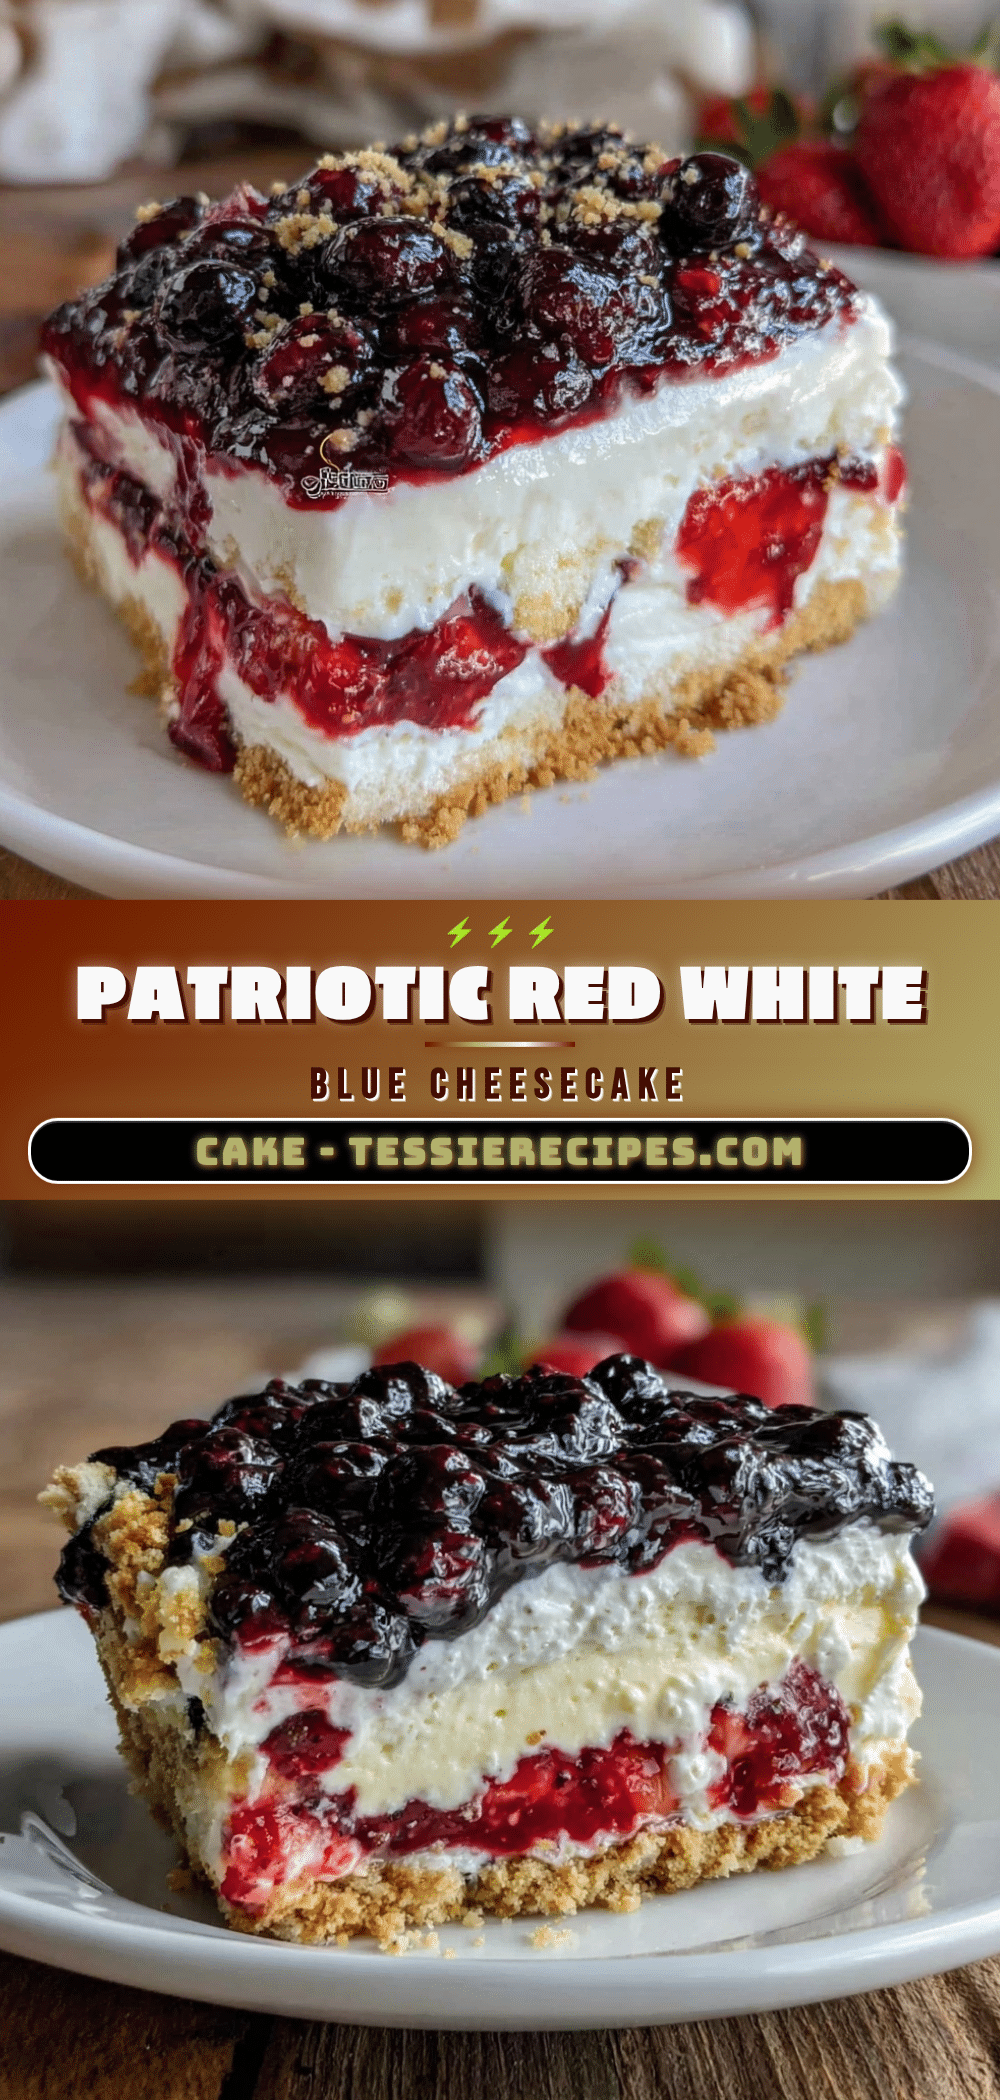
Perfect Red White and Blue Layered Cheesecake Icebox Cake

A no-bake, easy-to-make patriotic dessert featuring layers of creamy cheesecake, fresh berries, and crisp cookies, perfect for summer celebrations.
- Prep Time: 20 minutes
- Cook Time: 0 minutes
- Total Time: 4 hours 20 minutes
- Yield: 9 servings 1x
- Category: Dessert
- Cuisine: American
Ingredients
- 8 oz (225 g) cream cheese, softened
- 1 cup (240 ml) heavy whipping cream, cold
- ½ cup (60 g) powdered sugar
- 1 tsp vanilla extract
- 1 package (about 14 oz / 400 g) graham crackers or buttery shortbread cookies
- 1 cup (150 g) fresh strawberries, sliced
- 1 cup (150 g) fresh blueberries
- Extra whipped cream for topping (optional)
- Whole berries to decorate (optional)
- Fresh mint leaves (optional)
Instructions
- Prepare the Cheesecake Filling (10 minutes): In a large mixing bowl, beat the softened cream cheese with powdered sugar and vanilla extract using an electric mixer until smooth and creamy.
- Whip the Cream (5-7 minutes): In a separate bowl, whip the cold heavy cream until stiff peaks form.
- Fold the Cream into the Cream Cheese (3 minutes): Gently fold the whipped cream into the cream cheese mixture using a rubber spatula until smooth and fluffy.
- Layer the Icebox Cake (10 minutes): Spread a thin layer of cheesecake filling on the bottom of the pan. Arrange a layer of graham crackers or cookies to cover the filling. Add a layer of sliced strawberries, then another layer of filling. Repeat layers with cookies, blueberries, and filling until the dish is full. Finish with a final layer of filling.
- Chill the Cake (at least 4 hours, preferably overnight): Cover the pan with plastic wrap and refrigerate to allow cookies to soften and flavors to meld.
- Garnish and Serve: Just before serving, top with extra whipped cream, whole berries, and fresh mint leaves.
Notes
Use softened cream cheese to avoid lumps. Whip cream to stiff peaks but avoid overwhipping. Fold whipped cream gently into cream cheese mixture to keep it airy. For a dairy-free version, substitute cream cheese and heavy cream with vegan cream cheese and coconut cream. Use gluten-free cookies to make it gluten-free. Let cake sit at room temperature for 10 minutes before serving if cookies are too soft. Dip knife in hot water and wipe between slices for clean cuts.
Nutrition
- Serving Size: About 1/9th of the c
- Calories: 320
- Fat: 22
- Carbohydrates: 25
- Protein: 5
Keywords: red white and blue dessert, cheesecake icebox cake, no bake cheesecake, patriotic dessert, 4th of July dessert, easy summer dessert



