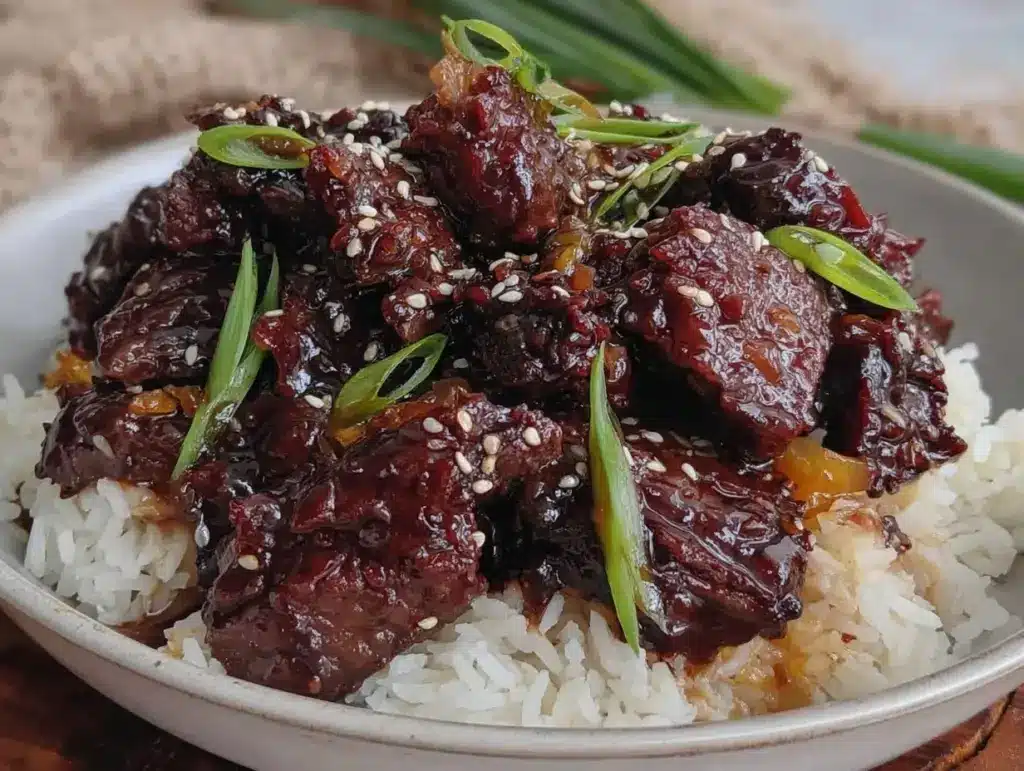
The sizzle of tender beef strips bathed in a glossy, caramelized brown sauce is one of those smells that instantly makes your mouth water. I first stumbled upon this pressure cooker Mongolian beef recipe during a chaotic weeknight when takeout just wasn’t an option. Honestly, it changed my dinner game forever. The ease of popping everything into the pressure cooker and walking away while it works its magic felt like a small miracle. Plus, the flavor? Spot on, rich, savory, with just the right hit of sweetness and garlic that keeps you coming back for more.
Mongolian beef is one of those dishes I’ve tested multiple ways—stir-frying, slow cooking, and, now, pressure cooking. Let me tell you, pressure cooking wins every time for speed without sacrificing that signature tender texture and full-bodied sauce. If you’ve been craving a homemade Asian-inspired meal that’s quick enough for busy weeknights but impressive enough for guests, this pressure cooker Mongolian beef recipe has your name on it.
What I love most is how adaptable it is. You can tweak the heat level, swap proteins, or double it up for leftovers that reheat beautifully. As someone who juggles a busy schedule and loves good food, this recipe fits right into my routine. So, if you want a fast, flavorful, and fuss-free dinner that feels like a treat, stick around—I’m sharing every little detail to get you cooking up your own irresistible pressure cooker Mongolian beef tonight.
Why You’ll Love This Recipe
- Quick & Easy: Ready in about 30 minutes, this recipe is perfect when you’re short on time but craving something hearty and satisfying.
- Simple Ingredients: No need to hunt down hard-to-find sauces or spices. Most ingredients are pantry staples or easy to grab at any grocery store.
- Perfect for Weeknights & Gatherings: Whether it’s a family dinner or a casual get-together, this dish pleases a crowd without stress.
- Crowd-Pleaser: Kids, adults, picky eaters—they all love the sweet-savory balance and tender beef.
- Unbelievably Delicious: The sauce clings beautifully to every bite, with that slight caramelization that feels just right.
This isn’t just any Mongolian beef recipe. Using a pressure cooker means the beef gets incredibly tender—no chewy bits here—and the sauce thickens perfectly without standing over the stove stirring constantly. I blend fresh ginger and garlic for a punch of flavor that’s fresh but familiar. Plus, a splash of hoisin sauce adds a subtle depth, making this version uniquely satisfying. Honestly, the first time I made it, I closed my eyes after the first bite—true comfort food vibes without the fuss.
What Ingredients You Will Need
This pressure cooker Mongolian beef recipe calls for straightforward ingredients that come together to create a perfect balance of flavors and textures. Here’s what you’ll need:
- Beef: 1.5 pounds (680g) flank steak or sirloin, thinly sliced against the grain (for tenderness).
- Vegetable oil: 2 tablespoons (for searing the beef).
- Garlic: 3 cloves, minced (adds a robust, aromatic flavor).
- Fresh ginger: 1 tablespoon, grated (for that warm, zesty kick).
- Soy sauce: 1/2 cup (120ml) low-sodium preferred to control saltiness).
- Brown sugar: 1/3 cup (65g) packed, it brings the essential sweetness and helps caramelize the sauce.
- Hoisin sauce: 2 tablespoons (optional but recommended for a deeper, slightly sweet umami flavor).
- Beef broth: 1/2 cup (120ml) to add moisture and richness.
- Green onions: 3-4, chopped (for garnish and fresh crunch).
- Red pepper flakes: 1/4 teaspoon or to taste (optional, for a touch of heat).
- Cornstarch: 2 tablespoons mixed with 2 tablespoons water (for thickening the sauce after pressure cooking).
For the best texture, I always suggest slicing the beef thinly and against the grain, which keeps it tender. If you want to swap beef for chicken or tofu, that works too—just adjust cooking time accordingly. I like using Kikkoman soy sauce because it gives a clean, balanced salty flavor, but feel free to choose your favorite brand. Also, if you want to keep this gluten-free, make sure to grab tamari instead of soy sauce.
Equipment Needed
- Pressure cooker or Instant Pot: This is the star of the show. You’ll want a model with a sauté function for browning your beef first.
- Sharp knife and cutting board: For slicing beef thinly and prepping aromatics.
- Measuring cups and spoons: To keep ingredient ratios just right.
- Mixing bowl: For tossing cornstarch slurry.
- Wooden spoon or heatproof spatula: For stirring the sauce without scratching the pot.
If you don’t have a pressure cooker, a heavy-bottomed skillet or wok works as an alternative, but you’ll need to adjust cooking time and technique. I once tried this in a slow cooker—it was tasty but lacked the quick caramelization you get with pressure cooking. Also, keeping your pressure cooker clean and well-maintained makes a huge difference; trust me, I learned that the hard way after one sticky sauce incident!
Detailed Preparation Method
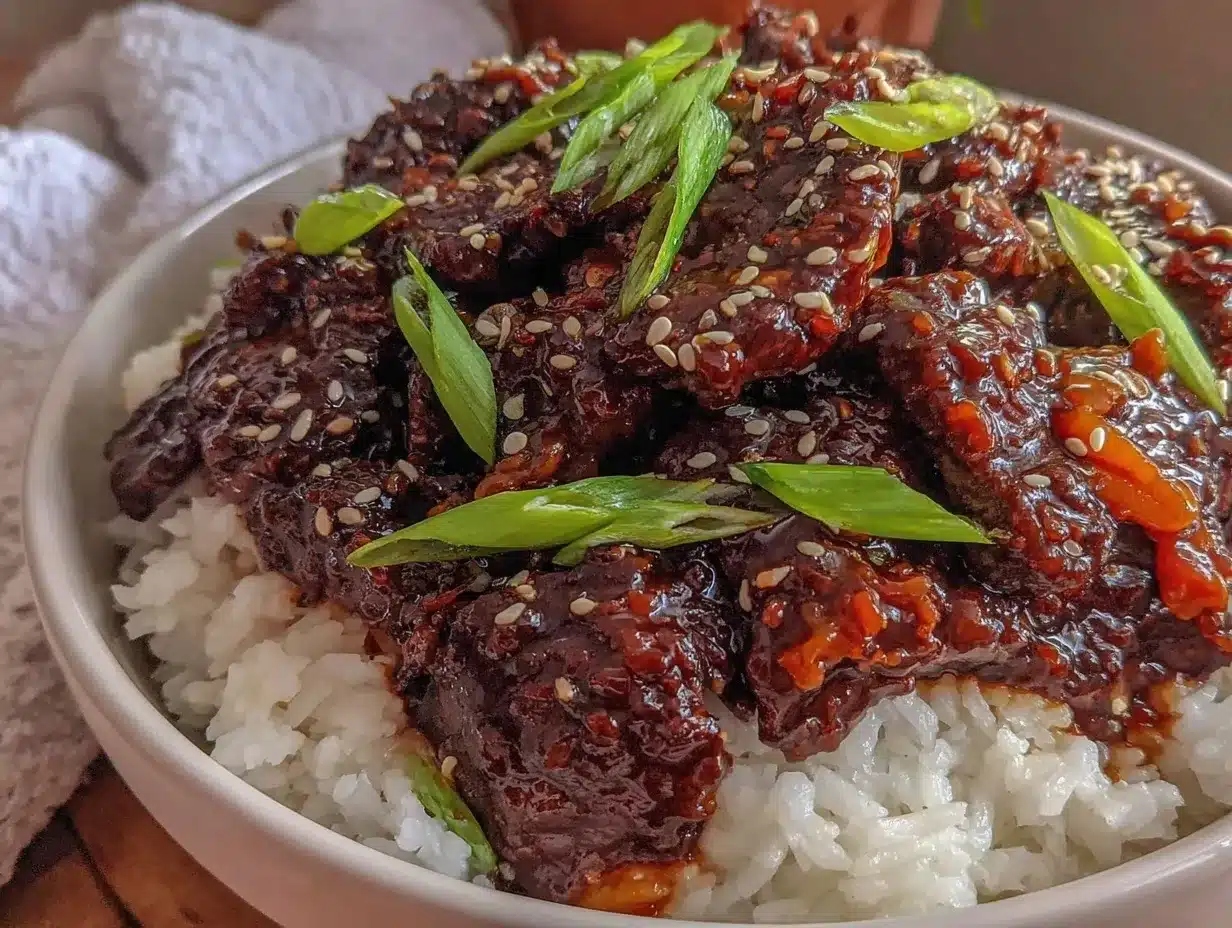
- Slice the beef: Start by slicing 1.5 pounds (680g) of flank steak thinly, about 1/8-inch thick, against the grain for tenderness. Set aside.
- Prep aromatics: Mince 3 cloves of garlic and grate 1 tablespoon of fresh ginger. Have these ready before heating the pressure cooker.
- Brown the beef: Turn on the sauté function of your pressure cooker and add 2 tablespoons of vegetable oil. When hot, add the beef in batches to avoid overcrowding. Sear for about 2 minutes per side until browned but not cooked through. Remove and set aside.
- Sauté aromatics: In the same pot, add garlic and ginger. Stir constantly for about 30 seconds until fragrant—don’t let them burn!
- Add liquids and seasonings: Pour in 1/2 cup (120ml) soy sauce, 1/3 cup (65g) brown sugar, 2 tablespoons hoisin sauce, and 1/2 cup (120ml) beef broth. Stir to combine, scraping up any browned bits from the bottom.
- Return beef to pot: Layer the browned beef strips back into the sauce. Add 1/4 teaspoon red pepper flakes if you like a little heat.
- Pressure cook: Seal the lid and set the cooker to high pressure for 10 minutes. Once the timer goes off, let the pressure release naturally for 5 minutes, then carefully quick release any remaining pressure.
- Thicken the sauce: Open the lid and turn on sauté. Mix 2 tablespoons cornstarch with 2 tablespoons cold water to make a slurry. Slowly stir the slurry into the sauce until it thickens, about 1-2 minutes. Keep the sauce at a gentle simmer to avoid lumps.
- Garnish and serve: Turn off the heat. Sprinkle chopped green onions over the top for freshness and color. Serve immediately over steamed white rice or your favorite noodles.
Pro tip: Don’t skip the natural pressure release step—it helps keep the beef tender and juicy. If your sauce seems too thin, just let it simmer a bit longer with the lid off while stirring gently. The aroma at this stage is incredible, so don’t be surprised if your kitchen starts smelling like your favorite Asian restaurant.
Cooking Tips & Techniques
One thing I’ve learned after making pressure cooker Mongolian beef countless times: browning the beef properly is key. It adds layers of flavor that a quick pressure cook can’t create on its own. Don’t rush this step—take your time and work in batches so you get a nice sear without steaming the meat.
Also, be mindful of your soy sauce choice. Low-sodium soy sauce helps you control saltiness since the sauce reduces and concentrates during cooking. Adding the cornstarch slurry gradually helps you avoid a gluey sauce—too much cornstarch or adding it too quickly can ruin the texture.
Timing is everything here. While the beef is pressure cooking, you can prep your side dishes or set the table. The pressure cooker frees up hands-on time, which is a lifesaver on busy evenings. I’ve found that natural pressure release for at least 5 minutes keeps the meat tender and prevents it from drying out.
Lastly, don’t forget the garnish. Fresh green onions add a crisp bite and bright contrast that balances the richness of the sauce. If you want extra texture, sprinkle toasted sesame seeds on top just before serving.
Variations & Adaptations
- Spicy Mongolian Beef: Add 1 teaspoon Sriracha or chili garlic sauce along with the soy sauce for a fiery kick.
- Chicken or Tofu Swap: Use thinly sliced chicken breast or firm tofu cubes instead of beef. Adjust pressure cooking time to 6-8 minutes for chicken, or sauté tofu without pressure cooking for best texture.
- Gluten-Free Version: Substitute tamari for soy sauce and use cornstarch or arrowroot powder as the thickener.
- Vegetable Boost: Toss in sliced bell peppers, snap peas, or broccoli florets after pressure cooking and sauté for 3-4 minutes until crisp-tender.
Once, I made a batch with extra garlic and fresh orange zest—it added a bright twist that my family loved. Feel free to experiment with herbs like cilantro or even a splash of sesame oil at the end for a subtle nutty aroma.
Serving & Storage Suggestions
This Mongolian beef is best served hot over fluffy steamed jasmine rice, but it also pairs beautifully with noodles or cauliflower rice for a low-carb option. Garnish with chopped green onions and toasted sesame seeds for a restaurant-style finish. A simple side of steamed broccoli or bok choy rounds out the meal nicely.
Store leftovers in an airtight container in the refrigerator for up to 4 days. The sauce thickens more as it sits, so you might want to add a splash of water or broth when reheating to loosen it up. Reheat gently in a skillet or microwave until warmed through.
For longer storage, freeze in portioned containers for up to 3 months. Thaw overnight in the fridge and reheat as usual. The flavors actually deepen after a day or two, so leftovers taste even better!
Nutritional Information & Benefits
Per serving (based on 4 servings): Approximately 350 calories, 28g protein, 15g carbohydrates, and 18g fat. This recipe packs a protein punch thanks to the lean beef, making it a satisfying and muscle-friendly meal.
Key ingredients like ginger and garlic not only boost flavor but also offer anti-inflammatory and immune-supporting properties. Using low-sodium soy sauce helps keep sodium levels in check, and the dish is naturally gluten-free when using tamari.
It’s a balanced dinner choice that provides energy, essential amino acids, and antioxidants. I love that it feels indulgent yet fits well within a wholesome eating plan.
Conclusion
This pressure cooker Mongolian beef recipe has become a staple in my kitchen because it hits all the right notes—speed, flavor, and that tender, melt-in-your-mouth beef. Whether you’re cooking for family, friends, or just treating yourself after a long day, it delivers comfort food vibes without the hassle.
Feel free to tweak the sauce, spice level, or protein to make it truly your own. Cooking should be fun and flexible, right? I’d love to hear how you customize it or what sides you pair it with.
Give this recipe a try and let me know in the comments how it turned out for you. Share it with anyone who loves a quick, tasty meal that feels like a special occasion. Happy cooking!
FAQs About Pressure Cooker Mongolian Beef
Can I use a slow cooker instead of a pressure cooker?
Yes, but the texture and cooking time will differ. Slow cook on low for 4-6 hours, but you may lose some of the caramelized sauce flavor you get from pressure cooking.
How do I prevent the beef from becoming tough?
Slice the beef thinly against the grain and avoid overcooking. The natural pressure release helps keep it tender, so don’t rush that step.
Can I make this recipe gluten-free?
Absolutely! Use tamari or a gluten-free soy sauce alternative and ensure your hoisin sauce is gluten-free or omit it.
Is there a vegetarian version of this recipe?
Yes! Swap beef for firm tofu or tempeh and adjust cooking by sautéing rather than pressure cooking to keep a nice texture.
How spicy is this recipe? Can I adjust the heat?
This recipe is mild by default. Add red pepper flakes or Sriracha to increase heat according to your preference.
Pin This Recipe!
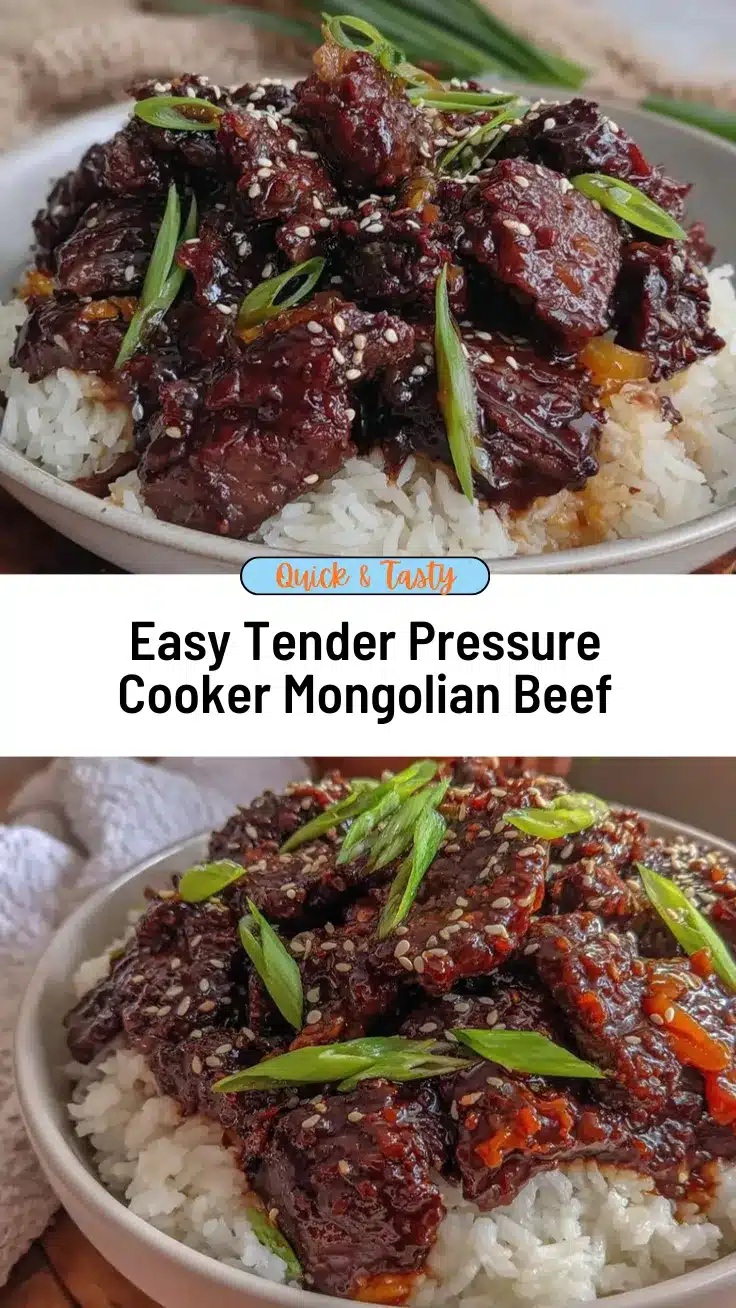
Pressure Cooker Mongolian Beef Recipe Easy 30-Minute Homemade Dinner

A quick and easy pressure cooker Mongolian beef recipe that delivers tender beef strips in a rich, savory, and slightly sweet caramelized sauce, perfect for busy weeknights or gatherings.
- Prep Time: 10 minutes
- Cook Time: 20 minutes
- Total Time: 30 minutes
- Yield: 4 servings 1x
- Category: Main Course
- Cuisine: Asian
Ingredients
- 1.5 pounds flank steak or sirloin, thinly sliced against the grain
- 2 tablespoons vegetable oil
- 3 cloves garlic, minced
- 1 tablespoon fresh ginger, grated
- 1/2 cup low-sodium soy sauce
- 1/3 cup brown sugar, packed
- 2 tablespoons hoisin sauce (optional)
- 1/2 cup beef broth
- 3–4 green onions, chopped
- 1/4 teaspoon red pepper flakes (optional)
- 2 tablespoons cornstarch mixed with 2 tablespoons water
Instructions
- Slice the beef thinly, about 1/8-inch thick, against the grain and set aside.
- Mince garlic and grate fresh ginger; have ready before heating the pressure cooker.
- Turn on the sauté function of the pressure cooker and add vegetable oil. When hot, add beef in batches and sear for about 2 minutes per side until browned but not cooked through. Remove and set aside.
- In the same pot, add garlic and ginger. Stir constantly for about 30 seconds until fragrant, avoiding burning.
- Pour in soy sauce, brown sugar, hoisin sauce, and beef broth. Stir to combine, scraping up browned bits from the bottom.
- Return the browned beef strips to the pot. Add red pepper flakes if using.
- Seal the lid and set the pressure cooker to high pressure for 10 minutes. After cooking, let the pressure release naturally for 5 minutes, then quick release any remaining pressure.
- Open the lid and turn on sauté. Stir in the cornstarch slurry slowly until the sauce thickens, about 1-2 minutes, keeping a gentle simmer.
- Turn off heat and garnish with chopped green onions. Serve immediately over steamed white rice or noodles.
Notes
Slice beef thinly against the grain for tenderness. Use low-sodium soy sauce to control saltiness. Natural pressure release for 5 minutes helps keep beef tender. Add cornstarch slurry gradually to avoid a gluey sauce. Garnish with green onions and optionally toasted sesame seeds. For gluten-free, substitute tamari for soy sauce and ensure hoisin sauce is gluten-free or omit it.
Nutrition
- Serving Size: 1 serving (approxima
- Calories: 350
- Fat: 18
- Carbohydrates: 15
- Protein: 28
Keywords: Mongolian beef, pressure cooker, quick dinner, easy recipe, beef recipe, Asian-inspired, weeknight meal



