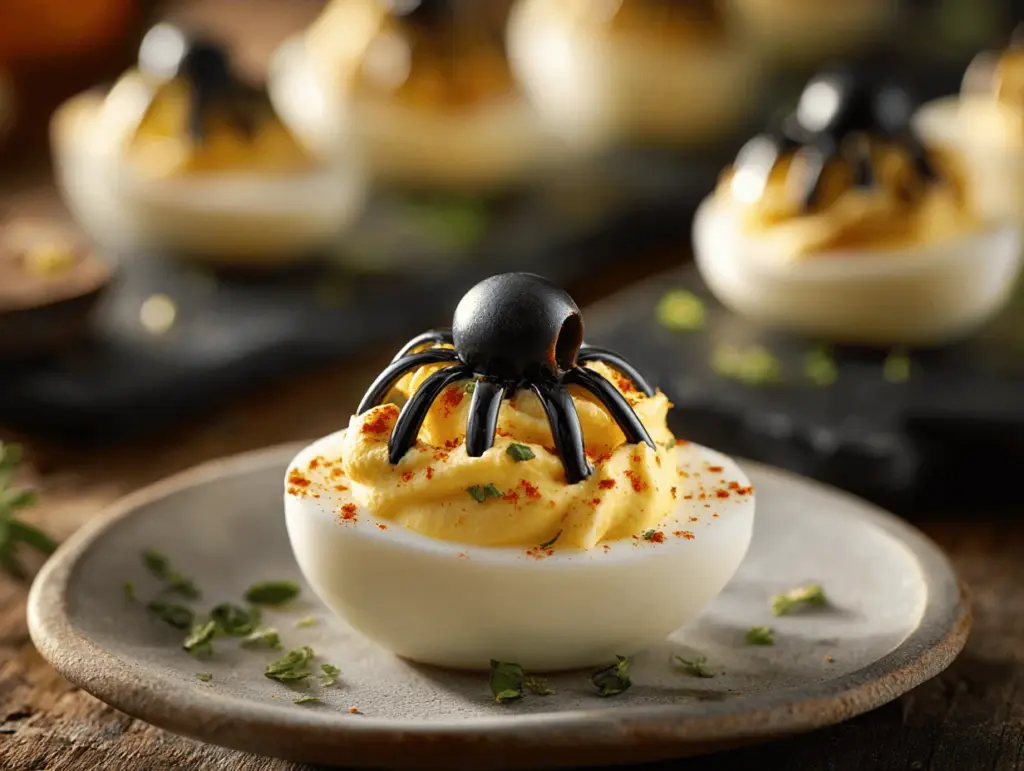
The moment you crack open the fridge and spot those glossy, jet-black olives sitting next to a carton of eggs, a tiny spark of Halloween magic happens. I still remember the first time I made Spider Deviled Eggs—the kitchen was packed with giggling kids in costumes, and honestly, the excitement was contagious. There’s something about transforming ordinary deviled eggs into spooky, edible art that just brings out the kid in everyone. Whether you’re prepping for a big Halloween bash or just want to add a twist to your October snack game, this Spider Deviled Eggs recipe is the ultimate party starter.
Let’s face it—Halloween is all about playful scares and fun flavors, and these spider-inspired eggs deliver both. They’re creamy, tangy, and just a little bit mischievous thanks to their olive “spider” topping. Over the years, I’ve tweaked this recipe to perfection, testing out different yolk mixes, spice levels, and even some wild garnishes (purple potatoes, anyone?). This version is my tried-and-true favorite, balancing classic deviled egg flavor with just enough visual drama to steal the spotlight at any Halloween party.
So, why do I keep coming back to spider deviled eggs every October? They’re easy, budget-friendly, and—here’s the best part—kids actually want to help! Plus, you don’t need fancy tools or hard-to-find ingredients. As a longtime party host (and self-proclaimed Halloween enthusiast), I promise these spooky little bites will make your table pop and your guests smile. Ready to get a little eerie in the kitchen? Let’s make some Spider Deviled Eggs!
Why You’ll Love This Recipe
- Quick & Easy: You can whip up a batch of Spider Deviled Eggs in about 30 minutes, even if you’ve got little ones underfoot or a house full of guests. Trust me, I’ve done it more times than I can count.
- Simple Ingredients: No need for specialty stores or exotic items—just pantry staples and a can of olives. If you’ve made classic deviled eggs before, you’ve already got most of what you need.
- Perfect for Halloween Parties: These eggs are a showstopper on any spooky spread. They’re great for school parties, adult gatherings, or just a family snack night before trick-or-treating.
- Crowd-Pleaser: I’ve watched kids squeal with delight at the “spider legs,” and grownups always ask how I got them to look so realistic. Family-approved, party-tested.
- Unbelievably Delicious: Creamy, tangy filling meets salty olives—the combo is classic and comforting, but the visual twist makes it extra special.
What sets my Spider Deviled Eggs apart is the texture and flavor balance. The filling is ultra-smooth thanks to an extra spoonful of mayo and a dash of Dijon, while the olive spiders add a briny pop that just works. I always chill the eggs before serving—they hold their shape better and the flavors meld perfectly. These aren’t just “deviled eggs with a spider on top”—they’re the kind you remember long after the party’s over.
And it’s not just about the look. This recipe is all about making Halloween feel fun even if you’re short on time or energy. There’s nothing fussy here, and if you’re like me, you’ll love watching guests reach for seconds (sometimes thirds!). Whether you’re impressing a crowd or just your own crew, Spider Deviled Eggs bring the kind of cozy-spooky vibe that makes Halloween my favorite foodie holiday.
What Ingredients You Will Need
This Spider Deviled Eggs recipe uses simple, wholesome ingredients to deliver bold flavor and satisfying texture—plus a little Halloween magic. Most of these are pantry staples, and you can swap things out if needed. Here’s what you’ll need:
- For the Eggs:
- 6 large eggs (US) / 6 large eggs (about 300g)
- For the Filling:
- 3 tablespoons mayonnaise (US) / 45g mayo (adds creaminess)
- 1 teaspoon Dijon mustard (US) / 5g Dijon mustard (for tang)
- 1 teaspoon white vinegar (US) / 5ml vinegar (balances flavors)
- 1/4 teaspoon salt (US) / 1g salt
- 1/8 teaspoon black pepper (US) / a pinch (adds a little kick)
- Optional: 1/8 teaspoon smoked paprika (for color & smoky flavor)
- For the Spiders:
- 12 large black olives, pitted (US) / about 80g total (for spiders)
- For Garnish:
- Extra smoked paprika (optional, for dusting)
- Fresh parsley leaves (optional, for a “grass” effect)
If you’re out of Dijon, swap in yellow mustard for a milder flavor. For a lighter version, use low-fat mayo or Greek yogurt (I’ve tried both—still delicious!). If you need a vegan option, try vegan mayo and skip the eggs with plant-based “egg” mix. I recommend using firm, pitted olives (like Lindsay or Mezzetta brands)—they slice neatly for spider legs. And if you want a gluten-free, dairy-free party bite, you’re already set—just double-check your mayo for hidden dairy or wheat.
Fresh eggs peel easier after boiling, but older eggs work too with a splash of vinegar in the water. For extra flair, I sometimes add a few drops of food-safe black coloring to the filling (just for drama!). And hey, if you’re feeling wild, swap black olives for Kalamata or even sliced mushrooms for your spiders. It’s Halloween—let your creativity run wild!
Equipment Needed
- Medium saucepan: For boiling the eggs. Any sturdy pot works—mine’s survived years of egg boiling!
- Large bowl: For cooling eggs in ice water (a metal bowl chills fastest).
- Cutting board & small sharp knife: For slicing olives into spiders. Even a basic paring knife does the trick.
- Mixing bowl: For the yolk filling. Glass or ceramic is easiest to clean.
- Fork or potato masher: For mashing yolks. I’ve used both; a fork gives smoother results.
- Piping bag or zip-top bag (optional): For filling eggs neatly. You can also just spoon it in—no shame!
- Small spoon: For scooping filling if you’re skipping the bag.
- Platter or tray: For serving. I love using a dark plate for extra Halloween drama.
No fancy gadgets needed! If you’re missing a piping bag, snip the corner off a zip bag—works like a charm. For busy hosts, disposable tools save time on cleanup. Wash and dry your knife after slicing olives—the brine can make it slippery. And honestly, if you’re prepping for a crowd, boil extra eggs in case a few crack. It happens—learned that one the hard way!
Preparation Method
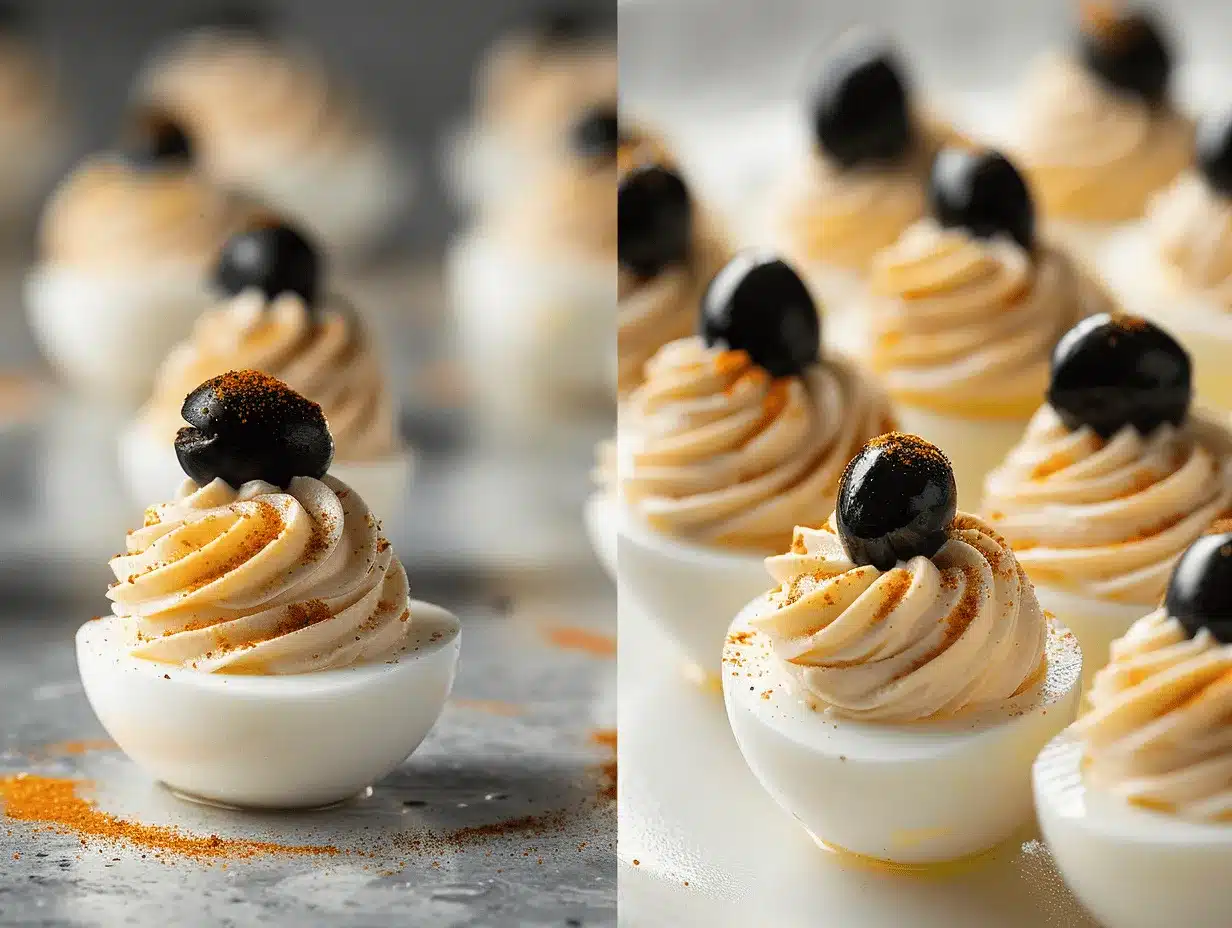
- Boil the Eggs: Place 6 large eggs (300g) in a medium saucepan. Cover with cold water by about an inch (2.5cm). Bring to a boil over medium-high heat. Once boiling, cover, turn off the heat, and let sit for 10-12 minutes. (Older eggs peel easier!)
- Cool & Peel: Transfer eggs to a bowl of ice water. Let chill for at least 10 minutes. Peel gently—the shells should come off easily if the eggs are cool enough. Pat dry with a paper towel.
- Halve & Remove Yolks: Slice eggs lengthwise. Pop yolks into a mixing bowl. Set whites aside on a serving tray.
- Make the Filling: Mash yolks with a fork until crumbly. Add 3 tbsp mayo (45g), 1 tsp Dijon mustard (5g), 1 tsp vinegar (5ml), 1/4 tsp salt (1g), 1/8 tsp pepper, and optional 1/8 tsp smoked paprika. Mix until smooth and creamy. Taste and adjust salt if needed. (If the filling feels stiff, add a splash more mayo.)
- Fill the Egg Whites: Spoon or pipe the yolk mixture into the egg white cavities. I like using a zip-top bag for a neat swirl—you can simply snip a corner and squeeze. If you’re spooning, press gently to avoid tearing the whites.
- Create the Spiders: Slice 6 olives in half lengthwise for spider “bodies.” Slice the remaining 6 olives into thin strips (about 8 per olive) for “legs.” Each egg gets one half as the body and 8 strips as legs. (Tip: Use the narrow end of the olive half for the head—looks more realistic!)
- Assemble: Place one olive half in the center of each filled egg. Arrange 4 olive strips on each side for legs. Press gently so they stick. If the legs slide, blot them with a paper towel.
- Garnish: Sprinkle extra smoked paprika over the eggs, or tuck parsley around the platter for a grassy effect. Chill in the fridge for at least 20 minutes before serving—this helps the spiders stay in place.
- Troubleshooting: If yolks are dry, add more mayo. If whites tear, patch with a little filling underneath. Spider legs too slippery? Use a toothpick to help position them. (You know you’re winning when the kids offer to help!)
Efficiency tip: Boil and peel eggs the night before to save time. Slice olives while eggs chill—makes assembly faster. If you’re prepping a big batch, set up an “assembly line” with all ingredients laid out. And don’t worry if a few spiders look more “abstract”—Halloween is all about fun, not perfection!
Cooking Tips & Techniques
Let me tell you—making Spider Deviled Eggs isn’t rocket science, but there are a few tricks for flawless results. I’ve made more than a dozen batches over the years, and here’s what I’ve learned:
- Egg Boiling: Start eggs in cold water and use a timer. Overcooked eggs get green yolks and rubbery whites. Ten minutes is my sweet spot.
- Easy Peeling: Shock eggs in ice water after boiling. Rolling them gently on the counter helps crack the shell all over. If you struggle, peel under running water—the shells slip right off.
- Smooth Filling: Mash yolks thoroughly before adding wet ingredients. For extra creaminess, add a tiny splash of milk or even cream cheese. (I learned this after a batch turned out dry.)
- Spider Assembly: Slice olives with a sharp knife—dull ones squish the olives. Arrange legs first, then add the body for stability. Don’t fret if the legs aren’t perfect; it’s the spooky vibe that counts.
- Multitasking: Prep olive spiders while eggs cool. This keeps things moving and saves time, especially for big parties.
- Consistency: Chill eggs before serving. The filling firms up, and the spiders stay put. If you’re transporting them, use a lidded tray or cover loosely with plastic wrap.
- Common Mistakes: Overfilling eggs can make spiders slide off. If that happens, just scoop a little out—no biggie. If the filling is too runny, stir in more mashed yolk or a bit of instant mashed potato (weird, but it works in a pinch!).
Honestly, my first batch was a little wonky—olive legs everywhere, filling too stiff. But with each try, I picked up little hacks (like using a zip bag for piping and prepping extra olives for “legs”). Don’t stress if they’re not Pinterest-perfect—the fun is in making them together and seeing those surprised smiles!
Variations & Adaptations
- Dietary Variations: For a lighter version, swap out regular mayo for Greek yogurt or low-fat mayo. Vegan? Use vegan mayo and plant-based egg replacers (like JUST Egg) for the filling.
- Seasonal Twist: Add roasted red pepper to the yolk mix for a fiery “lava spider” look. Or use purple potato slices instead of olives for a ghoulish effect—great for fall harvest parties.
- Flavor Adapations: Mix in a dash of horseradish or sriracha to the filling for a spicy kick. Smoked paprika gives that “campfire” vibe, while curry powder makes for an exotic variation.
- Cooking Methods: If you want to skip boiling, use steamed or baked eggs (yes, you can bake eggs in muffin tins!). The texture changes a bit, but they work great for big batches.
- Customizing for Allergies: Can’t do eggs? Use halved mini potatoes as the base—just hollow them out and fill with your favorite vegan mash. For olive allergies, try sliced mushrooms or black beans as spider bodies.
I’ve tried adding crumbled bacon to the yolk mix for a “monster” version—huge hit with adults! And if you’re feeling creative, swap the olive legs for thin chives or black sesame seeds for a crunchy twist. The beauty of this recipe is how easily you can adapt it for any crowd, dietary need, or Halloween theme.
Serving & Storage Suggestions
For best results, serve Spider Deviled Eggs chilled on a dark platter—they pop visually and stay fresh longer. I love arranging them on a bed of parsley or kale for a “creepy grass” effect. These eggs are perfect as a starter with cider or punch, or alongside cheesy breadsticks and veggie trays.
If you’re prepping ahead, store eggs in an airtight container in the fridge for up to 2 days. Keep the olive spiders separate until just before serving—the legs can get soggy if left overnight. To freeze, skip the olive topping and wrap filled whites tightly; thaw before assembling spiders.
Reheat gently by letting eggs come to room temperature for 15-20 minutes. Don’t microwave—filling gets rubbery. Honestly, the flavors mingle and improve after a few hours in the fridge, making them ideal for busy hosts. If you’ve got leftovers (rare, but it happens!), chop them into salads or mash for a spooky egg salad sandwich.
Nutritional Information & Benefits
Each Spider Deviled Egg is around 65 calories, with 4g fat, 3g protein, and 1g carbs (based on regular mayo). Eggs are packed with quality protein and essential vitamins like B12 and D. Olives add heart-healthy monounsaturated fats and a dose of antioxidants.
This recipe is naturally gluten-free and low-carb, making it a great option for keto and paleo diets. For dairy-free folks, just check your mayo label. Possible allergens include eggs and mayo (egg-based), so swap with vegan options if needed.
As someone who tracks nutrition, I love that these eggs offer satisfying flavor without heavy calories—plus, they’re super filling, which is handy for parties. The olives add a little salt, so keep water nearby, especially for kids. Enjoy with peace of mind as part of a balanced Halloween spread!
Conclusion
There’s just something magical about Spider Deviled Eggs—they’re cute, creepy, and totally crave-worthy. Whether you’re hosting the biggest Halloween party on the block or just want a fun family snack, this recipe is easy, adaptable, and guaranteed to spark conversation.
Feel free to tweak the filling, swap out the olive spiders, or add your own twist—the best recipes are the ones that fit your crew’s tastes. Personally, I love how this one brings people together, inspires giggles, and makes Halloween that much tastier.
If you give these Spider Deviled Eggs a whirl, drop a comment below—share your spooky variations or party photos! I’d love to hear your tricks and tips. Happy haunting, and may your kitchen be filled with laughter (and a little bit of Halloween mischief)!
Frequently Asked Questions
How far ahead can I make Spider Deviled Eggs?
You can prep the eggs and filling up to 2 days ahead. Assemble the olive spiders just before serving for best results.
Can I use something besides olives for the spider decoration?
Absolutely! Try sliced mushrooms, black beans, or even thin strips of roasted pepper for legs. Get creative with what you have.
How do I keep the spider legs from sliding off?
Make sure the filling is firm and the eggs are chilled before assembly. Blot olives dry before slicing, and press legs gently into the filling.
Are Spider Deviled Eggs safe for kids with food allergies?
They’re gluten-free and dairy-free if you choose the right mayo, but do contain eggs. For egg allergies, swap in mini potatoes or use a vegan egg substitute.
Can I double or triple this recipe for a big party?
Yes! Just multiply all ingredients. Boil eggs in batches and set up an assembly line for easy decorating. Kids love helping with the spiders!
Pin This Recipe!
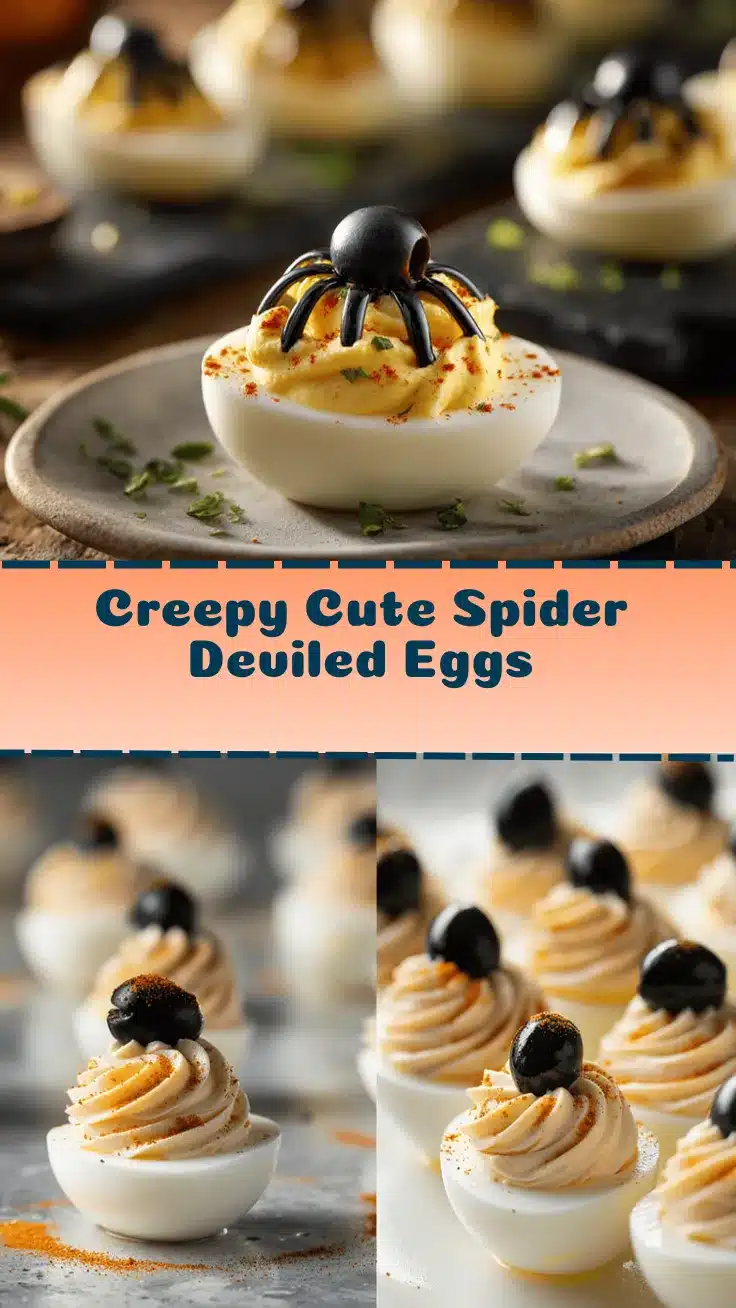
Spider Deviled Eggs

These Spider Deviled Eggs are a fun, spooky twist on the classic appetizer, perfect for Halloween parties. Creamy, tangy filling is topped with black olive ‘spiders’ for a crowd-pleasing, kid-friendly treat.
- Prep Time: 15 minutes
- Cook Time: 12 minutes
- Total Time: 30 minutes
- Yield: 12 deviled eggs (6 servings) 1x
- Category: Appetizer
- Cuisine: American
Ingredients
- 6 large eggs
- 3 tablespoons mayonnaise
- 1 teaspoon Dijon mustard
- 1 teaspoon white vinegar
- 1/4 teaspoon salt
- 1/8 teaspoon black pepper
- 1/8 teaspoon smoked paprika (optional)
- 12 large black olives, pitted
- Extra smoked paprika (optional, for dusting)
- Fresh parsley leaves (optional, for garnish)
Instructions
- Place 6 large eggs in a medium saucepan and cover with cold water by about an inch.
- Bring to a boil over medium-high heat. Once boiling, cover, turn off the heat, and let sit for 10-12 minutes.
- Transfer eggs to a bowl of ice water and chill for at least 10 minutes. Peel eggs and pat dry.
- Slice eggs lengthwise and remove yolks to a mixing bowl. Set whites aside on a serving tray.
- Mash yolks with a fork until crumbly. Add mayonnaise, Dijon mustard, vinegar, salt, black pepper, and optional smoked paprika. Mix until smooth and creamy. Adjust seasoning if needed.
- Spoon or pipe the yolk mixture into the egg white cavities.
- Slice 6 olives in half lengthwise for spider bodies. Slice the remaining 6 olives into thin strips (about 8 per olive) for legs.
- Place one olive half in the center of each filled egg for the spider body. Arrange 4 olive strips on each side for legs, pressing gently so they stick.
- Sprinkle extra smoked paprika over the eggs and garnish with parsley if desired.
- Chill in the fridge for at least 20 minutes before serving.
Notes
For best results, chill eggs before serving to help the spiders stay in place. If the filling is too stiff, add a splash more mayo. For a lighter version, use Greek yogurt or low-fat mayo. Vegan and allergy-friendly adaptations are possible. Assemble olive spiders just before serving to keep legs from getting soggy.
Nutrition
- Serving Size: 1 deviled egg half
- Calories: 65
- Sodium: 110
- Fat: 4
- Saturated Fat: 1
- Carbohydrates: 1
- Protein: 3
Keywords: Halloween, deviled eggs, party appetizer, spooky snacks, kid-friendly, gluten-free, dairy-free, easy, olives, eggs



