Introduction
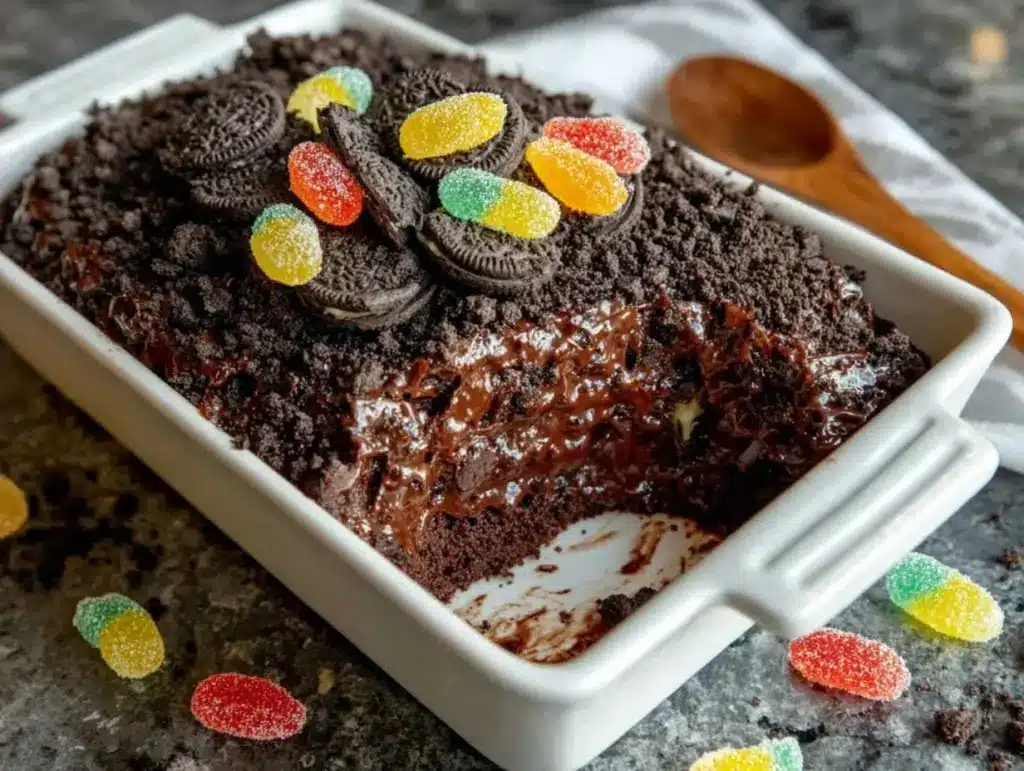
The crunch of chocolate cookie crumbs, the creamy decadence of pudding, and the eerie touch of gummy worms—this Spooky Halloween Dirt Cake is as fun to make as it is to eat! Every Halloween, my kitchen turns into a spooky creative zone, and this dirt cake never fails to impress. It’s the perfect balance of spooky and sweet, with just the right amount of festive flair. Whether you’re hosting a Halloween bash, entertaining kids, or just looking for a fun dessert to make, this dirt cake recipe is sure to be a crowd-pleaser.
I first made this recipe a few years ago for a Halloween party, and it was an instant hit. What I love most about it is how customizable it can be. Want to add chocolate tombstones? Go for it! Prefer a creepy spider theme? Toss a few plastic spiders on top! It’s truly a canvas for your Halloween creativity. And trust me, when you see the delight on everyone’s faces as they dig into this cake, you’ll understand why it’s become a Halloween tradition for me.
So, grab your mixing bowls, roll up your sleeves, and let’s create this spooky Halloween dirt cake that’s bound to be the star of your dessert table!
Why You’ll Love This Recipe
- Quick & Easy: Comes together in under 30 minutes, making it ideal for busy party prep.
- Kid-Friendly: Kids love helping with the decorating—it’s all about creativity!
- Perfect for Halloween Parties: Whether you’re hosting a spooky soirée or a family get-together, this cake is always a hit.
- Customizable: You can adapt the decorations to suit your Halloween theme—zombies, ghosts, witches, you name it!
- Deliciously Fun: The combination of creamy pudding, Oreo crumbs, and gummy candies is irresistible.
This isn’t just another dessert—it’s an experience. The joy of decorating, the laughter as people dig into the “dirt,” and the comforting flavors all make it unforgettable. Plus, it’s a foolproof recipe that always turns out great, no matter how wild your decorations get.
This recipe is perfect for bringing the Halloween spirit to life. It’s spooky, creative, and indulgent—a dessert that doubles as a centerpiece for your party table!
What Ingredients You Will Need
This spooky Halloween dirt cake is made with simple, easy-to-find ingredients that come together for maximum fun and flavor. Here’s what you’ll need:
- Chocolate sandwich cookies: Crushed to resemble dirt (I love using Oreos for their rich chocolate flavor).
- Chocolate pudding mix: Instant pudding mix works best for quick preparation.
- Milk: For making the pudding (whole milk gives the creamiest texture).
- Cream cheese: Softened to room temperature for easy mixing.
- Powdered sugar: Adds sweetness to the cream cheese layer.
- Whipped topping: Like Cool Whip, for the fluffy texture.
- Gummy worms: To create the creepy-crawly effect.
- Halloween-themed decorations: Think candy pumpkins, chocolate tombstones, or plastic spiders.
These ingredients are pantry-friendly, and many of them can be swapped for dietary preferences. For example, use gluten-free cookies or dairy-free whipped topping to suit your needs.
Equipment Needed
- Mixing bowls: For combining the pudding and cream cheese mixtures.
- Electric mixer: To make the cream cheese and powdered sugar mixture fluffy and smooth.
- Zip-top bag: Perfect for crushing the cookies without making a mess.
- Rolling pin: Optional, but great for crushing cookies easily.
- Serving dish: You can use a glass trifle dish or even individual cups for a fun twist.
- Spatula: Ideal for spreading layers evenly.
If you don’t have an electric mixer, no worries! A sturdy whisk and some elbow grease will do the trick. And if you don’t have zip-top bags, you can crush the cookies between two sheets of parchment paper.
Preparation Method
- Prepare the pudding: In a mixing bowl, whisk together the chocolate pudding mix and milk according to the package instructions. Let it sit in the refrigerator to set while you prepare the other layers.
- Make the cream cheese mixture: In another bowl, beat the softened cream cheese with the powdered sugar using an electric mixer until smooth and fluffy. Fold in the whipped topping gently until combined.
- Crush the cookies: Place the chocolate sandwich cookies in a zip-top bag. Use a rolling pin to crush the cookies into fine crumbs that resemble dirt. Set aside.
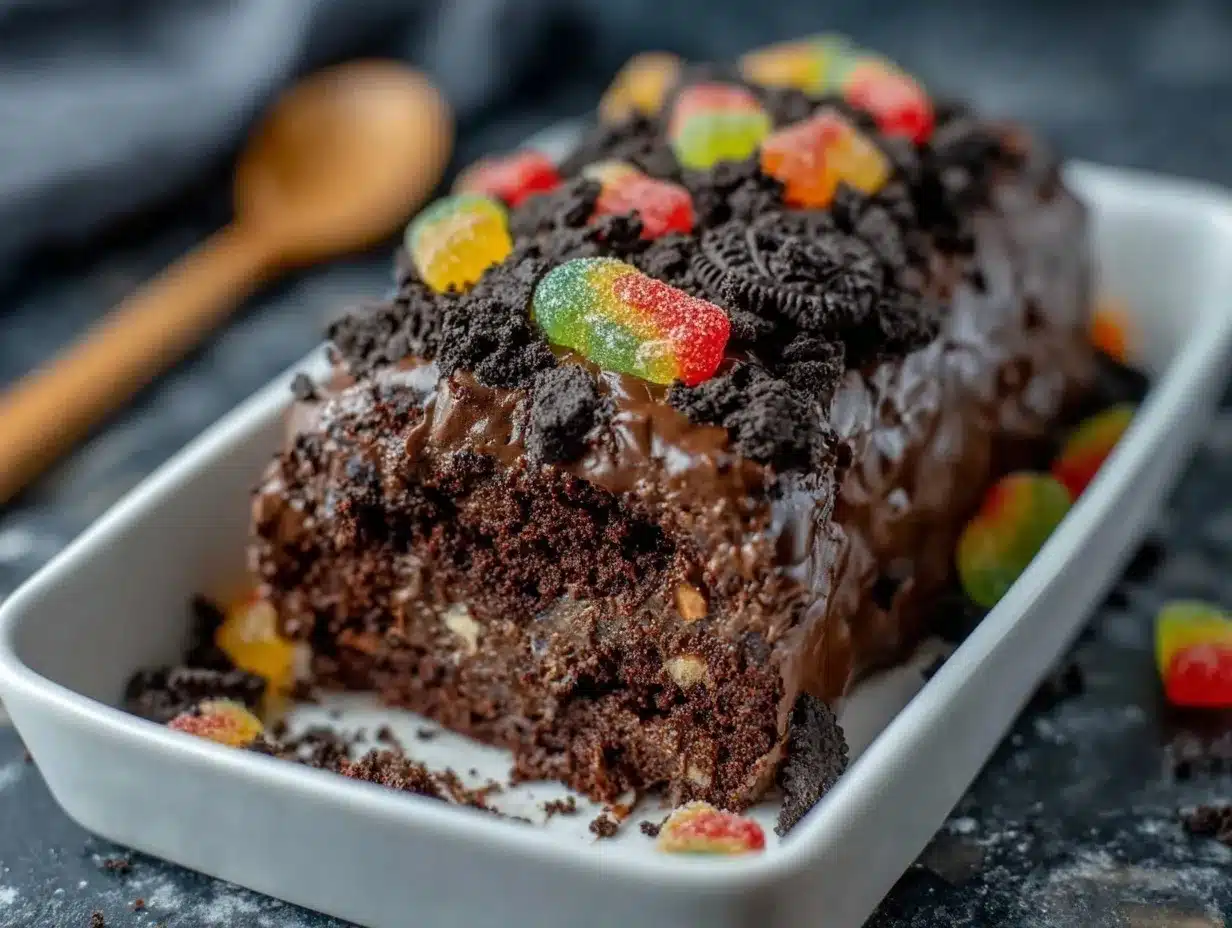
- Layer the dessert: In your serving dish, start by spreading a layer of the crushed cookies at the bottom. Add a layer of the cream cheese mixture, followed by a layer of chocolate pudding. Repeat the layers until you reach the top of the dish, finishing with a generous layer of crushed cookies.
- Add decorations: Use gummy worms to create a spooky, buried-in-dirt effect. Add candy pumpkins, ghost-shaped candies, or chocolate tombstones for extra flair. Feel free to get creative with your Halloween decorations!
- Chill the cake: Cover the dish with plastic wrap and refrigerate for at least 2 hours, or until the layers are firm and the flavors have melded together.
Note: Make sure your cream cheese is fully softened before mixing to avoid lumps in the creamy layer.
Pro Tip: If you’re making individual dirt cups, use clear plastic cups for a fun presentation where guests can see the delicious layers.
Cooking Tips & Techniques
- Make sure your cream cheese is completely softened for a perfectly smooth texture. I like to leave mine out for about an hour before starting.
- Don’t over-mix the pudding—it can get too runny if you stir it too much. Follow the package instructions for the ideal consistency.
- For an extra chocolatey flavor, mix half of the crushed cookies directly into the pudding layer.
- If you’re short on time, you can use pre-made pudding cups instead of making your own pudding. It’s a great shortcut!
- Keep your decorations simple if you’re in a rush. A sprinkle of cookie crumbs and a few gummy worms are all you really need for the spooky graveyard effect!
The key to nailing this recipe is not overthinking it—your guests will love it regardless of how you decorate it. And remember, it’s Halloween, so the creepier, the better!
Variations & Adaptations
- Gluten-Free Option: Use gluten-free chocolate sandwich cookies in place of regular ones.
- Dairy-Free Version: Swap the milk for almond or oat milk and use dairy-free whipped topping and cream cheese.
- Low-Sugar Alternative: Use sugar-free pudding mix and light whipped topping for a reduced-sugar version.
- Seasonal Swaps: Add crushed candy canes and use chocolate Santa decorations for a Christmas-themed dirt cake.
- Flavor Boost: Add a splash of coffee or espresso to the pudding mixture for a mocha twist!
One variation I tried was swapping the pudding for a pumpkin spice mousse—it was a hit at a fall-themed party! Don’t be afraid to experiment with flavors and decorations to make this recipe your own.
Serving & Storage Suggestions
This spooky Halloween dirt cake is best served chilled and straight out of the refrigerator. The cold layers give it a refreshing, creamy texture that complements the crunch of the cookie crumbs.
Serve it in a large glass trifle dish for a show-stopping centerpiece or in individual cups for easy party portions. Pair it with apple cider or hot chocolate for the ultimate Halloween treat.
To store leftovers, cover the dish tightly with plastic wrap and keep it in the refrigerator for up to 3 days. If you want to make it ahead, you can prepare the layers and decorations the night before—just wait until the last minute to add any fragile decorations like candy ghosts or tombstones so they stay fresh!
Reheating: Don’t worry about reheating—it’s meant to be enjoyed cold! If the cookie crumbs get a little soggy, add a fresh sprinkle on top before serving.
Nutritional Information & Benefits
While this dirt cake is a sweet indulgence, it’s also packed with comforting flavors that make it perfect for special occasions. Here’s a quick nutritional breakdown per serving (approx. 1 cup):
- Calories: 350
- Fat: 15g
- Sugar: 25g
- Protein: 4g
Some of the key ingredients, like milk and cream cheese, provide calcium and protein. You can make healthier adaptations, like using low-fat or dairy-free alternatives, if desired. And while it’s a treat, the joy of sharing it with loved ones makes it totally worth it!
Conclusion
This Spooky Halloween Graveyard Dirt Cake Recipe 🎃 is the ultimate party dessert. It’s quick, easy, and endlessly customizable, making it a must-have for Halloween celebrations. From its creepy decorations to its irresistible flavor, it’s the kind of dessert everyone will rave about.
If you try this recipe, I’d love to hear what you think! Leave a comment, share your spooky creations, and let me know how you made the recipe your own. Wishing you a fun, festive, and frightfully delicious Halloween!
FAQs
Can I make this dirt cake ahead of time?
Yes, you can prepare the layers and refrigerate the cake for up to 1 day before serving. Add final decorations just before serving for the best look.
What’s the best way to crush the cookies?
Place the cookies in a zip-top bag and use a rolling pin to crush them into crumbs. You can also pulse them in a food processor for finer crumbs.
Can I use homemade pudding instead of instant mix?
Absolutely! Homemade pudding will work beautifully, though it may take a little longer to prepare. Just make sure it’s completely chilled before layering.
How can I make this recipe gluten-free?
Simply swap the chocolate sandwich cookies for a gluten-free alternative. The rest of the recipe stays the same!
Can I use different candies for decorations?
Definitely! Candy spiders, chocolate bones, or even mini marshmallow ghosts would be fantastic additions to your spooky graveyard scene.
Pin This Recipe!
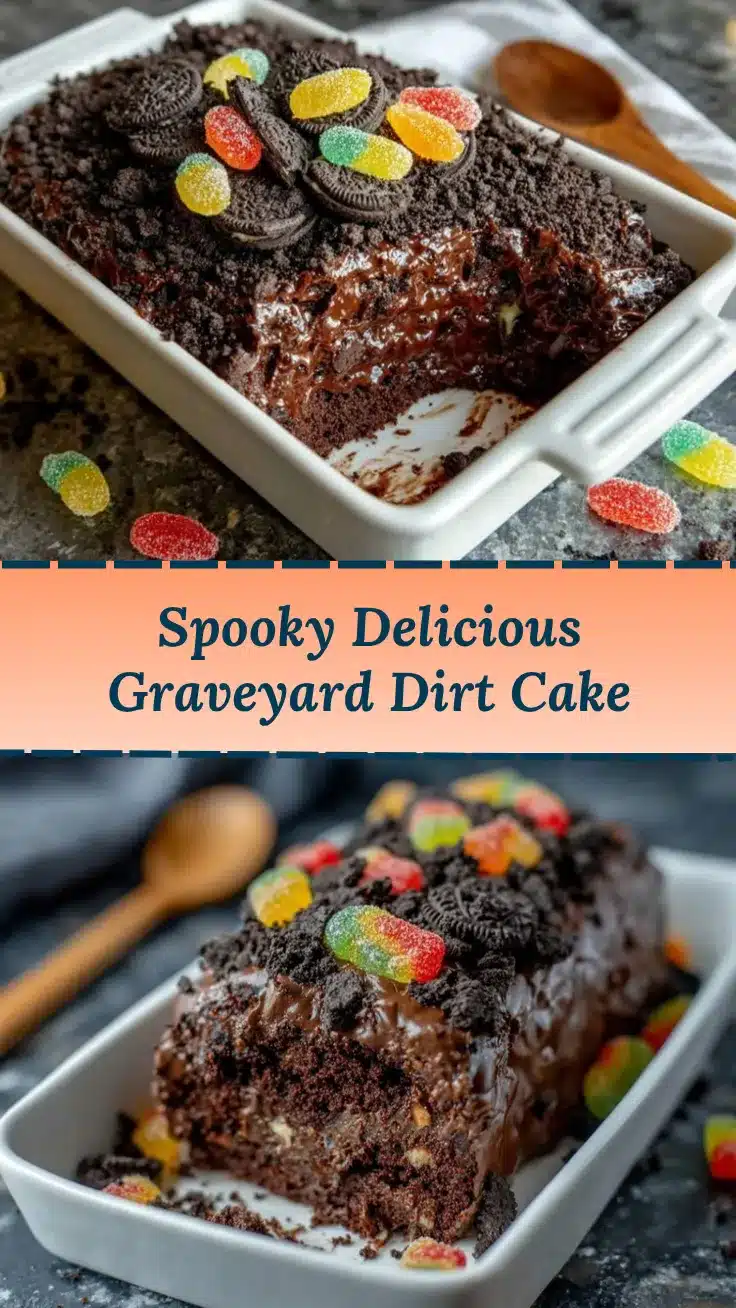
Spooky Halloween Dirt Cake Recipe Perfect for Parties

A fun and spooky Halloween dessert featuring layers of chocolate pudding, crushed cookies, and gummy worms, perfect for parties and creative decorating.
- Prep Time: 15 minutes
- Cook Time: No cooking required
- Total Time: 2 hours 15 minutes
- Yield: 8 servings
- Category: Dessert
- Cuisine: American
Ingredients
- Chocolate sandwich cookies (e.g., Oreos), crushed
- Chocolate pudding mix
- Milk (whole milk preferred)
- Cream cheese, softened
- Powdered sugar
- Whipped topping (e.g., Cool Whip)
- Gummy worms
- Halloween-themed decorations (e.g., candy pumpkins, chocolate tombstones, plastic spiders)
Instructions
- Prepare the pudding: In a mixing bowl, whisk together the chocolate pudding mix and milk according to the package instructions. Let it sit in the refrigerator to set while you prepare the other layers.
- Make the cream cheese mixture: In another bowl, beat the softened cream cheese with the powdered sugar using an electric mixer until smooth and fluffy. Fold in the whipped topping gently until combined.
- Crush the cookies: Place the chocolate sandwich cookies in a zip-top bag. Use a rolling pin to crush the cookies into fine crumbs that resemble dirt. Set aside.
- Layer the dessert: In your serving dish, start by spreading a layer of the crushed cookies at the bottom. Add a layer of the cream cheese mixture, followed by a layer of chocolate pudding. Repeat the layers until you reach the top of the dish, finishing with a generous layer of crushed cookies.
- Add decorations: Use gummy worms to create a spooky, buried-in-dirt effect. Add candy pumpkins, ghost-shaped candies, or chocolate tombstones for extra flair. Feel free to get creative with your Halloween decorations!
- Chill the cake: Cover the dish with plastic wrap and refrigerate for at least 2 hours, or until the layers are firm and the flavors have melded together.
Notes
Make sure cream cheese is fully softened to avoid lumps. For individual servings, use clear plastic cups to showcase the layers. Add decorations just before serving for the best presentation.
Nutrition
- Serving Size: 1 cup
- Calories: 350
- Sugar: 25
- Fat: 15
- Protein: 4
Keywords: Halloween dessert, dirt cake, spooky dessert, party recipe, kid-friendly dessert



