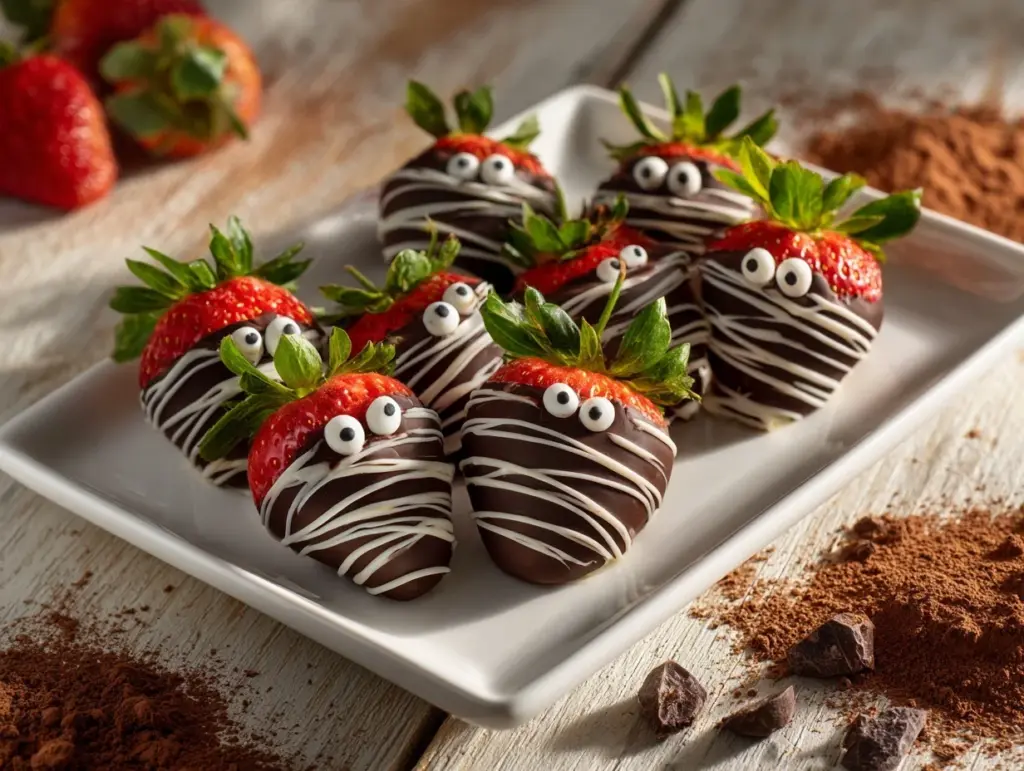
Imagine biting into a sweet, juicy strawberry coated in rich chocolate, only to be greeted by a playful spooky design that’s perfect for Halloween! These Spooky Halloween Strawberries are one of my favorite treats to whip up during spooky season. They’re fun to make, delicious to eat, and an absolute hit at Halloween parties. Plus, who doesn’t love a dessert that doubles as edible decor?
I came up with this recipe years ago when I wanted something festive but easy for my Halloween gathering. Let’s face it—when you’re busy planning costumes, party games, and decorations, you need a dessert that doesn’t take hours. These chocolate-covered strawberries tick all the boxes. They’re simple, creative, and always impress both kids and adults!
Whether you’re hosting a party or just want a fun activity with your family, this recipe is your go-to for spooky vibes without the stress. Trust me, you’re going to love these eerie little treats!
Why You’ll Love This Recipe
- Quick & Easy: You can make these in under 30 minutes, making them perfect for last-minute party prep.
- No Fancy Tools Needed: All you need is basic kitchen equipment and a little creativity!
- Perfect for Halloween Parties: These strawberries add a spooky yet playful touch to your dessert table.
- Customizable: You can decorate them however you want—ghosts, pumpkins, or even little monsters!
- Kid-Friendly: A fun and safe recipe for kids to help with (and they’ll love eating them too).
- Unbelievably Delicious: The combination of fresh strawberries and creamy chocolate is always a winner.
What sets this recipe apart is the creative freedom. You can make them as simple or elaborate as you want, depending on your time and artistic flair. Plus, they’re much healthier than many store-bought Halloween candies, so you can feel good about serving them to your loved ones.
What Ingredients You Will Need
This recipe uses basic ingredients that you can easily find at your local grocery store. Here’s everything you’ll need:
- Fresh Strawberries: Choose medium to large strawberries with stems attached for easier dipping.
- Semi-Sweet Chocolate Chips: These work great for the base coating. You can also use dark chocolate for a richer flavor.
- White Chocolate Chips: Perfect for creating spooky designs like ghosts and skeletons.
- Food Coloring: Optional, but orange or green gel food coloring can add extra Halloween flair.
- Coconut Oil: Helps the chocolate melt smoothly and adds a nice shine to the coating.
- Sprinkles or Candy Eyes: Fun decorations to make your strawberries extra spooky.
If you’re looking to make these vegan, you can swap the regular chocolate chips for dairy-free ones and use plant-based food coloring. And if strawberries aren’t in season, try using bananas or pretzels instead!
Equipment Needed
You don’t need anything fancy to make these spooky strawberries. Here’s what you’ll need:
- Microwave-Safe Bowls: For melting the chocolate.
- Baking Sheet: To place the dipped strawberries while they set.
- Parchment Paper: Keeps the strawberries from sticking to the baking sheet.
- Toothpicks or Skewers: Useful for dipping and decorating.
- Small Piping Bags or Ziplock Bags: For piping designs with melted white chocolate.
If you don’t have piping bags, you can easily use a ziplock bag with one corner snipped off. And for the baking sheet, a large plate lined with parchment paper works too!
Preparation Method
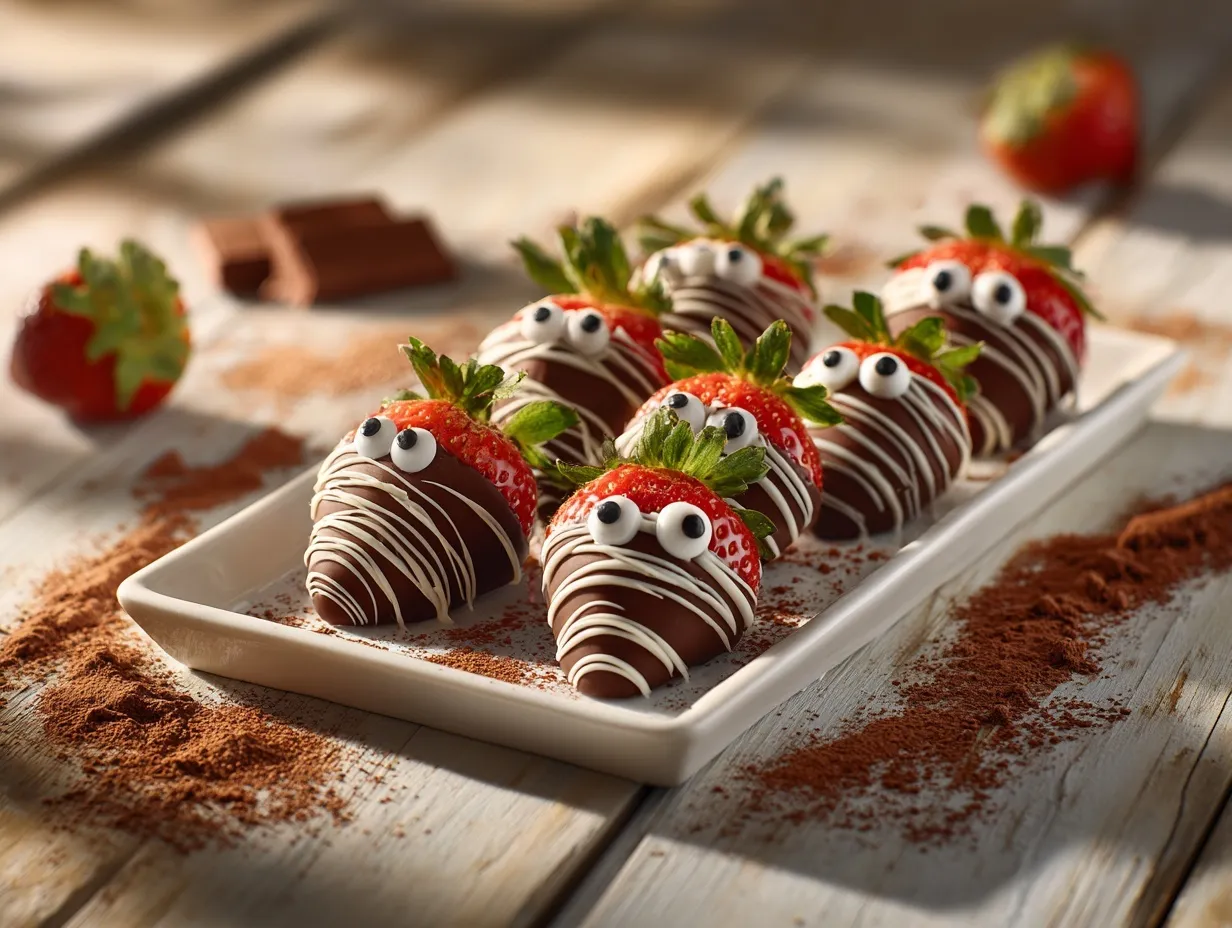
Follow these simple steps to create your Spooky Halloween Strawberries:
- Prepare the Strawberries: Wash and dry your strawberries thoroughly. Any water left on the strawberries can make the chocolate seize up.
- Melt the Chocolate: In separate microwave-safe bowls, melt the semi-sweet chocolate and white chocolate with a teaspoon of coconut oil each. Heat in 20-second intervals, stirring after each, until smooth.
- Dip the Strawberries: Hold each strawberry by the stem and dip into the melted semi-sweet chocolate. Place them on a parchment-lined baking sheet to set.
- Create the Designs: Once the base chocolate has hardened, transfer the melted white chocolate into a piping bag or ziplock bag. Pipe designs like ghosts (simple white swirls with candy eyes) or skeleton faces onto the strawberries.
- Add Color: If using food coloring, mix it into white chocolate and create pumpkins or colorful monster designs.
- Let Them Set: Allow the decorated strawberries to cool and harden completely before serving. You can speed this up by placing them in the fridge for 15-20 minutes.
And there you have it—spooky little strawberries ready to impress your guests!
Cooking Tips & Techniques
- Keep Strawberries Dry: Water can cause the chocolate to clump or seize, so make sure your strawberries are completely dry before dipping.
- Use Coconut Oil: Adding a bit of coconut oil to the chocolate makes it smoother and easier to work with.
- Practice Piping Designs: If you’re new to piping, try practicing on parchment paper before decorating the strawberries.
- Chill for Faster Setting: Pop your dipped strawberries in the fridge to set the chocolate quickly.
- Work in Batches: If you’re making a large batch, melt the chocolate in smaller portions to keep it fresh and smooth.
Remember, the designs don’t have to be perfect! The charm of these treats is in their homemade, whimsical look.
Variations & Adaptations
- Vegan Version: Use dairy-free chocolate and plant-based food coloring for a vegan-friendly option.
- Other Fruits: Swap strawberries for bananas, apple slices, or orange segments for variety.
- Seasonal Colors: Customize the designs to suit different holidays—red and green for Christmas, pastel shades for Easter, etc.
- Nutty Addition: Roll the dipped strawberries in crushed nuts before decorating for added crunch.
One of my personal favorites is creating “Frankenstein strawberries” using green food coloring and white chocolate for stitches and scars. It’s always a hit!
Serving & Storage Suggestions
Serve these spooky strawberries on a festive platter or alongside other Halloween treats like cupcakes or candy. They’re best enjoyed at room temperature within a few hours of making.
- Refrigerator Storage: Store leftovers in an airtight container in the fridge for up to 3 days.
- Freezer Option: Freeze dipped strawberries for up to 1 month, but note that the texture may change slightly.
- Reheating: For frozen strawberries, let them thaw in the fridge before serving.
The chocolate coating may develop a slight chill in the fridge, but the flavor remains delicious. Just let them sit at room temperature for 15 minutes before serving.
Nutritional Information & Benefits
Here’s a rough estimate of the nutritional values for one Spooky Halloween Strawberry:
- Calories: 80-100 (depending on chocolate type)
- Fat: 4-6g
- Sugar: 7-10g
- Vitamin C: Strawberries are packed with Vitamin C, supporting immune health.
These strawberries are a fun way to incorporate some fresh fruit into your Halloween celebrations while still indulging in a sweet treat!
Conclusion
Spooky Halloween Strawberries are the perfect blend of creativity and deliciousness, making them an ideal treat for Halloween parties or family fun nights. They’re quick, easy, and endlessly customizable, so you can let your imagination run wild. Plus, they’re a healthier alternative to many Halloween candies, and honestly, who can resist chocolate-covered strawberries?
I love making these because they bring people together—whether it’s decorating with my kids or watching guests admire (and devour) them at a party. If you try this recipe, I’d love to hear how it turned out! Comment below with your spooky designs or share your creations on social media. Let’s make this Halloween extra sweet and memorable!
FAQs
Can I use frozen strawberries for this recipe?
Fresh strawberries work best because frozen ones tend to release moisture as they thaw, which can make the chocolate coating slip off.
How do I prevent the chocolate from cracking?
Make sure your strawberries are at room temperature before dipping. Sudden temperature changes can cause the chocolate to crack.
What’s the best way to melt chocolate?
The microwave method is quick and easy. Heat in short intervals and stir in between. Alternatively, use a double boiler for more control.
Can I make these ahead of time?
Yes, you can make them a day ahead and store them in the fridge. Just make sure they’re in an airtight container to prevent condensation.
What other decorations can I use?
Try crushed nuts, shredded coconut, or colored sugar sprinkles for added texture and visual appeal!
Pin This Recipe!

Spooky Halloween Strawberries Recipe Easy Chocolate Treats for Parties

Sweet, juicy strawberries coated in rich chocolate with playful spooky designs, perfect for Halloween parties or family fun nights.
- Prep Time: 10 minutes
- Cook Time: 20 minutes
- Total Time: 30 minutes
- Yield: 12 strawberries 1x
- Category: Dessert
- Cuisine: American
Ingredients
- Fresh strawberries (medium to large, with stems attached)
- 1 cup semi-sweet chocolate chips
- 1 cup white chocolate chips
- Food coloring (optional, orange or green gel)
- 2 teaspoons coconut oil
- Sprinkles or candy eyes (optional)
Instructions
- Wash and dry your strawberries thoroughly to ensure no water remains.
- In separate microwave-safe bowls, melt the semi-sweet chocolate and white chocolate with a teaspoon of coconut oil each. Heat in 20-second intervals, stirring after each, until smooth.
- Hold each strawberry by the stem and dip into the melted semi-sweet chocolate. Place them on a parchment-lined baking sheet to set.
- Once the base chocolate has hardened, transfer the melted white chocolate into a piping bag or ziplock bag. Pipe designs like ghosts or skeleton faces onto the strawberries.
- If using food coloring, mix it into white chocolate and create pumpkins or colorful monster designs.
- Allow the decorated strawberries to cool and harden completely before serving. You can speed this up by placing them in the fridge for 15-20 minutes.
Notes
[‘Ensure strawberries are completely dry before dipping to prevent the chocolate from seizing.’, ‘Adding a bit of coconut oil to the chocolate makes it smoother and shinier.’, ‘Practice piping designs on parchment paper before decorating the strawberries.’, ‘Chill the dipped strawberries in the fridge to set the chocolate quickly.’, ‘If making a large batch, melt the chocolate in smaller portions to keep it fresh and smooth.’]
Nutrition
- Serving Size: 1 strawberry
- Calories: 90
- Sugar: 8
- Sodium: 5
- Fat: 5
- Saturated Fat: 3
- Carbohydrates: 10
- Fiber: 1
- Protein: 1
Keywords: Halloween, chocolate strawberries, spooky treats, Halloween dessert, party treats, kid-friendly dessert



