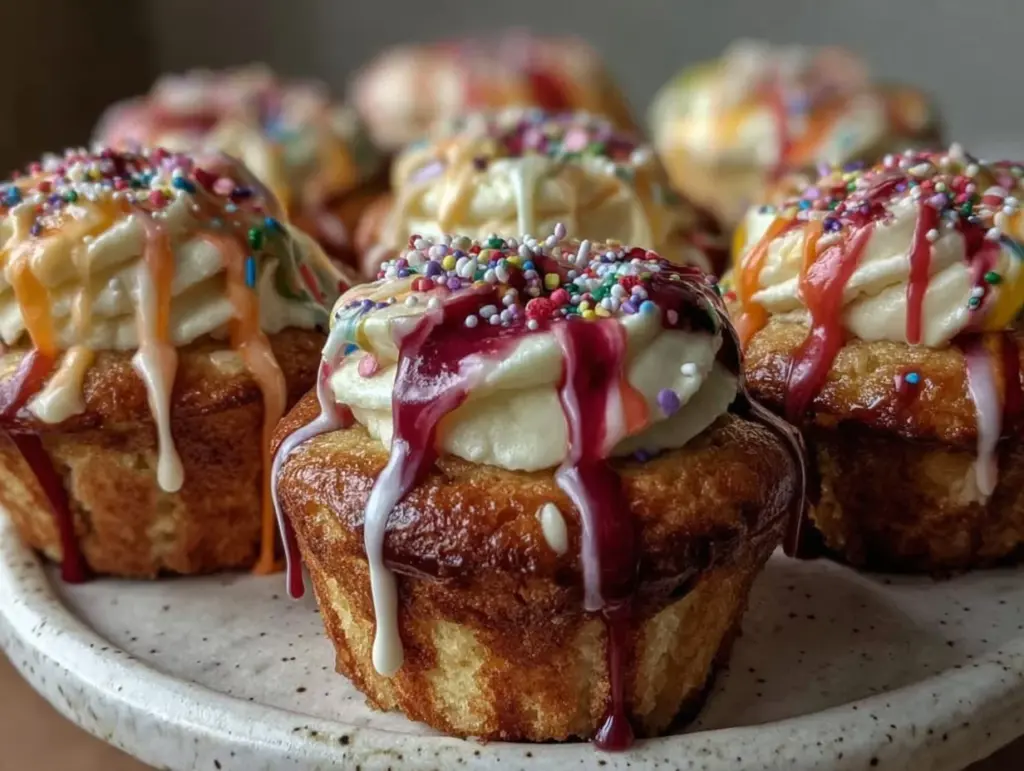
The sight of vibrant rainbow colors dripping off a perfectly baked cupcake — honestly, it’s like a little party on a plate! I first tried making these Stunning Dr. Seuss Rainbow Drip Cupcakes during a rainy afternoon when my kids desperately needed a burst of cheer. Let me tell you, the magic of those bright colors and gooey drips instantly lifted everyone’s mood.
These cupcakes aren’t just eye candy; they’re a fun way to celebrate any occasion with a nod to the whimsical world of Dr. Seuss. Over time, I’ve perfected this recipe, tweaking the frosting drip and rainbow layers to get that ideal balance of sweetness and texture. Whether you’re throwing a birthday bash, a quirky book club meeting, or just craving something playful to bake, this recipe fits the bill.
What I love most about the Stunning Dr. Seuss Rainbow Drip Cupcakes is how they bring out the kid in all of us. Plus, the recipe is surprisingly approachable — even if your baking skills are a little rusty! After making these dozens of times, I can say they’re a guaranteed showstopper and a total joy to create.
Why You’ll Love This Recipe
- Bright and Fun: These cupcakes literally bring the rainbow to your kitchen, making them perfect for celebrations or just because.
- Easy Step-by-Step: The recipe breaks down each part — batter, rainbow layers, and drip — so even beginners can feel confident.
- Family-Friendly: Kids love helping with the colorful layers and watching those drips cascade over the frosting.
- Customizable: Swap flavors or colors to suit your mood or theme without losing that Dr. Seuss charm.
- Deliciously Moist: The cupcakes stay tender and moist, balancing the sweet frosting and the rich drip perfectly.
What sets this apart from other rainbow cupcakes I’ve tried is the drip technique — it’s just the right amount of gooey fun without overwhelming the cake. I usually blend the drip with white chocolate and a touch of cream, which makes it smooth and shiny, just like the whimsical illustrations in Dr. Seuss books. Honestly, the first time I saw those drips set, I felt like I’d created a little edible art!
This recipe is truly a celebration of color, texture, and joy all in one bite. It’s that kind of treat that makes you close your eyes and smile after the first taste.
What Ingredients You Will Need
This recipe uses simple, bright ingredients to create that unforgettable rainbow and drip effect without any fuss. Most items are pantry staples or easily found at your local grocery.
- For the Cupcake Batter:
- All-purpose flour – 2 ½ cups (312g), sifted for lightness
- Baking powder – 2 ½ tsp (12g)
- Salt – ½ tsp (3g)
- Unsalted butter – ¾ cup (170g), softened (I prefer Kerrygold for creaminess)
- Granulated sugar – 1 ¾ cups (350g)
- Large eggs – 4, at room temperature
- Whole milk – 1 cup (240ml), room temp
- Pure vanilla extract – 2 tsp (10ml)
- Food coloring gels – red, orange, yellow, green, blue, purple (gels give the best vibrant colors without watering down batter)
- For the Buttercream Frosting:
- Unsalted butter – 1 cup (227g), softened
- Powdered sugar – 4 cups (480g), sifted for smoothness
- Heavy cream – 2-3 tbsp (30-45ml), to adjust consistency
- Pure vanilla extract – 1 ½ tsp (7ml)
- Pinch of salt
- For the Rainbow Drip:
- White chocolate chips – 1 cup (175g)
- Heavy cream – ¼ cup (60ml)
- Food coloring gels – same colors as for batter
Note: For a dairy-free twist, swap butter for vegan margarine and use coconut cream instead of heavy cream. Also, if you want to make these gluten-free, almond or oat flour blends work well, though the texture will be a bit different.
Equipment Needed
- Standard muffin tin with 12 cups – essential for shaping cupcakes evenly
- Paper cupcake liners – makes cleanup easier and helps cupcakes release
- Electric hand mixer or stand mixer – saves effort whipping batter and frosting to the right texture
- Mixing bowls – at least two, for batter and frosting
- Spatula and whisk – for folding and mixing
- Piping bag with round or star tip – for neat frosting application; if you don’t have one, a zip-top bag with a corner snipped works fine
- Small saucepan – to gently heat cream for the drip
- Spoons or small brushes – helpful for applying drip colors
- Cooling rack – lets cupcakes cool evenly, preventing soggy bottoms
Personally, I find a stand mixer worth its weight here — it speeds up the process and leaves my hands free. But if you’re on a budget, a good hand mixer and a bit of elbow grease will do just fine!
Detailed Preparation Method
- Preheat and Prep (10 minutes): Preheat your oven to 350°F (175°C). Line your muffin tin with paper liners. This step is key to prevent sticking and makes cleanup a breeze.
- Mix Dry Ingredients (5 minutes): In a medium bowl, sift together the flour, baking powder, and salt. Set aside. This ensures even distribution and a tender crumb.
- Cream Butter and Sugar (7 minutes): Using a mixer, beat the softened butter and granulated sugar until light and fluffy—about 3-4 minutes. You’ll notice the color lighten and the texture become airy, which is a good sign!
- Add Eggs and Vanilla (3 minutes): Beat in the eggs one at a time, mixing well after each addition. Stir in the vanilla extract. This creates a smooth, homogenous batter base.
- Alternate Dry and Wet (5 minutes): Add the dry flour mixture in three parts, alternating with the milk, starting and ending with the flour. Mix gently each time to avoid overworking the batter, which can make cupcakes dense.
- Divide and Color Batter (10 minutes): Evenly divide the batter into six small bowls. Add a different gel food coloring to each bowl and stir until vibrant colors emerge. Remember, gel colors are powerful—start small and add more if needed.
- Layer the Rainbow (15 minutes): Spoon each color layer into the cupcake liners, one on top of the other, creating a stacked rainbow effect. I usually add about 2 tablespoons per color per cupcake. Tap the pan gently on the counter to settle the layers and avoid air bubbles.
- Bake (18-22 minutes): Place cupcakes in oven and bake until a toothpick inserted in the center comes out clean. The tops should be lightly golden and spring back when touched.
- Cool Completely (30-40 minutes): Transfer cupcakes to a cooling rack and let them cool fully before frosting. Patience here makes frosting easier and prettier.
- Prepare Buttercream (10 minutes): Beat softened butter on medium speed until creamy. Gradually add powdered sugar, alternating with heavy cream to reach desired consistency. Stir in vanilla and salt. The frosting should be smooth and spreadable, not runny.
- Frost the Cupcakes (15 minutes): Using a piping bag, swirl the buttercream generously on each cupcake. I like a tall swirl for drama, but keep it steady!
- Make the Rainbow Drip (10 minutes): In a small saucepan, heat the heavy cream until it just begins to simmer. Pour over white chocolate chips and stir until melted and glossy. Divide into six bowls and tint each with food coloring. Let cool slightly so it thickens but is still pourable.
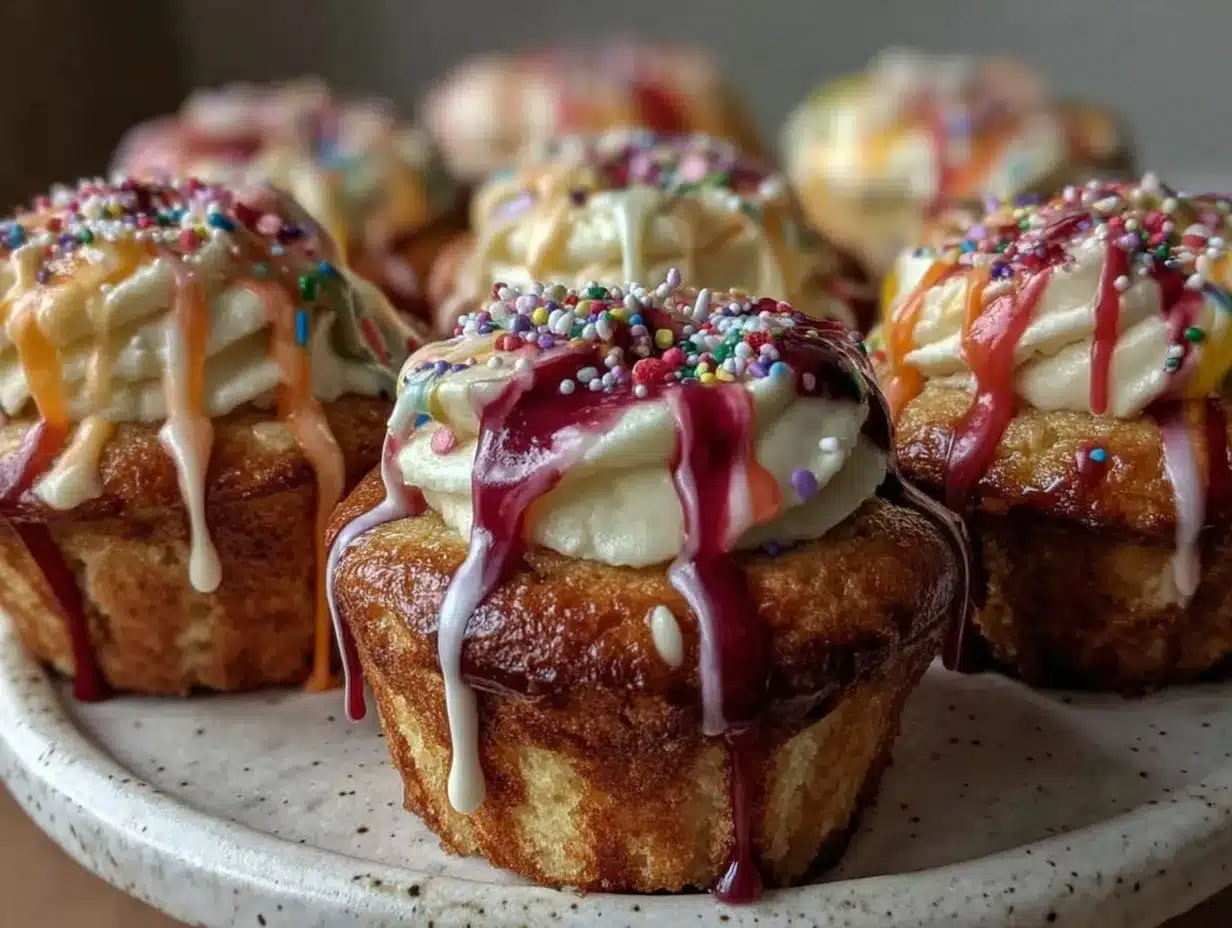
- Apply the Drip (10-15 minutes): Using a spoon, gently drip each color over the frosted cupcakes in rainbow order. The drips should cascade down the sides but not flood the frosting. Work quickly before the drip sets.
- Final Chill (20 minutes): Place cupcakes in the fridge to let the drip firm up. This holds the colors in place and makes them look stunning.
Pro tip: If your drip is too runny, pop it in the fridge for a few minutes to thicken. If it’s too thick, stir in a tiny splash of cream. Also, don’t skip cooling the cupcakes fully before frosting — warm cakes melt buttercream, and that’s a mess nobody wants!
Cooking Tips & Techniques
Getting the perfect drip and rainbow layers takes a bit of practice, but here are some tricks I swear by:
- Use gel food colors: Liquid colors water down your batter and drip, making colors less vibrant and frosting runnier.
- Room temperature ingredients: Butter, eggs, and milk all at room temp mix more smoothly, giving a better crumb and frosting texture.
- Don’t overmix: Once you add the flour, mix just until combined. Overmixing toughens cupcakes.
- Test your oven temperature: Ovens can be tricky. Use an oven thermometer to avoid under- or overbaking.
- Chill the drip: For perfect drips, the white chocolate mixture should be cool enough to thicken but still pourable.
- Practice drip control: Use a spoon or a squeeze bottle to control how much drip falls. Less is more!
One time, I got a little too enthusiastic with the drip and ended up with a colorful flood that made my cupcakes look like a rainbow waterfall (fun, but messy!). Now I take it slow and steady. Also, applying frosting in cool, steady strokes helps keep the swirl tidy for that professional look.
Variations & Adaptations
- Flavor Twists: Try adding lemon zest to the batter for a citrus pop or a splash of almond extract for extra warmth.
- Dietary Swaps: For gluten-free, swap the all-purpose flour for a 1-to-1 gluten-free baking flour blend. Use dairy-free butter and coconut cream for vegan versions.
- Seasonal Colors: Instead of rainbow, pick colors that match the season — pastel hues for spring, rich jewel tones for fall.
- Alternate Drip: Use colored candy melts or natural fruit purees mixed with white chocolate for different drip textures and flavors.
- Decorative Touches: Add edible glitter, sprinkles, or tiny fondant shapes for extra whimsy.
Personally, I once swapped the rainbow layers for a funfetti batter inside, then kept the rainbow drip outside — talk about a party surprise inside and out! It was a hit at my niece’s birthday.
Serving & Storage Suggestions
Serve these cupcakes at room temperature to enjoy the soft crumb and creamy frosting at their best. They pair wonderfully with a cold glass of milk or a cup of bright herbal tea.
If you’re planning ahead, store cupcakes in an airtight container in the fridge for up to 3 days. Bring them back to room temp before serving for best texture and flavor. For longer storage, freeze unfrosted cupcakes wrapped tightly for up to 2 months. Thaw fully before frosting and dripping.
Reheat cupcakes gently by letting them sit at room temperature or a few seconds in the microwave to refresh softness. The drip holds up well in the fridge but softens a bit on the counter, making each bite delightfully gooey.
Over time, flavors meld beautifully — the vanilla deepens, and the frosting gets creamier. Honestly, sometimes I find leftovers taste even better the next day!
Nutritional Information & Benefits
Each Stunning Dr. Seuss Rainbow Drip Cupcake contains approximately 350-400 calories, depending on portion size and ingredient brands. They’re a sweet treat, rich in sugar and fats, so best enjoyed in moderation.
Key ingredients like eggs and butter provide essential proteins and fats, and the colorful layers often encourage kids to enjoy a homemade treat rather than processed snacks. For those with dietary needs, easy substitutions make these cupcakes approachable for gluten-free or vegan diets.
From a wellness perspective, I see these cupcakes as a joyful reward, perfect for moments when you want to celebrate creativity and fun — because food is about happiness, not just nutrition!
Conclusion
The Stunning Dr. Seuss Rainbow Drip Cupcakes recipe is a delightful blend of whimsy, color, and flavor that’s sure to brighten any day. Whether you’re baking with kids or impressing friends, these cupcakes bring smiles and a little magic to the table.
Feel free to play with colors, flavors, and decorations to make this recipe your own. I love how each batch I make tells a different story, and I hope you’ll share your versions with me too!
Give this recipe a try, and don’t forget to leave a comment telling me how your cupcakes turned out or any fun twists you added. Sharing these moments makes baking even sweeter!
Happy baking, and remember — a little rainbow never hurt anybody!
FAQs
How long do the rainbow drip cupcakes stay fresh?
Stored in an airtight container in the fridge, they stay fresh for up to 3 days. Bring them back to room temperature before serving for best taste.
Can I use liquid food coloring instead of gel?
You can, but gel colors give more vibrant hues without thinning the batter or drip. Liquid colors may make the batter runny and less colorful.
Is it possible to make these cupcakes vegan?
Yes! Use dairy-free butter, plant-based milk, and a flaxseed egg substitute. Coconut cream works well for the drip instead of heavy cream.
How do I prevent the drip from running too much?
Cool the drip mixture until slightly thickened but still pourable. Apply small amounts slowly, letting gravity do the work without flooding the frosting.
Can I prepare the cupcakes ahead of time?
Absolutely! Bake and cool the cupcakes a day ahead, then frost and drip on the day of serving for the freshest look and taste.
Pin This Recipe!
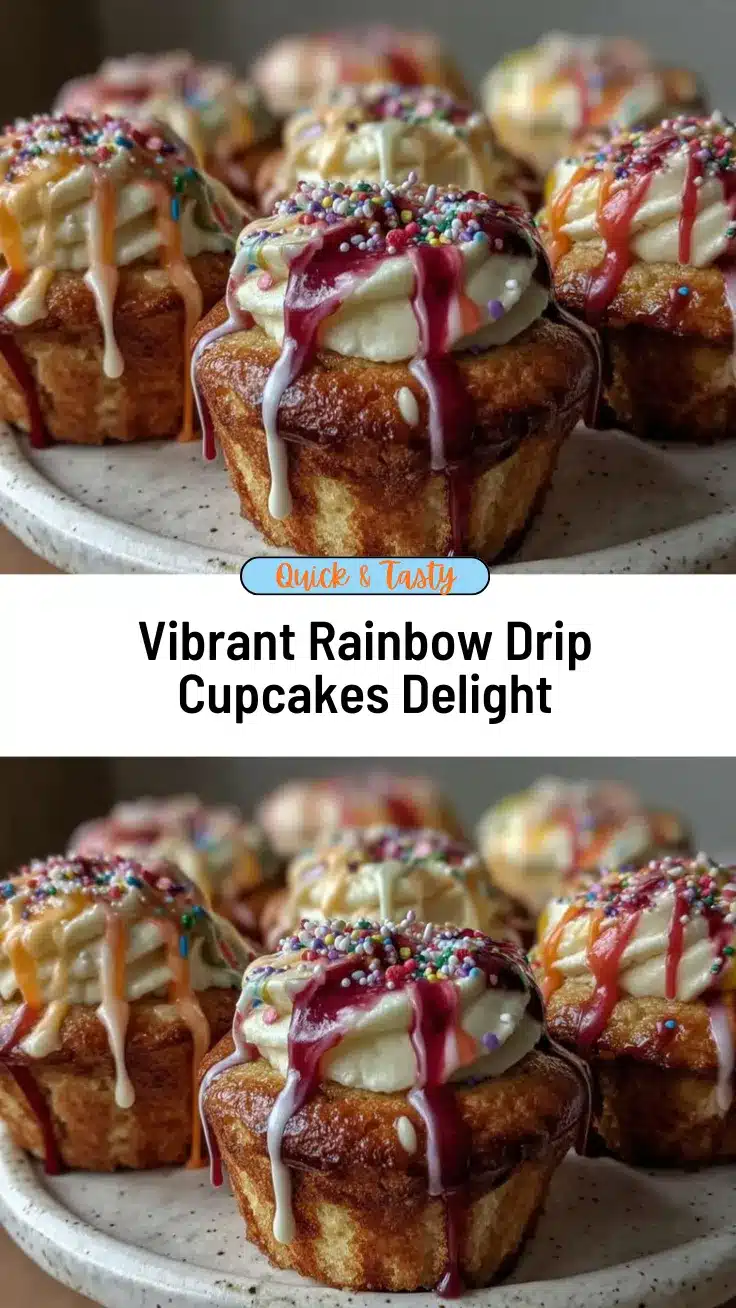
Stunning Dr Seuss Rainbow Drip Cupcakes

Vibrant rainbow cupcakes with a smooth white chocolate drip, perfect for celebrations and fun baking with kids. Moist, colorful, and topped with creamy buttercream frosting.
- Prep Time: 1 hour 15 minutes
- Cook Time: 18-22 minutes
- Total Time: 1 hour 35-40 minutes
- Yield: 12 servings 1x
- Category: Dessert
- Cuisine: American
Ingredients
- 2 ½ cups (312g) all-purpose flour, sifted
- 2 ½ tsp (12g) baking powder
- ½ tsp (3g) salt
- ¾ cup (170g) unsalted butter, softened
- 1 ¾ cups (350g) granulated sugar
- 4 large eggs, room temperature
- 1 cup (240ml) whole milk, room temperature
- 2 tsp (10ml) pure vanilla extract
- Food coloring gels: red, orange, yellow, green, blue, purple
- 1 cup (227g) unsalted butter, softened (for frosting)
- 4 cups (480g) powdered sugar, sifted
- 2–3 tbsp (30-45ml) heavy cream (for frosting)
- 1 ½ tsp (7ml) pure vanilla extract (for frosting)
- Pinch of salt (for frosting)
- 1 cup (175g) white chocolate chips (for drip)
- ¼ cup (60ml) heavy cream (for drip)
- Food coloring gels: red, orange, yellow, green, blue, purple (for drip)
Instructions
- Preheat oven to 350°F (175°C). Line a 12-cup muffin tin with paper liners.
- In a medium bowl, sift together flour, baking powder, and salt. Set aside.
- Using a mixer, beat softened butter and granulated sugar until light and fluffy, about 3-4 minutes.
- Beat in eggs one at a time, mixing well after each addition. Stir in vanilla extract.
- Add dry flour mixture in three parts, alternating with milk, starting and ending with flour. Mix gently each time.
- Divide batter evenly into six small bowls. Add a different gel food coloring to each and stir until vibrant.
- Spoon each colored batter layer into cupcake liners, about 2 tablespoons per color per cupcake, layering to create a rainbow effect. Tap pan gently to settle layers.
- Bake for 18-22 minutes until a toothpick inserted comes out clean and tops are lightly golden.
- Transfer cupcakes to a cooling rack and cool completely, about 30-40 minutes.
- Beat softened butter on medium speed until creamy. Gradually add powdered sugar, alternating with heavy cream to desired consistency. Stir in vanilla and salt until smooth and spreadable.
- Pipe buttercream frosting generously on each cooled cupcake.
- Heat heavy cream in a small saucepan until just simmering. Pour over white chocolate chips and stir until melted and glossy.
- Divide white chocolate mixture into six bowls and tint each with a different food coloring gel. Let cool slightly to thicken but remain pourable.
- Using a spoon, gently drip each colored drip over frosted cupcakes in rainbow order, allowing drips to cascade but not flood frosting.
- Chill cupcakes in the fridge for 20 minutes to set the drip.
Notes
Use gel food coloring for vibrant colors without thinning batter or drip. Ensure all ingredients are at room temperature for best texture. Cool cupcakes completely before frosting to prevent melting. Adjust drip thickness by chilling or adding cream. Practice drip control to avoid flooding frosting.
Nutrition
- Serving Size: 1 cupcake
- Calories: 375
- Sugar: 35
- Sodium: 150
- Fat: 20
- Saturated Fat: 12
- Carbohydrates: 48
- Fiber: 1
- Protein: 4
Keywords: rainbow cupcakes, Dr Seuss cupcakes, colorful cupcakes, buttercream frosting, white chocolate drip, party cupcakes, kid-friendly baking



