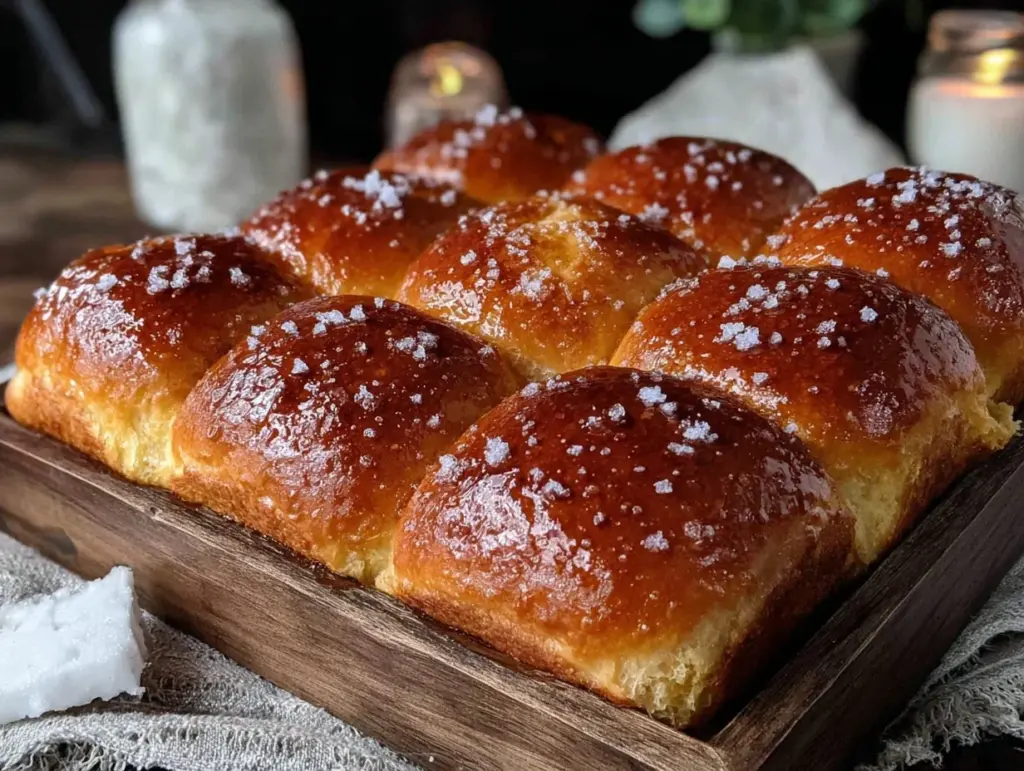
Let me tell you, the scent of sweet pineapple mingling with warm, buttery dough wafting from my oven is enough to make anyone’s mouth water. The first time I baked these Tender Hawaiian Sweet Rolls, I was instantly hooked—the kind of moment where you pause, take a deep breath, and just smile because you know you’re onto something truly special. Years ago, when I was knee-high to a grasshopper, my grandma used to make these rolls for every holiday gathering, and her kitchen always smelled like a tropical paradise.
This recipe feels like a warm hug, bringing back those cozy family memories with each bite. Honestly, my family couldn’t stop sneaking them off the cooling rack (and I can’t really blame them). These rolls became a staple for family dinners, potlucks, and even midnight snacks. Let’s face it, nothing beats soft, fluffy Hawaiian sweet rolls that are dangerously easy to make and provide pure, nostalgic comfort. Whether you’re new to baking or a seasoned pro, you’re going to want to bookmark this one for every occasion that calls for a little sweetness and softness.
Perfect for brightening up your Pinterest cookie board or as a sweet treat for your kids, these Tender Hawaiian Sweet Rolls will quickly become your go-to recipe. I’ve tested this recipe multiple times (in the name of research, of course), and it never fails to impress. So, grab your apron, and let’s get ready for some seriously soft, fluffy, and sweet Hawaiian magic.
Why You’ll Love This Recipe
If you’re wondering why this Tender Hawaiian Sweet Rolls recipe stands out, here’s the scoop based on my kitchen trials and family feedback:
- Quick & Easy: Comes together in under 2 hours, perfect for busy weeknights or last-minute gatherings.
- Simple Ingredients: No fancy grocery trips needed; you likely have everything already in your pantry.
- Perfect for Every Occasion: Whether it’s brunch, potlucks, or cozy dinners, these rolls fit right in.
- Crowd-Pleaser: Kids and adults alike rave about the soft texture and subtle sweetness.
- Unbelievably Delicious: The balance of fluffy texture and tropical flavor gives you next-level comfort food.
What makes this recipe different? It’s all about that perfectly balanced sweetness and the soft, pillowy texture that melts in your mouth. The secret lies in blending pineapple juice into the dough, giving it a subtle tropical twist without overpowering the classic bread flavor. Plus, using a bit of tangy buttermilk adds to the tenderness you won’t find in run-of-the-mill rolls. Honestly, this isn’t just another Hawaiian sweet roll recipe — it’s your best version.
After the first bite, you’ll find yourself closing your eyes and savoring the moment. It’s comfort food reimagined—still nostalgic, but with a freshness that makes you want to make it again and again. Perfect for impressing guests without the fuss or turning a simple dinner into something memorable.
What Ingredients You Will Need
This recipe uses simple, wholesome ingredients that come together to deliver bold flavor and a satisfyingly soft texture without any fuss. Most of these are pantry staples, which means you don’t have to run out for specialty items.
- All-purpose flour – 4 cups (480g) (provides structure; I recommend King Arthur for best texture)
- Active dry yeast – 2 ¼ tsp (one packet) (for that perfect rise)
- Granulated sugar – ⅓ cup (67g) (adds gentle sweetness)
- Salt – 1 tsp (balances flavor)
- Unsalted butter – ⅓ cup (75g), softened (adds richness)
- Eggs – 2 large, room temperature (for tenderness and color)
- Buttermilk – ¾ cup (180ml), warmed (you can swap for dairy-free milk with 1 tsp vinegar if needed)
- Pineapple juice – ½ cup (120ml), preferably fresh or 100% juice (gives signature tropical flavor)
- Vanilla extract – 1 tsp (optional but recommended for depth)
Substitution tips: If you want gluten-free, try using a blend designed for bread baking, but note the texture will differ slightly. For dairy-free, swap butter with coconut oil or vegan butter and use plant-based buttermilk alternatives. Fresh pineapple juice is best, but canned works just fine if strained.
Equipment Needed
- Large mixing bowl – for combining ingredients
- Stand mixer with dough hook (optional but helpful) – makes kneading easier; you can knead by hand, just allow extra time
- Measuring cups and spoons – for precise measurements
- Baking sheet or 9×13-inch pan – for baking the rolls
- Kitchen towel or plastic wrap – to cover the dough while rising
- Pastry brush – for brushing melted butter on rolls post-baking
Personally, I used a stand mixer most times because it saves my arms, especially when making bigger batches. But honestly, these rolls are soft enough that hand kneading is totally doable if you don’t mind a little arm workout. A good-quality baking pan really helps with even browning, and I’ve had success with both metal and glass pans.
Preparation Method
- Activate the yeast: In a small bowl, combine warm buttermilk (about 110°F/43°C) with pineapple juice and sugar. Stir gently, then sprinkle the active dry yeast over the top. Let it sit for 5-10 minutes until foamy and bubbly. If it doesn’t foam, your yeast might be expired or water too hot/cold.
- Mix dry ingredients: While the yeast activates, whisk together the all-purpose flour and salt in a large mixing bowl.
- Combine wet ingredients: In a separate bowl, lightly beat the eggs with softened butter and vanilla extract.
- Form the dough: Once the yeast mixture is bubbly, add it along with the egg and butter mixture to the dry ingredients. Stir with a wooden spoon or dough hook until the dough starts to come together.
- Knead the dough: Transfer the dough to a floured surface and knead for about 8-10 minutes, or use a stand mixer with a dough hook on medium speed for 5-6 minutes. The dough should be soft, smooth, and slightly tacky but not sticky. Add a teaspoon of flour at a time if too sticky. The dough should bounce back gently when poked.
- First rise: Shape the dough into a ball and place it in a lightly greased bowl. Cover with a kitchen towel or plastic wrap. Let it rise in a warm place for 1 to 1.5 hours, or until doubled in size. A draft-free spot near a warm stove or inside the oven with the light on works well.
- Shape the rolls: Punch down the risen dough gently to release air. Divide into 12 equal pieces (about 70g each). Roll each piece into a smooth ball and place them side by side in a greased 9×13-inch pan. Leave just a little space between rolls to allow for expansion.
- Second rise: Cover the pan with a towel or lightly greased plastic wrap. Let the rolls rise again for 30-45 minutes until puffy and nearly doubled.
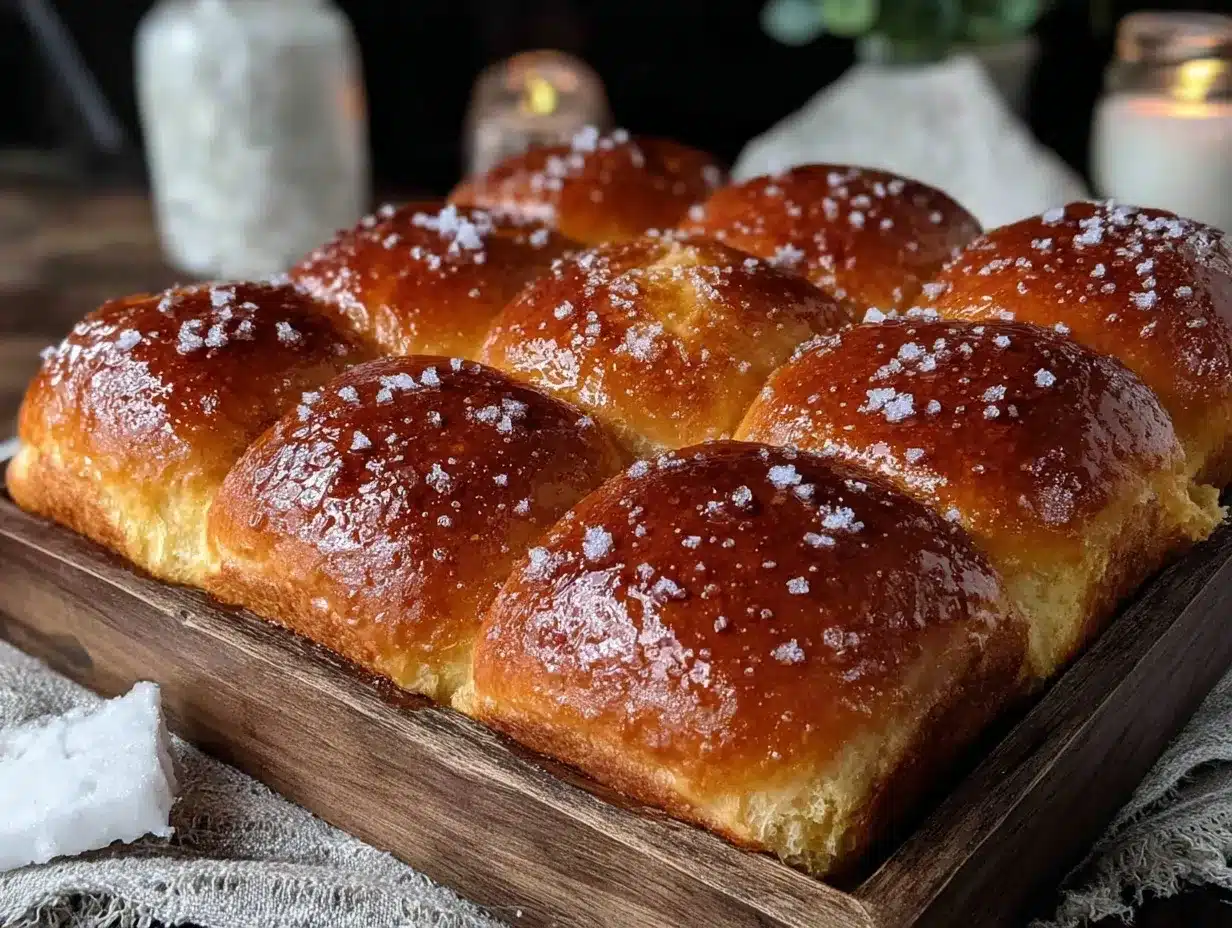
- Bake: Preheat your oven to 350°F (175°C). Bake the rolls for 20-25 minutes until golden brown on top and cooked through. The internal temperature should reach about 190°F (88°C) if you want to be exact.
- Butter finish: As soon as the rolls come out of the oven, brush them generously with melted butter. This adds extra shine and that signature tender crust.
- Cool and enjoy: Let the rolls cool slightly on a wire rack before serving warm. The aroma and softness will make it hard to wait!
Pro tip: If your kitchen is cold, preheat your oven to 200°F (93°C) for 2-3 minutes, then turn it off and place the covered dough inside to rise. This gentle warmth helps yeast work its magic.
Cooking Tips & Techniques
Getting those Tender Hawaiian Sweet Rolls just right takes a few handy tricks, so here’s what I’ve picked up over the years:
- Don’t rush the rises: Yeast dough needs time to develop flavor and texture. Under-proofed dough results in dense rolls, while over-proofed dough can collapse. Aim for dough that doubles in size, no more, no less.
- Temperature matters: Use warm (not hot!) liquids to activate yeast—about 110°F (43°C). Too hot and you’ll kill the yeast; too cold and it won’t wake up.
- Kneading is key: Knead until the dough is elastic and smooth. You can test by stretching a small piece; it should stretch thin without tearing (the “windowpane test”).
- Butter finish: Brushing warm butter right out of the oven makes the crust tender and shiny. Don’t skip this step!
- Use fresh yeast: If your yeast is old, the dough won’t rise properly, so keep it fresh and store it in the fridge.
One time, I rushed the second rise and ended up with rolls that were a little flat and tough. Lesson learned: patience really does pay off in soft, fluffy texture. Also, multitasking by prepping other meal components while dough rises is a great way to save time without stress.
Variations & Adaptations
Switch things up with these tasty variations for your Tender Hawaiian Sweet Rolls:
- Gluten-free version: Use a high-quality gluten-free bread flour blend and add 1 tsp xanthan gum for structure. Baking times may vary slightly.
- Tropical twist: Fold in ½ cup finely chopped dried pineapple or macadamia nuts to the dough for extra texture and flavor.
- Vegan adaptation: Swap eggs for flax eggs (2 tbsp ground flaxseed + 6 tbsp water), use coconut or vegan butter, and plant-based buttermilk alternative.
For a different cooking method, try baking these rolls in a cast-iron skillet for a crispier bottom crust. Or bake them smaller as slider buns for mini sandwiches. Personally, I once added a splash of coconut milk and a sprinkle of toasted coconut flakes on top—delicious!
Serving & Storage Suggestions
These Hawaiian sweet rolls are best served warm, right after baking, slathered with butter or your favorite jam. They pair beautifully with savory dishes like pulled pork or spicy chili, balancing heat with sweetness. For a fun twist, slice them and make mini sandwiches.
Store leftover rolls in an airtight container at room temperature for up to 3 days. To keep them fresh longer, freeze the cooled rolls in a freezer-safe bag for up to 3 months. When ready to enjoy, thaw at room temperature and warm them in the oven at 300°F (150°C) for 10 minutes to refresh that soft texture.
Flavors actually deepen overnight, so if you can resist, letting them rest wrapped tightly can make the sweetness and softness even better the next day.
Nutritional Information & Benefits
| Serving Size | 1 roll (approx. 70g) |
|---|---|
| Calories | 150 kcal |
| Carbohydrates | 25g |
| Protein | 4g |
| Fat | 4g |
| Sugar | 5g |
The pineapple juice adds a dose of vitamin C and natural sweetness without refined sugars. Buttermilk contributes calcium and probiotics, supporting digestion. These rolls are not gluten-free by default, but easily adapted. They do contain eggs and dairy, so watch for allergies.
From a wellness perspective, this recipe balances indulgence with wholesome ingredients, perfect for a treat that doesn’t feel too heavy or overly processed.
Conclusion
These Tender Hawaiian Sweet Rolls are well worth your time—they bring together a soft, fluffy texture with a sweet, tropical flavor that’s truly comforting. You can easily customize them to fit your dietary needs or flavor preferences, so don’t be shy about making them your own. Personally, I love how they remind me of family holidays and lazy afternoons in grandma’s kitchen.
Give this recipe a try, share your tweaks, and let me know how your rolls turn out! Trust me, once you make these, they’ll be a favorite for years to come. Happy baking and enjoy every sweet, tender bite!
Frequently Asked Questions
Can I make these Hawaiian sweet rolls ahead of time?
Yes! You can shape the rolls, cover them tightly, and refrigerate overnight after the second rise. Just bring them to room temperature before baking.
What if I don’t have pineapple juice?
You can substitute pineapple juice with an equal amount of orange juice or apple juice, though the flavor will be slightly different but still delicious.
How do I keep the rolls soft longer?
Store them in an airtight container at room temperature and brush with melted butter after reheating to keep that tender crust.
Can I freeze the dough before baking?
Absolutely! Freeze shaped rolls on a baking sheet, then transfer to a freezer bag. When ready, thaw overnight in the fridge and bake as usual.
What’s the best flour to use for these rolls?
All-purpose flour works great, but for a bit more chewiness, you can try bread flour. Just keep the same quantity.
Pin This Recipe!
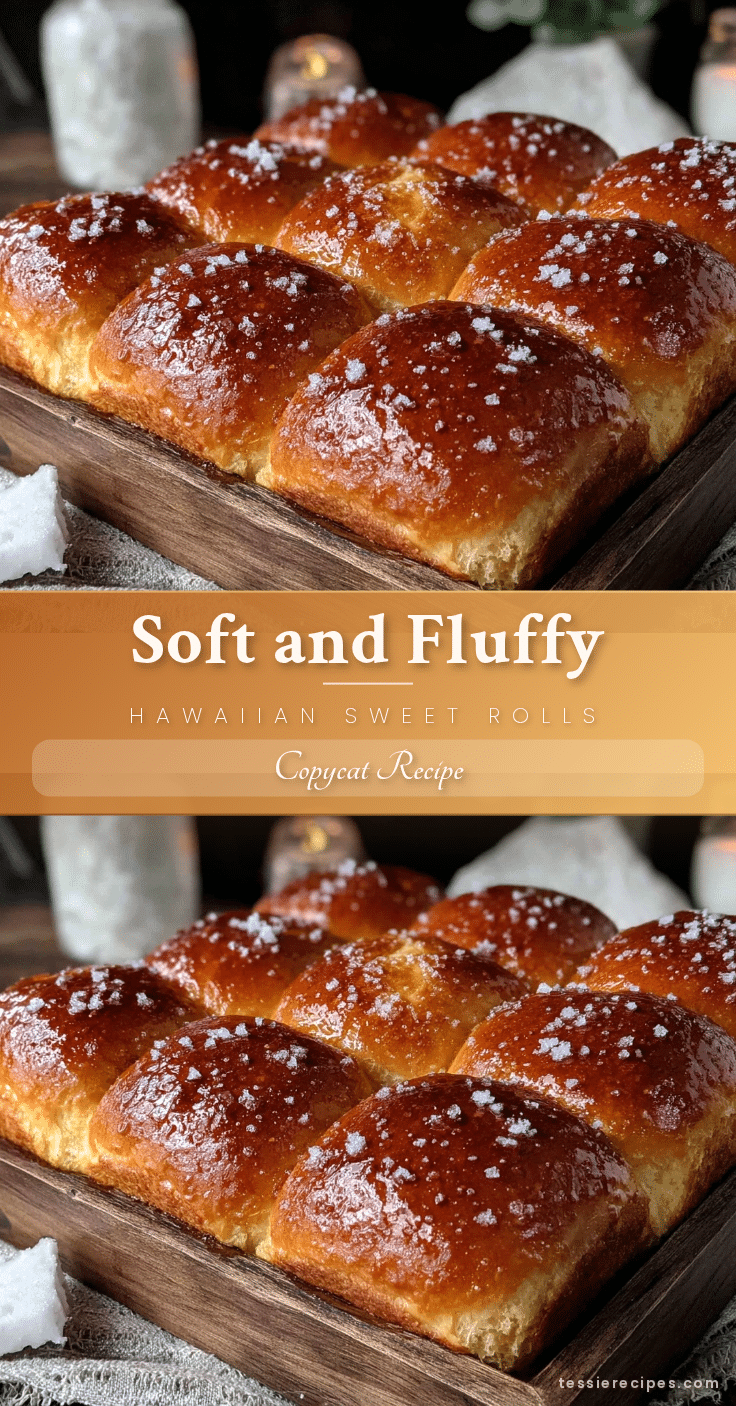
Tender Hawaiian Sweet Rolls

Soft, fluffy Hawaiian sweet rolls with a subtle tropical flavor from pineapple juice and a tender crumb thanks to buttermilk. Perfect for beginners and every occasion.
- Prep Time: 20 minutes
- Cook Time: 25 minutes
- Total Time: 1 hour 55 minutes
- Yield: 12 rolls 1x
- Category: Bread
- Cuisine: Hawaiian
Ingredients
- 4 cups all-purpose flour (480g)
- 2 ¼ tsp active dry yeast (one packet)
- ⅓ cup granulated sugar (67g)
- 1 tsp salt
- ⅓ cup unsalted butter (75g), softened
- 2 large eggs, room temperature
- ¾ cup buttermilk (180ml), warmed
- ½ cup pineapple juice (120ml), preferably fresh or 100% juice
- 1 tsp vanilla extract (optional)
Instructions
- Activate the yeast: In a small bowl, combine warm buttermilk (about 110°F/43°C) with pineapple juice and sugar. Stir gently, then sprinkle the active dry yeast over the top. Let it sit for 5-10 minutes until foamy and bubbly.
- Mix dry ingredients: Whisk together the all-purpose flour and salt in a large mixing bowl.
- Combine wet ingredients: In a separate bowl, lightly beat the eggs with softened butter and vanilla extract.
- Form the dough: Once the yeast mixture is bubbly, add it along with the egg and butter mixture to the dry ingredients. Stir with a wooden spoon or dough hook until the dough starts to come together.
- Knead the dough: Transfer the dough to a floured surface and knead for about 8-10 minutes, or use a stand mixer with a dough hook on medium speed for 5-6 minutes. The dough should be soft, smooth, and slightly tacky but not sticky. Add a teaspoon of flour at a time if too sticky.
- First rise: Shape the dough into a ball and place it in a lightly greased bowl. Cover with a kitchen towel or plastic wrap. Let it rise in a warm place for 1 to 1.5 hours, or until doubled in size.
- Shape the rolls: Punch down the risen dough gently to release air. Divide into 12 equal pieces (about 70g each). Roll each piece into a smooth ball and place them side by side in a greased 9×13-inch pan.
- Second rise: Cover the pan with a towel or lightly greased plastic wrap. Let the rolls rise again for 30-45 minutes until puffy and nearly doubled.
- Bake: Preheat oven to 350°F (175°C). Bake the rolls for 20-25 minutes until golden brown and cooked through.
- Butter finish: Brush the rolls generously with melted butter as soon as they come out of the oven.
- Cool and enjoy: Let the rolls cool slightly on a wire rack before serving warm.
Notes
Use warm liquids (about 110°F) to activate yeast. Don’t rush the rises for best texture. Brush with melted butter immediately after baking for a tender crust. Fresh pineapple juice is best but canned works if strained. For gluten-free, use a bread flour blend with xanthan gum. For dairy-free, substitute butter and buttermilk with vegan alternatives.
Nutrition
- Serving Size: 1 roll (approx. 70g)
- Calories: 150
- Sugar: 5
- Fat: 4
- Carbohydrates: 25
- Protein: 4
Keywords: Hawaiian sweet rolls, soft rolls, pineapple rolls, sweet bread, homemade rolls, easy bread recipe, fluffy rolls



