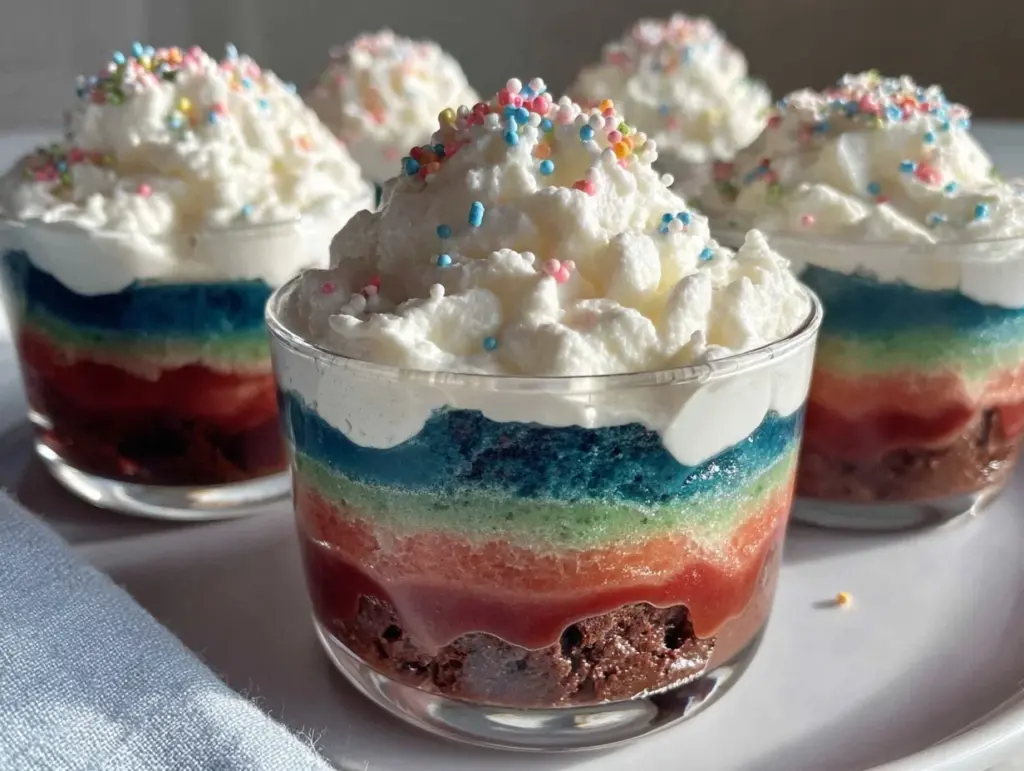
The first time I made these Vibrant Dr. Seuss Rainbow Pudding Cloud Cups, I was literally amazed at how something so simple could bring such joy to a kids party. You know, just looking at those layers of bright, cheerful colors swirling together felt like stepping straight into a Dr. Seuss book. Honestly, it’s not every day you find a dessert that’s both fun to make and an absolute hit with little ones (and adults too!). This recipe combines the light, fluffy texture of pudding clouds with a playful rainbow twist that’s perfect for any celebration.
I’ve whipped up these pudding cups more times than I can count, tweaking the colors and flavors to keep things exciting. As a mom and a longtime lover of quirky, colorful treats, these rainbow pudding cloud cups have become my go-to for birthdays and family gatherings. They’re easy to assemble, don’t require any baking, and can be customized to fit any taste or dietary need. Plus, they add that wow factor without any stress.
If you’re looking for a recipe that’s all about bright colors, soft textures, and a little nostalgic whimsy, you’ll love making and sharing this Dr. Seuss rainbow pudding cloud cups recipe. It’s a wonderful way to celebrate the magic of childhood — with a dessert that tastes as delightful as it looks.
Why You’ll Love This Recipe
- Quick & Easy: You can have these pudding cloud cups ready in under 30 minutes, making them perfect for last-minute parties or busy afternoons.
- Simple Ingredients: No need for fancy or hard-to-find items. Most ingredients are pantry staples or easy to grab at any grocery store.
- Perfect for Kids Parties: The rainbow colors and fluffy texture always captivate kids’ imaginations and make snack time extra special.
- Crowd-Pleaser: Adults love them just as much—there’s something about the creamy pudding and light whipped topping that hits the spot every time.
- Unbelievably Delicious: The combination of smooth pudding, airy whipped cream, and vibrant colors makes for a texture and flavor combo that’s seriously comforting and fun.
What sets this recipe apart? Well, it’s the layering technique that gives the pudding its “cloud” effect, blending bright hues with a creamy, fluffy feel. Plus, the recipe uses a simple homemade pudding base that you can customize with different flavors or natural colorings. I’ve tried store-bought pudding mixes, but making it fresh adds that extra touch that guests always notice.
Honestly, it’s the kind of treat that makes you pause and smile after the very first bite. It’s playful, comforting, and just joyful enough to bring a little magic to your table. Whether you’re throwing a Dr. Seuss-themed bash or just want to brighten up snack time, these rainbow pudding cloud cups are a surefire winner.
What Ingredients You Will Need
This recipe uses simple, wholesome ingredients to create bold colors and a soft, creamy texture without any complicated steps. Most of these are pantry staples, and you can easily swap some out depending on your dietary needs or what you have on hand.
- Milk: 4 cups (960 ml) whole milk or your preferred milk (dairy or plant-based)
- Sugar: 2/3 cup (135 g) granulated sugar (adjust to taste)
- Cornstarch: 1/2 cup (60 g) for thickening (can substitute with arrowroot powder for a gluten-free option)
- Salt: 1/4 teaspoon (just a pinch to balance flavors)
- Vanilla Extract: 2 teaspoons (for that classic pudding aroma – I like Nielsen-Massey for quality)
- Food Coloring: Gel or liquid food coloring in red, orange, yellow, green, blue, and purple (gel colors give more vibrant hues without watering down the pudding)
- Whipped Cream: 2 cups (480 ml) heavy whipping cream, whipped to soft peaks (or dairy-free coconut cream if needed)
- Optional Toppings: Rainbow sprinkles, edible glitter, or mini marshmallows for extra fun
If you want to make this dairy-free, swap regular milk and cream for almond, soy, or oat milk and a coconut-based whipping cream. For a healthier twist, you can reduce the sugar or try natural sweeteners like maple syrup (just reduce the milk slightly if you do). The food coloring can also be replaced with natural alternatives like beet juice for red or turmeric for yellow, though the colors will be less vivid.
Equipment Needed
- Medium Saucepan: For cooking the pudding base evenly without scorching. A non-stick pan helps prevent sticking, but a heavy-bottomed pan works well too.
- Whisk: Essential for stirring the pudding constantly to avoid lumps and ensure a smooth texture.
- Mixing Bowls: Several medium bowls for dividing the pudding and mixing colors separately.
- Electric Mixer or Whisk: To whip the cream to soft peaks quickly. You can do this by hand, but it takes much longer and a bit more muscle.
- Clear Cups or Glasses: For layering the pudding and whipped cream — clear ones show off those beautiful rainbow layers best.
- Spatula or Spoon: For folding whipped cream into the pudding and layering gently.
If you don’t have an electric mixer, a sturdy balloon whisk works fine but be ready to invest some elbow grease. For budget-friendly options, any basic saucepan and bowls will do—the key is just being patient with stirring and layering!
Detailed Preparation Method
- Prepare the pudding base: In a medium saucepan, whisk together 2/3 cup (135 g) sugar, 1/2 cup (60 g) cornstarch, and 1/4 teaspoon salt. Slowly add 4 cups (960 ml) milk, whisking constantly to avoid lumps. Cook over medium heat, stirring constantly, until the mixture thickens and just begins to bubble, about 7-9 minutes. Once thickened, remove from heat and stir in 2 teaspoons vanilla extract.
- Divide and color the pudding: Immediately pour the hot pudding into six separate bowls (about 2/3 cup/160 ml each). Add a few drops of food coloring to each bowl—red, orange, yellow, green, blue, and purple. Stir gently until the colors are evenly mixed. Work quickly, as the pudding will start to set as it cools.
- Cool the pudding: Cover each bowl with plastic wrap, pressing directly onto the surface to prevent a skin from forming. Let the pudding cool completely in the refrigerator for at least 2 hours (or overnight if prepping ahead).
- Whip the cream: While the pudding cools, whip 2 cups (480 ml) heavy cream to soft peaks using an electric mixer or whisk. Be careful not to overbeat—soft peaks should hold shape but still be smooth and fluffy.
- Fold whipped cream into pudding: Once the pudding is cold, gently fold about one-third of the whipped cream into each colored pudding bowl. This lightens the texture and gives it the “cloud” feel. Use a spatula and fold carefully to keep it airy.
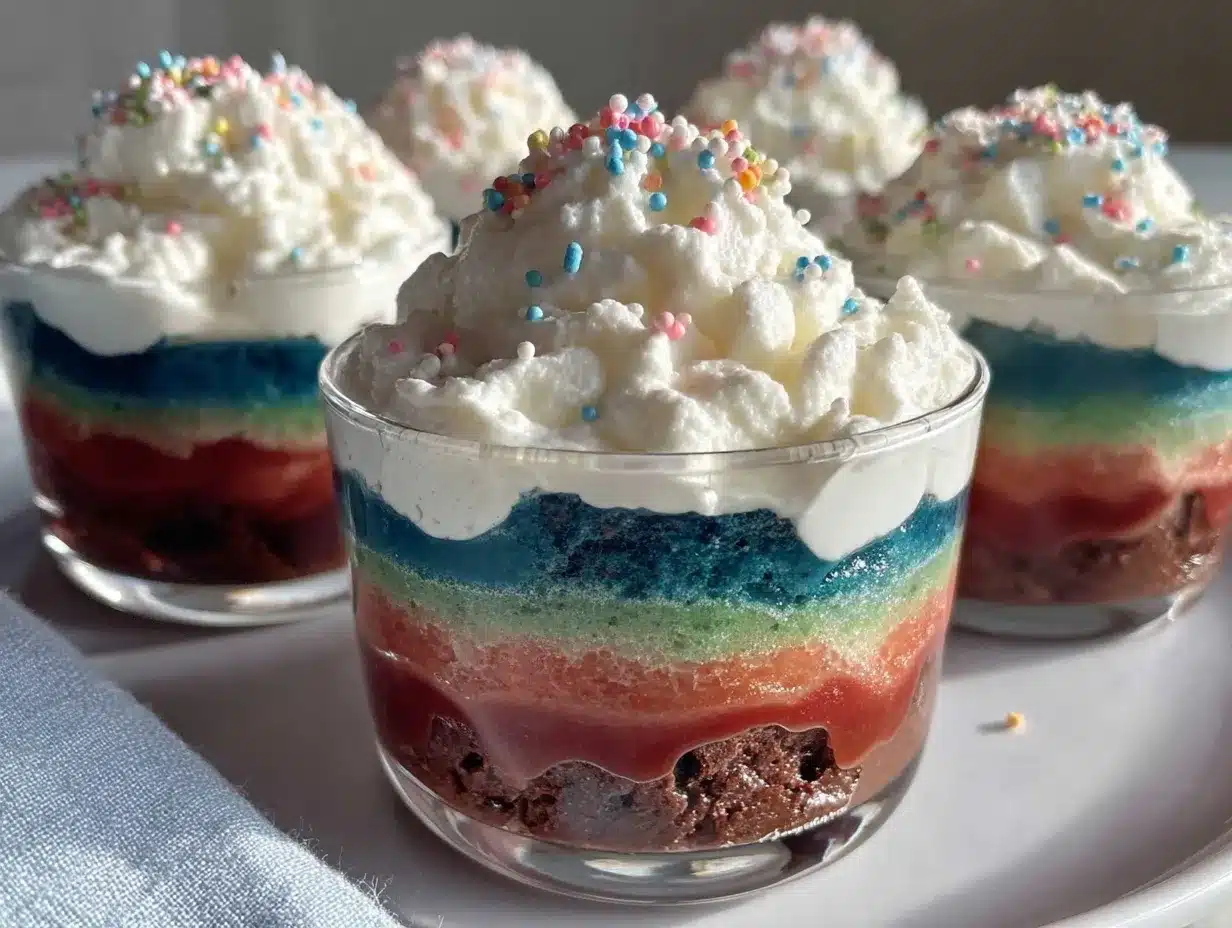
- Layer the cups: In clear dessert cups or glasses, spoon in a layer of one pudding color, then a layer of whipped pudding cloud mixture of another color. Repeat layering until cups are filled, creating a beautiful rainbow effect. Feel free to swirl lightly with a toothpick for a marbled look, or keep layers distinct for a striped rainbow.
- Chill and serve: Refrigerate the assembled cups for at least 30 minutes to allow flavors to meld and the pudding to set slightly more. Just before serving, top with extra whipped cream, sprinkles, or mini marshmallows for a festive touch.
Tips: If the pudding thickens too much while coloring, gently reheat on low, stirring constantly to loosen it. Avoid overheating or it can become grainy. Also, don’t rush folding the whipped cream—it’s the secret to that dreamy cloud texture you’re aiming for.
Cooking Tips & Techniques
One of the trickiest parts of this recipe is getting the pudding smooth and lump-free. Always whisk continuously while cooking and add milk slowly to prevent clumps. If lumps do form, a quick blitz with an immersion blender or straining through a fine sieve can save the day.
When coloring pudding, gel food colors are your best friend—they give vibrant hues without watering down the mixture. Liquid colors can dilute the pudding and affect texture slightly, so use sparingly.
Whipping cream to the perfect soft peak stage takes practice. Stop whipping as soon as the cream holds peaks but isn’t stiff—overwhipping leads to butter, and underwhipping will make the pudding cloud too runny.
Layering is where the magic happens, so take your time. Use a spoon or piping bag to add pudding layers neatly, and don’t mix colors too much unless you want a marbled effect. Chill the cups well before serving to let layers firm up—it makes scooping easier and the presentation neater.
Over the years, I learned to prep the pudding the day before the party. It saves so much stress and lets the flavors deepen. Just remember to fold in the whipped cream right before layering for the best texture.
Variations & Adaptations
- Dairy-Free Version: Use coconut or almond milk and coconut cream instead of dairy milk and heavy cream. The taste will be a bit different but just as delightful.
- Flavor Twists: Add a teaspoon of lemon or orange zest to the pudding base for a citrusy zing. Or swap vanilla for almond extract to surprise your taste buds.
- Seasonal Colors: Instead of classic rainbow, try pastel colors for spring parties or warm tones like pumpkin and cinnamon for fall gatherings.
- Low-Sugar Option: Cut sugar in half and add a natural sweetener like stevia or monk fruit. You might want to adjust the cornstarch slightly to keep the pudding thick.
- Personal Favorite: I once added crushed freeze-dried raspberries in the red layer for a punch of tartness that balanced the sweetness beautifully. Kids were curious and loved the surprise texture.
Serving & Storage Suggestions
Serve these pudding cloud cups chilled for the best texture and refreshing taste. They look lovely on a colorful party table or dessert buffet. For an extra special touch, top with rainbow sprinkles or edible glitter that catches the light.
These cups pair wonderfully with light finger foods like mini sandwiches or fruit skewers, and a cold lemonade or sparkling water with a twist of lime keeps things fresh.
Store leftovers covered tightly in the refrigerator for up to 3 days. The pudding layers may soften over time, but flavors will deepen. If you want to prep in advance, keep the pudding and whipped cream separate and assemble the layers the day of your event for freshest presentation.
To reheat, just serve cold—it’s meant to be a cool, creamy treat, and warming it would lose that “cloud” texture. If you want to soften it slightly, let it sit at room temperature for 10 minutes before serving.
Nutritional Information & Benefits
Each serving of these rainbow pudding cloud cups contains approximately 200 calories, depending on the milk and cream used. They provide a good source of calcium and protein from the dairy, plus a little energy boost from the sugar and cream.
Using whole milk and real cream adds richness and satisfies cravings, but swapping to plant-based milks or lower-fat dairy can reduce calories and fat if desired. The food coloring used is minimal, so it doesn’t impact nutrition.
For families with allergies, this recipe can be adapted easily to be gluten-free and dairy-free. Just watch for cross-contamination if you’re using store-bought whipped toppings.
From a wellness perspective, I love that this dessert feels indulgent but is made with straightforward ingredients and no artificial preservatives. It’s a treat that brings smiles without complicated additives.
Conclusion
These Vibrant Dr. Seuss Rainbow Pudding Cloud Cups are a fun, colorful way to make any kids party or family gathering memorable. They’re simple to prepare, delightfully fluffy, and packed with playful colors that spark joy in everyone who tries them. I can’t recommend this recipe enough — it’s one of those rare treats that’s as much fun to make as it is to eat.
Feel free to tweak the colors, flavors, and toppings to fit your style or the occasion. Whether you’re a seasoned home cook or just starting out, these pudding cloud cups are an easy win. I always find myself coming back to this recipe when I want something sweet, light, and cheerful.
If you give this recipe a try, please drop a comment to let me know how it went or share your own twists! Sharing these moments keeps the joy of cooking alive, and I love hearing your stories. Happy pudding crafting — may your cups always be colorful and your smiles big!
FAQs
What type of food coloring works best for this pudding?
Gel food coloring is best because it provides bright, vibrant colors without thinning the pudding. Liquid food coloring can be used sparingly but may affect the texture slightly.
Can I make the pudding cloud cups ahead of time?
Yes! Prepare the pudding and whip the cream a day ahead, but fold the whipped cream into the pudding and assemble the cups the day you plan to serve for the best texture and appearance.
How do I avoid lumps when cooking the pudding?
Whisk continuously while adding milk slowly and cooking over medium heat to prevent lumps. If lumps form, straining the pudding or using an immersion blender helps smooth it out.
Can I use store-bought pudding instead of making it from scratch?
You can, but homemade pudding offers better texture and flavor. If you use store-bought, try to choose a thick variety and fold in whipped cream for that cloud-like effect.
Are there any allergy-friendly substitutions?
Absolutely! Use dairy-free milk and coconut cream to make it vegan. For gluten-free, ensure your cornstarch or thickener is certified gluten-free. Adjust sweeteners as needed for dietary preferences.
Pin This Recipe!
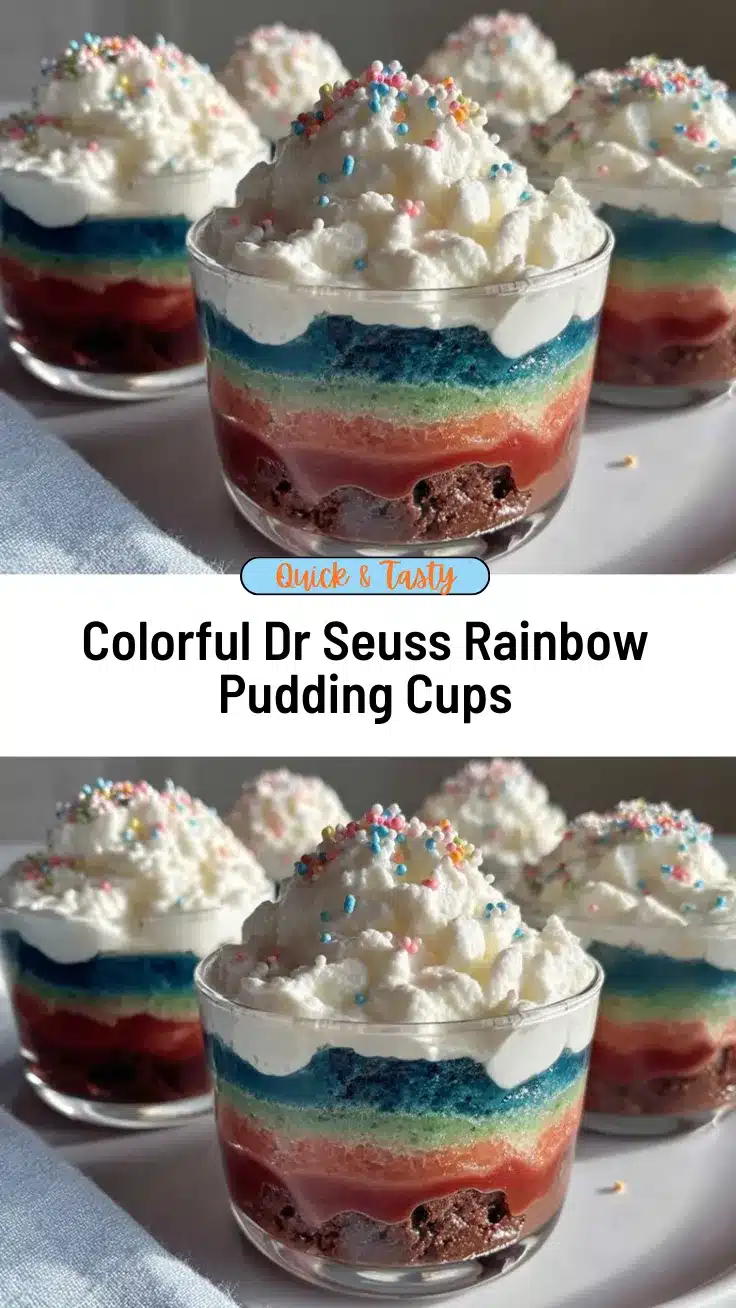
Vibrant Dr. Seuss Rainbow Pudding Cloud Cups

A fun and colorful pudding dessert with fluffy whipped cream layers, perfect for kids parties and family gatherings. This no-bake recipe features vibrant rainbow colors and a light, creamy texture.
- Prep Time: 15 minutes
- Cook Time: 10 minutes
- Total Time: 2 hours 55 minutes
- Yield: 6 servings 1x
- Category: Dessert
- Cuisine: American
Ingredients
- 4 cups (960 ml) whole milk or preferred milk (dairy or plant-based)
- 2/3 cup (135 g) granulated sugar (adjust to taste)
- 1/2 cup (60 g) cornstarch (can substitute with arrowroot powder for gluten-free option)
- 1/4 teaspoon salt
- 2 teaspoons vanilla extract
- Gel or liquid food coloring in red, orange, yellow, green, blue, and purple
- 2 cups (480 ml) heavy whipping cream, whipped to soft peaks (or dairy-free coconut cream)
- Optional toppings: rainbow sprinkles, edible glitter, mini marshmallows
Instructions
- In a medium saucepan, whisk together sugar, cornstarch, and salt. Slowly add milk, whisking constantly to avoid lumps.
- Cook over medium heat, stirring constantly, until mixture thickens and just begins to bubble, about 7-9 minutes.
- Remove from heat and stir in vanilla extract.
- Immediately pour hot pudding into six separate bowls (about 2/3 cup/160 ml each). Add a few drops of food coloring to each bowl and stir gently.
- Cover each bowl with plastic wrap pressed onto the surface and refrigerate for at least 2 hours until completely cool.
- Whip heavy cream to soft peaks using an electric mixer or whisk.
- Gently fold about one-third of the whipped cream into each colored pudding bowl to lighten the texture.
- In clear cups or glasses, layer spoonfuls of different colored pudding mixtures alternately to create a rainbow effect.
- Chill assembled cups for at least 30 minutes before serving.
- Top with extra whipped cream, sprinkles, or mini marshmallows if desired.
Notes
Use gel food coloring for vibrant colors without thinning the pudding. Fold whipped cream gently to maintain airy texture. Prepare pudding a day ahead and fold in whipped cream just before layering for best results. For dairy-free, substitute milk and cream with plant-based alternatives. Avoid overheating pudding to prevent graininess.
Nutrition
- Serving Size: 1 cup dessert cup
- Calories: 200
- Sugar: 18
- Sodium: 100
- Fat: 12
- Saturated Fat: 7
- Carbohydrates: 22
- Protein: 4
Keywords: rainbow pudding, kids party dessert, no-bake pudding, colorful dessert, whipped cream pudding, Dr. Seuss dessert



