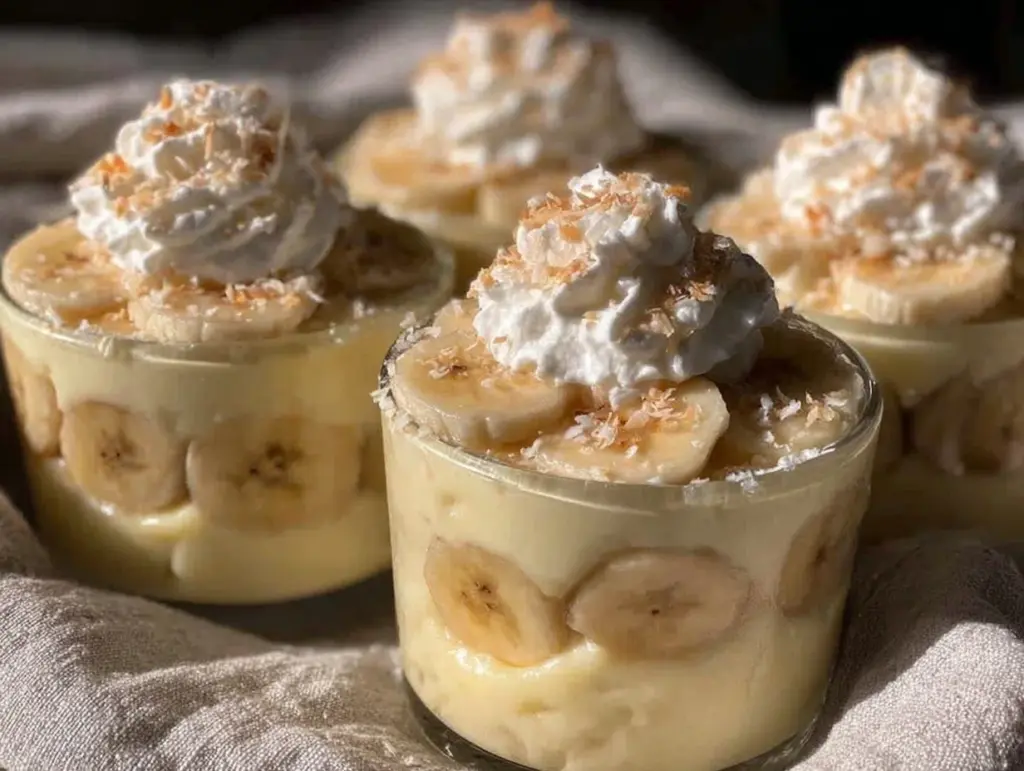
“You’re telling me this dessert only has four ingredients?” That was my exact reaction the first time I stumbled upon this easy 4-ingredient banana pudding cups recipe. Honestly, I was skeptical—banana pudding usually means layers of effort, right? But then a late afternoon craving hit, and with almost nothing in the fridge except a handful of ripe bananas, some vanilla pudding, and a box of vanilla wafers, I decided to give it a shot.
As I mixed those simple ingredients together, the kitchen started smelling like a cozy Southern diner, the kind where banana pudding feels like a warm hug on a tough day. What really surprised me was how fresh and comforting those pudding cups tasted, especially after just a quick chill in the fridge. No fuss, no long ingredient lists, just pure, creamy delight that felt homemade without the stress.
Since that day, I found myself making these cups on repeat—sometimes for unexpected guests, sometimes just for me after a long day. It’s funny how something so simple has stuck around in my recipe rotation, quietly becoming a go-to for quick desserts that don’t compromise on flavor or nostalgia. If you’ve ever wanted a fuss-free, delicious treat that feels like a little celebration in a cup, this might just be the one you didn’t know you needed.
Why You’ll Love This Recipe
After testing and tweaking this easy 4-ingredient banana pudding cups recipe multiple times, I can say it really hits all the right notes. Whether you’re short on time or new to dessert-making, this recipe won’t let you down. Here’s why it’s a keeper:
- Quick & Easy: Ready in about 15 minutes, perfect for busy weeknights or those last-minute dessert emergencies.
- Simple Ingredients: You probably already have all four ingredients in your pantry or fridge—no need for specialty shopping trips.
- Perfect for Any Occasion: From casual family dinners to potlucks, these pudding cups are crowd-pleasers that don’t require a big production.
- Crowd-Pleaser: Both kids and adults keep asking for seconds, which honestly feels like the ultimate compliment.
- Unbelievably Delicious: The creamy vanilla pudding paired with fresh bananas and crunchy vanilla wafers creates a texture and flavor combo that’s just right.
This recipe isn’t just another banana pudding—it’s the best version I’ve found because it balances ease with taste. The secret? Using a high-quality instant vanilla pudding mix combined with ripe bananas that add natural sweetness and texture. No baking, no complicated layering, just spoonfuls of creamy goodness. Plus, it’s versatile enough to tweak for your own flair, like swapping in coconut milk for a dairy-free twist.
Honestly, this recipe feels like comfort food in its simplest form, perfect for when you want to impress without stress—no fancy techniques, just straightforward deliciousness that hits the spot every time.
What Ingredients You Will Need
This easy 4-ingredient banana pudding cups recipe uses simple, wholesome ingredients to deliver bold flavor and satisfying texture without the fuss. All of these are pantry staples or fresh basics you can find at any grocery store. Here’s what you’ll need:
- Instant Vanilla Pudding Mix (1 package, about 3.4 oz) – I usually grab Jell-O brand for consistent creaminess and smooth texture.
- Milk (2 cups / 480 ml) – Whole milk works best for richness, but 2% or even almond milk can be substituted.
- Bananas (3 ripe medium) – Look for bananas with yellow skins and a few brown spots for natural sweetness and the best flavor.
- Vanilla Wafers (about 1 cup crushed) – These add the classic crunch; Nilla Wafers are my go-to, but you can crush any vanilla cookie you like.
Optional tips: For a little extra flair, you could sprinkle some chopped pecans or toasted coconut on top, but I find the pure simplicity of these four ingredients is what makes the pudding cups so special.
Equipment Needed
Luckily, this recipe doesn’t ask for fancy gadgets. Here’s what you’ll want to have on hand:
- Mixing Bowl: A medium to large bowl to whisk the pudding and milk together.
- Whisk or Spoon: For mixing; a whisk helps get a smooth pudding consistency but a sturdy spoon works fine too.
- Measuring Cups: For precise milk measurement.
- Serving Cups or Small Bowls: Individual dessert cups or ramekins to serve the pudding cups in style.
- Knife and Cutting Board: For slicing bananas neatly.
- Optional: Food Processor or Plastic Bag and Rolling Pin: To crush vanilla wafers if you prefer finer crumbs.
I’ve made these cups using everything from simple glass jars to dessert parfait glasses—whatever you have works just fine. No need to invest in special pudding molds or fancy tools, which is part of the charm.
Preparation Method
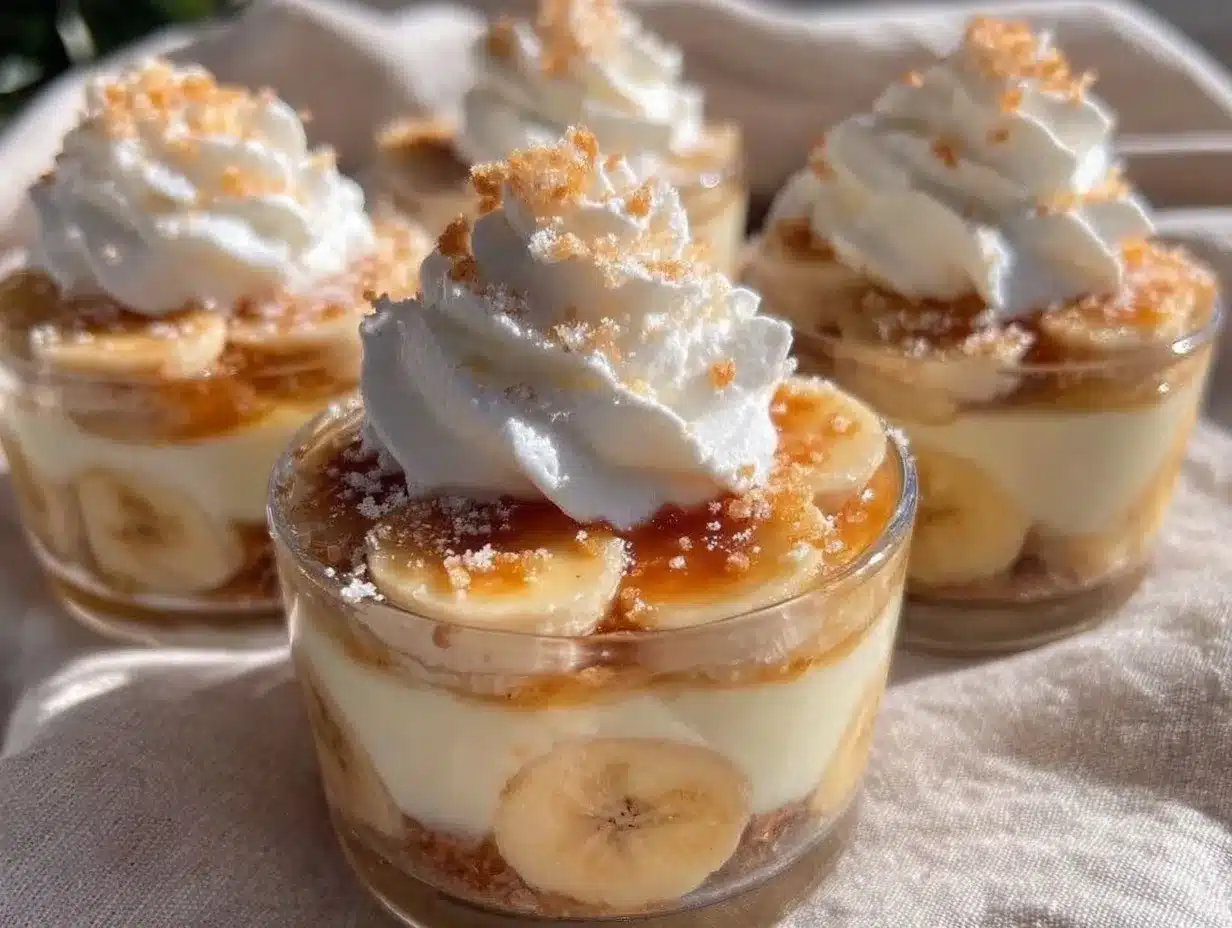
- Mix the Pudding: In a medium bowl, whisk together 1 package (3.4 oz / 96 g) of instant vanilla pudding mix with 2 cups (480 ml) of cold milk. Whisk vigorously for about 2 minutes until the pudding thickens and has a smooth, creamy texture. (Tip: If the pudding seems too thick, add a splash more milk to loosen it up.)
- Prepare the Bananas: Peel and slice 3 medium ripe bananas into thin rounds, about 1/4 inch (0.6 cm) thick. You want them thin enough to layer easily but thick enough to hold their shape.
- Crush the Vanilla Wafers: Place about 1 cup (100 g) of vanilla wafers in a plastic bag and gently crush with a rolling pin or use a food processor for finer crumbs. I prefer a mix of small chunks and crumbs for texture.
- Assemble the Cups: Start by spooning a layer of pudding into the bottom of your serving cups, about 2 tablespoons (30 g). Next, add a layer of banana slices followed by a sprinkle of crushed vanilla wafers. Repeat the layers once more, finishing with a sprinkle of crushed wafers on top.
- Chill: Cover the cups with plastic wrap or lids and refrigerate for at least 1 hour. This lets the flavors meld and the wafers soften slightly without losing all their crunch.
- Serve: Once chilled, serve the pudding cups cold. You can garnish with a fresh banana slice or a whole vanilla wafer on top for presentation.
Preparation time is roughly 15 minutes, and chilling time is flexible if you want a softer wafer texture. If you’re short on time, even 30 minutes in the fridge works in a pinch.
Cooking Tips & Techniques
Making these banana pudding cups is straightforward, but a few tips can really make the difference:
- Use Ripe Bananas: The sweetness and softness of ripe bananas are key. If your bananas are too green, the pudding tastes less sweet and the texture is firmer.
- Whisk the Pudding Well: Instant pudding mix can clump if not whisked properly. Whisk until the mix thickens and you see no lumps for the best creamy texture.
- Crush Wafers to Your Preference: I like a combo of fine crumbs and small chunks for texture balance. Crushing too finely can make the topping soggy after chilling.
- Layering Matters: Don’t skip layering the bananas and wafers between pudding layers. It keeps every bite interesting with a mix of creamy, crunchy, and fruity.
- Chill Long Enough: The fridge time lets the pudding set and wafers soften just right. Too short, and the pudding might be too runny; too long, and wafers lose crunch.
- Make Ahead Friendly: These cups hold well for up to 24 hours in the fridge, making them perfect for prepping in advance.
Once, I accidentally left a batch out overnight, and while the wafers got mushy, the pudding was still delicious—proof that even mishaps won’t ruin this recipe.
Variations & Adaptations
This easy 4-ingredient banana pudding cups recipe is a great base to customize. Here are some ideas I’ve tried or recommend:
- Dairy-Free Version: Swap regular milk with coconut or almond milk and use a dairy-free instant pudding mix. The coconut milk adds a subtle tropical twist.
- Chocolate Banana Pudding: Mix in a tablespoon of cocoa powder into the pudding mix or swap vanilla pudding for chocolate instant pudding for a richer flavor.
- Seasonal Fruits: In summer, try adding fresh berries like strawberries or blueberries layered with the bananas for extra freshness and color.
- Nutty Crunch: Sprinkle chopped toasted pecans or walnuts on top for more texture and a nutty flavor contrast.
- Spiced Touch: Add a pinch of cinnamon or nutmeg to the pudding mix to warm up the flavor profile—especially cozy in cooler months.
One personal favorite is mixing a little cream cheese into the pudding for a tangier texture, inspired by some of the creamy desserts I make, like my triple chocolate mousse bars. It’s a subtle twist that’s surprisingly good!
Serving & Storage Suggestions
These pudding cups are best served cold, right out of the fridge. The chill really enhances the creamy texture and keeps the bananas fresh. I like to serve them in small clear cups or mason jars—it makes the layers look inviting and perfect for portion control.
For a party or potluck, pair these with a light, crisp beverage like iced tea or sparkling water with lemon to balance the sweetness. They also complement savory dishes well, such as the spicy avocado chicken wraps I like to make for casual lunches.
To store, cover the pudding cups tightly with plastic wrap or lids and refrigerate. They keep well for up to 2 days without losing flavor or texture. Avoid freezing, as bananas tend to go mushy once thawed.
When reheating, I recommend enjoying them cold, but if you must, let them sit at room temperature for 10 minutes for a softer mouthfeel. Over time, the flavors meld beautifully—sometimes the next day tastes even better!
Nutritional Information & Benefits
Each serving of these easy 4-ingredient banana pudding cups provides a comforting dessert option without too many calories. Roughly estimated, one cup contains about 180 calories, 4 grams of fat, 32 grams of carbohydrates, and 3 grams of protein.
The ripe bananas add natural sugars, fiber, and essential nutrients like vitamin C and potassium. Choosing a low-fat or dairy-free milk can reduce saturated fat content, making it a lighter choice compared to heavier desserts.
This recipe is gluten-friendly if you use gluten-free vanilla wafers, and can be adapted for dairy-free diets as mentioned. The simple ingredient list makes it suitable for most dietary preferences, and the natural banana sweetness means you won’t need extra sugar.
From a wellness perspective, this dessert feels like a treat that doesn’t weigh you down—perfect for those moments when you want something sweet but not overly rich.
Conclusion
Easy 4-ingredient banana pudding cups have quietly become one of my favorite go-to desserts for their simplicity, speed, and nostalgic flavor. The way fresh bananas meet creamy pudding and crunchy vanilla wafers is just pure comfort in a cup.
Feel free to tweak this recipe to suit your taste buds or dietary needs—the possibilities are surprisingly flexible. Whether you’re whipping these up for a kid’s party or a quiet night in, they never fail to satisfy that sweet craving without much hassle.
If you try this recipe, I’d love to hear how you make it your own or any fun twists you add. After all, sharing those little kitchen wins is what makes cooking worthwhile. Here’s to easy desserts that feel like a treat every single time!
FAQs About Easy 4-Ingredient Banana Pudding Cups
Can I make these banana pudding cups ahead of time?
Yes! They can be assembled up to 24 hours in advance and stored covered in the fridge. Just add the wafer topping right before serving if you want to keep it crunchy.
What can I use instead of vanilla wafers?
You can substitute vanilla wafers with graham crackers, shortbread cookies, or gluten-free vanilla cookies. Just crush them similarly for the best texture.
Can I use homemade pudding instead of instant pudding mix?
You can, but the instant pudding mix gives this recipe its quick and easy charm. Homemade pudding usually requires cooking and cooling, which adds time and changes texture.
How ripe should the bananas be?
Look for bananas that are yellow with some brown spots for maximum sweetness and softness. Overripe bananas may turn mushy and affect texture.
Is this recipe suitable for dairy-free diets?
Absolutely! Use a dairy-free milk like almond or coconut and find a dairy-free vanilla pudding mix to keep it allergy-friendly and just as tasty.
Pin This Recipe!
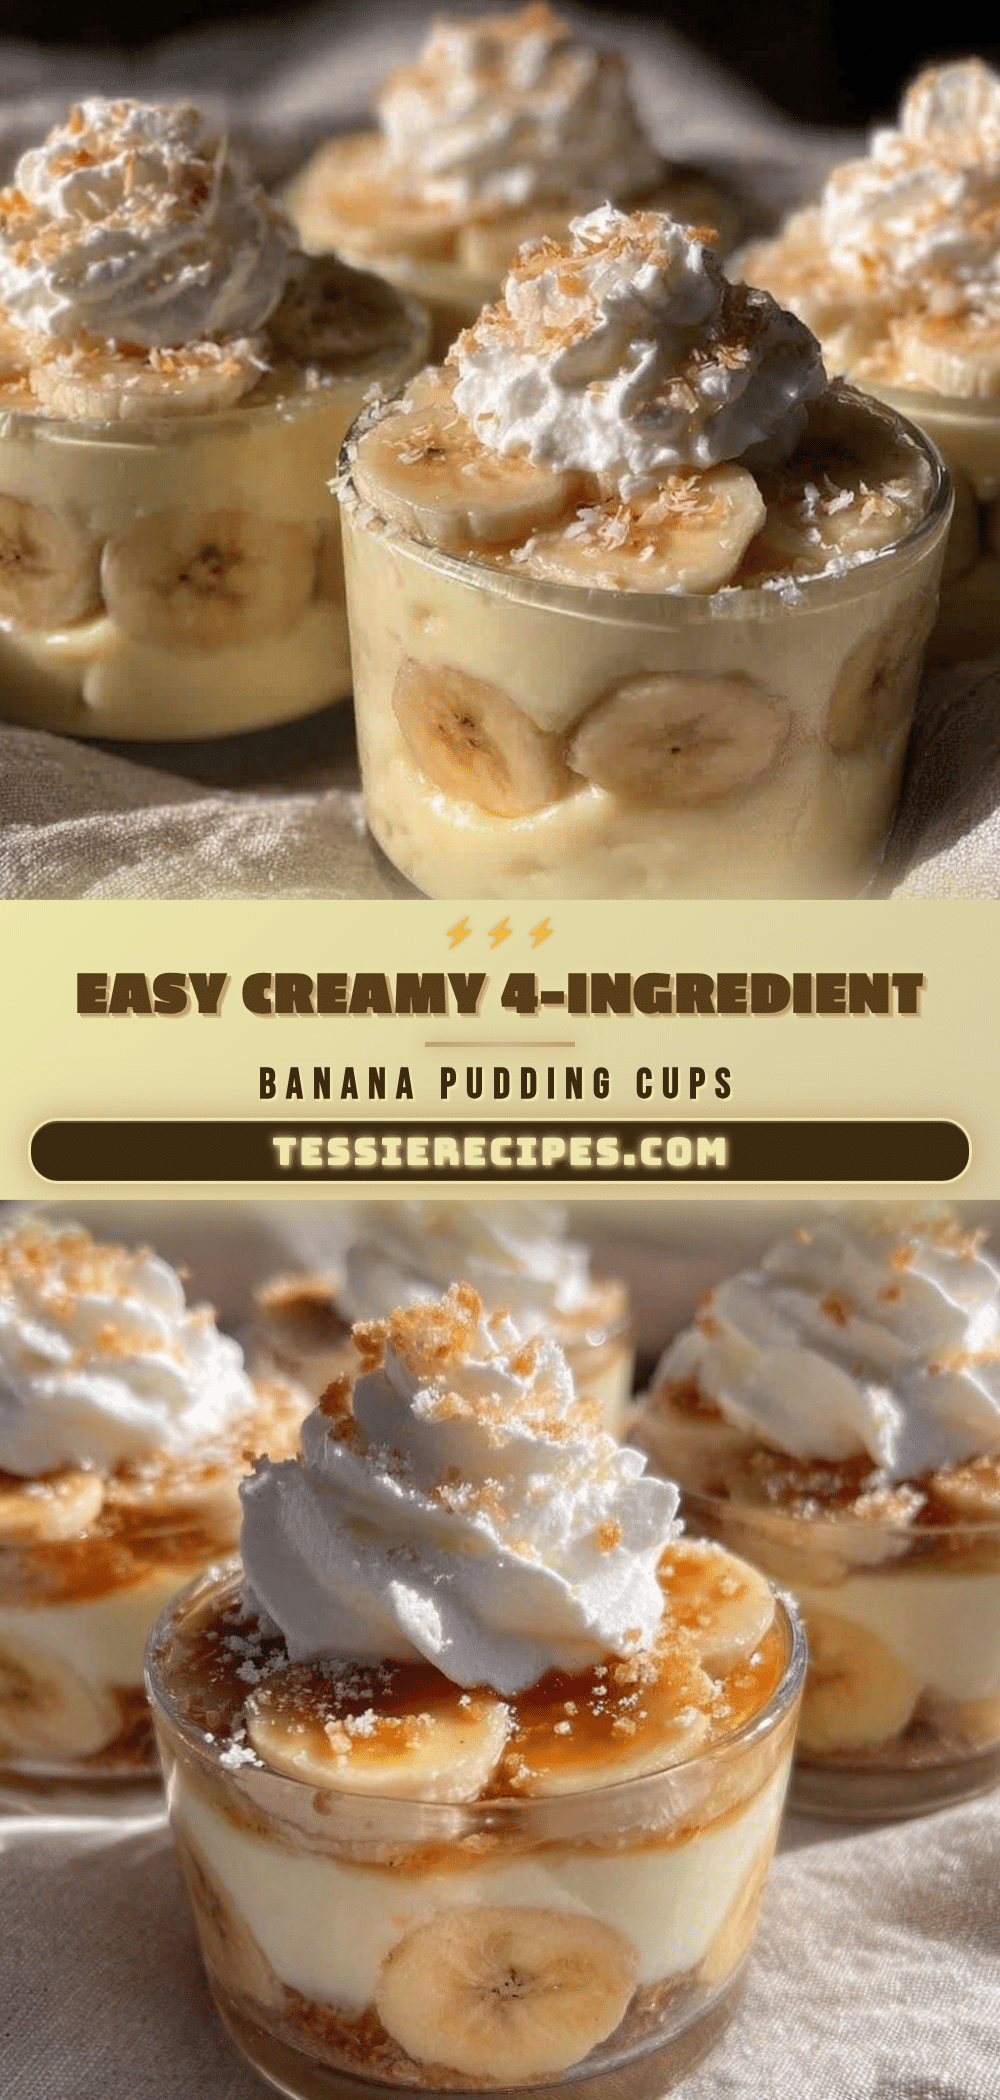
Easy 4-Ingredient Banana Pudding Cups Recipe Perfect for Quick Desserts

A simple and quick dessert featuring creamy vanilla pudding, ripe bananas, and crunchy vanilla wafers, perfect for busy weeknights or last-minute treats.
- Prep Time: 15 minutes
- Cook Time: 0 minutes
- Total Time: 1 hour 15 minutes
- Yield: 4 servings 1x
- Category: Dessert
- Cuisine: American
Ingredients
- 1 package (3.4 oz) instant vanilla pudding mix
- 2 cups (480 ml) milk (whole milk preferred, 2% or almond milk can be substituted)
- 3 ripe medium bananas, sliced into 1/4 inch rounds
- 1 cup crushed vanilla wafers
Instructions
- In a medium bowl, whisk together the instant vanilla pudding mix with 2 cups of cold milk. Whisk vigorously for about 2 minutes until the pudding thickens and is smooth and creamy. Add a splash more milk if pudding is too thick.
- Peel and slice 3 medium ripe bananas into thin rounds about 1/4 inch thick.
- Crush about 1 cup of vanilla wafers using a rolling pin or food processor, leaving a mix of small chunks and crumbs.
- Assemble the cups by spooning about 2 tablespoons of pudding into the bottom of serving cups, add a layer of banana slices, then sprinkle crushed vanilla wafers. Repeat the layers once more, finishing with crushed wafers on top.
- Cover the cups with plastic wrap or lids and refrigerate for at least 1 hour to let flavors meld and wafers soften slightly.
- Serve chilled, optionally garnished with a fresh banana slice or a whole vanilla wafer.
Notes
Use ripe bananas with yellow skins and brown spots for best sweetness and texture. Whisk pudding mix thoroughly to avoid lumps. Crush wafers to preferred texture but avoid crushing too finely to prevent sogginess. Chill at least 1 hour for best flavor and texture. Can be made up to 24 hours ahead. For dairy-free, substitute milk and pudding mix accordingly.
Nutrition
- Serving Size: 1 cup pudding cup
- Calories: 180
- Fat: 4
- Carbohydrates: 32
- Protein: 3
Keywords: banana pudding, easy dessert, quick dessert, 4-ingredient recipe, vanilla pudding, banana dessert, no bake dessert



